ScanNCut: Dachshund fun!

As I always disclose – I am a paid consultant for Brother- and all ideas and opinions are my own.  So imagine my total delight when they let me know they had a brand new set of animal patterns for my ScanNCut!
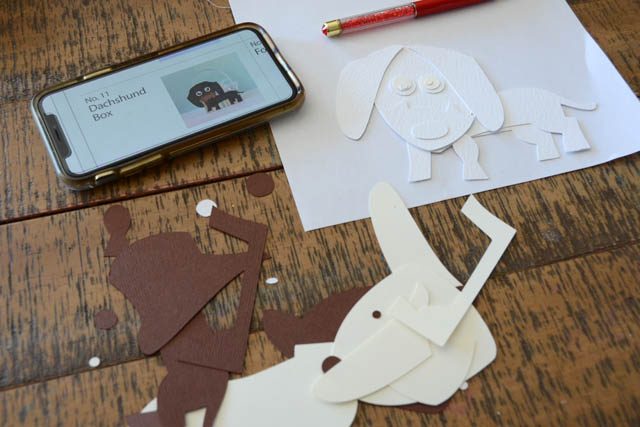
Full disclosure – I was totally overwhelmed by the intensity of these patterns at first. SO MANY pieces! SO MANY possibilities! I decided to take one pattern and really play with it and see what I wanted to do. After cutting out of a scrap of brown cardstock (the dog, without the box portion of the pattern) I realized… these would be great for coloring!!

So I got out my watercolor markers and water brush and began!
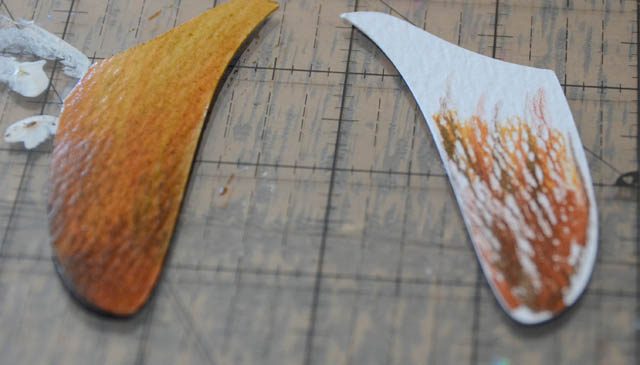
I went for the ears first – and man. This was FUN! I really love blending color + water it’s so soothing! So the more pieces, the more to play with!
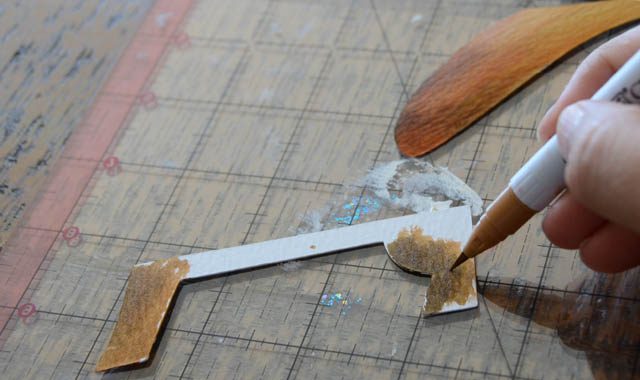
Then I just kept playing with shades of color and body parts! Body, the “behind” leg piece, the head…
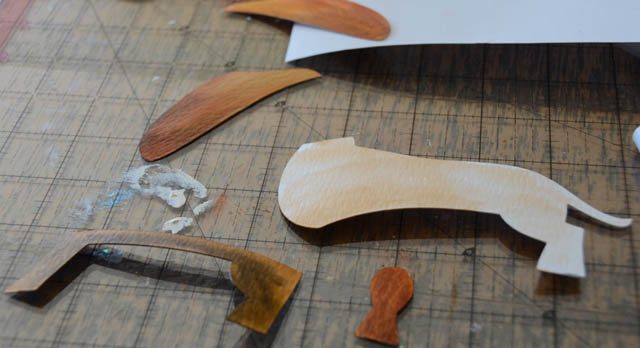
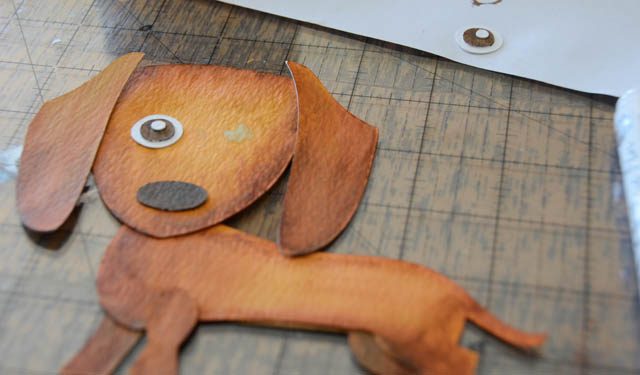
Once they were all colored I used a liquid glue (glue pen) and worked through the pieces! I glued the eyeball bits together separately then attached entire eye to my puppy. I also left out the muzzle piece. Don’t be afraid to mix up intricate die cuts! Why not?
To recap the how-to on the ScanNCut end:

  1. The animal patterns are available in the online Brother Mall (here)
  2. Download/move the patterns to your ScanNCut wirelessly or via USB thumb drive
  3. Open the pattern, remove any pieces you do NOT need, arrange pieces.
  4. Cut!
  5. Repeat cutting for additional pieces/layers if needed

I turned this sweet guy into a simple card.
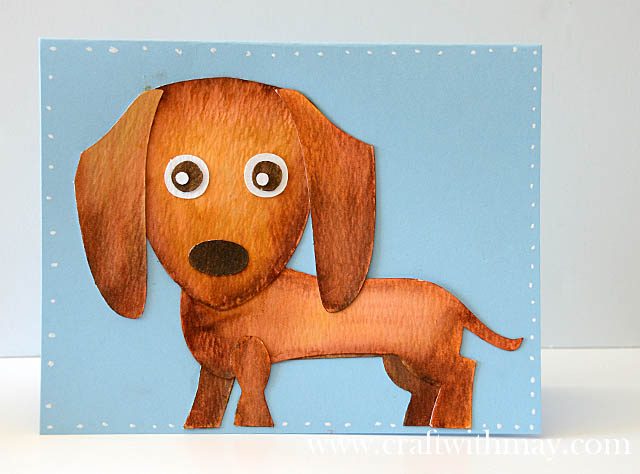
My tip – I realized white paper or watercolor paper would be best first. That way I could color as needed vs try and guess which pieces were which color.
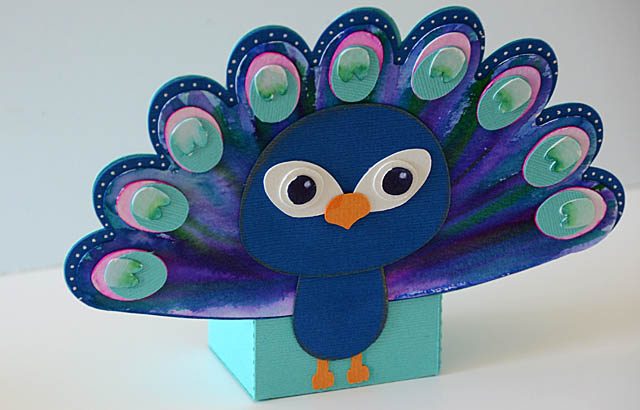
Ready for more? Me too! Here’s a Peacock I did with the box it came with! I added white accents to it as well as using cardstock vs coloring all pieces. Such fun! This will be up on the Brother site with full “how to” soon. It’s a project I made for them with another pattern. Now my only question is which animal will I make, out of what material, and what will I do with it?

A card? Gift bag? Box/project as shown in the cut files? Who knows! I’m always one for new creative play and my day spent with these animals was such fun! I love having project bases that I can take as a starting point and run with them.

Wishing you happy creative running today as well…
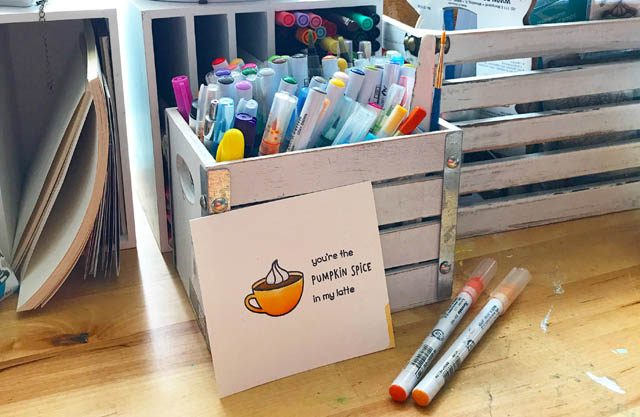
Clean Color markers

I’ve got a quick video post to share with you today – all about Clean Color markers. I’ve got some affiliate links below to them if you are needing some. I’ve got to tell you I am saving up to purchase some more. I’ve liked them since Amazon first said “oh hey you might want…” and the price was right. A while later they became all the rage! While the hype seems to have died down I’ve got to tell you I still love mine.

They’re EASY. I can throw color down, play, blend, keep on going. No cup of water or any kind of mess needed.

They’re LASTING. I’ve yet to have one run dry and I use some of these colors  a TON.

They’re wildly BRIGHT and fun. I love some bright bold color – these deliver.

You saw them earlier this week in two different posts – for one big reason I’ve yet to mention:

They TRAVEL so well. Right now I’m working in a very limited space and having the little box with them all right there easy to go and a wealth of color possibility has been a life saver. I don’t have to drag out boxes or bins of color – just a pen and usually I hold the ones I’m using in one hand while coloring with the other.

Here’s a little video specifically about Clean Color pens.

Looking for some of your own? Ellen Hutson carries them (link) as sets OR individually. You can also find sets on Amazon. As a reminder these are the “real brush” watercolor pens – my favorite pens for quite some time now. What pens are your favorites?

Watercolor Gift Card (cards) featuring ScanNCut

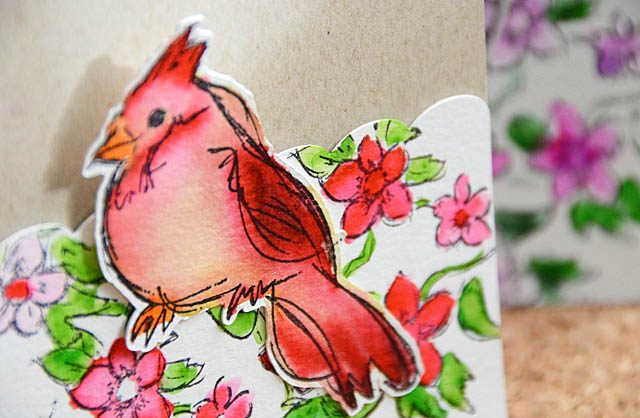
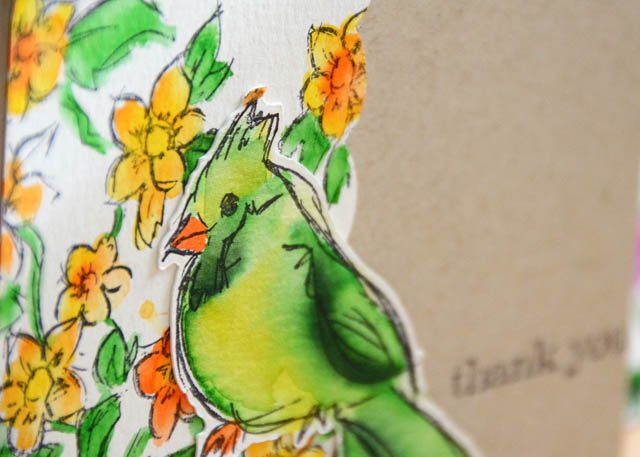
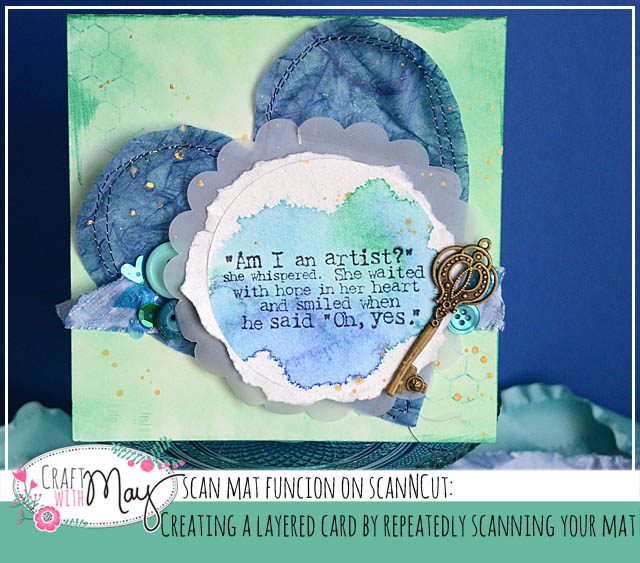
Once in a while I hit on an idea that is absolutely perfect – and turns out exactly or better than I had imagined. This is one such time! My inspiration was simple: I wanted to make some gift card “cards” for some Jr High teachers I’ll be seeing this week at conferences. After looking around at my supplies I decided that a bird stamp set + my ScanNCut would be just the thing.

Continue reading “Watercolor Gift Card (cards) featuring ScanNCut”

ScanNCut: watercolor wall art

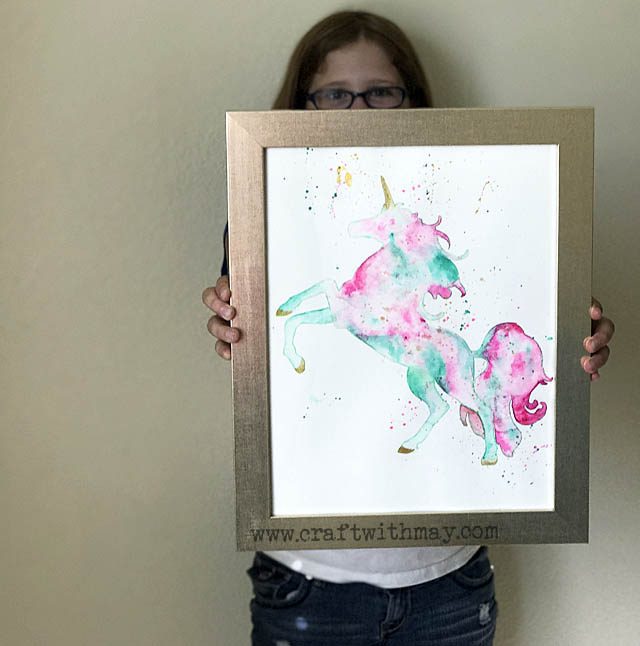
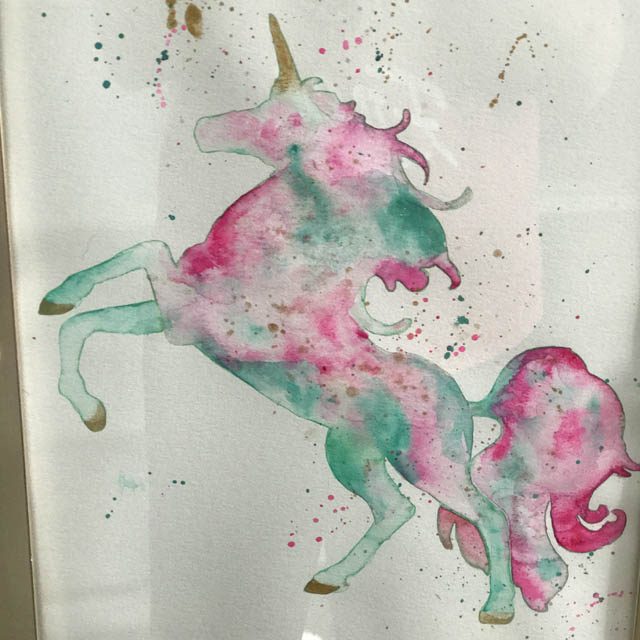
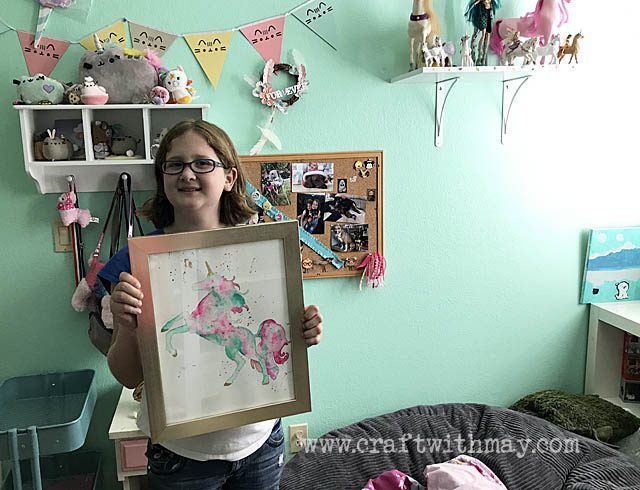
A while back Rebecca saw a unicorn wall art she wanted and I thought… hey I can make you one in your EXACT room colors if I draw with my ScanNCut and use watercolor paint techniques… I can MAKE that!! It took me a while to work out the logistics but now that I have? I think I’ll be using this feature a lot more in future.

To recap my process:

  1. Pick a silhouette or outline style image (or word!) and scan into the ScanNCut machine, saving as a file.
  2. Use the “draw” function to draw the outline with a pen. I used a watercolor brush marker that I had previously tested and knew would work well on this paper.
  3. Add water carefully, and work through!
  4. Add (if you want) speckles and dots of color

The photos of this do NOT do it justice. This project turned out so amazing that Rebecca has declared it “the best art ever”! I created a YouTube video to show you the process of how I did this.

Tips:

  • Use a lighter color for the outline
  • Don’t over work your color! Let it dry and come back to it for touch ups
  • Be patient
  • Enjoy the flow of color – be random!

Here is Rebecca in her room – deciding where to put this (11×14) framed art! I am so excited with how this turned out – I’m definitely going to try again on a smaller scale for a card or perhaps onto a mixed media canvas. It was such fun – and such a great feeling to make something she wanted so much. Thanks for tuning in and checking it out!

disclaimer: I am a paid consultant for Brother. All ideas, projects, and opinions are always my own. I love the ScanNCut, and I love sharing the ways that I use my machine with you!