I’ve regularly spoken of scanning with the ScanNCut, but one of the best parts of that scanner isn’t for making cut files. It’s for placement!
When you are in a screen with shape(s), you can press the “scan” button and it will scan your mat and show you where your paper or material is. I love this for several reasons – before I explain let me (as always) disclose that affiliate links are used in this post and I am a paid consultant for Brother, however all ideas and opinions are my own. This machine rocks – and I’m happy to share ideas with it!
Back to the “why is it cool” factor – there are several reasons being able to scan your mat is great for cutting purposes.
- Using scraps – this allows you to use any odd size already cut or random material you like without guessing
- no counting squares! Sometimes I count the grid “3inches over… two down…” type thing but scanning in your material eliminates the need to do this or to guess if you have placed things right
- Sizing layered elements – you’ll know things are just right to go around your stamp
- Preview the result – you can see “does it look good on my paper/stamp/image”? BEFORE you commit to cut.
- Great for creating layered projects
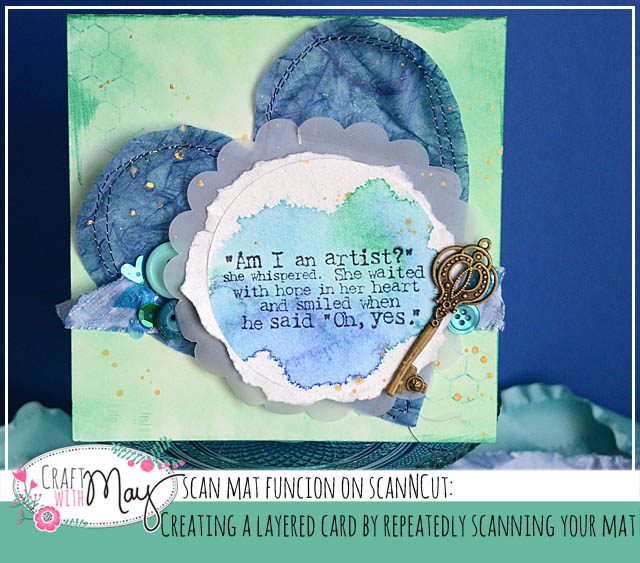
I have created a video on YouTube to showcase how I made this card and used this function multiple times to create my layers here.
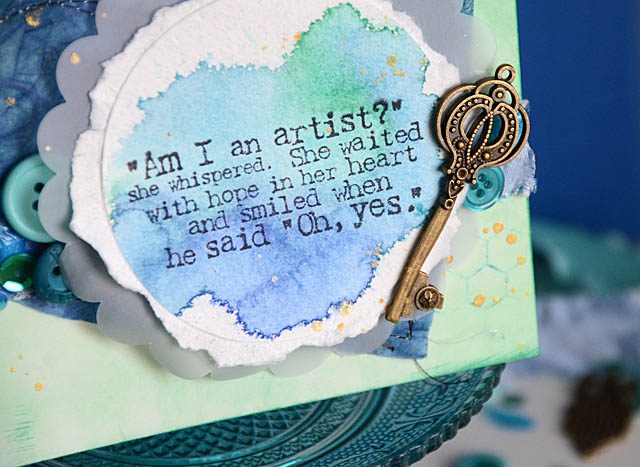
Something brand new for me – I tried “partial cutting” my very heavy watercolor paper then tearing around the circle. Oh I LOVE these results! I am thinking about leaves for fall, hearts for Valentine’s Day and more with this technique. Note that it would work best on a paper that is like watercolor paper or something that is both thick and easily tear-able.
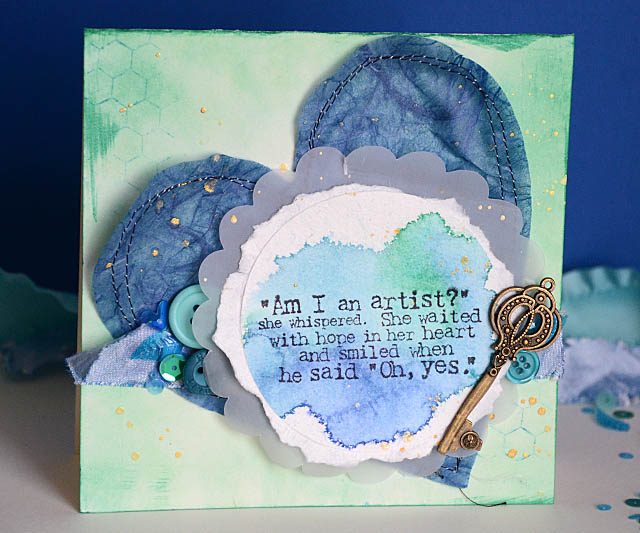
I absolutely love all of the details on this card from the gold flecks of mist to the sentiment itself. This was tremendously fun to create, and I hope today I’ve inspired you to try some layering or create in your own unique way with multiple textures and materials.

I’ve been trying to use up my meager stash of things like mulberry and vellum papers and I’m finding I really enjoy cutting them into shapes and using them as an element to my projects. What materials are you enjoying working with these days? I’d love to hear!

As a reminder – the ScanNCut has an instant savings deal going on right now. Here’s an amazon link if you want to check it out.
that is just gorgeous May! What is the name of the button mix? Just love those colours!
That turned out fabulously! Another great idea for using the scan n cut.
I got really excited about this card as soon as I saw it, which, frankly I don’t usually do. I like the mix of materials/layers, I like the colors, I like the partial cut/tear that you did (though I wasn’t as excited as you were), but what really got me was the sewing on the mulberry! I have never used mulberry with a strait cut, for one thing, I always wet it and tear to get the nice fuzzy edge; but it really works as a strait cut with the sewing on it. I kept looking at it trying to figure out what made it stand out for me, did she use a decorative stitch on her machine? did she double stitch? was it a fancy thread? what?
I think you double stitched, using two colors of thread – dark blue on top & White bobbin thread? I really like it! Gonna have to do it!
I am learning to use my Scan N Cut- so exciting to have something new to try. I have some mixed media paper I’ve experimented with water color on… love love the idea of partial cut so you can tear. Never would have occurred to me! What fun.
Love this! Such pleasing colors!
This is a beautiful card, the different textures and the color choices are so pretty. I do not own a Scan N Cut but I enjoyed watching your process of making the card, I thought that was a clever approach how you used your machine to figure out your layers.