As I always disclose – I am a paid consultant for Brother- and all ideas and opinions are my own. So imagine my total delight when they let me know they had a brand new set of animal patterns for my ScanNCut!

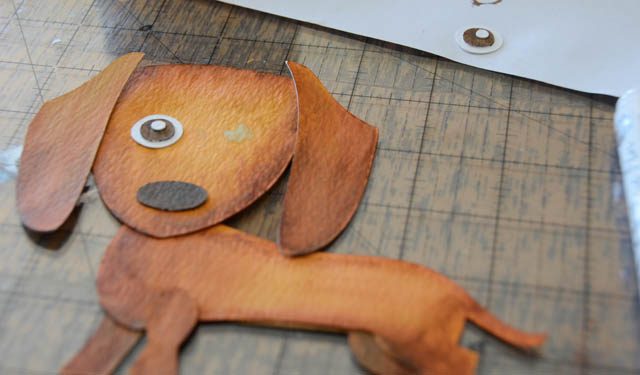
Full disclosure – I was totally overwhelmed by the intensity of these patterns at first. SO MANY pieces! SO MANY possibilities! I decided to take one pattern and really play with it and see what I wanted to do. After cutting out of a scrap of brown cardstock (the dog, without the box portion of the pattern) I realized… these would be great for coloring!!
So I got out my watercolor markers and water brush and began!
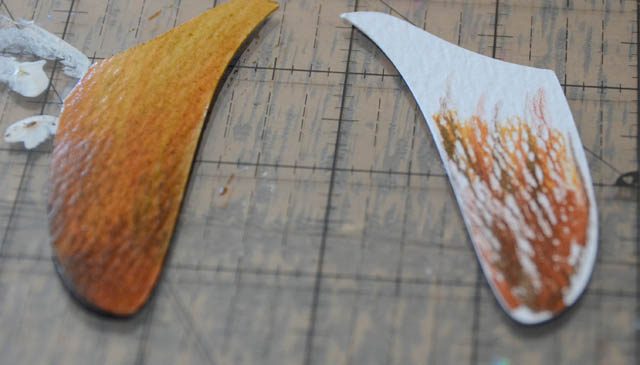
I went for the ears first – and man. This was FUN! I really love blending color + water it’s so soothing! So the more pieces, the more to play with!
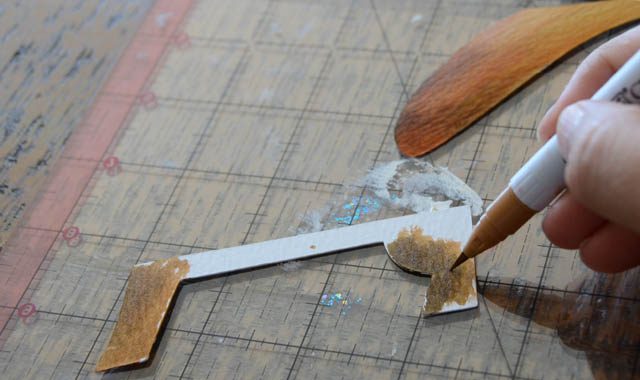
Then I just kept playing with shades of color and body parts! Body, the “behind” leg piece, the head…
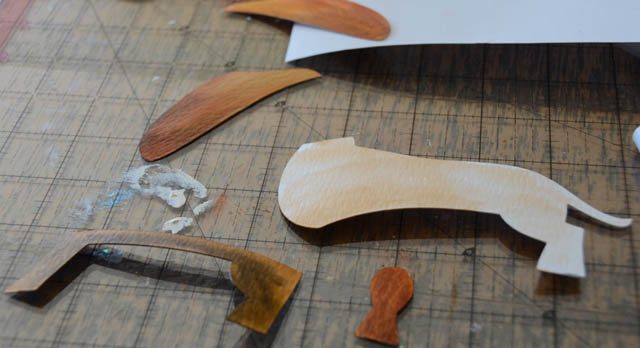
Once they were all colored I used a liquid glue (glue pen) and worked through the pieces! I glued the eyeball bits together separately then attached entire eye to my puppy. I also left out the muzzle piece. Don’t be afraid to mix up intricate die cuts! Why not?
To recap the how-to on the ScanNCut end:
- The animal patterns are available in the online Brother Mall (here)
- Download/move the patterns to your ScanNCut wirelessly or via USB thumb drive
- Open the pattern, remove any pieces you do NOT need, arrange pieces.
- Cut!
- Repeat cutting for additional pieces/layers if needed
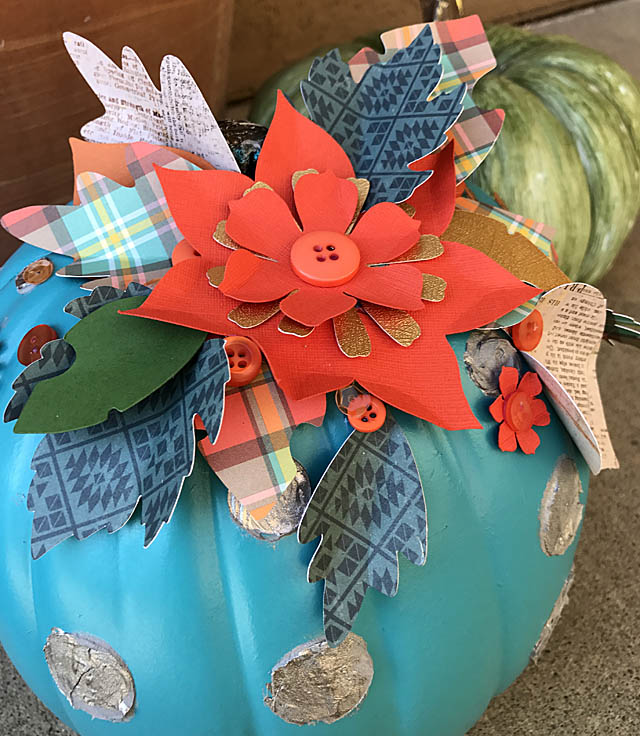
I turned this sweet guy into a simple card.
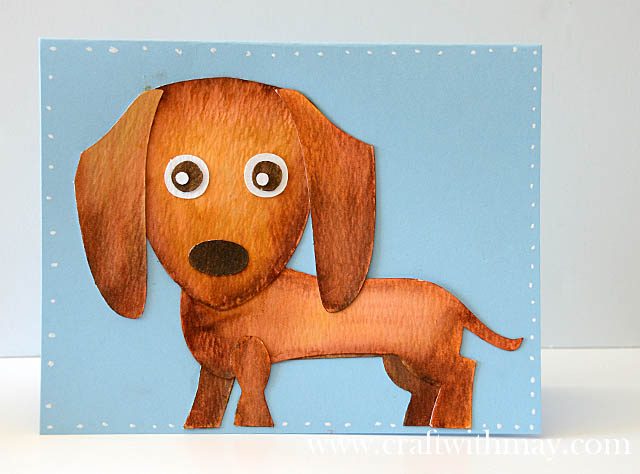
My tip – I realized white paper or watercolor paper would be best first. That way I could color as needed vs try and guess which pieces were which color.
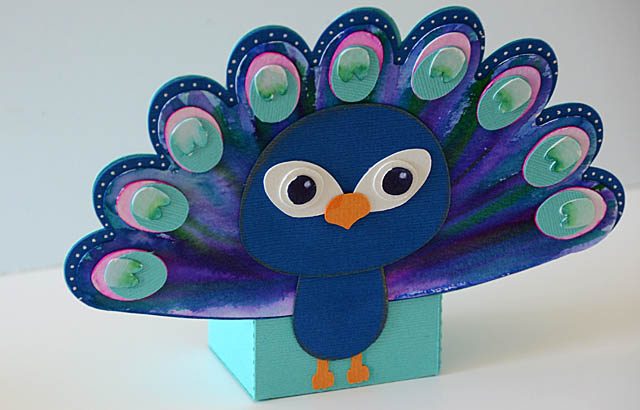
Ready for more? Me too! Here’s a Peacock I did with the box it came with! I added white accents to it as well as using cardstock vs coloring all pieces. Such fun! This will be up on the Brother site with full “how to” soon. It’s a project I made for them with another pattern. Now my only question is which animal will I make, out of what material, and what will I do with it?
A card? Gift bag? Box/project as shown in the cut files? Who knows! I’m always one for new creative play and my day spent with these animals was such fun! I love having project bases that I can take as a starting point and run with them.
Wishing you happy creative running today as well…