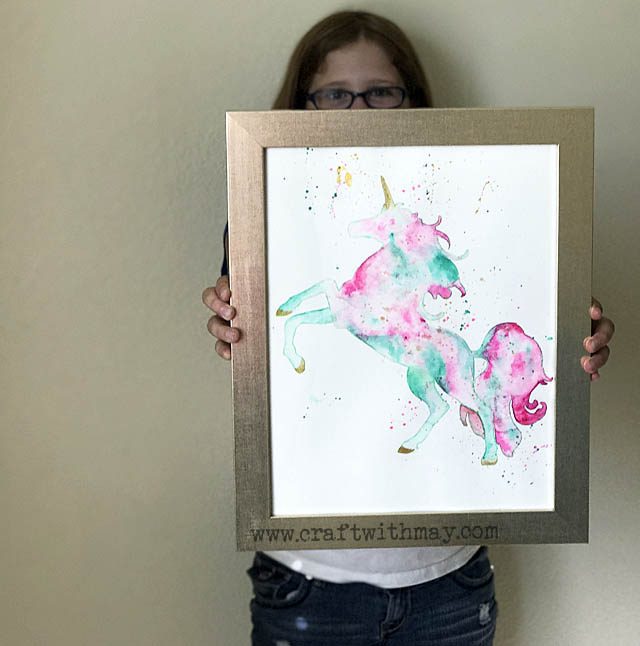
A while back Rebecca saw a unicorn wall art she wanted and I thought… hey I can make you one in your EXACT room colors if I draw with my ScanNCut and use watercolor paint techniques… I can MAKE that!! It took me a while to work out the logistics but now that I have? I think I’ll be using this feature a lot more in future.
To recap my process:
- Pick a silhouette or outline style image (or word!) and scan into the ScanNCut machine, saving as a file.
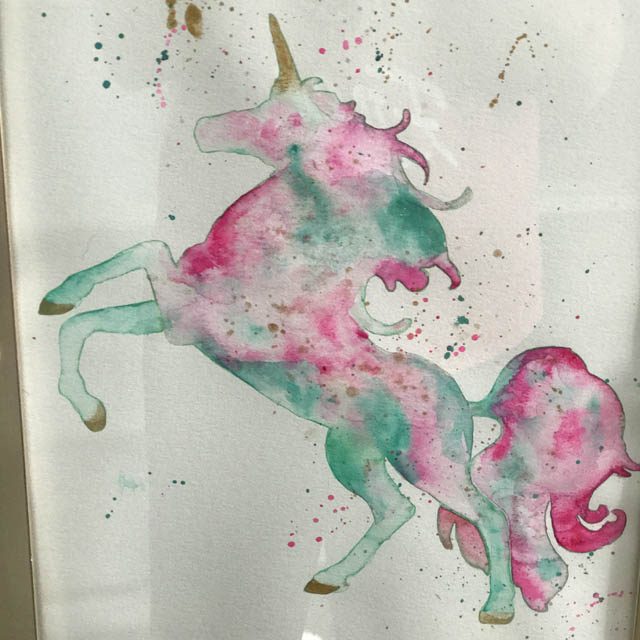
- Use the “draw” function to draw the outline with a pen. I used a watercolor brush marker that I had previously tested and knew would work well on this paper.
- Add water carefully, and work through!
- Add (if you want) speckles and dots of color
The photos of this do NOT do it justice. This project turned out so amazing that Rebecca has declared it “the best art ever”! I created a YouTube video to show you the process of how I did this.
Tips:
- Use a lighter color for the outline
- Don’t over work your color! Let it dry and come back to it for touch ups
- Be patient
- Enjoy the flow of color – be random!
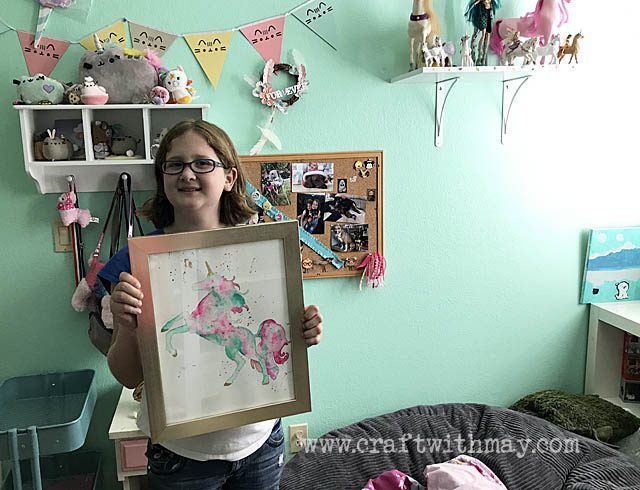
Here is Rebecca in her room – deciding where to put this (11×14) framed art! I am so excited with how this turned out – I’m definitely going to try again on a smaller scale for a card or perhaps onto a mixed media canvas. It was such fun – and such a great feeling to make something she wanted so much. Thanks for tuning in and checking it out!
disclaimer: I am a paid consultant for Brother. All ideas, projects, and opinions are always my own. I love the ScanNCut, and I love sharing the ways that I use my machine with you!
That looks so cool!
memoriesbymanda not Mem
What a great idea, May! It turned out fabulous. I can’t wait to try something similar.
that is so so pretty – Rebecca is one lucky girl (and so appreciative too!
That is amazing May!!!