Big or small, fancy or simple, I love to give gifts to people and animals too. Today I’m sharing a video tutorial that is quick and simple – but really adds a ton to the gift!
usual disclaimer – I am a paid consultant for Brother, however all ideas and opinions shared are 100% my own. I love that ScanNCut!
I’ve got a serious vinyl addiction, folks! Combine it with my ScanNCut (for which I am a paid consultant (for Brother) but as always all ideas and opinions are my own) and I simply can’t stop! Today I’m sharing a tutorial for how I took two cups (that were on sale two for a dollar!) and turned them into the new pencil/colored pencil cups for school. Continue reading “Vinyl decorated pencil cups”
I went looking at kid artwork to inspire today’s post and what I found was this: tissue. Mosaic designs to crumpled, tissue shows up a TON in school artwork! So, how could I be inspired by this and put my own twist on it?
disclaimer: I am a paid consultant for Brother, however all ideas and opinions are my own. The ScanNCut is indeed a machine I use, love, and can’t get enough of!
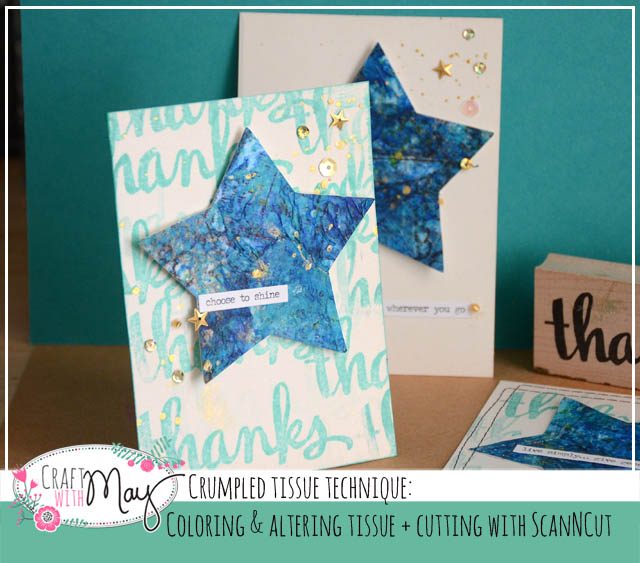
My solution was to crumple and glue (any liquid adhesive should work) a sheet of tissue to a very heavy sheet of cardstock. Why heavy? So that any warping would be minimized and the surface stable. I just crinkled, smudged, and basically let the tissue do whatever simply making sure it was glued down absolutely everywhere. That’s a key for later on.
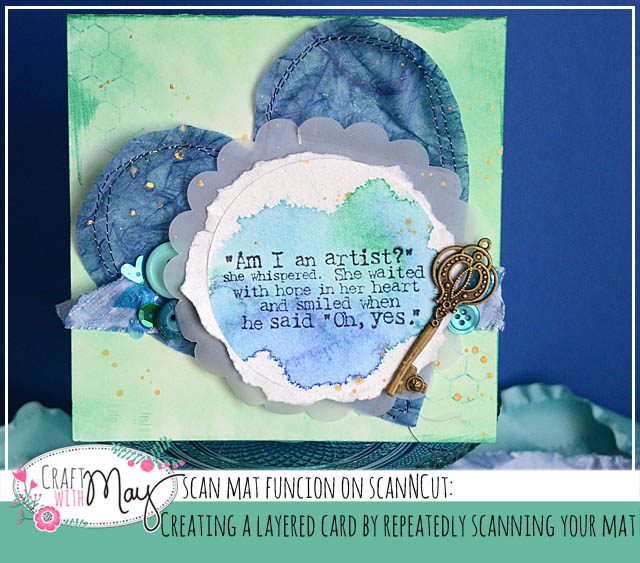
Once satisfied and it was mostly dry I began painting. Acrylic paint, sprays, inks – whatever! Just let each layer semi-dry so you don’t make mud and blot off excess as needed. The results? Incredible! Even better? Now I’ve got a super fun piece to create with – and cutting it out will be a breeze. Here is my tutorial video explaining my process.
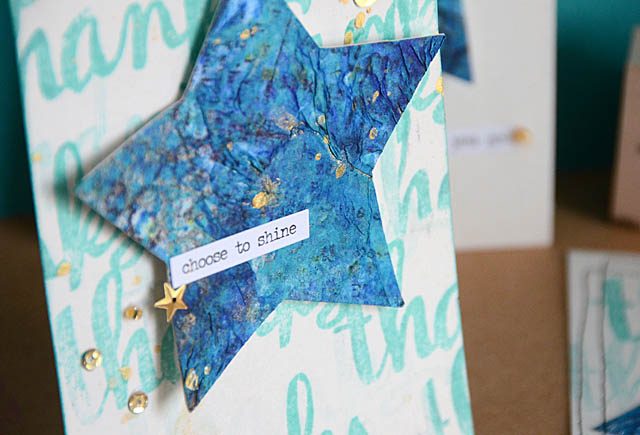
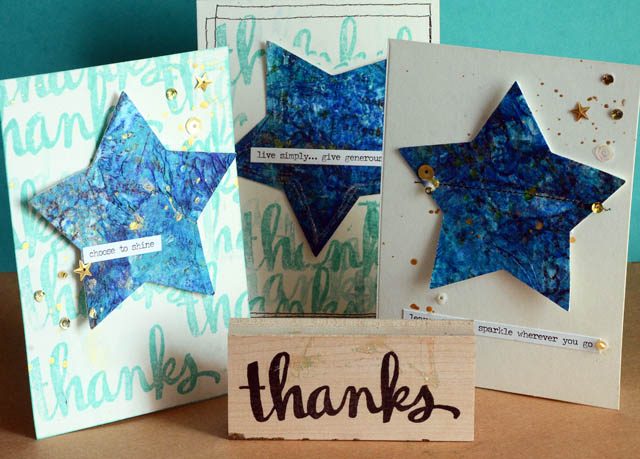
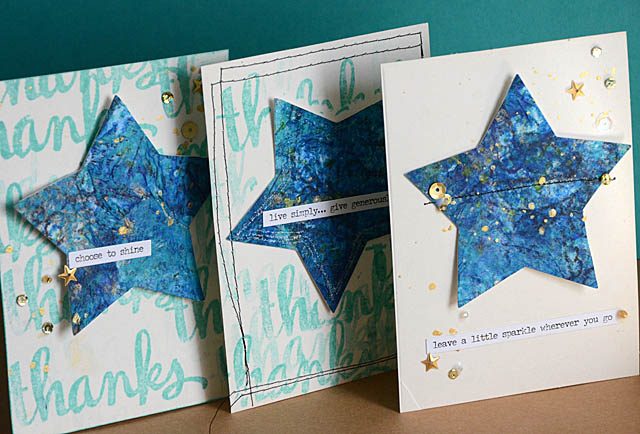
As I mentioned in the video I have a LOT of Thank You cards to write this week so having a basic idea to then alter/mix up but make the same basic card helped a lot. Here are three of the cards I made with my wild painted tissue.
I absolutely love the results – and I think this technique could be fantastic for anything from Christmas ornaments to home décor to art journaling. All inspired by simple elementary school tissue art too – who would have thought?
If you create with tissue I’d love to know how you use it and what you like to make. I’m always looking for new fun ideas. Thanks for checking out my project and remember stay tuned because each week I add new tutorials, videos, and crafty fun.
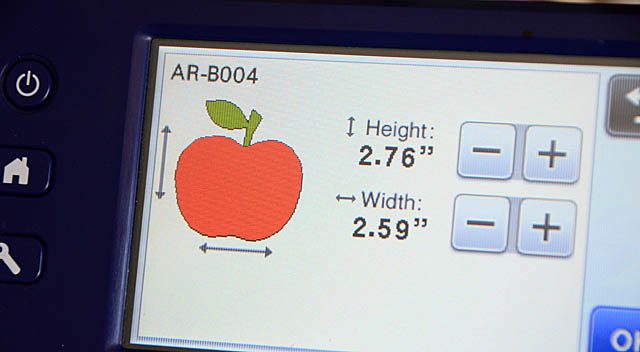
When it comes to the ScanNCut (I am a paid consultant for Brother, but all ideas and opinions are my own), one of my favorite things is to make little “picks” for cupcakes, to put into plants I gift, on gifts, atop pens, and more. Today I want to share a quick post about how to best do this.
First of all – I have a ScanNCut playlist where I post ALL of my SNC tutorial videos. You can find them here. I often suggest making extras and multiples of shapes – and one reason is there is always a project that can be made fabulous with the addition of a little paper!
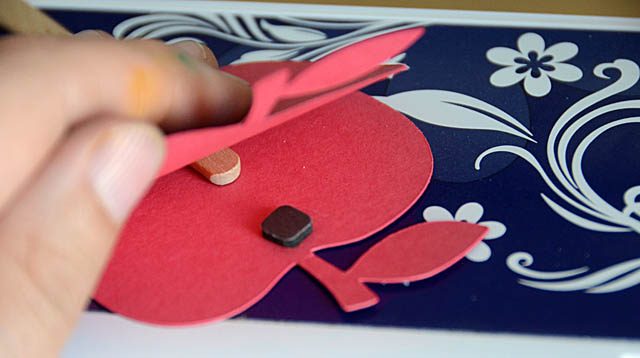
I like wood sticks for mounting the shapes on – I’ve used toothpicks, straws, and bigger wooden dowels as well. Basically you’ll want:
An appropriately sized “stick”
Two of the exact same sized shape
A bit of adhesive including foam adhesive if dimension is needed in spots to keep the shape even
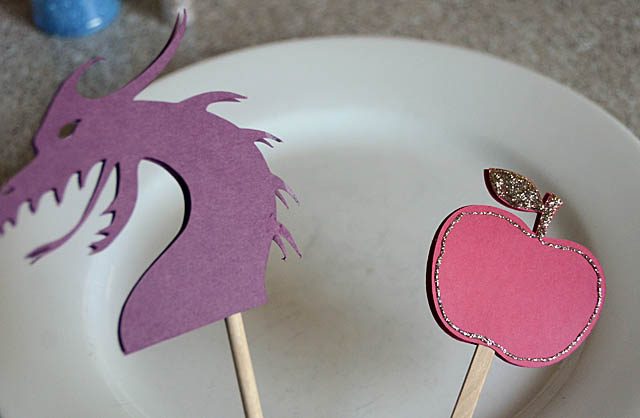
If you’re feeling fancy I have a few ideas for that as well:
Layer multiple shapes/sizes
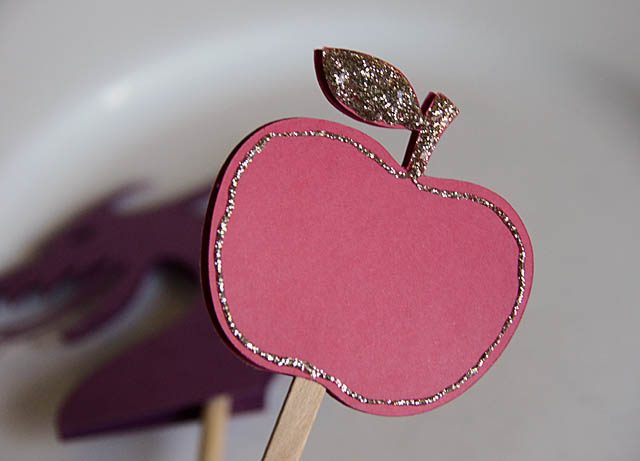
Add glitter glue or gold leafing
Accent with pen work or stitching
Add a monogram or name for personalization
In the case of these two here (seen in some fun milkshakes last week on my blog) the ability to make the images I needed at the exact size I needed in mere minutes was exactly why I do so love this machine. In my mind a tool that is simple to operate (a must for me) as well as one that helps me turn my wild ideas into reality quickly is most definitely a must.
Heading into “back to school” season and August around here means I have my crafting in full gear- and I’m excited to bring you a “craft to school” week beginning next Monday. So be sure you’re staying tuned and checking it out!
In the meantime – see if you can’t find some little shapes to play with making ordinary or plain things around the house just a bit more fun and a lot more crafty…