Where do you begin? {Big Project: Part 1}

Facing a big project can be paralyzing. It can also be frustrating and make you want to quit before you even begin. Some people take a “oh I’ll just start over here in this random spot and see where it leads” approach. Whether we’re talking about a scrapbook layout or a studio remodel this is a HUGE mistake. Why? One of a few things happen every time:

  1. You waste time or resources by forgetting what you’ve done and repeating or causing excess work.
  2. You lose track of supplies/materials/focus
  3. You lose interest or get overwhelmed and quit
  4. You stop and go make a proper plan so you can proceed in a way that works.

I’m trying really hard to gain momentum and make more of the ideas in my head become reality in 2017, so many of them simply had to sit and wait around last year.
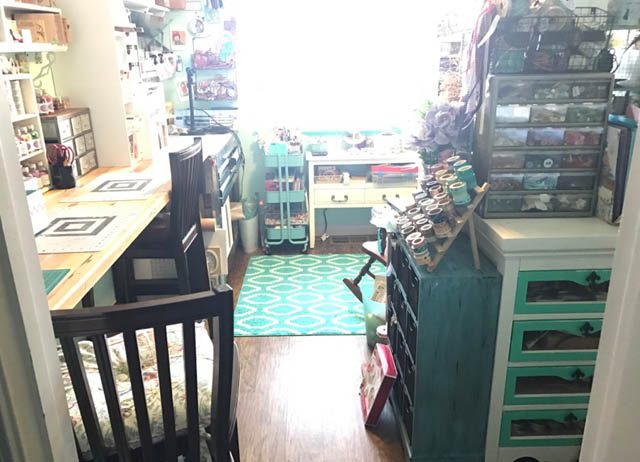
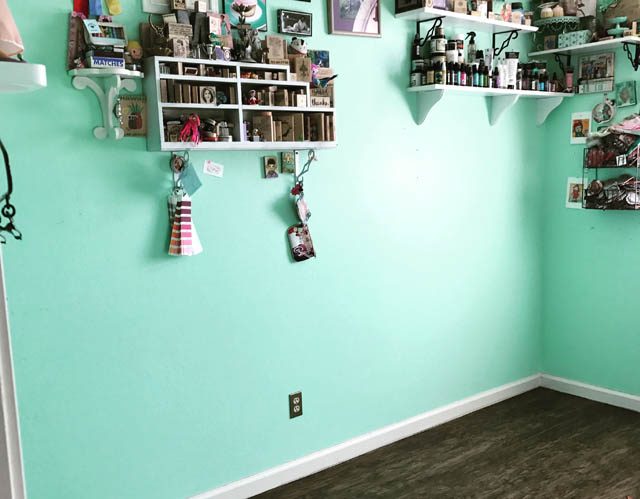
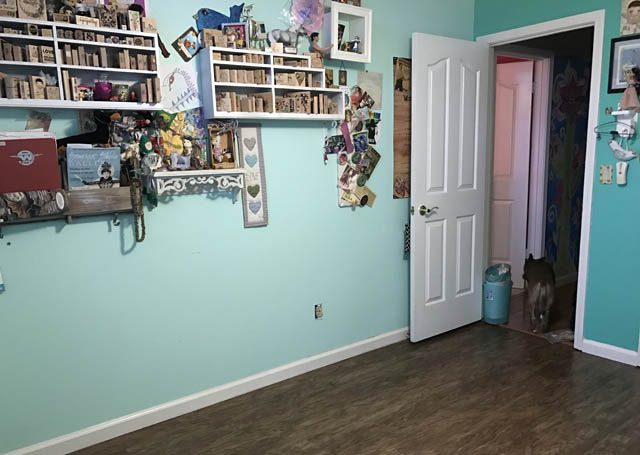
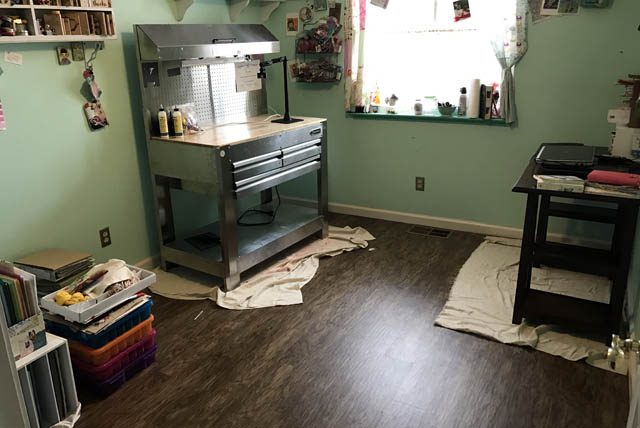
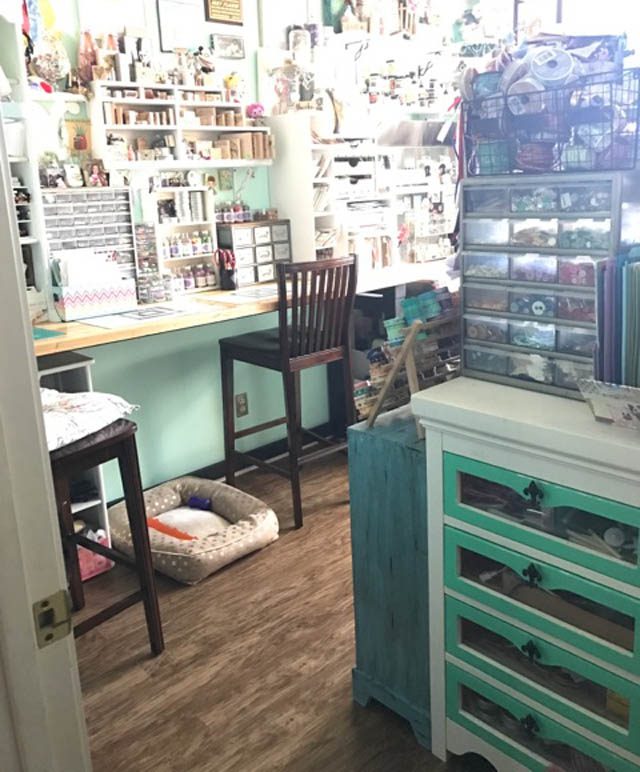
Now that the studio is back together (yay! see above photos) I’m ready to begin tackling other projects. Like getting back my scrapbooking momentum and making some of the funky beaded and mixed media projects that I keep putting off. In a future piece I will talk about shopping, keeping up, and other elements of taking on a big project. Today though, I just want to share some brainstorm “before that first step” thoughts.
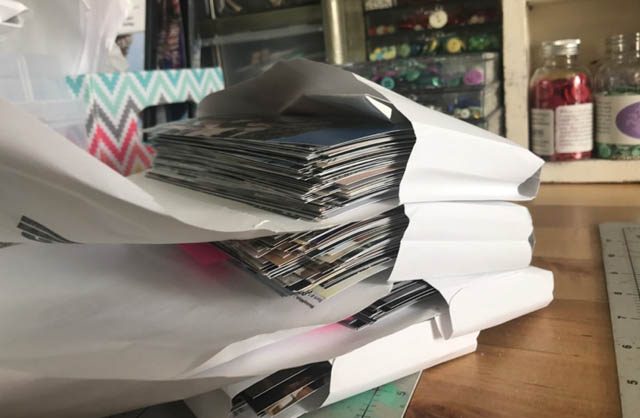
Above you see the photographs I just ordered. It took 4-5 hours to go through ALL the photos from vacation (and the last 5 months or so), weed them down, and order the prints. I don’t print one photo at a time or custom – I simply get my photos printed all 4×6 and work from there. I don’t really edit them either. I just enjoy the real shots that I get everyday or on a trip. Anyhow that was one big step I took before really making a scrapbook plan.  Sometimes there are early steps you can take because it’s a type of project you’ve done before and you know “first, —-” so doing so won’t mess up anything – in fact in my case it made things easier!
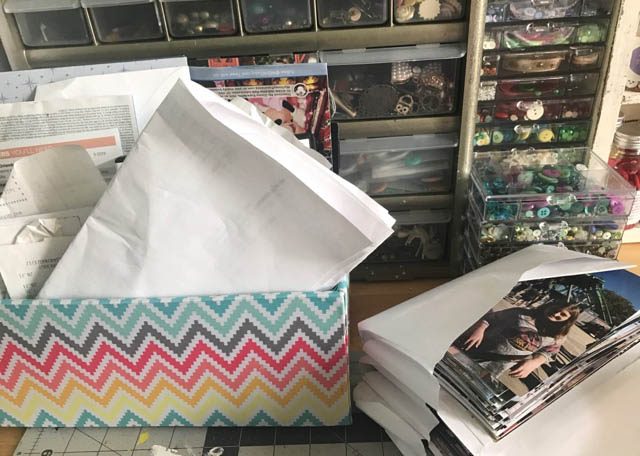
Here you can see I’ve got my bin full of ephemera and bits from a recent trip as well as allll those photos. I need to decide what I’m doing with scrapbooking and albums and all that. But first, I need to think more general and ask myself:

  • What is the project at hand? What is my end game, my goal?
  • Do I see pieces or chunks I can break this down into easily? Or is it more complicated?
  • How much time do I see giving to this project, and do I have a deadline?

And the most important factor: be realistic. Oh I’d love to throw a creative week long retreat taking over a massive hotel and inviting you all to play (for example) – but might it be more realistic to bring day retreats back to local shops first? Get that going? Probably. The same goes for any project. Yes it’d be nice to hand make 100 different Christmas cards but perhaps 1 design that allows for slight personalization and alteration is more realistic to actually see them mailed before next century.

I’m all for dreaming big – but sometimes that also includes breaking things down into bite-sized pieces that I can handle today. Or this week. In the case of my scrapbooking I need to make some calls on album size, how much time each week I want to commit to memory keeping (since I’ve fallen behind and want to at least get some stories captured before they’re lost), and a few other details.

Big ideas can be scary, overwhelming, and quite frankly seem impossible. But we can break them down from the dream of having all those photos organized to creating cards for all 300 friends and family this Easter. Whatever the big project, first really look at what it is going to require and consider your options for approaching it.
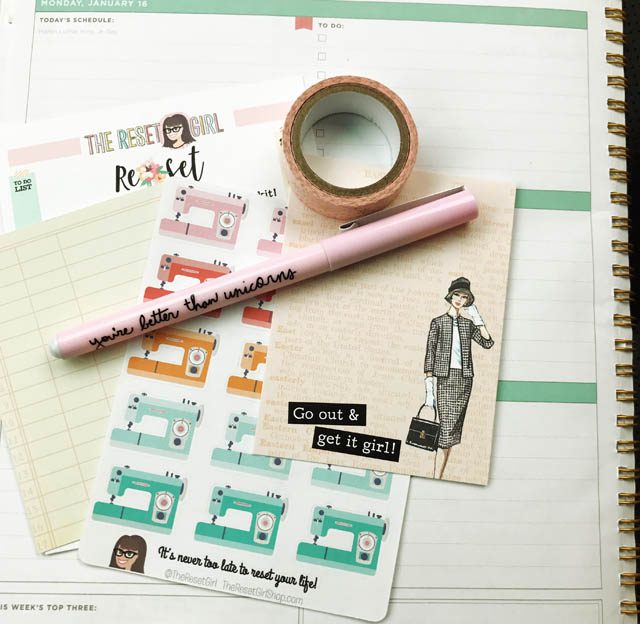
Me? I’m really working hard at writing down my thoughts more. This post? This post was 2 pages of notes about some specific projects I want to get at and need to think through. It now has me on my way and is a blog post too. Win all around? I say so. The #1 thing to remember with big goals and projects whether to eat better or exercise or take on a massive scrapbook project with over 1,000 photos: it’s gonna take a lot of small steps. hundreds maybe. That’s ok! We can handle the small stuff, right?

If you’ve got creative tricks or tips for plotting out big projects I would love to hear them! I’m always working to be a better me where more of these crafty ideas get out of my brain and into reality…
new products coming soon from 28 Lilac Lane!

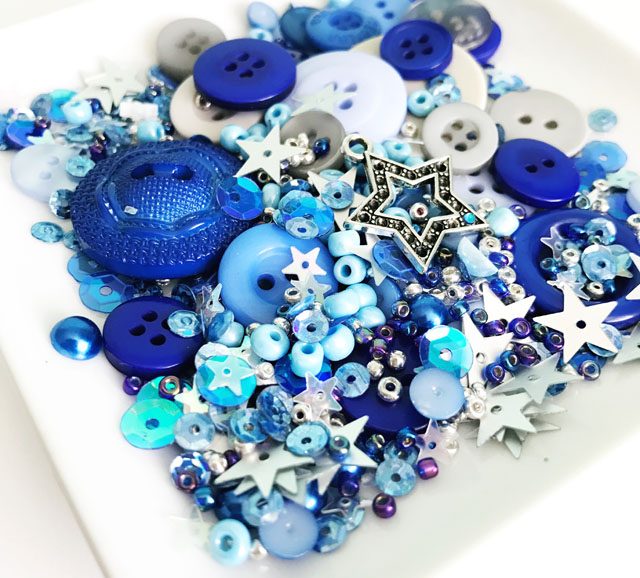
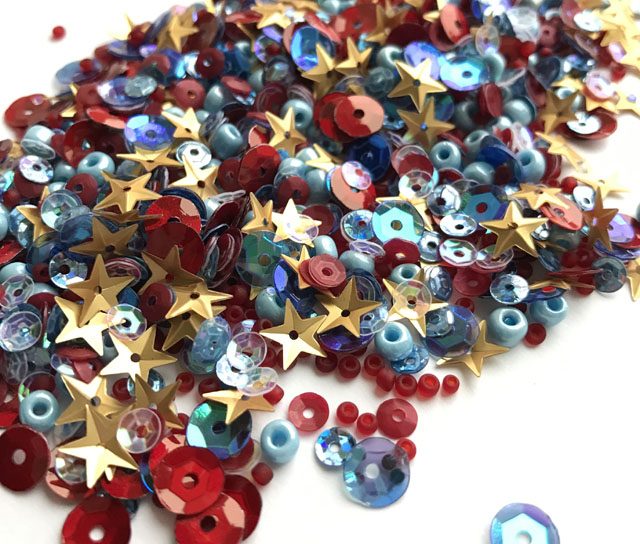
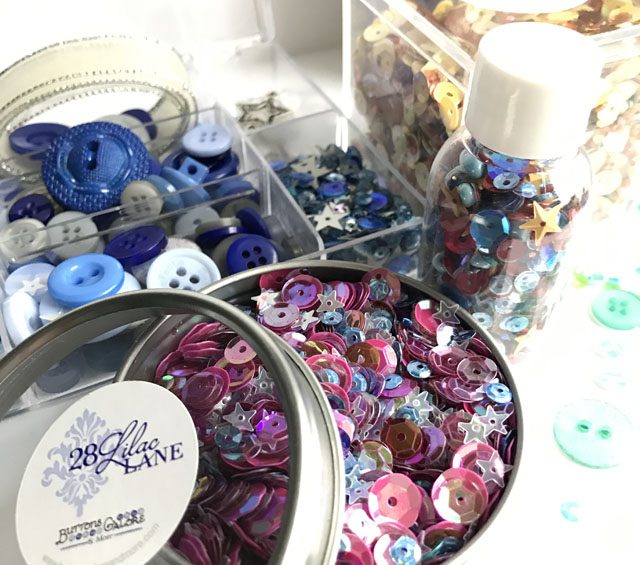
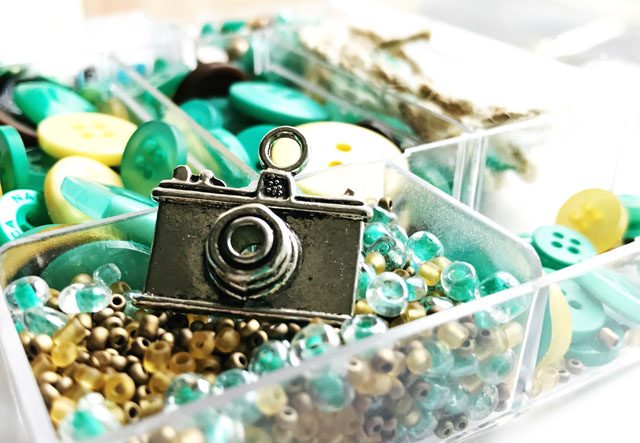
CHA the annual craft & hobby trade show is taking place in Phoenix this weekend. I won’t be attending this year – but you can bet there are a whole lot of new (42!) 28 Lilac Lane products being shown for the first time from kits to bottles to new mini bottles and cubes – so much fun!!! Now that my studio has been put back together (hopefully for good!) I will begin filming videos + project tutorials with these new beauties.

Products begin shipping to shops next month – and I’ll be sure to keep you posted when I spot them! Above are peeks at two of the new kits (stardust and let’s go) below is the stars & stripes button + sequin mix. Love this one!

Of course shaker cubes and new sequin mixes as well as new embellishment bottles are coming as well. Here’s one more peek…

If you want to peek at even more of the new mixes coming out you can see some on my Instagram (link). For now I’m back into the studio to get making and creating!!

ScanNCut vs the sketchy stamp

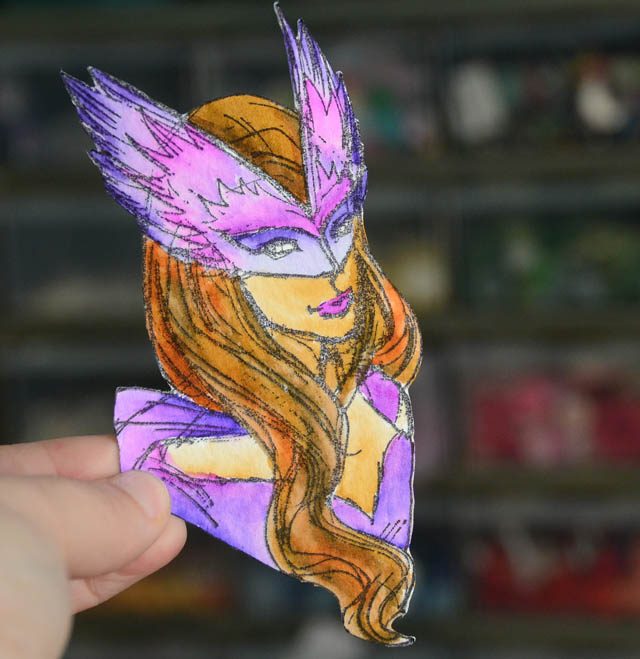
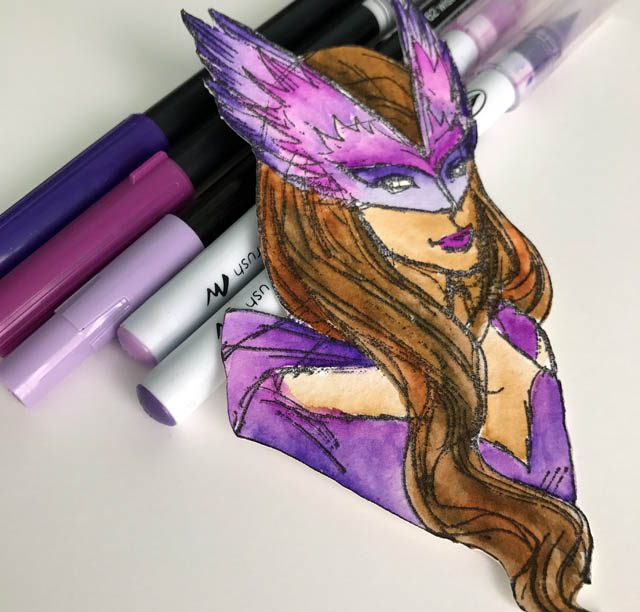
With the studio pulled all apart I’m not feeling like much of a crafty super hero – but that’s not going to stop me! You see with a new sketchy stamp set, a black waterproof pen, and my ScanNCut I can still have plenty of fun!

note that I am a paid consultant for Brother, but all ideas & opinions here are my own. ScanNCut is a machine I adore and love sharing ideas with you here as well as on the Brother site!

Above you see my final colored stamp. Can you tell where my pen work was vs stamp? Is it obvious? hopefully not to you – I have to really stare close and think about it because when doing a zero outline it doesn’t tend to show up as different for me.

Here is a link to my YouTube video showing the process of how to do this to your ‘sketchy’ stamps.

It works best on images with some kind of definable outline of course, but I encourage you to go ahead and play! If not with cutting out stamps, then with coloring and mixing color mediums. My one tip if you’re going to try this technique of altering your stamp: use a pen that is compatible with whatever color mediums you’re going to use. if watercolor pens like mine, then you’ll want a permanent waterproof ink. If using alcohol markers you’ll need something different. Know those mediums!

Now I’m off to try and embrace my wonder woman side and get my studio put back together!

2017: Reset time.

Well 2017 has begun, and I’m ready for a reset! To make a long story short, some of the boards in my floor (studio) began separating and the company that installed it needed to come out and fix it. So (this was about 2 months ago) I scheduled it for 1/2/07 thinking it would be a great time! I would have kids off on break and emptying the entire space wouldn’t be so hard. That part I was right about. It ONLY took 4 days to move the studio out. That was the only part that was smooth…

You see once empty and ready I got a phone call. Many of them actually. The installers showed up and declared that they couldn’t fix the floor with the material they had. They had gotten faulty/damaged boards they deemed unusable. The company had discontinued my floor the week before and none was left, a new floor would have to be installed and I’d have to go through the process of picking it. On and on we go for a week. Good news: a box of boards of my flooring was found and shipped out, and next week the flooring is scheduled to be fixed as long as weather didn’t delay the materials, etc.

Mad doesn’t begin to describe my mental state, but also a bit of helplessness and a side of “why do I even try my best?! WHY do I bother?!”

I won’t bore you with more details – but I’ve gotten through the past 10 days and even managed to create 3 projects… personal best? No. But it’s given me time I wouldn’t have otherwise taken to evaluate what I do and don’t use. What I do and don’t want to spend my time on.  If all goes well, it’ll be done and everything moved out of my room, the hallway, and the kids room and back where it all belongs by Tuesday or so.

I doo have a sort of temporary set up with a few items that I moved back in for the sake of sanity and just way too much being crammed in the hallway.  A slow start? Yes. An often cranky and frustrating one? yes. One filled with sickness and irritation? Yep.

But there are good things happening too, and I remind myself that NOT fixing the cracks in the floor now would result in big bad later. Sometimes you’ve just got to pause and reset things properly. I am evaluating creative process, dreaming up new and wild ideas, and focusing in on what I can do to strip and reset a lot of my process, time management, and creativity that suffered in 2016.

I’m still annoyed (and will continued to be so until it’s fixed!) with this whole situation and fact that it needs to be done at all. But hey – it happens. And now you know why things have been a bit on the quiet side around here!

Card making 1-2-3

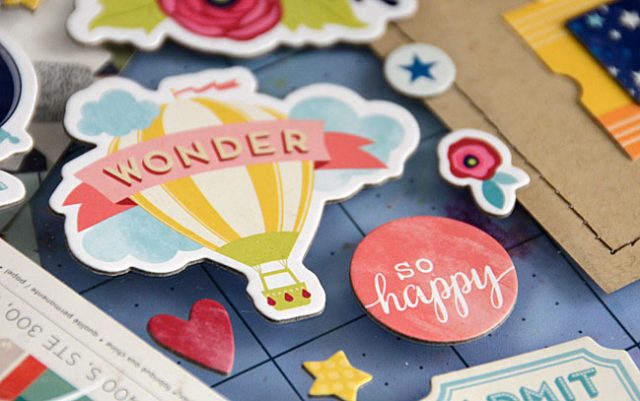
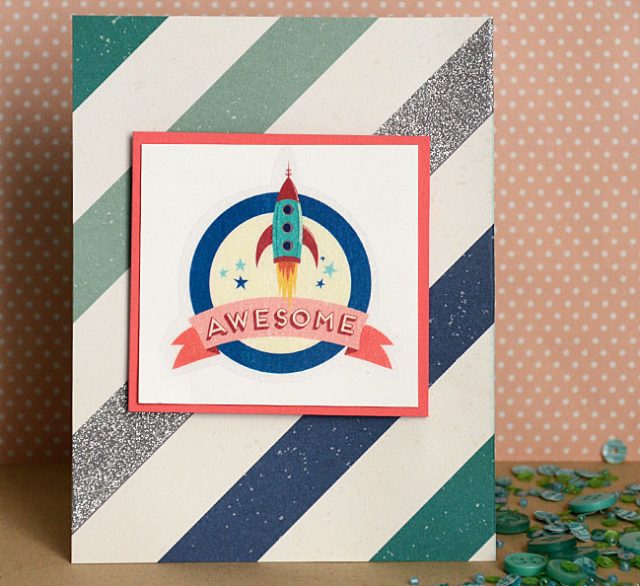
Sometimes I have extra stickers or scraps of paper that I don’t want to put away or store. What to do? Make a few cards! You can keep it simple or amp it up, and today I’m here to share a trio of ideas to get your creative mojo started! My focus was to create some birthday cards great for anyone boy or girl, baby or adult.

Option #1 works best for a sticker or small journaling card or die cut that you want to feature on its own. Mount onto cardstock, then a contrasting cardstock, and center onto a patterned paper as you see here.

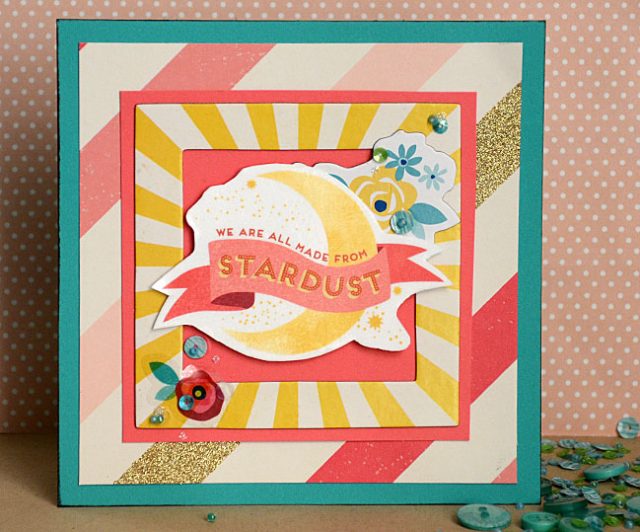
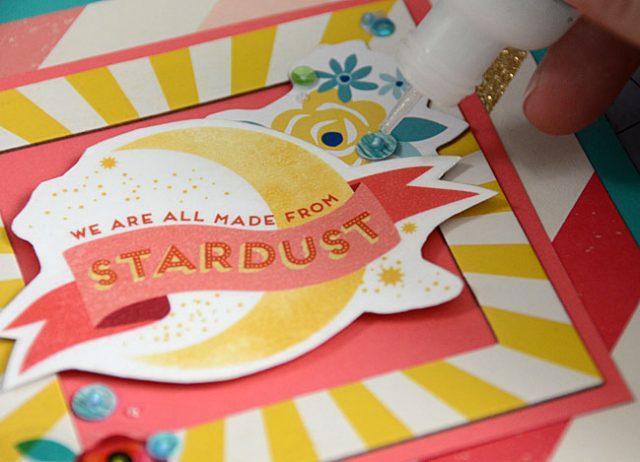
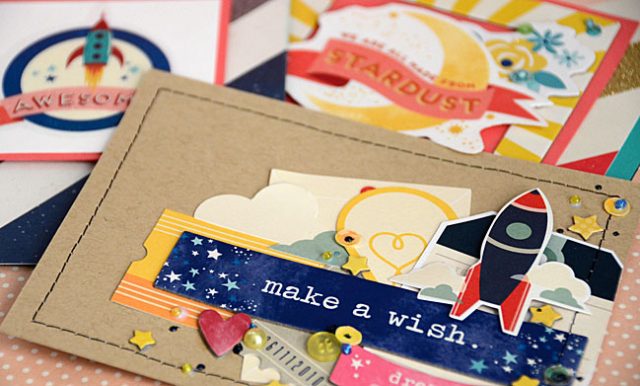
Want to amp it up just a bit? Take a look around for elements that you can cluster together. Here I took a chipboard frame, some small stickers, and of course that big beautiful stardust sticker and placed them together on some coral cardstock.

This card needed a few added layers for pop and contrast – and I just love how those few extra steps (including adding glitter glue) brought it together.

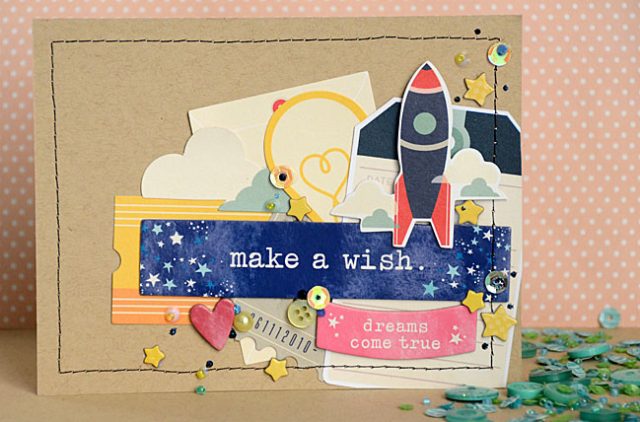
Ready to take it to the next level? Working off the same basic principle, but going a bit more free form we have the third card. This time I stitched around the edges to create a layer/frame.

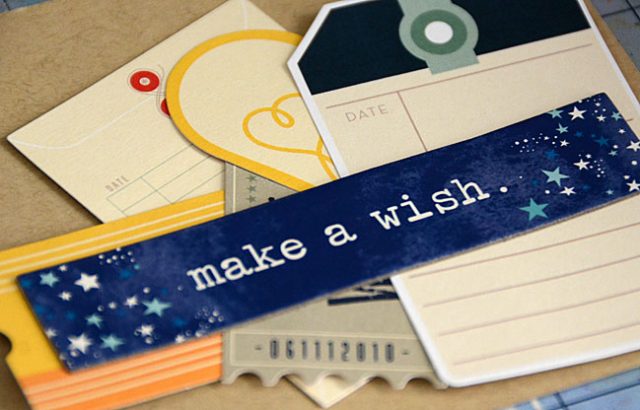
I also took the most fantastic chipboard ‘make a wish’ and used it to sort out what die cuts would look nice clustered underneath.

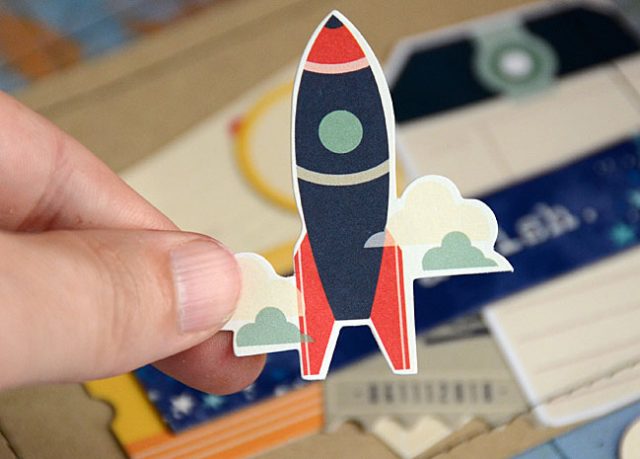
Remember that you want a variety of colors and sizes. Once satisfied, I added a robot on foam adhesive to add a pop of fun. To add more detail I added some chipboard stars, sequins, and of course more glitter glue.

I think that glitter glue is my favorite embellishment for all projects, adding just a bit of sparkle and shine! I hope you’ve enjoyed walking through these three cards and seeing how with a few adjustments and additions can take a project from clean and simple to a bit funky.

I used a mix of Shimelle papers/stickers + 28 Lilac Lane embellishments for these cards. Want to find some of your own? (Affiliate links used) –  I’d recommend scrapbook.com for both. and for more card ideas! I’ve got two free card making classes there for you to check out as well.

Happy Crafting!