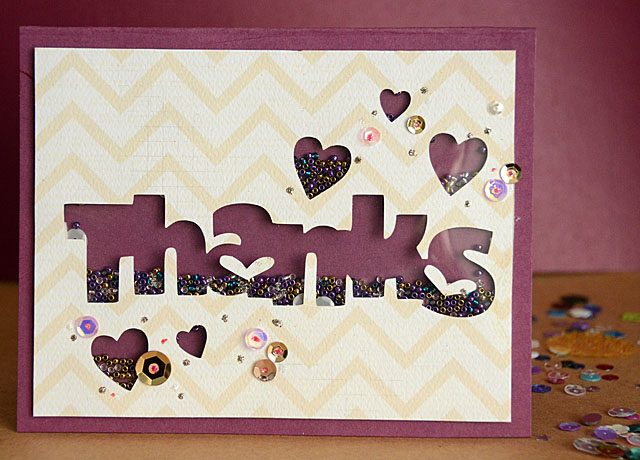
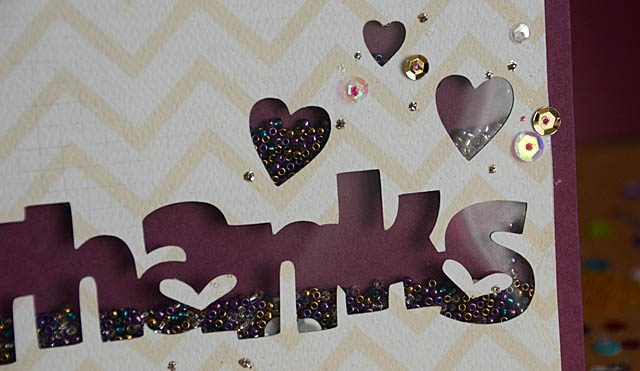
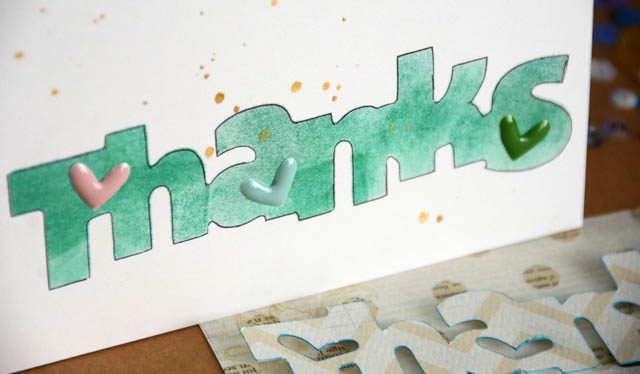
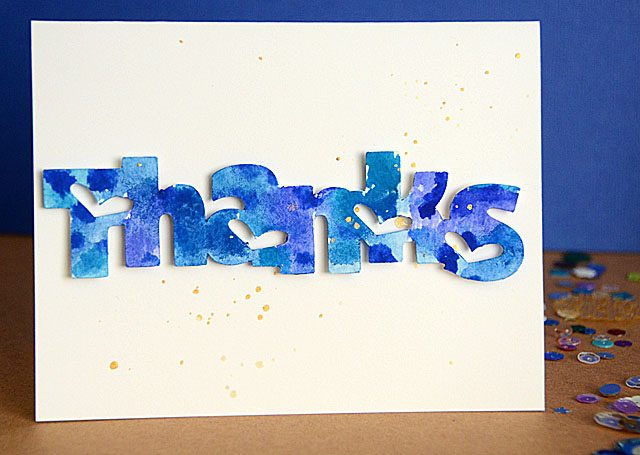
Thanks – one design four cards

’tis the season… for thank you cards!

I decided to test out one design built into my ScanNCut (note, as always that I’m a paid consultant for Brother but all ideas & opinions are my own) and see what I came up with.

The answer? Very different looks – and none of them Valentine colors as I’d originally been inspired to use! I love challenging myself to do use the same supply in multiple ways – and I had a lot of fun with this.

Here is a link to my YouTube video tutorial.

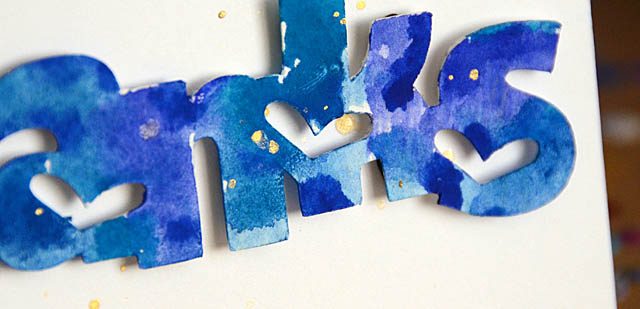
I had so much fun testing things from making a shaker card to applying ink, layering with foam adhesive to adding details like the epoxy hearts that I think I’ll have to try again in the future to sit down with one design (stamp, cut file, etc) and see what all I can come up with!

I hope you’re having a wonderful day – and wish you a very happy New Year!

Merry Christmas and very happy holidays to you!

Santa Bandit (and all the rest of us here in the Flaum house) wish you a very Merry Christmas! I’ll be taking a few days off to fully embrace time with the girls, visiting the fire house, delivering some cookies, and of course playing with the pups including this little guy – his first Christmas! It’s going to be a quiet and low-stress time (I hope!) and going to make the most of a different sort of quiet holiday celebration.

Wishing you all the best whether you’ll be enjoying some wild hoopla or keeping it quiet with pajama days and working on puzzles. Whatever shape your holidays may take – I truly hope this weekend is merry & bright for you.

shaking up giftwrap with my ScanNCut

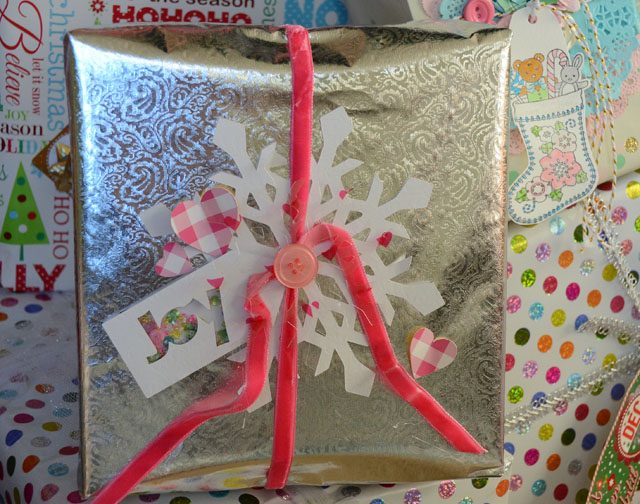
When it comes to giftwrap, I try to dress up at least a few packages each year. Today I’ve got a video (click here to see it on YouTube) to share as well.

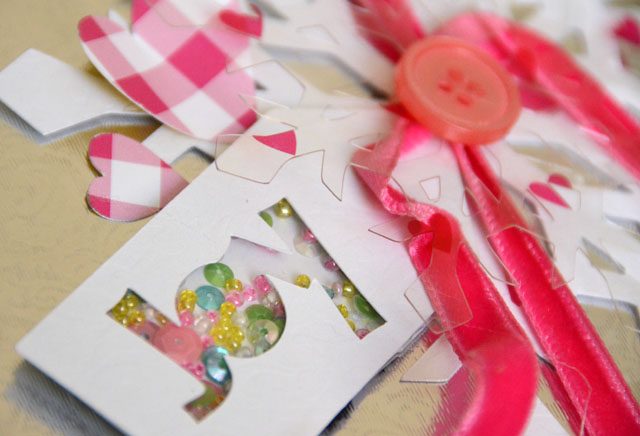
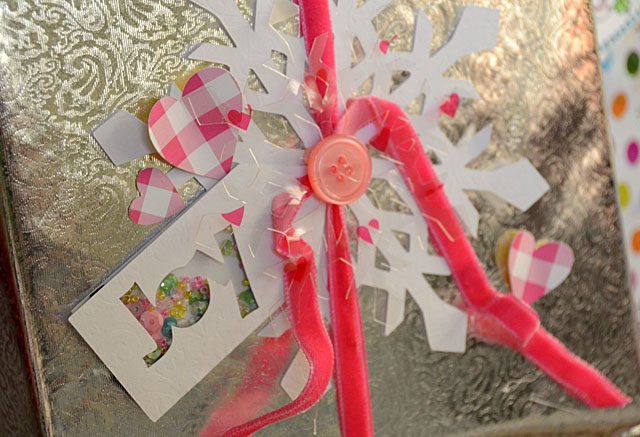
I love the shaker tag on this one – so fun! I also really had a good time mixing it up with pink & white on silver. This is toy for Rebecca – she is going to flip! Since she’ll know what it is if she sees her name on it I intentionally didn’t put a name.

The clear snowflake is hard to see in photos, but it adds so much. Vellum and acetate are great additions to projects like this because they add texture and a subtle detail that is simply wonderful.

disclaimer: I am a paid consultant for Brother, however all ideas & opinions are my own. The ScanNCut makes my crafting life so much better all the time – so I love sharing my creations with you here!

Friday 12/16 Roundup!

A quick post today – sorry for my silence this week! Trying to catch back up (more on that in a moment). I have two guest posts up, if you’d like to check out some holiday crafting ideas today.

I’ve got a gift card (card) tutorial at Foiled Fox blog here.

I’ve got a trio of projects and a video here at Ellen Hutson here.

Using 28 Lilac Lane embellishments and having a ball! In fact, I just put in some more finishing touches on some new kits coming (CHA 2017)… stay tuned! So where has my December gone? Well the family and I took off for a wild good time in Florida earlier this month…
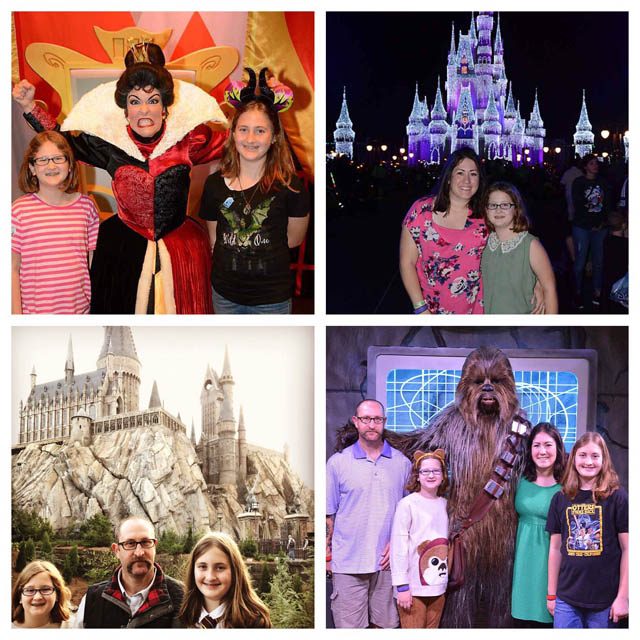
If you want to read about the zany antics and good food – you can check out my family vacation Instagram account here.  I created that account for two reasons – one to share but secondly to create a “documenting” system I’ve not tried before in past for reference when I begin scrapbooking the trip. You know me – always the crafter! I tried a few (some successful some not) ideas for memory keeping on the road and will report back soon.

But first, I’ve got holiday shopping to do! and baking! We’re keeping it simple and minimal hoopla here, but I didn’t do any of the Santa stuff or gifts for the girls prior to the trip instead giving them more freedom to spend during trip (which they didn’t – go figure!!) so I’ll be doing that first, then reporting in.

But before I go, something sweet! I got some amazing cookies in the mail (always a surprise!) and today Sandy Allnock has a how-to video up on her blog.
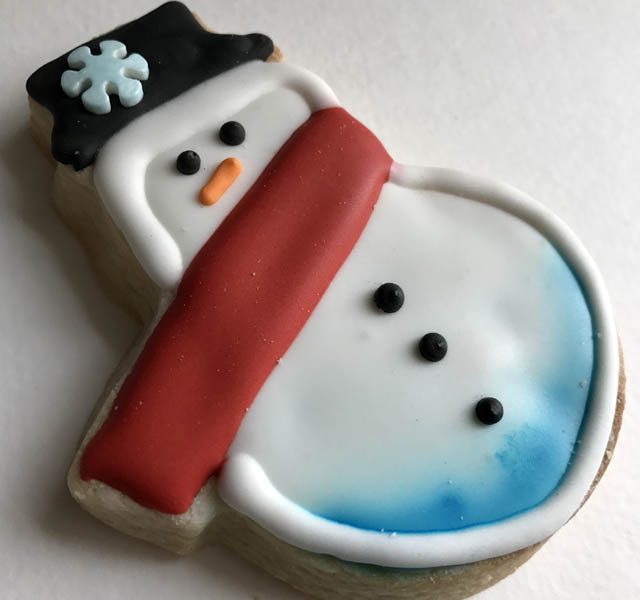
I do have some last minute holiday (and New Year’s fun!) posts coming for you next week – so stay tuned! I hope you’re having a very merry and not too stressful December…
5 tips for a group photo

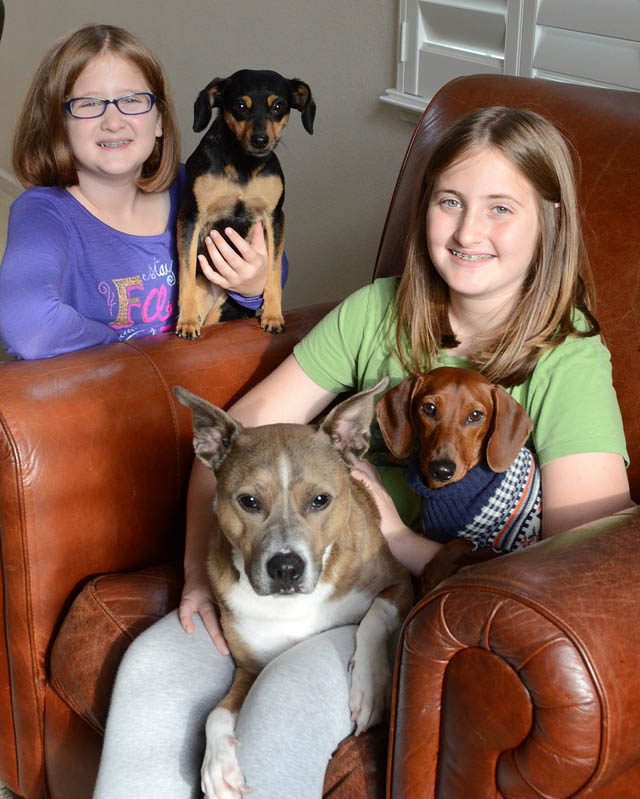
I am no professional photographer – and I don’t claim to be. But I do love a good picture. Today I want to share my top 5 tips for getting a good group photo. Kids, dogs, cranky adults – whomever!

mayf_blog_family2016

  1. Set up your spot and take some test photos BEFORE you call people in or gather the hounds. This is vital because once everyone is in? You’ve got a minute or two before revolts begin to happen. Take your time working out lighting, opening more windows, adjusting for shadows, etc. before you get your lovely models called in.
  2. Be quick. Snap a lot of photos while cheerily reminding folks where to look. Just nonstop keep snapping away to increase your odds. Do NOT snap a photo. Look and see how it turned out. Snap a photo… Nope!! Go for bulk!
  3. Keep the setting simple. In my case I just went for the chair that is in front of a pretty blank wall. Bushes, trees, Christmas tree… pick a setting that lets your subjects shine.
  4. Have some food to shake/wiggle/crinkle. Meat is what I usually use for the dogs as they can smell it. But a bag of candy and promise of treats/cookies works just as well – and bonus the kids know what it means too.
  5. Embrace reality. Maybe one kid just always has an angry face or grandma looks like she is sucking on a lemon. So? Let it be. Don’t expect perfection from your crew, just go for capturing a great moment at that time. It’s ok if parts are a bit off in color or blurry.

Above all, don’t expect yourself to suddenly become a master family photographer without training. These 5 rules of mine plus remembering to watch where the lighting is best is just about all I do. Know what? I find a photo from every such session with friends, dogs, kids, and family that I like. Because it’s all about capturing the moment for me, and having a photo I can cherish down the road.

Do you have tips or suggestions to share? Ideas for creative backdrops? Feel free to share with us!