I scream for… water color!

Note: affiliate links are used in this post, so if used there is no cost to you but a small % of any purchases does come back to support this blog. So thank you in advance!

I am all for trying the new. Often, testing a technique or idea will lead to something unexpected or take you down a new idea road that has wonderful possibilities. I also love being able to learn in a fearless way. What do I mean by that? I mean being able to create without worry of messing up or ruining anything. Today, I want to share with you a quick peek at an experiment gone right.

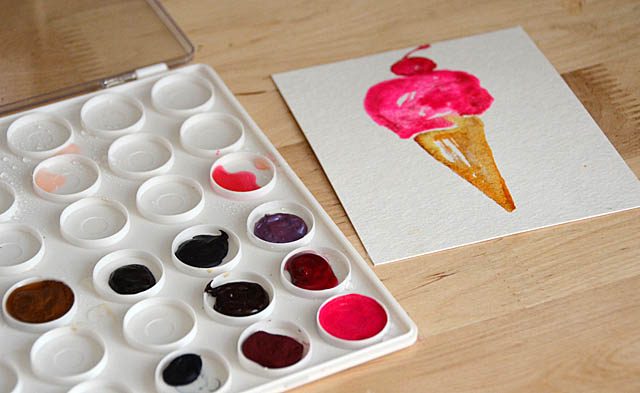
This little ice cream cone may seem super basic, unimpressive even. But you see, I don’t use watercolor to draw! Not outside a basic shape like a heart or a circle that is. Here is a video on YouTube if you’d like to watch me do this creative experiment. So what inspired it? Scrapbook.com has a variety of online classes (free!) and last weekend I sat down and watched the one on watercolor basics. This lesson intrigued and inspired me the most so I decided to give it a shot, and for a first time I don’t think it is too shabby!

I used Daniel Smith watercolors (here’s a link) – I have a few of those colors as well as a few of several other companies. I like variety in my stash. And I look forward to branching into playing with more colors, as well as other new ideas. Ready to be inspired? Here’s a direct link to the class – like I said you can sign up free!

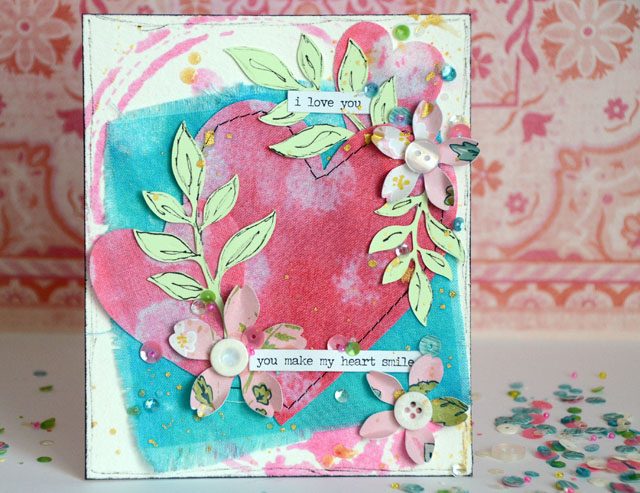
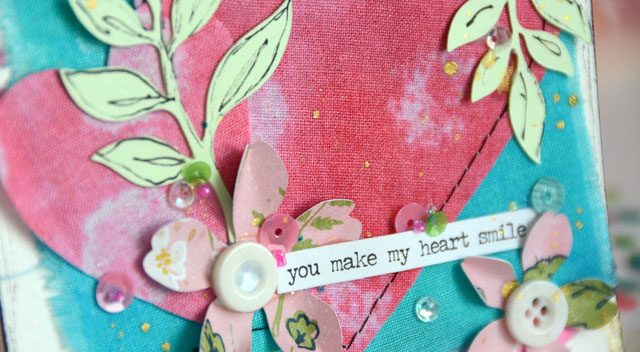
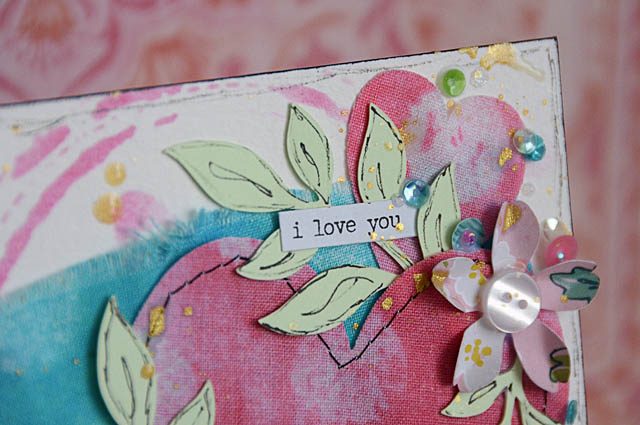
ScanNCut Valentine with fabric hearts

Today I’m creating a mixed media Valentine inspired by the newest ScanNCut ambassador Rebekah Meier! (reminder that I am a paid consultant and fellow SNC ambassador as well, and that all ideas and opinions are my own). I am excited to see what she does with the ScanNCut, and can’t wait to see her projects. Thinking about her I realized I still have some of her fabric and so I decided to film a how-to on fabric basics + the ScanNCut.

The real trick? Prep your fabric so it wants to hold still and ‘behave’ for the blade. Here’s a link to my YouTube tutorial.  

While none of these products is specifically Valentine’s themed, with the holiday sneaking right up I decided to run with that as my inspiration and I just love the results! To remind you of a few tips when working on a project like this with fabric:

  • Don’t be afraid to mix & match your adhesives! Dry, wet, stitching – adhere the fabrics however works!
  • Remember your contrast! All the bright color and white on this? Well my black scratchy pen work was the perfect counter part!
  • Remember fabric is more “wiggly” than paper, so keep that in mind and use the property to your advantage when possible, prepare for it to work when not (like the stabilizer on the back I used before cutting)

I hope you enjoyed this fun little Valentine project – what are you crafting these days? I’ll have a few more coming up over the next week.

ScanNCut: colorful possibilities

Heading into the new year, I want to push my creative limits more. Try new ideas and if my recent posts on ‘getting started’ with projects have shown you anything about me it should be that I am one to really start small. Test ideas in theory. See where things lead. Sometimes these techniques and smaller bits add up to BIG ideas, after all!

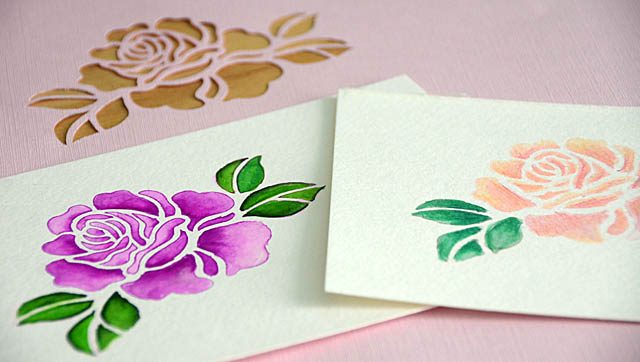
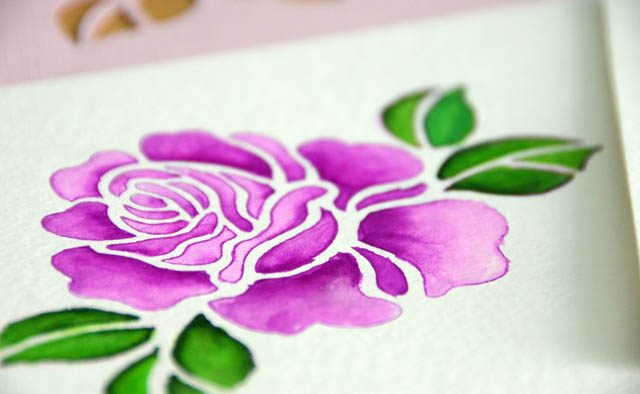
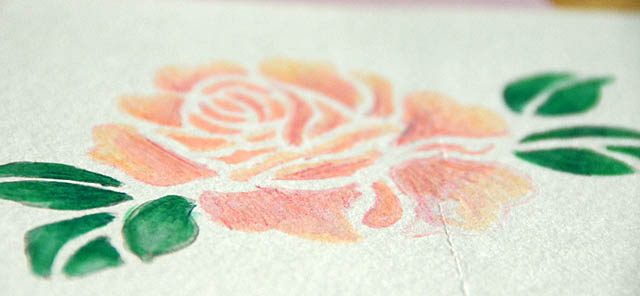
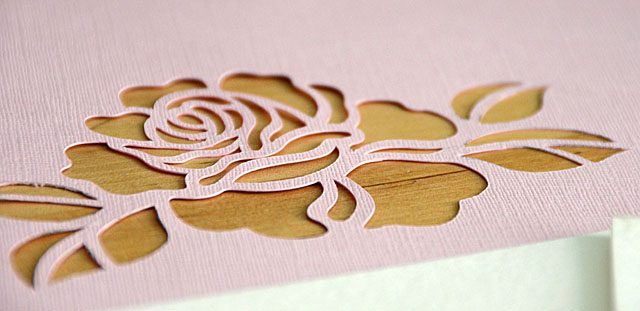
Today I’m sharing a test from my ScanNCut machine (disclaimer as always that I am a paid consultant, however all ideas and opinions are always and forever my own!) I wanted to play a bit with watercolor, stencils, and well just see where my ideas took me. So I first began by making a stencil and then decided to play with the universal pen holder tool.

I found a lot of really great things out, and I love that from one (built-in on some models) design I could achieve a lot of different looks and that there were a lot of different ways to get the look as well. I also realized that if I left the backing on a foam adhesive strip it turned my too-skinny watercolor pencil into the perfect fit for the pen holder AND it came off with no fuss too. Though, I found pencil to be a less than desirable choice for more detailed drawings since the tip wears down quickly and I had to stop and adjust the pencil several times to compensate vs a pen which will remain fluid throughout.

I also discovered that I like watercolor pen + pencil together! This is something that I haven’t played with in so very long, and I was thrilled to do so. To see a video of my tests, here is a link to my YouTube video.

The wonderful thing about making time for experiments and tests like this is that you can learn and store the knowledge for future use. So when you are working on a project and think to yourself that you’d like to do something with a specific look you’ve got the skills! The universal pen tool for the ScanNCut is one of the most under used tools I’ve got, and I really want to explore using it more this year for sure.

Have a wonderful (crafty) weekend!

New craft? Start here.

I have some new creative ideas that require some new supplies, but with any craft you’ve got to be careful! It is so easy to dive into scrapbooking, card making, or in my case beading and take the initial shopping way too far. Today I want to talk to you about those first ‘getting started’ steps when you’re looking to expand your craft supplies.

Start Here: Know what you’ve got

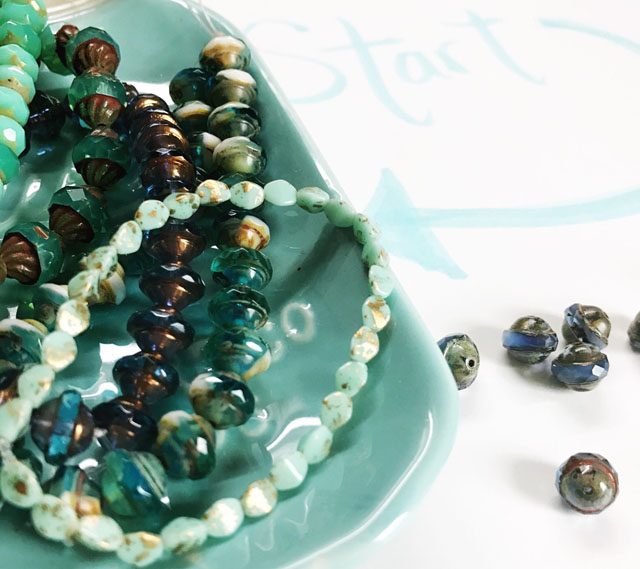
The first place to begin is to take a look at what you do have that will be useful in your new endeavors. For example, if beginning a new scrapbook album I check my stash of page protectors, cardstock, letter stickers, and more. In my particular situation I’m looking to see what charms and beads I already have both in my own line (28 Lilac Lane) and general stash as well.
Step 2: Write it down

Don’t start shopping yet! First take a few minutes to jot sketches, ideas, and otherwise brainstorm those wild ideas. In my particular case I am wanting to add some beads to some planner and backpack charms, make a few bracelets as gifts, and take on a few mixed media projects. Knowing what I am aiming to make will help tremendously before I shop!
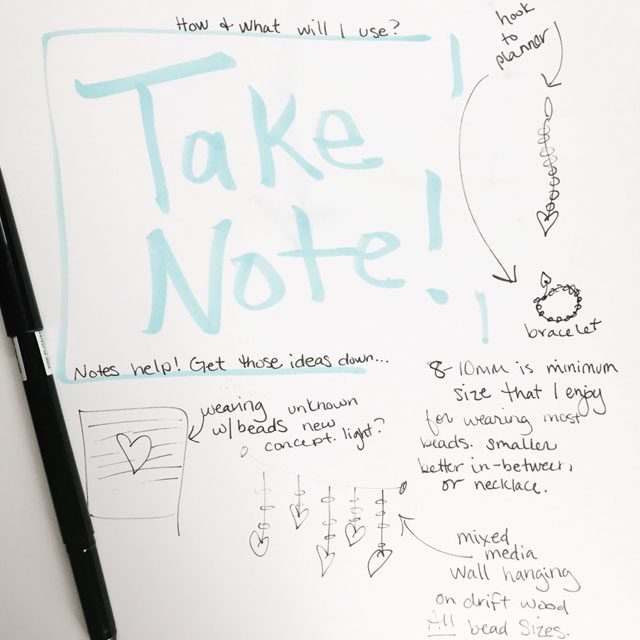
You’ll want to think about quantities you want, items that would be useful, and of course the ideas that are inspiring this creative growth. Considering all of this before you head out with credit card in hand will always save money and avoid some regrettable purchases.
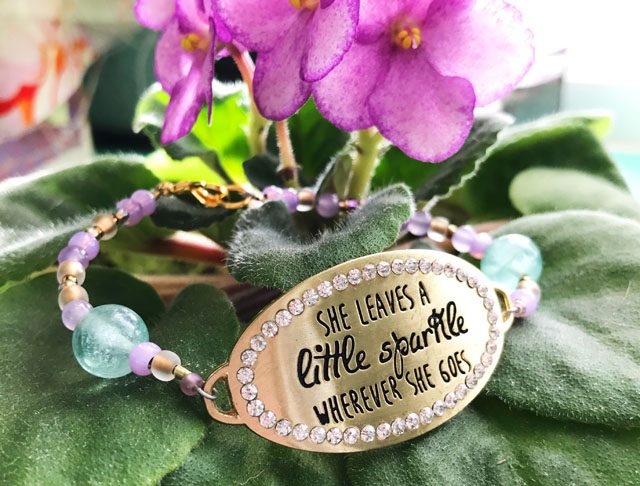
With a more clear vision ready to create and with ideas about what I need (and will use) it’s time to go shopping! A few tips:

  • Have a “must have” list of any items that you can’t create without. In my case this included wire and crimping beads.
  • Have “wish list” or general items you’re seeking including sizes and dimensions if applicable
  • Don’t forget colors! You’ll want to know what colors will work well for you or that you intend to create with in general so you can be more focused in your shopping.

Need vs Want:

Now while shopping there’s a big difference between need and want. Sometimes the want category can be good! Sometims it’ll be items you didn’t realize you always wanted and you’ll turn them into products you can’t wait to use! Sometimes they’re items you just have a case of the “heart eyes” over and you won’t ever use them. It’s an important difference.
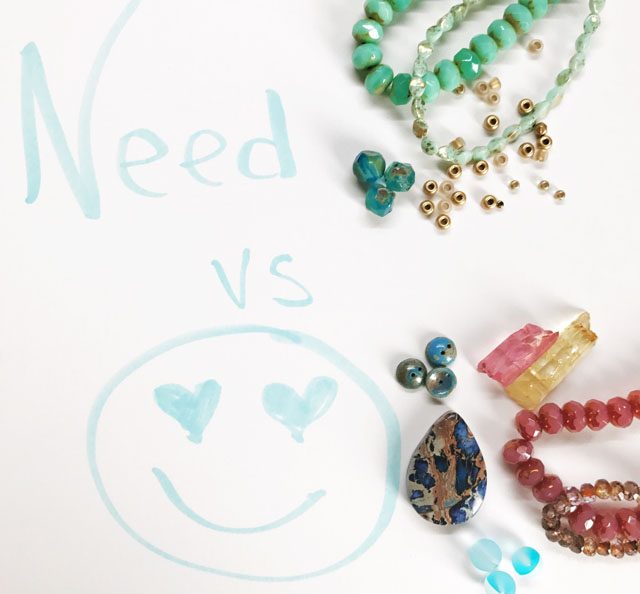
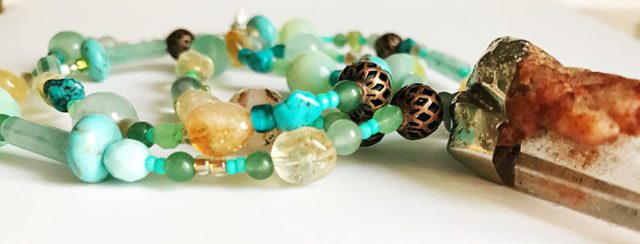
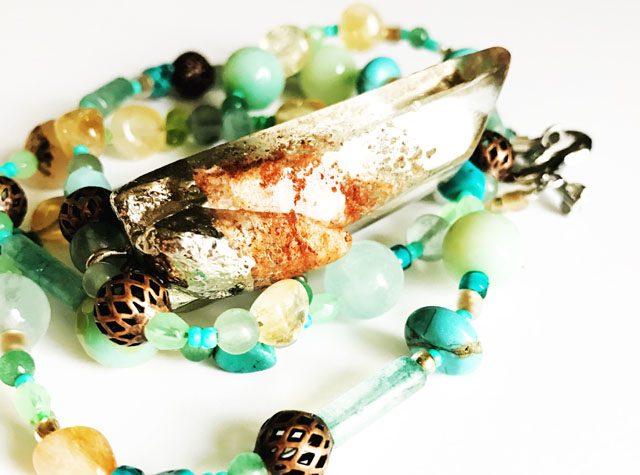
Above you can see my need vs want pile from recent shopping. I didn’t do too badly! I am a big believer in working from what I have on hand, so a few extras isn’t a bad idea in this case. I took one of the “want!” pieces from my trip to the local bead shop and turned it into my first necklace. (see below) So remember as long as you get stuff used and enjoy the creative time it is all good!
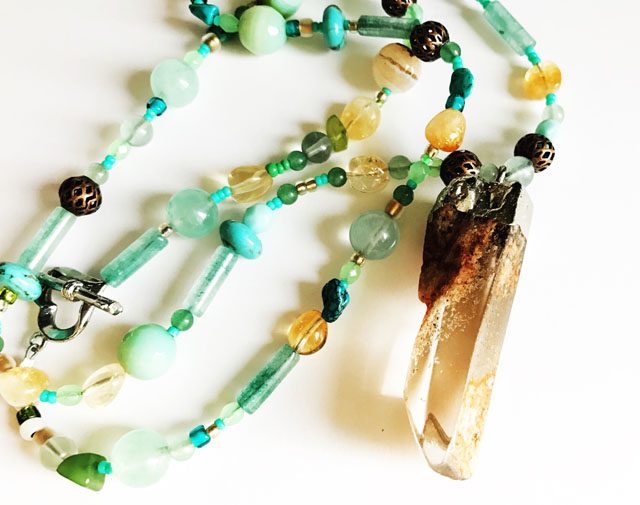
Easy to start.

The final piece of advice I want to leave you with today is to begin easy. In my case, I learned a very basic (no tools I didn’t already own required – yay!) technique for closing up bead strands which is to use a crimp bead. All it required was whatever closure I wanted + the beads + the wire which I needed anyhow as I didn’t have any stringing wire anymore. So my investment was all of about $15 to get enough stuff to make a dozen or more pieces. One mistake I see get made a lot (and am guilty of myself!) is jumping in too big, investing too deep, then realizing you don’t want, need, or use that tool.
I have just finished filming my first video making a bracelet with one of my 28 Lilac Lane kits (plus a few needed add-ons) and I will be posting that next week to share with you exactly what I’m talking about. In the mean time whether you’re considering a new kind of craft or perhaps a specific large scale project I hope I’ve inspired you to slow down and explore your ideas before leaping into action. Especially if it involves shopping for new supplies.

From an entirely new approach to my scrapbooking to jotting my ideas down more, adding some beaded elements to my mixed media projects (the end goal of my bead purchases!) to utilizing my stamps better I’ve really been working on having a better creative work flow. Not letting so many ideas disappear or never be realized because I don’t know how to do something or haven’t plotted out the details.

Art Supplies to-go tote with ScanNCut

As you know if you regularly read my blog, I do work with Brother as a paid consultant. (but all ideas + opinions are my own as always!). Well things have been so busy there is a MAJOR new development with the ScanNCut: A free type converter tool! Basic run-down is this: use any font you’ve got and in an instant have a ScanNCut ready to rock file. Now I knew about this and thought it was cool, but I hadn’t really done much with it. Little did I realize how FAST it is, and now I’m using it on scrapbook pages and just running wild with it!

Have a ScanNCut and looking for this? Log into Canvas and a direct link to the Brother Solutions Center and this application is at the bottom of the screen. It’ll walk you right through it!

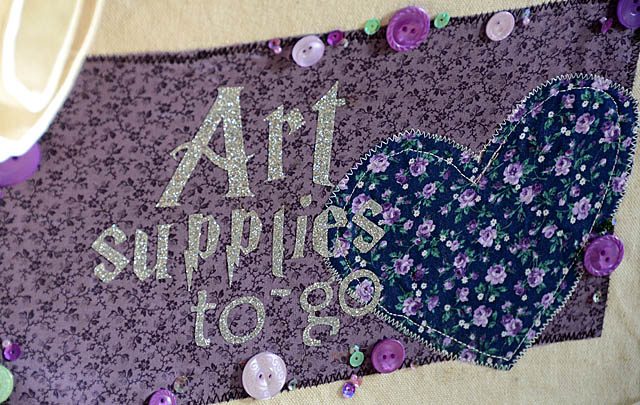
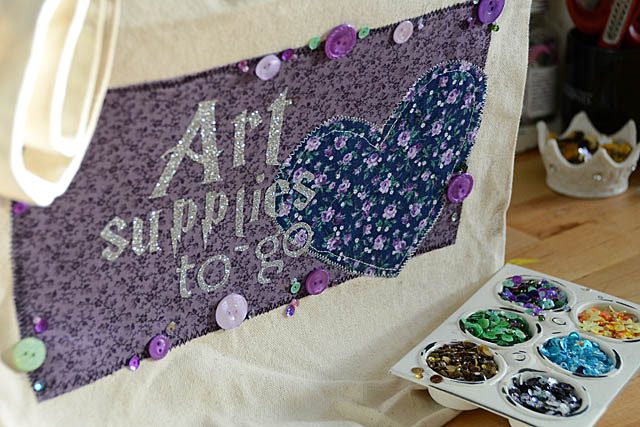
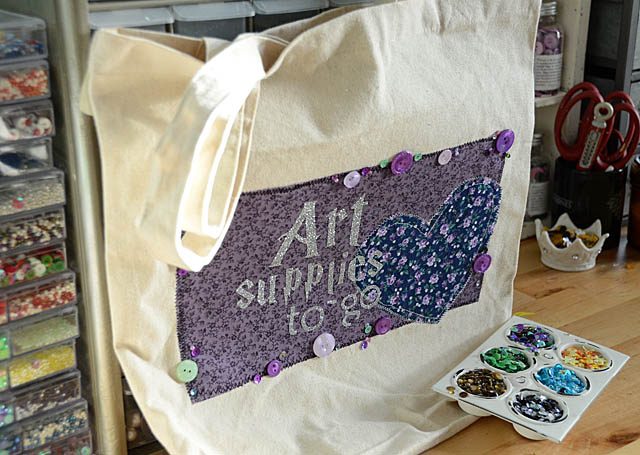
So for my first project I decided to take some iron-on glitter material (love it!) and add it to a tote bag I’d begun decorating and hadn’t yet finished. You see this  had a LARGE and very unattractive logo on it. It was a freebie bag from years ago. I added a rectangle of fabric to cover it (and used basic stitches to attach), as well as a heart (cut from ScanNCut) stitched with zig-zag and straight stitches. I had gotten that far when I forgot all about this particular project. (whoops!)

Anyhow when I uncovered this partially done project in the studio cleaning last week I knew I wanted to test run this on it. Results: Totally LOVE IT! Those letters are simply ironed on, and the buttons and things glued with fabric adhesive. The girls and I are ready to fill this tote up and take it on the road.

Here is a link to my YouTube Tutorial if you’d like to check out the how-to use the new text converter application. I can’t believe how easy it was – and how much I am going to use it in future for my scrapbooking.

And here is my finished tote bag. This makes me happy for so many reasons! That  realized I was underutilizing a wonderful tool, I finished a project I’d been meaning to get around to, and I have a bag for our adventures all pretty and ready for the road! This was such fun to make – and I always love simple projects not to mention how wonderful this glitter iron-on material is. A personal favorite!