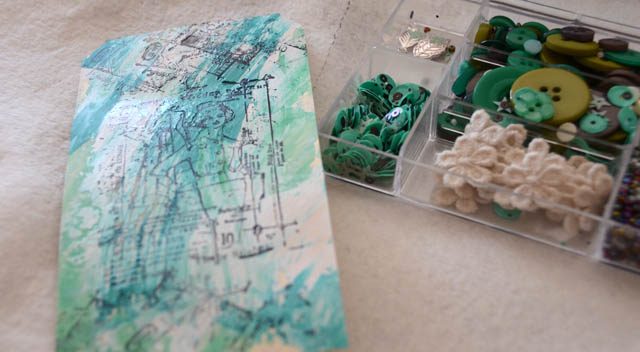
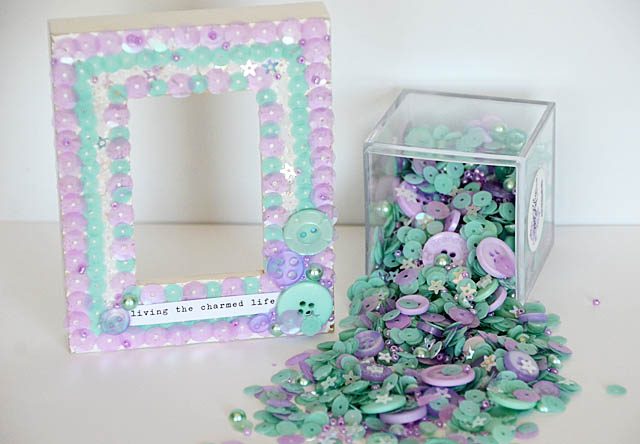
Deep into summer and wanting a fun project to play with I decided to combine some sequins +a small frame to make a mermaid inspired “scale” filled frame.
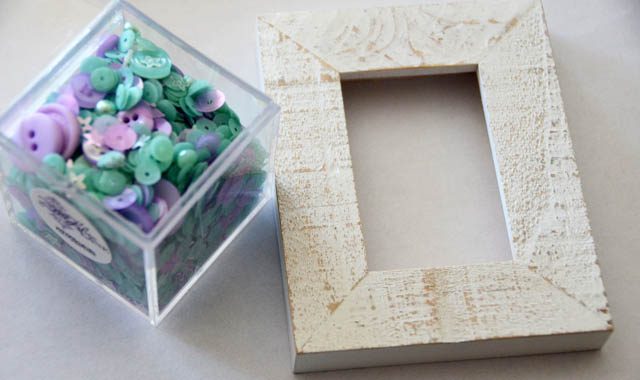
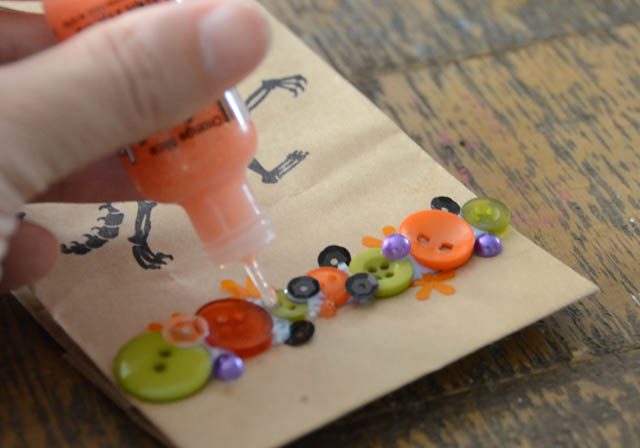
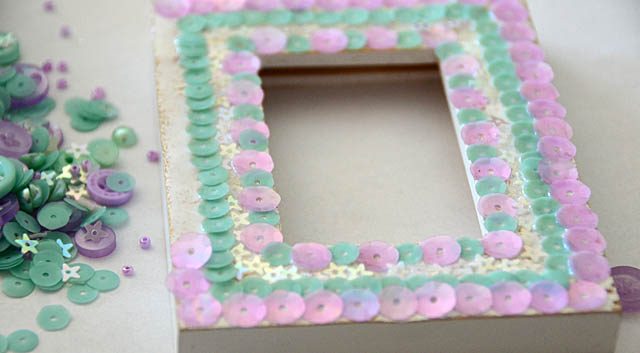
Any sequins will work – the two tools you really will want is craft pick OR craft tweezers + PPA adhesive. PPA is a great clear, matte finish, all around glorious adhesive I use and recommend regularly. To start this project I decided to work from the inside out. Lay down some adhesive, and start lining up those sequins.
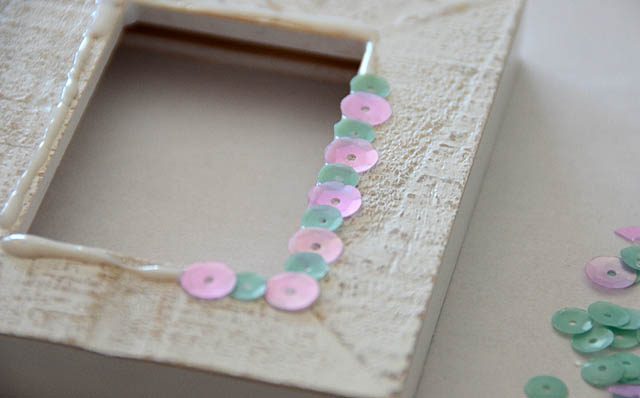
As you can see I only slightly overlapped them to create the look, but just enough for no gaps. Don’t worry if things aren’t perfect. This is hand crafted! Once you’ve made it all the way around, continue working in rows and work outward. I decided to work one quarter of the frame at a time.

There is no wrong answer here! I decided to mix up what kinds of sequins I used and do different patterns. You could continue the same design over and over if you wanted!
Once everything is finished, move any pieces around if needed. The glue does stay wet a while so it is forgiving. Then once dry- it’s final touches time!
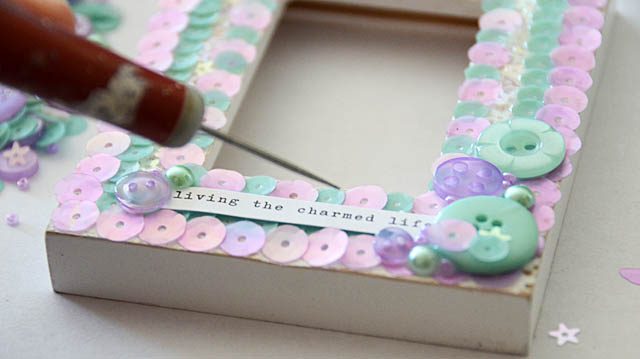
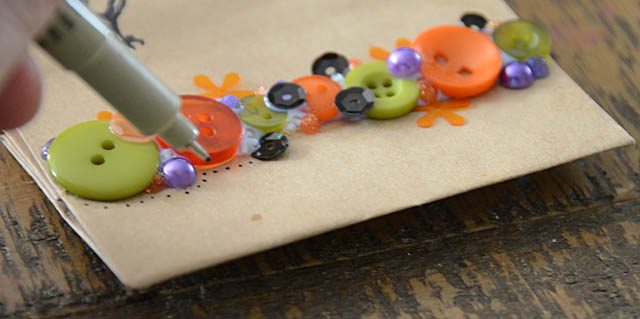
Using my craft pick I added a sentiment sticker as well as some beads, pearls, and buttons. This frame took about ninety minutes to make but I was in no hurry – I was having so much fun placing the sequins just so!
I have a number of ideas for more of these in the future from rainbow to ombre to holiday themes. Such a fun way to dress up a frame! Have a darker color or badly colored frame you want to use? Just paint it and allow paint to dry before trying this.