ScanNCutDX: Customize planter

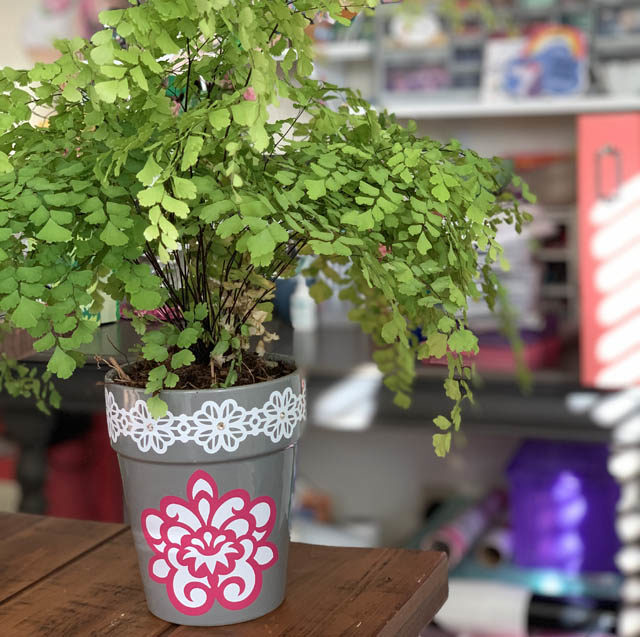
I really want more plants in my office, but I also want them to be fun container wise and don’t like most of what is available at the store. What’s a crafter to do? Just add vinyl! Usual disclaimer here that I am a paid consultant for Brother and work with them, however all ideas and opinions are always my own.
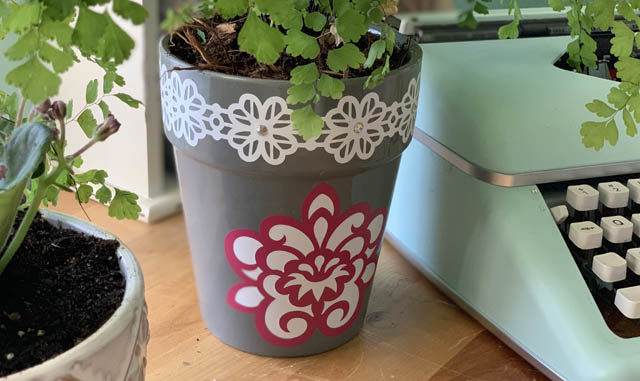
I started with a smooth grey pot that I felt sticker vinyl would stick well to. I picked a dark grey so white would pop, as well as other colors. I also I wanted intricate patterns, made note of height and widths, and otherwise just did a bit of planning before cutting and preparing my materials.
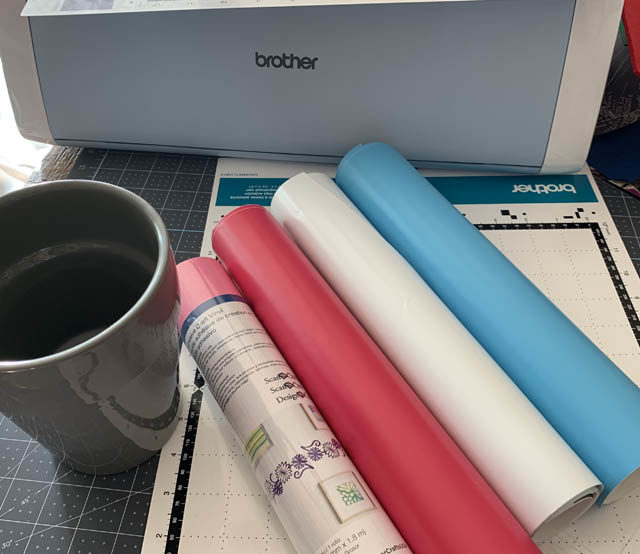
I decided to cut my main (pink) design, as well as a different design in white and apply them before I made any further choices. I like this tactic when building a project like this because it lets me see how my design is going, and choose when and where I should add more.

Here is a link to my YouTube video. That shows the full process of prepping vinyl and reminds of the basic process:

  1. Place vinyl on mat, load mat
  2. Select & size pattern. Select cut, change to 1/2 cut, and let auto blade on the SNCDX do the rest!
  3. Cut around vinyl closely, then weed out what you do not wish to transfer.
  4. Use transfer material to take vinyl design and place onto your surface
  5. Repeat and enjoy!

I ended up placing white cuts into the pink design for more contrast and pop – and I LOVE that!! How to achieve this? I cut a second pattern exactly the same as the first (same size), but this time in white. Then I removed the “pattern” vs weeding out the small bits. Once done, I used transfer material to transfer all those small white parts onto my grey pot – I love the results! I’ve always wanted to try that and I am really happy with how it turned out.
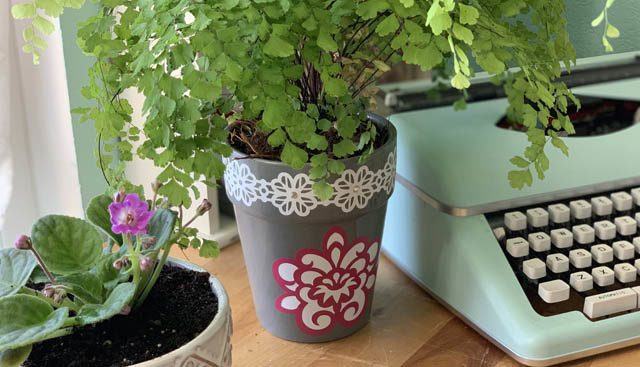
I’m tempted now to add some vinyl to that typewriter of mine – the possibilities are endless! I also want to play more with layering vinyl colors as I did here with the floral design – that was easier than I imagined and I think it really looks neat. With this corner of my office so nice and ready to work… I guess I better get back to paperwork!
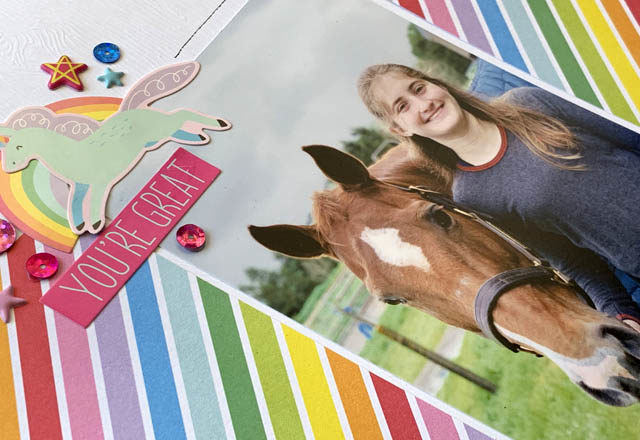
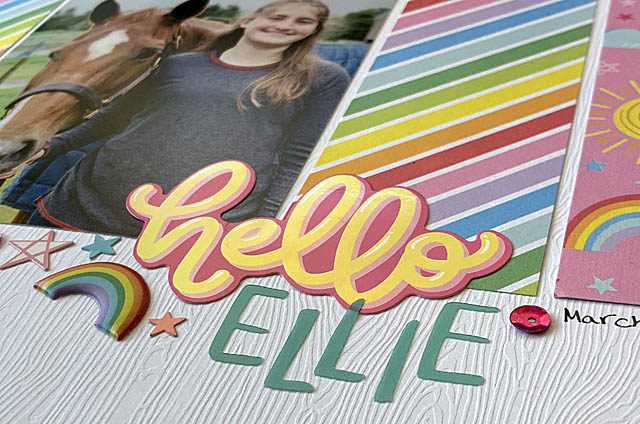
A little rainbow love in my scrapbook

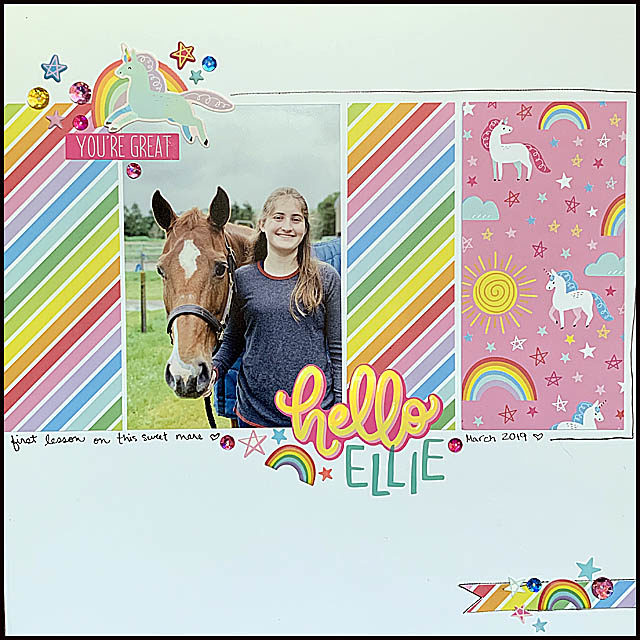
I was super excited to see that Damask Love now has products in JoAnn stores – but sad that it wasn’t anywhere near me! Luckily you can order the stuff online, and that’s exactly what I did!

The colors are bright, the motifs whimsical, and the patterns a lot of fun. I decided to feature a photo of my daughter Elizabeth meeting a new horse. Horses are so special to her, and I know she’ll want a scrapbook page made about any/all that she happens to spend time with!

My page design was simple: cut 6″ high strips to coordinate with my photo, and go across the page! I used a woodgrain white cardstock background for texture and detail on this simple page. I used stickers and sequins from the Damask Love line for this page.

Pages like this remind me sometimes you don’t need a big story, and it is really fun to do a page with a lot of white space to really keep your eye focused. Another important reminder? Get those new supplies out! Don’t save them forever or “for the perfect event” – play and enjoy!! I’m glad I took the 20minutes to sit and create this page and share – and I hope we’ll see MORE Damask Love products as well because I’m always up for rainbows and bright happy things!

Some Bunny Told Me…

The ScanNCutDX as you know, is a product I’m really loving! (the usual disclaimer that I work with Brother, but all ideas and opinions are my own) One of the things I love is that when I’m in a hurry I can find amazing free and paid files ready to rock on Canvas Workspace (free online software/editing for ScanNCut products)


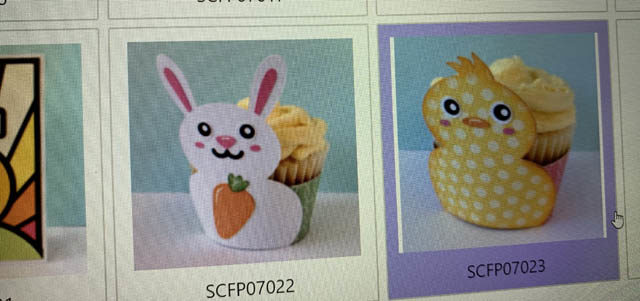
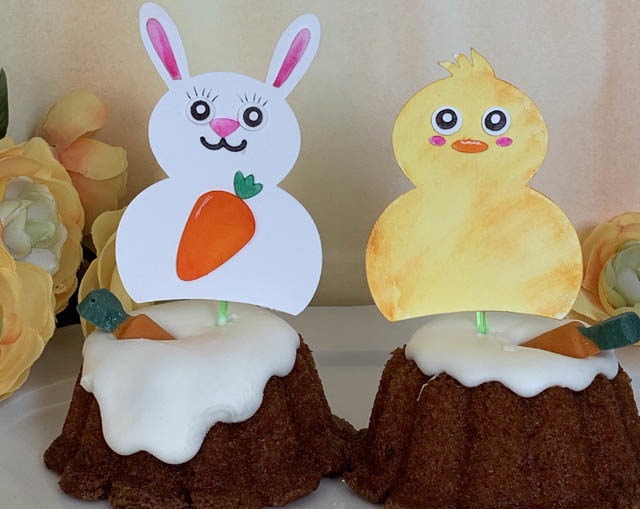
Today I’ve been playing with some from an Easter (available for purchase) set that are designed as cupcake wrappers. The thing about cut files – just like anything you can make what you want of them!


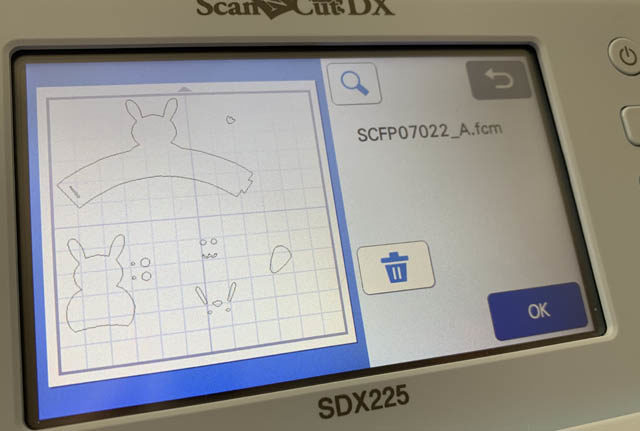
I downloaded these onto a USB and put it in my ScanNCutDX. Then I selected the files (both of them), and deleted the “wrapper” part of the pattern – it’s all separate so this was really easy! You can see below the “wrapper” part that I just needed to select, delete.

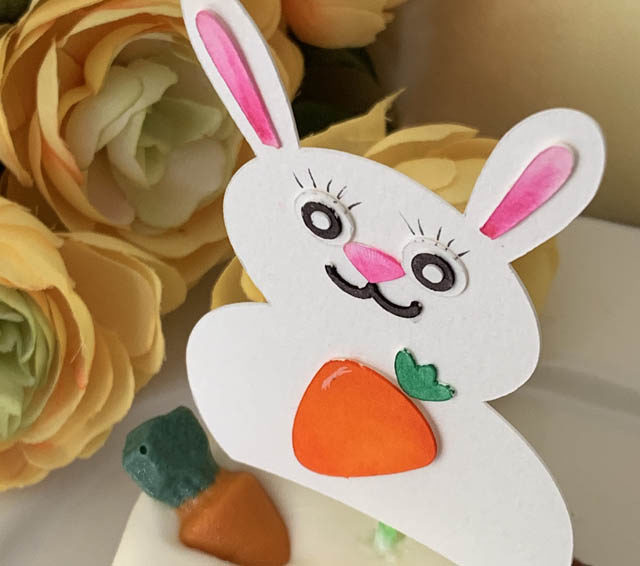
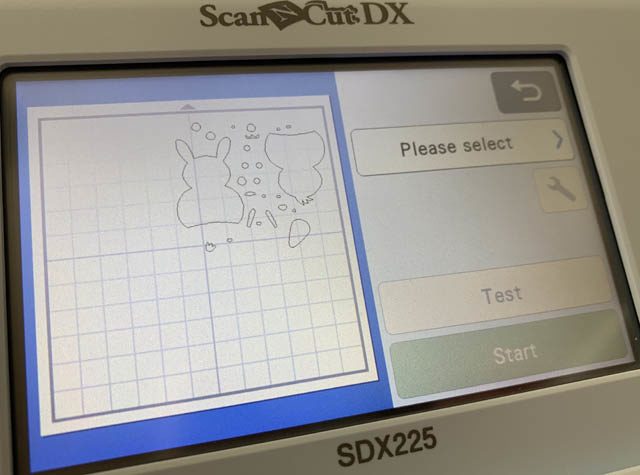
Once I had both bunny and chick in there, I moved all the pieces close together because I had determined I wanted to cut them out from white watercolor paper and color myself to have a bit of fun.

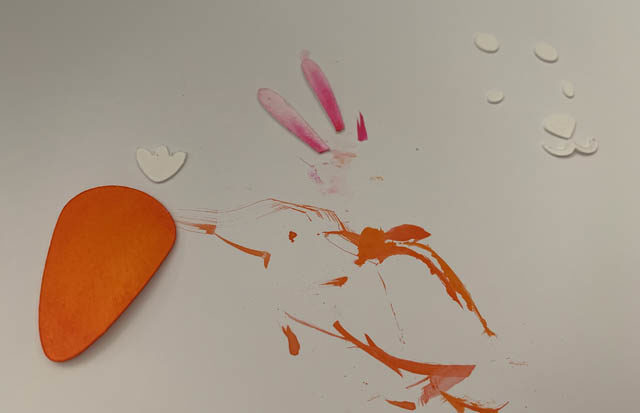
If ever you aren’t sure what color you want things- DIY works and is super fun! I used watercolor markers to color up my pieces…

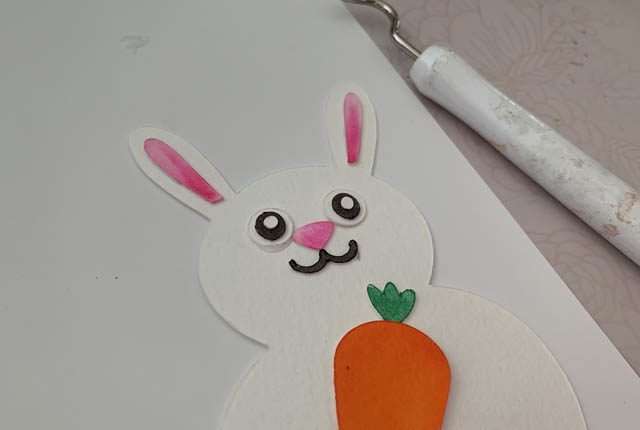
Once all of the pieces are colored, assemble!

Remember that the ScanNCut (and your craft supplies!) aren’t rated food safe – so you do want to take caution! I used food picks to attach to the back of these – toothpicks would work too. Then I made sure to not touch the cakes with the paper – just the pick.

How cute are these critters atop these little carrot cakes? I just love how this looks and how much fun this adds to Easter festivities without a huge amount of time and just white cardstock and some color markers!

I’m wishing you a wonderful Easter week and spring! Happy Crafting!

Around here, let’s regroup.

I’ve been quite here on my blog, though not intentionally! You see it’s simply been crazy around here more so than usual, combined with me trying to rework, well, how I work!


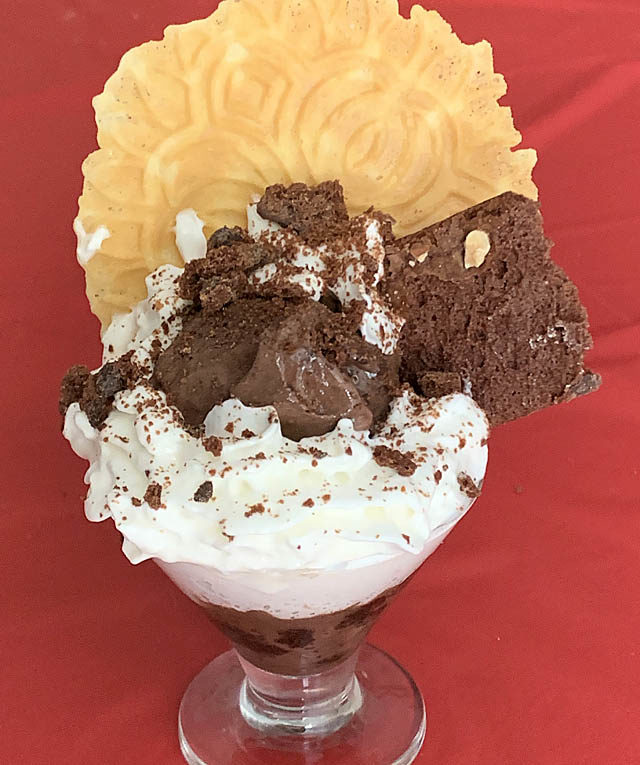
What does that have to do with this tiny ice cream sundae? (Oh and it is tiny – that is a very small appetizer cup!) Well one of the things I’ve been working on is celebrating the everyday a bit more, and finding ways to keep my teen/tween girls talking and interacting more with each other and me too. We are super close – but it’s not quite the same as when they’re little, is it?

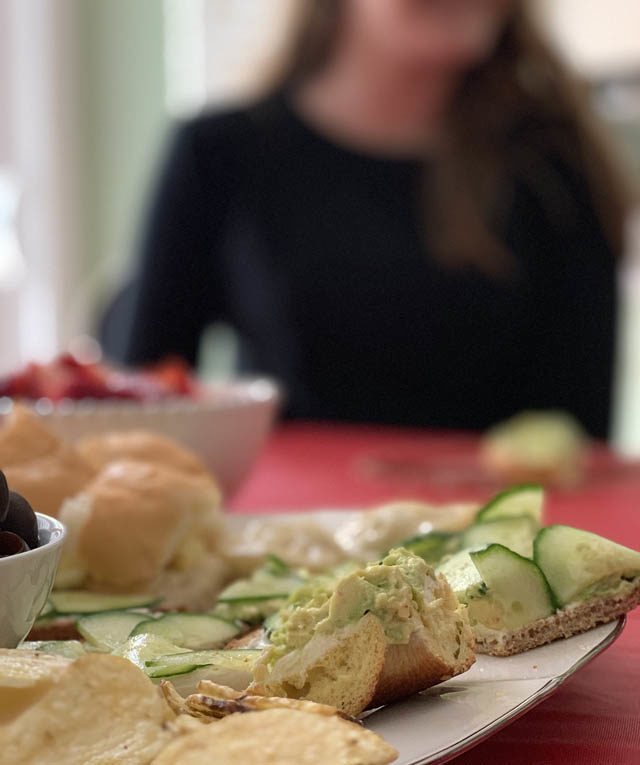
So last Friday I put a movie on, set up the table with (semi healthy) avocado & cucumber sandwiches, fruit, and a few treat items too and it worked. Food is definitely a motivator as far as sitting/gathering which doesn’t surprise me – we do love our treats here in the Flaum house!

I am reminded how hard (but also SHORT – they fly by!) the teen years are, and how knowing there’s a happy space and people who support you is so important. I’m also reminded that if I don’t meet my own expectations in some way – that’s ok! (Example: not blogging for almost a month! whoops!) My personal goal right now is pretty simple: be my best self. Day to day that’s going to look different, and my schedule is going to look wildly different tomorrow vs 5 years ago. The one constant is change, right?


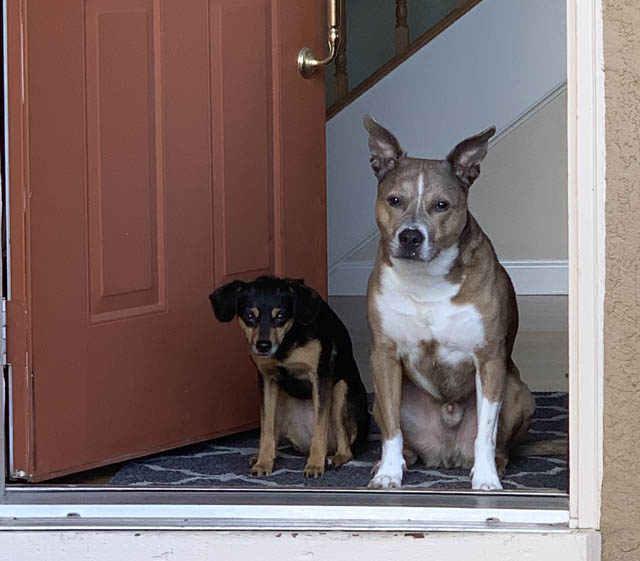
The dogs are well – they are a lovely constant and one thing that hasn’t gone haywire – KNOCK ON WOOD! Above you see Scrappy and Ranger watching as I work with Bandit on stay/heel/etc out front while they were told to sit/stay at the door. Good dogs!

Creatively I haven’t had a lot of luck making time for things I can share – but I definitely have projects in progress or in my mind that you’ll be seeing soon! A big part of my “go quiet” on the blog while not intentional for so long, was a part of my bigger plan to revamp how I’m spending my time, and how I’m sharing with you. I dropped off too much with my fitness goals and it has cost me – but I’m working on it.


You’ll be seeing more video content that doesn’t have a blog post attached (most videos in past did!) over on YouTube. Likewise you’ll see more blog posts that are in depth/longer and slightly less frequently than in past because of their in depth nature. If you follow me on social media – well you won’t see much change. LOL! I always try to keep it real, and “real time” over there as well.

an image meant for a post… well a while back. clearly!

I hope you’re finding a good life balance or that you’re content with what you’re up to. If you aren’t, I’d love to talk to you about how you’re finding your creative time or what you’re changing up. I’m working to adapt a “my best today” strategy and being flexible in what exactly that looks like day to day. I’m excited for what I have been (slowly!) implementing and I’m excited to share more with you scrapbooks to costume accessories!

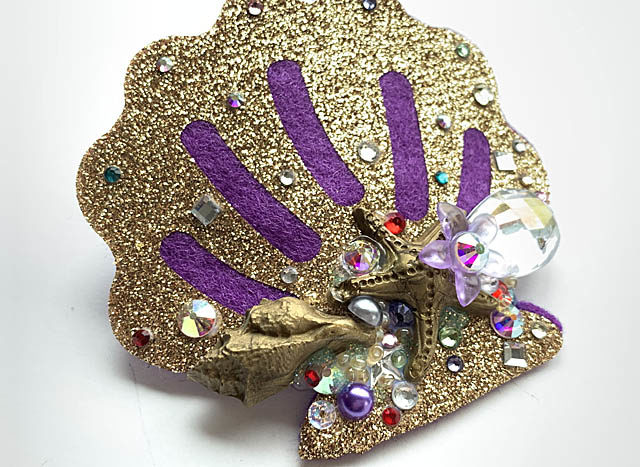
Shell Hair Clip with ScanNCutDx

As you know, I am a paid consultant for Brother but all ideas and opinions are my own. I always share that as I believe 100% in total transparency and just in case this is the first post of mine you’ve seen. ANYHOW! I have a super fun mega exciting project today that I’m thrilled with!

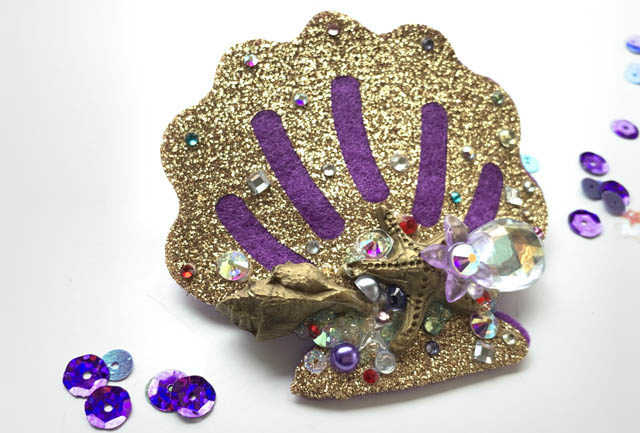
My goal: Create a shiny seashell hair clip full of treasure and fun with supplies I’ve got on hand. To do this I started with extra thick (3mm) firm craft felt, my ScanNCutDX and its built in designs, and some sparkly vinyl that is iron-on.

Here is a link to the YouTube tutorial, if you’d like to watch my exact process.

Basically, it goes like this:

  1. Select pattern, cut out desired size from felt. Then turn on “half cut” and cut vinyl, weed vinyl, and of course iron it onto your felt base.
  2. Hot glue to barrette
  3. Add sparkle

The ScanNCutDX is fabulous for this because it will totally auto-cut and cut the correct thicknesses – no testing needed!

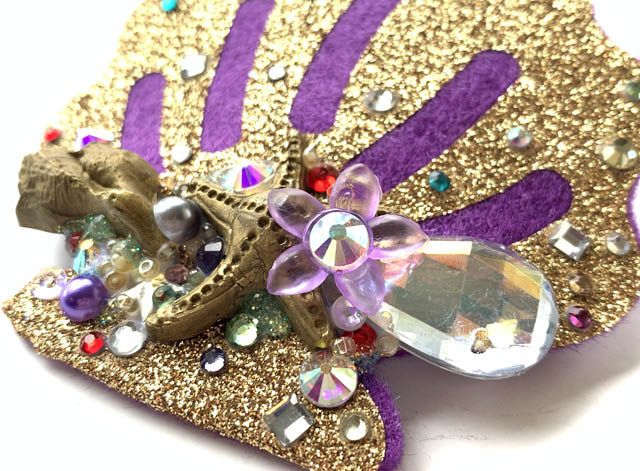
For my seashell I used a mix of rhinestones, pearls, embellishments and beads. I LOVE the results and know this will make an awesome accessory for a themed outfit! A project like this is so simple and fun to do, and can add a lot to a costume or just to everyday wear.