One of my personal goals is to sew more! I’ve got a great machine and I intend to use it. Not to mention I love the challenge and mixing some fabric into my normally paper filled craft life. Today I’m sharing the first of two posts about this table runner. Next post? I’ll share adding iron-on fun! For today though, let’s focus on basic building.
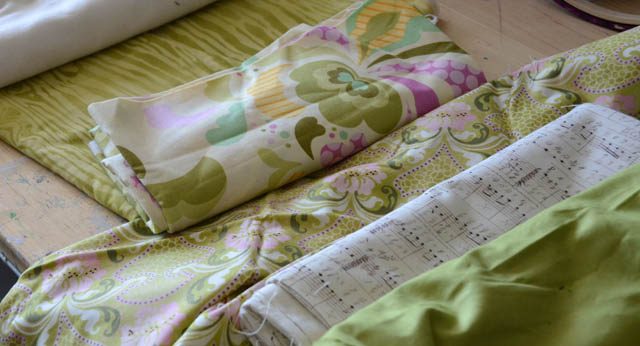
I am a VERY basic sewer, so as I ease in things with simple how-to suit me well. In this case I cut a bunch of scraps all at least 18in wide, and sewed them together to create a patchwork of patterns.
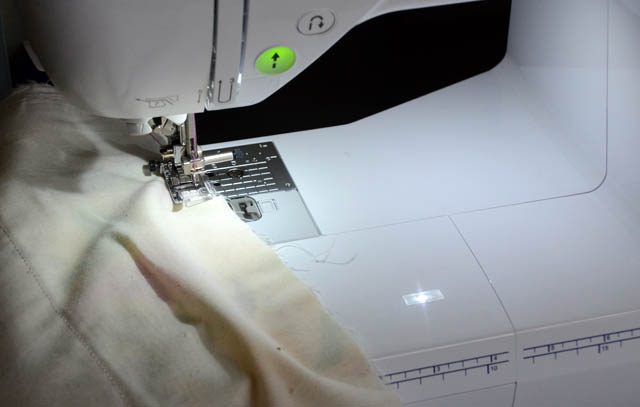
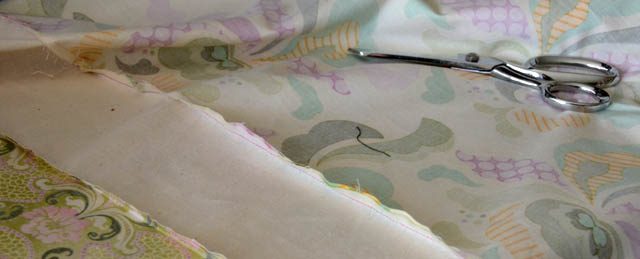
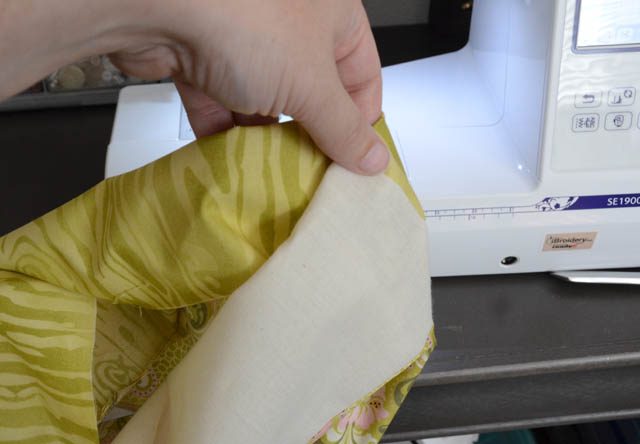
It requires sewing the line of one ‘backside’ to another. Now note – you don’t have to be on the edge! In fact sometimes I’d go a few inches in if it was easier for me to navigate around a rugged cut. Then, simply cut off the excess fabric so that later when you go to iron and sew together the finished piece there isn’t excess in the way (see below).
I just kept on stitching pieces together until I had a piece long enough. Now here’s a fact – you can stop here. Iron the raw ends under, go put it on your table. It’ll look lovely and nobody will be the wiser that it’s the unfinished top of a table runner. Folding + ironing fabrics is one of my favorite tricks! Alas, it is time for me to expand my skills so I continue!
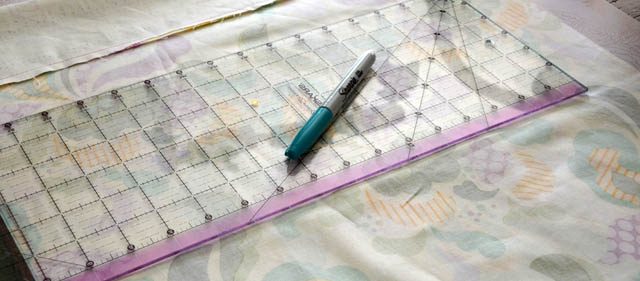
At this point I ironed everything so the seams would be flat, and marked where I wanted the width of my table runner to be. I did this initially to save time so I didn’t have to measure every piece or make sure they were all even – and this method for me paid off.
Once I marked where I wanted the table runner to be, I stitched the two long sides, leaving the remaining (end) of the table runner open. With this done, I tucked the raw ends in and once again ironed this flat. YES – this one end is still open – but that’s ok!
It’s ok because I intended to stitch trim along this end, creating a decorative end but also effectively sealing up that fourth side without any fuss or difficulty! I’m all for easy solutions when it comes to sewing because I’m just learning the ropes around here.
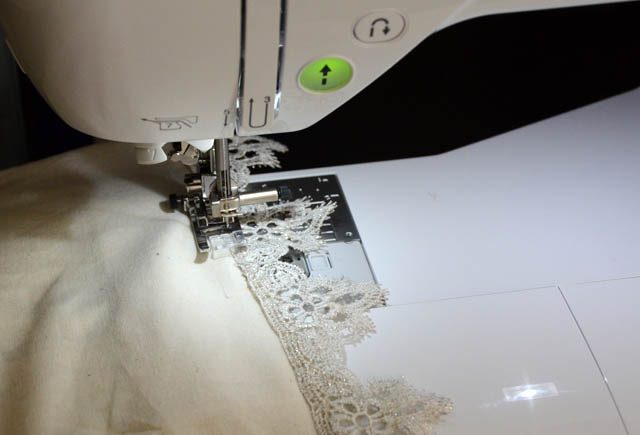
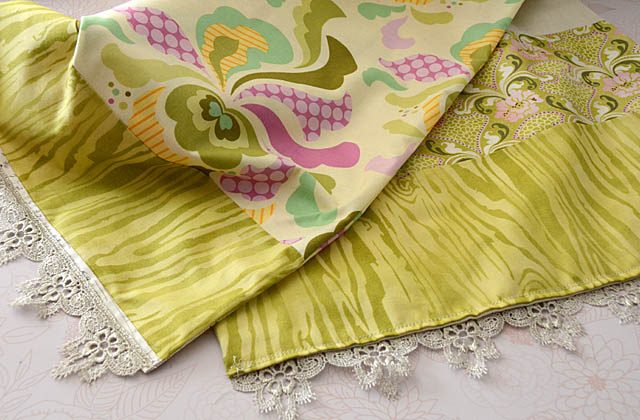
So I got out some fun trim I’d been saving, and stitched it on!
At this point I have a reversible table runner ready for action… or is it? I think some fun iron-ons would add to it and I’ll share that how-to tomorrow. In the meantime I hope you enjoyed this and my unusual table runner color choices for fall. I’m testing out new to me colors and designs, and I’ll be sure to share a photo of how the room looks in my ‘around here’ post in a week or two!
What are you crafting or learning these days? I’d love to hear!