The very first sewing project I ever made as an adult was a pillowcase. I have a really hard time with patterns and complex sewing, and so this has been a “go-to can do” project for me over the last twenty years or so. I’ve got a lot of fabric that I want to see in use, and a lot of ideas for stepping up my pillow game, so once in a while here I will be sharing a how-to tutorial!
The great thing about a pillow case is that you can make it by simply folding fabric over (offset/overlapping) and creating a pocket for the pillow to slide on in. It only requires 4 stitch lines – two across the “ends”, that will be exposed, and then once folded along the top and bottom (or sides – depending on which edge is raw/open) before flipping right side out and utilizing!
Today let’s start with some basics. If you have an idea in mind for a case – I suggest looking at a pre-made one and really checking it out. Getting to know how it was put together so that you can better create your own. I really like the “folded over” approach as I dislike seeing pillows peeking out of an end, as well as it being quite easy to do.
The #1 rule I have with fabric projects is to slow down, and make sure you’ve got things the right direction. It is SO easy to turn something around or do something upside down – and such a pain to pick stitches out and start over! So double or triple check, and don’t ever work in a rush!
My process for a basic pillowcase such as this is:
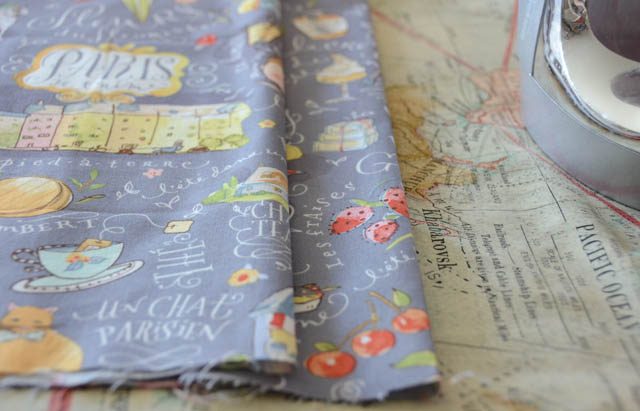
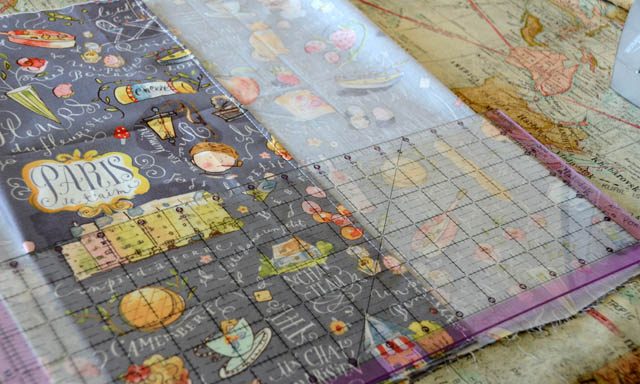
- Iron the fabric including any folds into place as I expect to have it look finished. Place this on/over the pillow and verify that it looks good/fits.
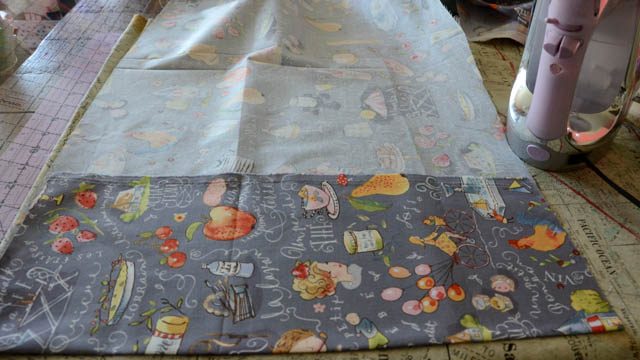
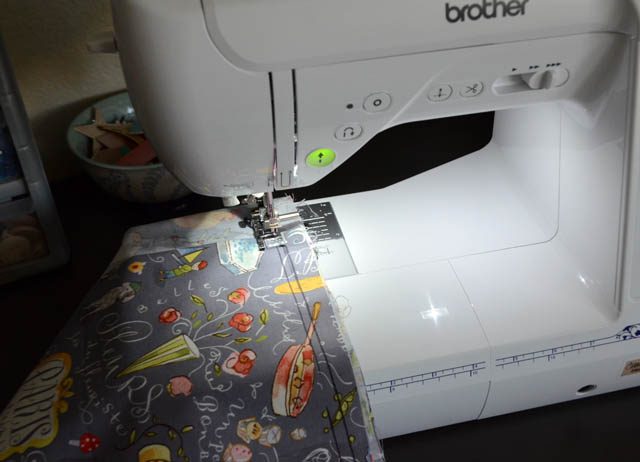
- Stitch the two ends that are folded over and that will “show” when you put a pillow in or out.
- Re-fold the fabric into pillowcase form and verify everything is as I want it. Then flip it inside out, verifying that everything will be right side up and correct sides showing.
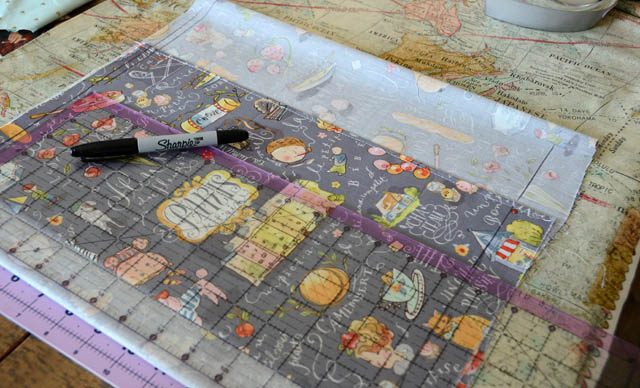
- Use a pen and ruler to mark where along (in this case top and bottom) I am stitching to “seal” the pillow case.
- Double check that I’m making it the right size!
- Stitch the top and bottom, trim out any excess fabric, and turn right side out.
If all goes well – this results in a perfect pillow case!
Sometimes things go wonky – let’s face it, we’ve all had craft fails. But before you panic if this happens… see if you can fix it!
What I love about this project is that this is a base line! Once you get confident you can add additional fabric layers, get funky with design, add beading or button accents, and so much more!
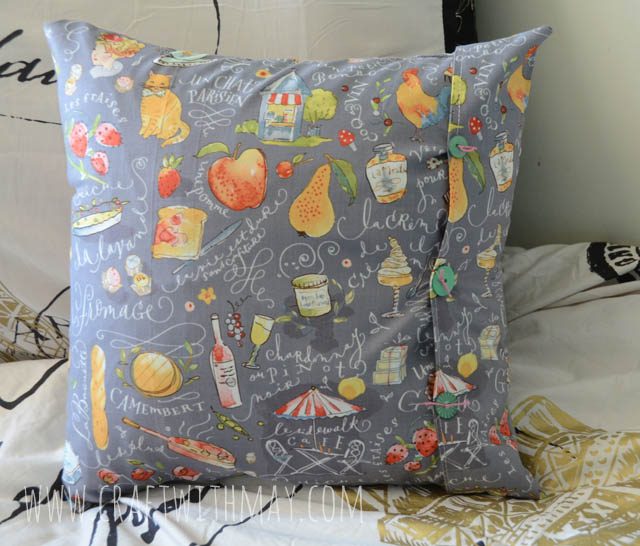
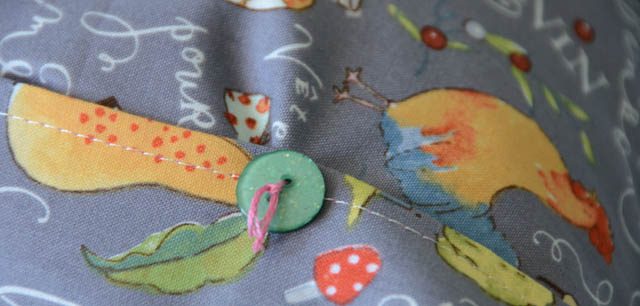
I added some faux closures (it’s stitched shut/no button hole) because I (whoops) mis-measured my pillow and didn’t allow quite enough overlapping fabric. That is one trick with these – make sure you have PLENTY of overlap (4″ minimum!!!) so that you don’t end up with any gaping pillow exposed!
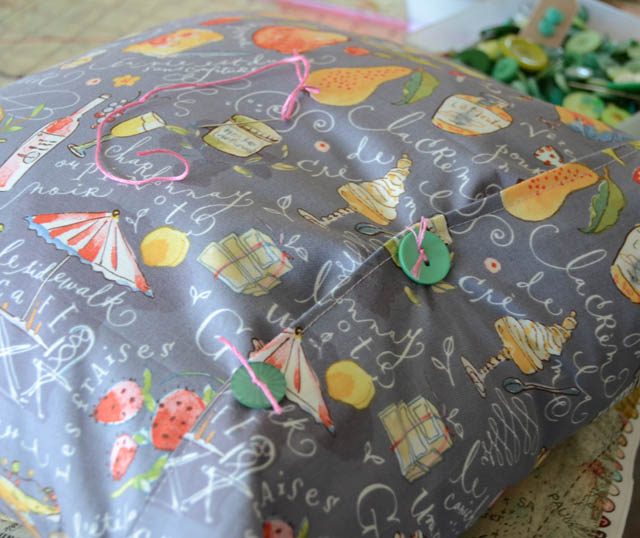
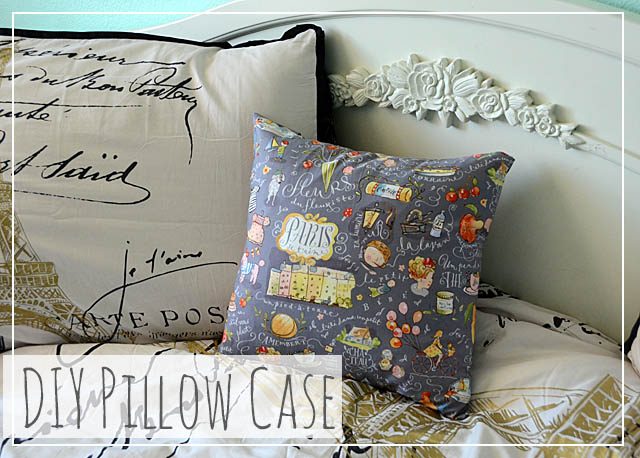
In my case though, it really did work out nicely. I simply added some thread and buttons and it adds a decorative touch to this Parisian fabric (Brenda Walton designed it, just FYI) pillow that I’m happily adding to the office daybed.
I intend to create some small decor pillows for Christmas gifts, as well as some lavender satchels! I will be sure to update you here as I figure out new designs, tricks, and continue having fun improving my meager sewing skills.
As soon as the girls start school later this month I intend to begin taking some lessons at my local sewing shop so that I can do a few more things on my sewing machine. It is a lot smarter than me (ha!) and I’d like to try and level up a bit more. In the mean time I can’t help but think of the approaching fall and some harvest decor ideas I’ve got…
Very cute! Saw a preview video for the new scan-n-cut-WOW!
Love that fabric May! Very cute pillow! I have a friend who is a school sewing teacher and she had some classes a few years ago with a very similar pattern – sadly my cushions are still not finished though and she has moved back to Australia!!!