DIY Pillowcase with button accents

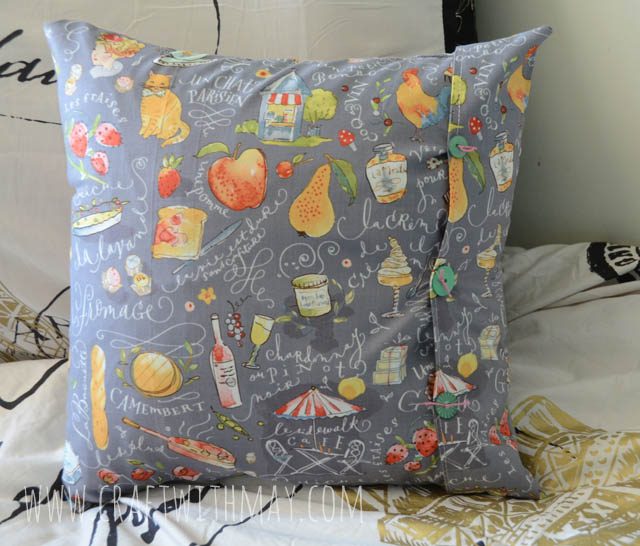
The very first sewing project I ever made as an adult was a pillowcase. I have a really hard time with patterns and complex sewing, and so this has been a “go-to can do” project for me over the last twenty years or so. I’ve got a lot of fabric that I want to see in use, and a lot of ideas for stepping up my pillow game, so once in a while here I will be sharing a how-to tutorial!

The great thing about a pillow case is that you can make it by simply folding fabric over (offset/overlapping) and creating a pocket for the pillow to slide on in. It only requires 4 stitch lines – two across the “ends”, that will be exposed, and then once folded along the top and bottom (or sides – depending on which edge is raw/open) before flipping right side out and utilizing!  Continue reading “DIY Pillowcase with button accents”

Mermaid sequin frame

Deep into summer and wanting a fun project to play with I decided to combine some sequins +a small frame to make a mermaid inspired “scale” filled frame.

Any sequins will work – the two tools you really will want is craft pick OR craft tweezers + PPA adhesive. PPA is a great clear, matte finish, all around glorious adhesive I use and recommend regularly. To start this project I decided to work from the inside out. Lay down some adhesive, and start lining up those sequins.

As you can see I only slightly overlapped them to create the look, but just enough for no gaps. Don’t worry if things aren’t perfect. This is hand crafted! Once you’ve made it all the way around, continue working in rows and work outward. I decided to work one quarter of the frame at a time.

There is no wrong answer here! I decided to mix up what kinds of sequins I used and do different patterns. You could continue the same design over and over if you wanted!

Once everything is finished, move any pieces around if needed. The glue does stay wet a while so it is forgiving. Then once dry- it’s final touches time!

Using my craft pick I added a sentiment sticker as well as some beads, pearls, and buttons. This frame took about ninety minutes to make but I was in no hurry – I was having so much fun placing the sequins just so!

I have a number of ideas for more of these in the future from rainbow to ombre to holiday themes. Such a fun way to dress up a frame! Have a darker color or badly colored frame you want to use? Just paint it and allow paint to dry before trying this.

Leave a little sparkle… collage card DIY

It is no secret that I love using up bits and pieces to create cards. This lets me put things to use and reduce my leftover pile, as well as make cards ready to send for holidays or just because! In today’s post I will walk you through and share a video of a recent creation.

Continue reading “Leave a little sparkle… collage card DIY”

ScanNCut: Crafty tote

I recently went from a bunch of smaller containers to one large crafty tote on my “messy desk” aka mixed media station. Inside I store everything from my heat tool to paper towels, water brushes to watercolor pens! It really has come in handy… but it is awfully boring!

Continue reading “ScanNCut: Crafty tote”

It’s (vinyl) party time with the ScanNCut

If you’ve ever taken a class from me at a craft store then you already know: I like my embellishments stored simply, and to keep things fun!

Recently I realized that I needed to make a new container – one just for random sequins. I love to call my button and embellishment jars like this party jars. It’s a party in there – full of randomness and fun. This time though, I realized that I have the perfect jar – and a scrap of purple vinyl just right to become a “party jar mix” label.  Continue reading “It’s (vinyl) party time with the ScanNCut”