Changeable photo décor with ScanNCut

DSC_5618

So the other day I found a wonderful house shaped photo holder. What I love about this is I can change it out, add ephemera – anything! I could also hot glue some embellishments on and really deck it out!

disclaimer that I am a paid consultant for Brother, but all ideas and projects are my own.

DSC_5622

This project ended up taking a LOT longer than I assumed – but it was so fun! What I also like is that if I want at some point I could remove the décor pieces and re-do. One reason I LOVE hotglue for a project like this – easy to remove in time and with a little pick!

DSC_5628

Here is my video tutorial at YouTube so you can watch the full process. I love bringing you along with me for the creative journey.

DSC_5641

Now photographing this? That was a challenge! Had to take it outside and wow do I like it! I think it is going to be fun to tuck ephemera like tickets and things along with photos in this. I do so love easy makeover projects like this – even better when they might be a little time intensive – but not difficult.

DSC_5649

I hope you have enjoyed this project and video tutorial – I can hardly believe we’re heading into July! Where is this summer going?

Donut Planner clip with ScanNCut

DSC_5538

I’ve been wanting to explore making my own paper clips. Great for everything from clipping money into a birthday card to planner organization, really! There are a lot of materials you could use of course. What will I do next? Well when flipping through the existing patterns on my ScanNCut machine I realized a donut clip – perhaps a glittery one – would be fabulous!

disclaimer that I am a paid consultant for Brother, but as always all ideas and opinions are my own.

DSC_5544

My planner needs are evolving – more on that another day. But I’m in charge of all the weekday meals for now so I thought a fun food based clip would do nicely. I ended up creating one 1.3 inches wide. Perfect size! You can click here for my YouTube tutorial

I wasn’t actually sure if I could edit the sizes after picking the pieces – so I was pleasantly surprised that while 1.75 was minimum size the machine allowed, once I got into the edit screen I could change that! So just one great tip from me to you. I’m always learning something new, I tell you!

For today I’m just THRILLED to have this glittery donut adding a little handmade sparkle and fun to my planner.

DSC_5553

Right now I’m trying to figure out how to be better at organization and planning. I don’t believe anyone is simply good at it. I believe it is a skill to constantly work at and hone. I will be back to share where I’m at (and what is/isn’t working) on that front in a separate post. Have a sweet week!

Hand crafted gift topper

DSC_5463

A few paper layers, some ink, and of course my ScanNCut and I’ve got a layered flower ready for the top of a gift box, wine bottle, or any other gift! Hey guys, I’m here with a video tutorial to kick off the week. Before I share the how-to a disclaimer as always that I am a paid consultant for Brother, however all ideas and opinions are my own.

Here’s a link to my YouTube tutorial where I explain this project.

I just love the fun of playing with various materials, layers, and inks. So easy and really adds so much to a gift!

DSC_5468

Funny fact: I thought I had already photographed this project and changed my mind – put the topper on a box for Father’s Day!! Then realized “Um… whoops” stole it back for the wine and re-photographed. These things happen! But – it’s also a great reminder that projects like this are not only giftable but reusable as well.

DSC_5473

Like to dress up your holiday gifts? Create some of these now and save them for later! Holidays are a great time to use these – and even better if they’re already made. I can hardly believe how fast July is sneaking up on us!

ScanNCut: Hand drawn Father’s Day card

It’s nearly Father’s Day, and I needed to make one more card for our favorite dad here. I wanted also to exercise my hand a bit and try to draw a design. That part took a whole day (baby steps guys, I don’t get to use it much!) but it was worth it. I filmed the process of turning my doodle into a folded card as well, so I have a video to share.

DSC_5383

Disclaimer that I am a paid consultant for Brother, but all ideas and opinions are my own as always. For my full video tutorial, here is a link to my YouTube video

I absolutely love that I could turn this into a stencil or layer it in this way. I could  resize this, cut it from other materials, so many options! Ah but the bottom line, I have the perfect Father’s Day card and it is simply cardstock and my own design. I love that!

DSC_5378

I hope that you have a wonderful weekend, and if you’re considering trying your hand at a design like mine I hope you do! No ScanNCut? Use decorative pen and hand-cut the outline is always an option. Perfectly smooth lines or handwriting not required- gotta love that.

Is the ScanNCut for me?

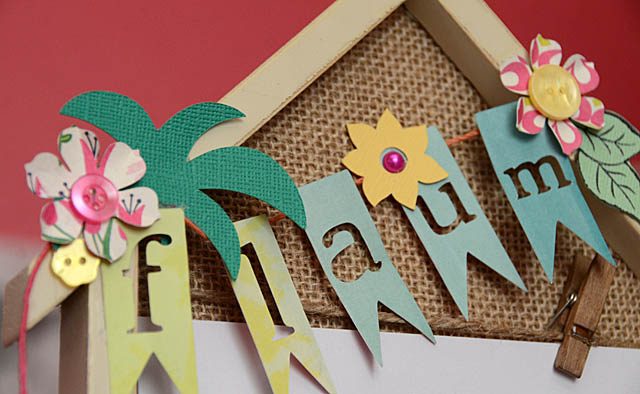
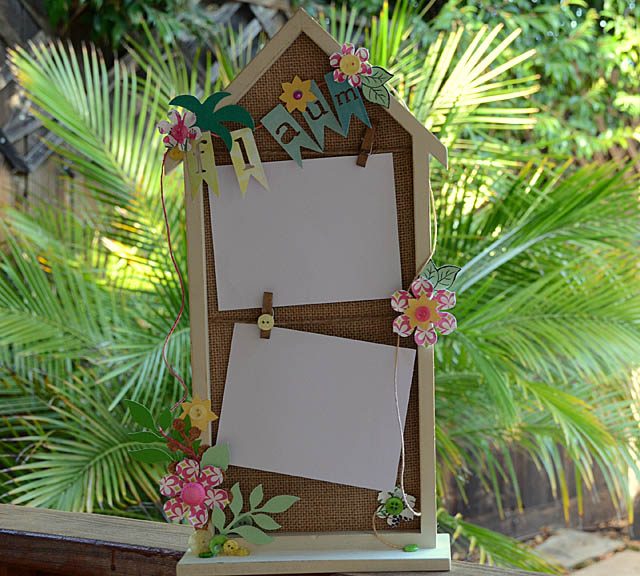
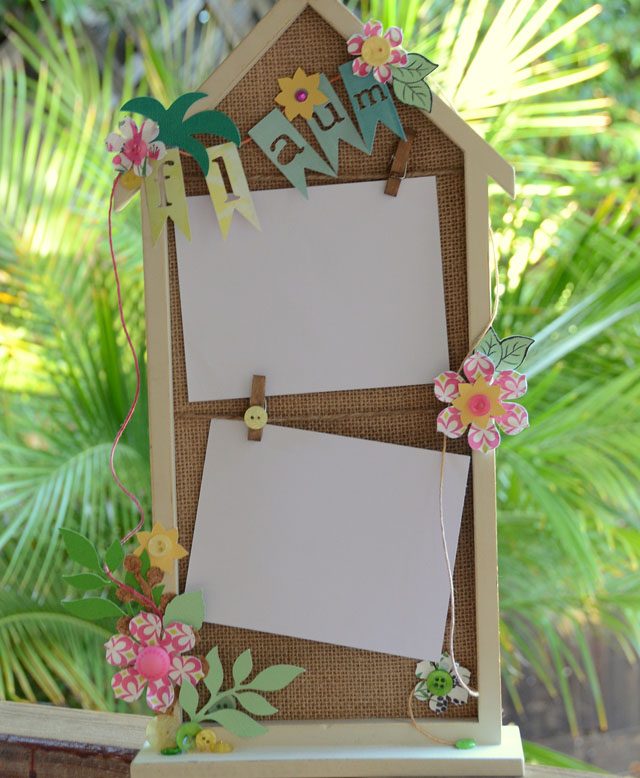
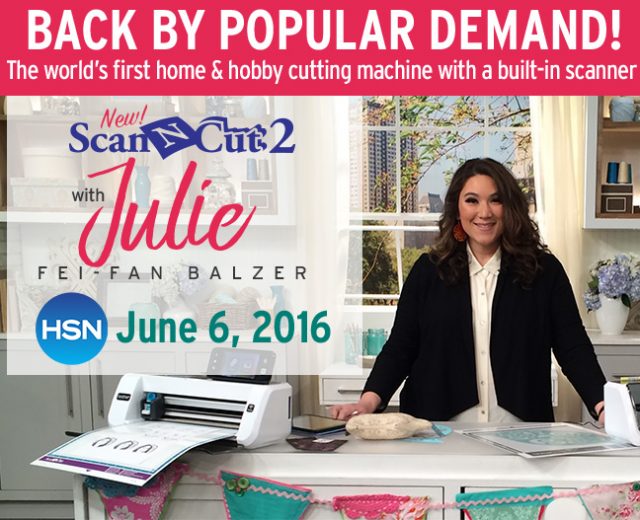
June 6th Julie Fei-Fan Balzer will be demonstrating the ScanNCut2 on HSN. Want to know what time and check her out live? Visit HSN.com and look at their schedule since things are subject to change I don’t want to post wrong info! Now as you know, I’m a paid consultant for Brother, specifically for the ScanNCut. From helping test ideas to creating projects (the banner you see at bottom of picture below? That’s one of mine!) – I love working with Brother and with the ScanNCut.

snc1

Normally I share my projects, today in this post I thought it’d be a fun idea to share WHY I recommend the ScanNCut, and what model. All ideas & opinions are my own of course – and it’s not for everyone. Let me explain.

DSC_2839 copy

The ScanNCut is the only machine that will let you scan a file in, turn it into a cut file, and cut it out of just about anything paper to fabric. There is so much creative freedom, which makes it the perfect choice for someone like me.

Who is the ScanNCut good for? Some one who wants…

  • to cut out stamps with clear outline, without any need for dies and being able to control how wide of an outline
  • to be able to scan in anything from clipart to hand drawn designs to create cut files
  • a simple to use machine that requires no computer
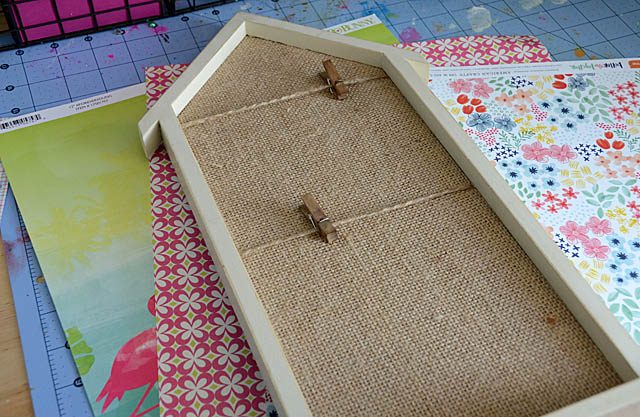
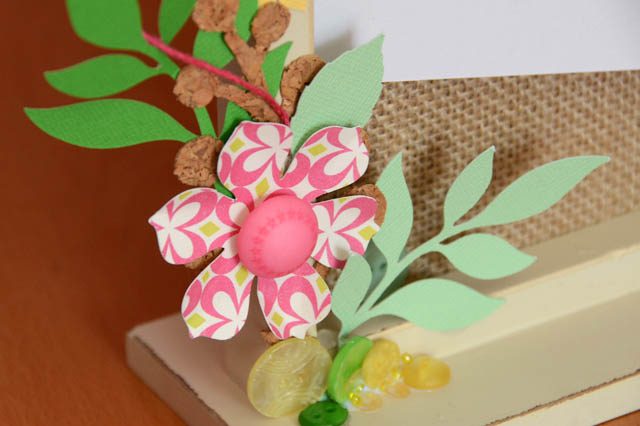
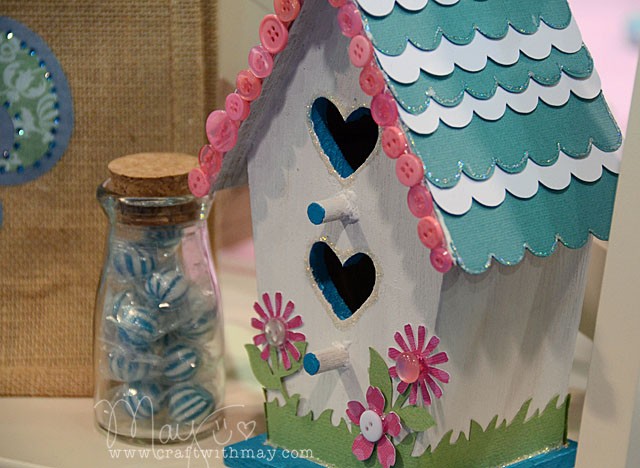
  • a machine that can cut anything from fabric to cork to specialty papers
  • machine that is capable of working with stamping material, making rhinestones designs, drawing with many pens, and more

There are hundreds if not thousands of ways to use this machine, so the first step is to determine if you’d like a machine that does what this one does!

mayf_apron (1)a

Each electronic cutting machine is different, but without a doubt this is the best one for me. Being so easy and simple to use, so straightforward, and never needing to use my computer are all key. Being able to visually draw out a design on paper then scanning it – avoiding technology for so much of the process? HUGE for me! So often I can’t visualize things well on a screen, and being able to work with paper first really is huge for me.

Thinking you’d like some tutorial examples? Here are links to Julie Fei-Fan Balzer’s YouTube as well as Erin Bassett’s YouTube. You can also find my full listing of videos and blog posts here.

DSC_3982

Once you’ve decided the machine is for you, which model to pick? ScanNCut has a full comparison chart here between the 350 and the 650W. So what one is right for you?

First understand that the 650W is only available through authorized Brother dealers. You’ll need to get it from an independent sewing shop, or other official Brother products dealer. The machine you more commonly see is the 350 – which is available from anyone from HSN to Amazon, a scrapbook or stamping shop to online stores.

DSC_5229

So what are the key differences? As I said before the full chart is viewable here. The 650W has more extras. Things like nearly double the built-in designs, it comes with the wireless activation included, and can scan up to 24″ (vs 12″). Most of the things (pens, mats, wireless activation card) CAN be added on for the 350 at an extra charge/separate purchase though it adds up. So which is better?

They’re both the same machine as far as being able to scan, cut, and play. Both same wonderful quality – it’s a matter of what YOU will do with it.

You can’t upgrade or change the 350 to include the extra built-on designs or make it capable of scanning 24″. So those two key features are going to be what you really want to focus on.

This is GREAT news if you already have a lot of .svg or other cut files you want to use, or if you don’t anticipate wanting to use those designs (or the larger format scanning). It means the much less expensive 350 will be perfect! Otherwise, you’ll need to weigh pros/cons/cost and decide.

DSC_3948

If you determine the 350 will be a good fit, watch for a good deal or special bonus. I’ve seen a number of offerings come around – including bundles like the one being offered on 6/6 on HSN.

If, however you want the extras that come with the 650W I recommend checking for a local dealer or dealer with an on-line shop to order from. Personally I have the 650W (provided by brother) and I use the built-in designs only available on that machine a ton! So for me, it’s a perfect fit.

DSC_3528

If you have any questions, or if I can assist in any way please do let me know! Always happy to help people determine if the ScanNCut is a good match. I’ve long used a Brother sewing machine, and I’ve been really impressed with the product quality as well as how well it works for my own style.