countdown to summer: paper banner

I’m back with a project that before I’d even finished my eldest daughter claimed for herself. This is a popular one – and a great way to dress up seasonally, for a party, or just because!

DSC_5254

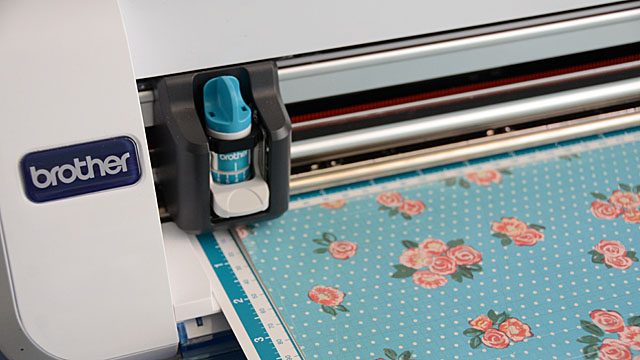
note: I am a paid consultant for Brother, however all ideas and opinions are my own.

DSC_5264

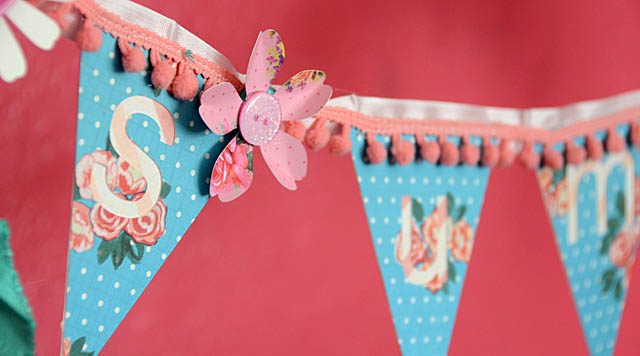
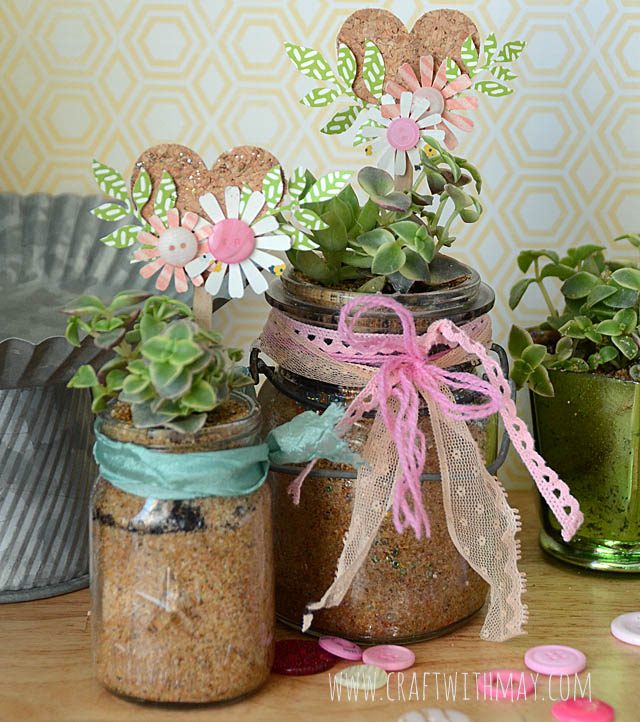
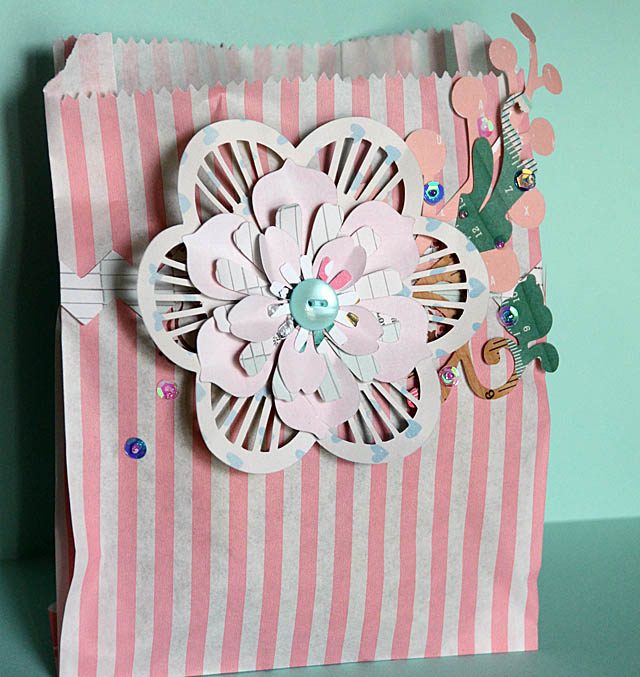
The project is a summer banner! I stitched trims onto mine, however stapling, hand stitching, or even gluing it together could work! I always think big for banners so creating a little 4 1/2″ high one was delightful!

DSC_5273

For my full video tutorial, check it out here!

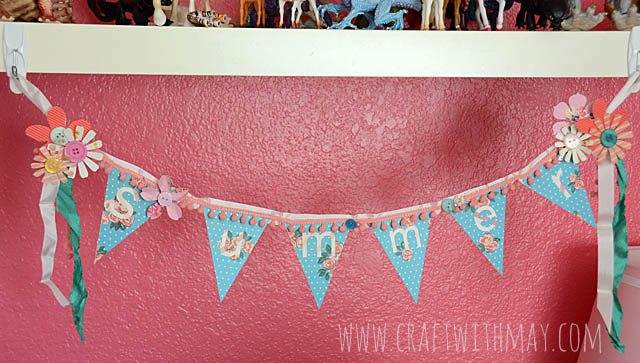
Before I even finished Miss Elizabeth asked that I put it up on her shelf! I used those removable hook “no damage” stick to the wall things. LOVE these for displaying banners!

DSC_5276 copy

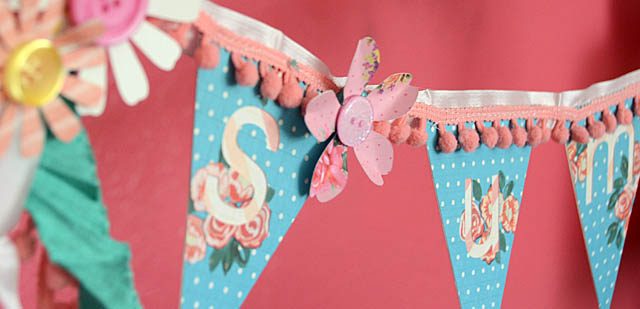
Even more than that, I love how some paper, buttons, and trims came together to make something so festive. With just 3 days of school left the girls are definitely ready…

DSC_5281

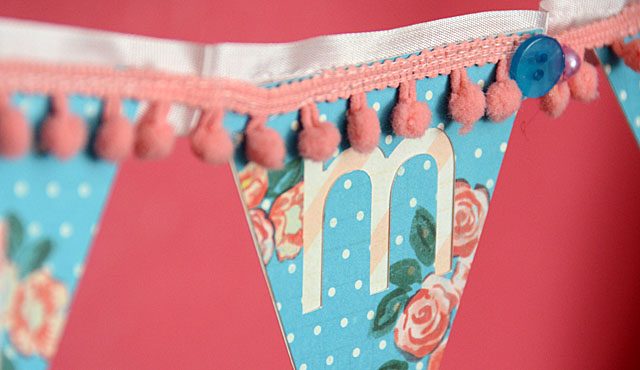
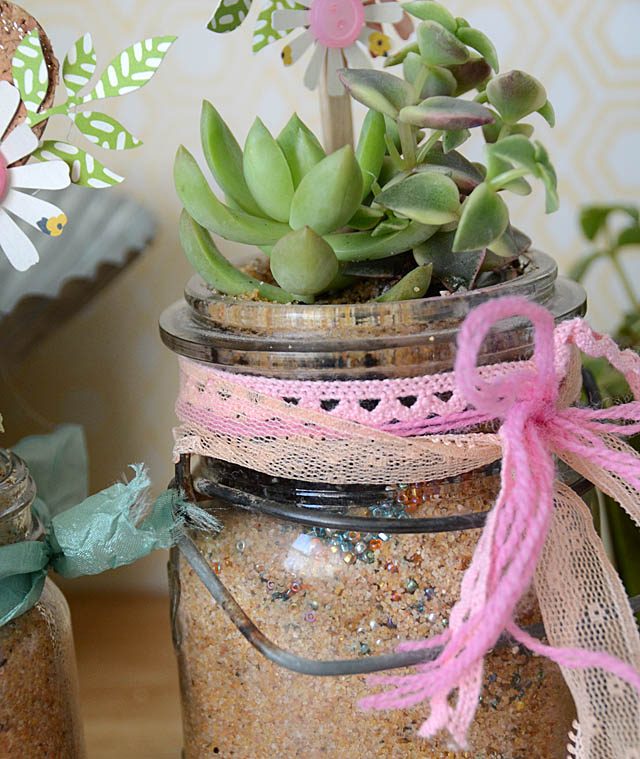
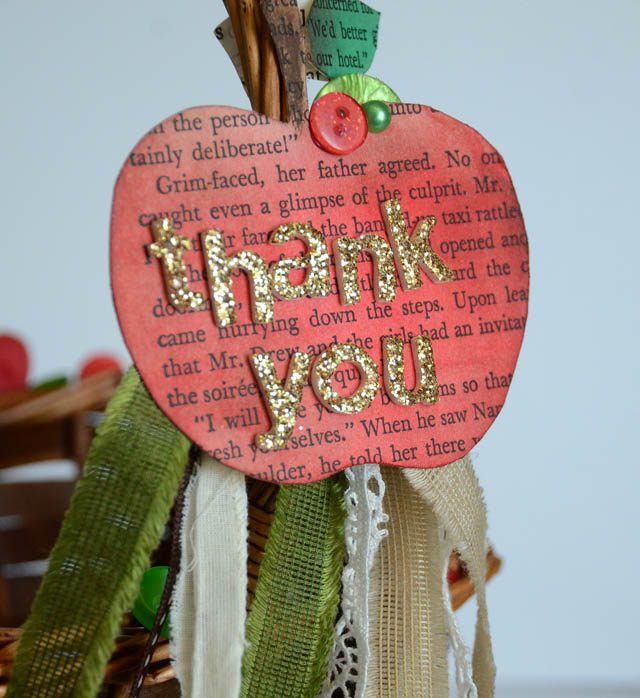
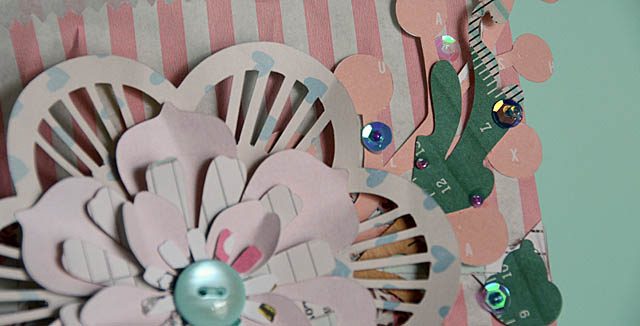
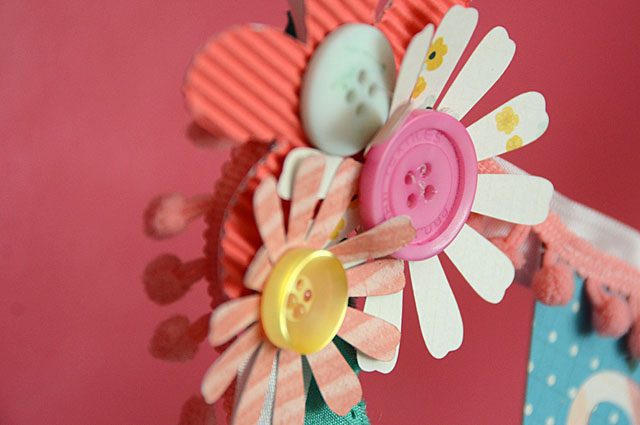
Here you can see some more details of the banner up close. Contrast between the layers is definitely key. If you really were feeling fancy you could raise it up and create shaker box style banners!

DSC_5285

So many little ways to add some crafting to summer, and loved creating a few with you this week. I hope you’ve enjoyed as well!

Countdown to summer: decorative picks

From plants to brighten my studio to hostess gifts I’m planting succulents this weekend and having a blast! There is a mix of sand and potting soil inside my mason jars (I will report back on how well this works!) and to make it extra fun I got out my ScanNCut to help make some decorative picks.

DSC_5229

There are so many ways you could create – I stuck with simple designs built into my machine, but you could get more intricate adding different materials as well.

DSC_5227

As always, I disclose that I am a paid consultant for Brother and my machine was provided to me, but all ideas and opinions are my own.

DSC_5233

Here is my video tutorial (YouTube) on creating these picks.

You could easily create them for use on cupcakes, flower arrangements, or anything else! You could add on a tag, and so much more. For me, I’m just excited to have these guys prettying up the studio. I will be replanting two of these outside (once I can get my husband to move some planters I can’t currently move on my own!) but in the meantime this is perfect.

DSC_5236

I’m looking forward to planting some ferns and other things for my studio in this same way- I’m simply loving how these turned out!! One last thing I did here: I added some seed beads into the sand. I’m hoping this works well and adds some crafty sparkle too – we shall see!

DSC_5245 copy

I hope you’ve enjoyed this little tutorial and one more way my ScanNCut is helping me to prepare for summer as well as craft some fun stuff! I think I could see myself making these as party favors, for gifts, and of course I now want to stick decorative picks in everything!

DSC_5248

I’ve got more ideas for kicking off summer – so stay tuned!

Countdown to summer: basket for teacher thank-you gift

Last year, I did a video (see YouTube here) about making a card and thanking teachers using my ScanNCut. Today, I’m going to bust out that beloved apple once again and decorate a basket!

DSC_5087

This project would be great for a number of things – so if you’re looking for a fun giftable stay tuned! Oh yes, and before we go any further my usual disclosure that I am a paid consultant for Brother, my ScanNCut machine was provided to me, but all ideas and opinions here on my blog are my own.

Untitled-1

The first thing to do is get out the ScanNCut, load the apple design pieces, and weld them together. Need more detail? see my video linked above where I go into detail.

DSC_5100

Then cut out of as many materials as you’d like! I ended up mounting some book paper onto cardstock then inking it up to get a really nice apple.

DSC_5105

Then I got out my basket, tied a bunch of ribbons on it as I waited for my hot glue to warm up.

DSC_5151

Hmmm… some buttons? Why yes let’s do that!

DSC_5152

This project was really fun because I challenged myself to use whatever I had on hand, and I really love that I could create a similar project with a number of shapes in my ScanNCut machine. From flowers to Christmas trees- this could so easily be a seasonal gift!

DSC_5157 copy

Here’s the finished basket – don’t you love it?! I almost don’t want to give it away. Of course we’ve had tremendous luck with fantastic teachers this year so giving it away won’t be all that hard.

DSC_5160

As you can see I just hot glued buttons in here and there, and now that it is done I will let the girls fill it with treats! Both girls had the same teacher for both Kindergarten and then that teacher moved grades and both girls had her as a teacher for 3rd grade so something extra special is due and I think this is just the thing.

DSC_5166

As I count down to summer break I’ve got several more projects, and more ways that my ScanNCut is helping me out as I’m still not holding scissors – but that’s not stopping me from crafting up a lovely summer!

Countdown to Summer: Summer vacation calendar

DSC_5118

When it comes to summer preparations, I like to set up a calendar. Nothing fancy- I just put paper up on the wall and fill stuff in so the girls can see what we’re up to. This year I decided to make it by month, 8 1/2 x 11 sized, and add some stamps and fun too. We can add notes and plans, and the calendar pages can be slipped into my scrapbook if I’d like when we are done.

DSC_5122

Before we dig into this any more – let me disclose (as always!) that all opinions and ideas are my own, but that I am a paid consultant for Brother and they did provide me with my ScanNCut. I say that every time – always want to be upfront! Ok so back to the creating…

Here’s a YouTube video on how I created the cut-outs in this page. The scanning feature of the ScanNCut makes it so easy to see where things will go.

Want more precise lines? You could absolutely do something like this with a computer and print it out! Want a 7-day week instead? Go ahead! I just like a 5-day grid.

DSC_5126

As you can see I mixed some stamping, embellishments, and washi tapes to decorate.

DSC_5136 copy

This turned out so cute and now I can let the kids add in our specific plans and notes about days.

DSC_5139

I love using the negative as I did here (vs the shapes that got cut out) and layering up a fun calendar like this! So simple – and yet the results turned out better than I had hoped! I will be sure to share the July and August versions with you as well.

DSC_5144

For now, I’m back to using my ScanNCut to countdown to summer vacation… stay tuned! I’ve got a few more posts coming soon…a YouTube video

ScanNCut: decorated treat bag

From Mother’s Day to Birthdays – I always need cute ways to give gifts! Hey everybody I’m back to show you how I’m letting the ScanNCut make use of my scraps as well as do most of the work for me.

disclaimer: I’m a paid consultant for Brother, but all ideas and opinions are my own.

DSC_4752

How cute did this bag turn out? I’m in love for many reasons and mostly because it was so simple to make! Thanks to my Brother ScanNCut, built in designs, and a bit of hot glue I was able to transform a “treat” bag with a sentiment I didn’t want into an any-occasion gift bag. Love that!

DSC_4737

I like using patterned papers, but you could use any variety of materials to create a project like this one. Here is a link to my YouTube video.

You could repurpose old bags from shops using this kind of a project idea, and so much more! I do so love making gift giving just a little bit prettier, and I hope I’ve inspired you to do the same today.