Back to School?! How is this possible?

I am not ready guys, and I just can’t believe I’m discussing fall and even WINTER stuff with Brother on our recent calls. CHA projects? NO WAY! (yes, way) Before we get rolling on this post I want to remind you that I am a paid consultant for Brother. I do so love working with them and the ScanNCut, and sharing all my own ideas & opinions on this great machine.

DSC_6734

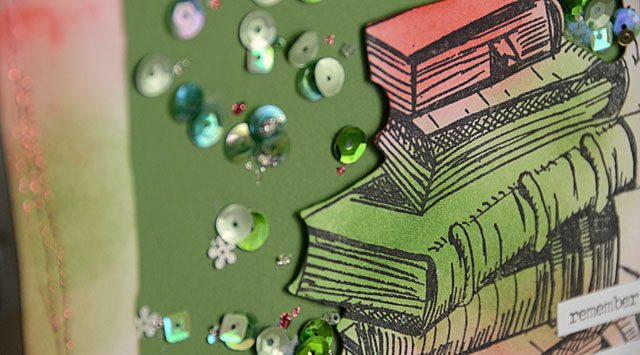
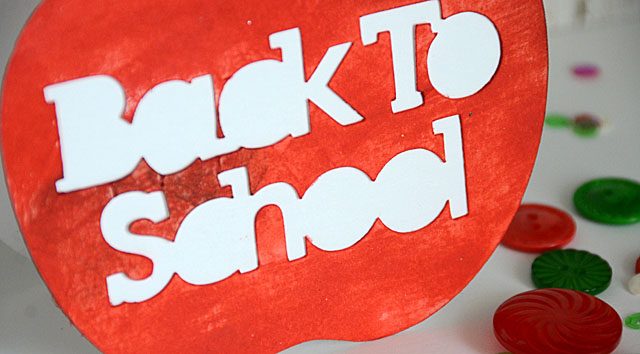
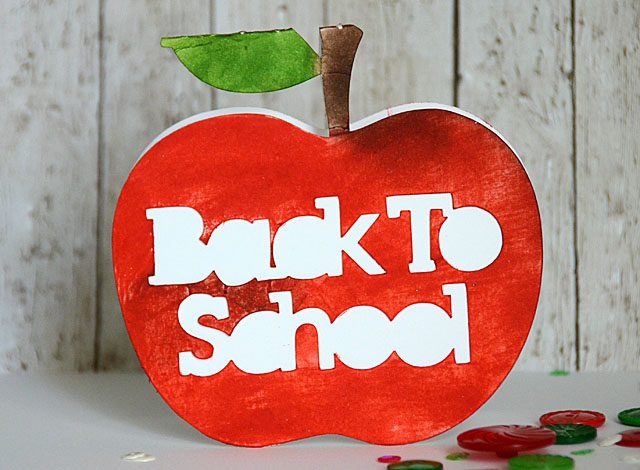
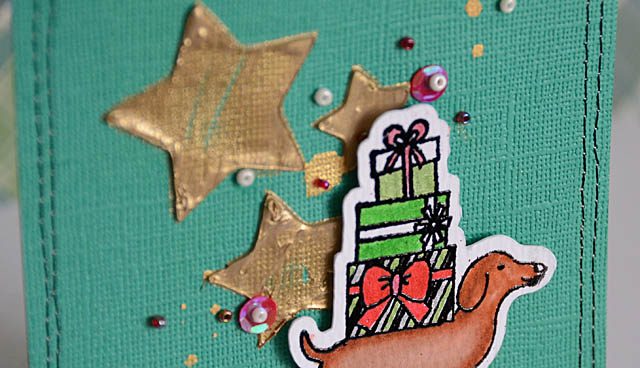
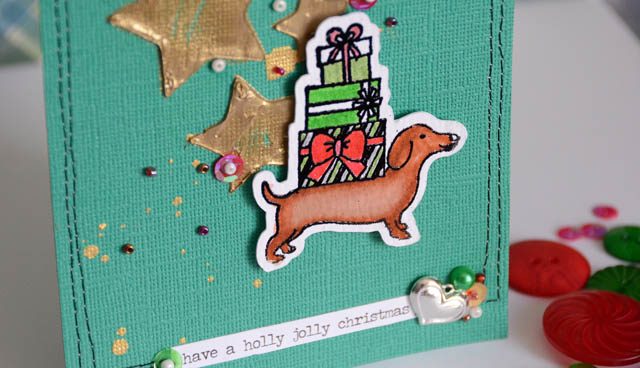
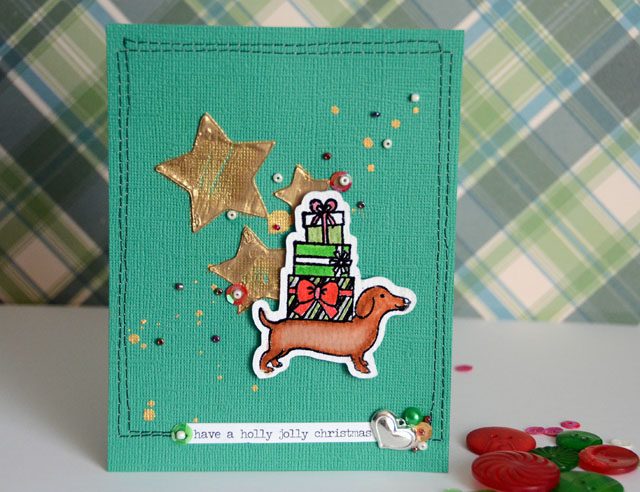
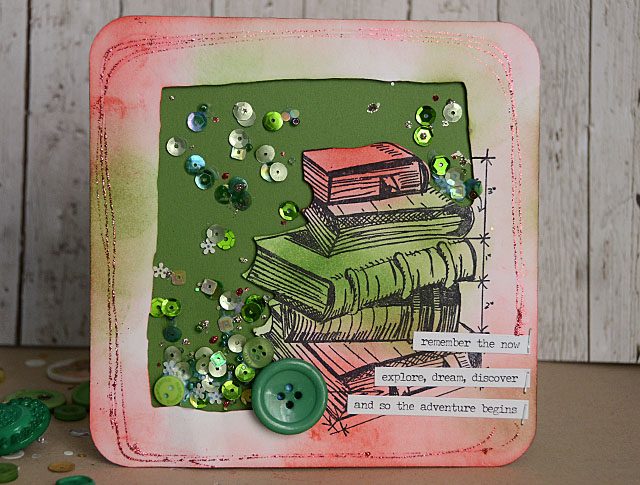
We just got our teacher assignments (and I think it’s gonna be another great year!) – so I needed one more card for a teacher and had an idea. What if I tried my “how to trick the ScanNCut into cutting a stamp that isn’t quite solid lines?” trick… to make a faux shaker card? Well it worked! Here’s a Link to my YouTube video

What I really like about not putting acetate on top? Two things. First of all it means I do not need to perfectly seal my foam adhesive around the opening so that things don’t get loose. Secondly, it means I can get as bulky as I want without adding extra layers of foam adhesive.

DSC_6742

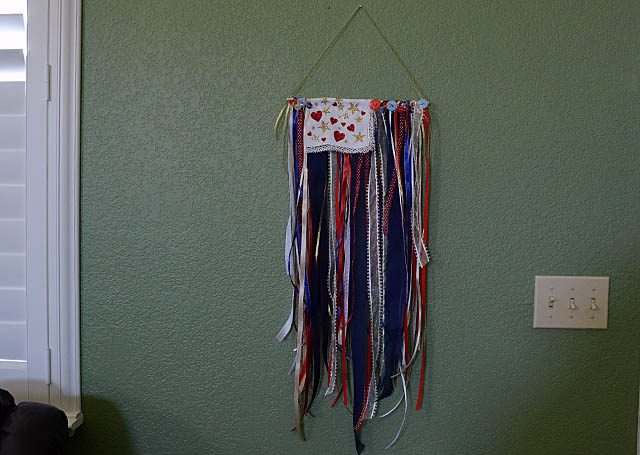
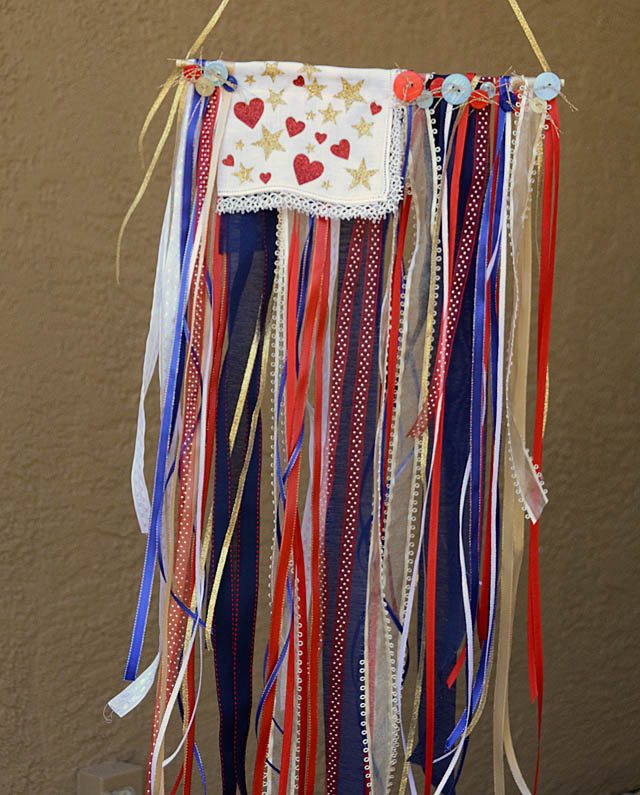
I can hardly believe my girls are about to be 4th and 6th graders! Time sure does fly, and we’ll be taking the time to thank our teachers and enjoy this special year. I hope you’ve liked this tutorial – and have been inspired to play around with funky ideas of your own!

ScanNCut: back to school!

First up to my ScanNCut using friends – there’s an update!! Click here to get it. Love that Brother is always working to improve things and puts these updates out. Whether or not you’re a ScanNCut owner – I have a fun and simple project for you today.

DSC_6479

Around here, summer vacation is rapidly coming to a close. In fact, we have less than a week left! One of the things I like to do is starting the school year by gifting the new teachers we get a coffee gift card + note. I love starting the school year with a smile – and a craft. Today I am going to show you how quick & easy the ScanNCut makes this for me.

Here is a link to my YouTube video tutorial for how to build this card.

I’m getting more and more into layering cut files/creating more intricate yet still simple finished result projects. I just love how it turns out! For this card, I cut out on white cardstock then inked to color it. Loving the results.

DSC_6482

I can’t believe it is that time of year already – this year is flying by!

note/disclaimer as I always tell you – I am a paid consultant for Brother however all ideas and opinions are my own. Love my ScanNCut machine, and I sure do love sharing projects with you!

ScanNCut + cardstock = card!

DSC_6294

Once in a while, I like to try and make something truly quick and very simple. I deeply love my complex projects but I also like to mix it up. To make a card like mine all you’ll need is a single piece of cardstock. I think this would work great as a party invite, a thank you, or a holiday card! One design, cut out of whatever papers you like, then customize!

Here is a link to my YouTube video tutorial – you’ll see how quick!

DSC_6301

Here you see the finished card – this one stamped with a bit of script just to show how easy even adding embellishment to this sweet little card is! I really love how it turned out and I hope I’ve inspired you to try something easy. Oh yes, and as always I remind you that I am a paid consultant for Brother, but that all ideas and opinions are my own.

Have a great week!

Christmas in July: Paste & Stamped card

Christmas in July?! Only a little bit, I promise! Oh before we get to the project let me explain… you see today’s project is important for two reasons.

IMG_9029

This is Bandit! He’s a one year old Dachshund (rescued, of course!) and he’s been here two days. Anyhow inspired by him I looked around and I knew I just had to make a card with my Dachshund stamp – even if it was holiday themed! Always good to have a few things done ahead! Anyhow I used my ScanNCut to quickly cut around it, with a .08 outline (love that I can customize it!)

disclaimer – I am a paid consultant for Brother, however all ideas and opinions are my own. I truly love the ScanNCut!

DSC_6288

Another detail that is noteworthy – I used watercolors + sparkle pens to color this image. Without a brace. For the first time! I have a LONG recovery road still ahead, but it is exciting that I was able to color this stamped image without pain. What could make it more fun?

DSC_6291

I realized that the “garbage” left behind after making ScanNCut stamps a while back is in fact really great for a paste stencil. True it’s a little thick I wouldn’t recommend it as a material to make stencils necessarily, but if you’ve made anything from a cut from paper to silicone stamp material like I had then definitely try it!

Here’s a link to YouTube and my video tutorial.

I love how this turned out, and how it combined a few different ways to put my ScanNCut to use while also being inspired by our new pup and testing my wrist and exercising it a bit with coloring.

DSC_6283

Here is my finished card – really love how it turned out and while I know its a bit early – I am a fan of crafting out of season as you are inspired to do so!

Patriotic ribbon flag

I forget when I first saw a ribbon flag years ago- but I’ve always wanted to make one! There is just one drawback to a project like this: it takes a LOT of ribbon. I think mine took somewhere around 20-25 yards and it is a small one! What got me thinking about this was that while cleaning I found a dozen of rolls of simple ribbon that I’d purchased and not used. What to do? Create, that’s what!
mayflaum_ribbonflag_tutorial
disclaimer: I am a paid consultant for Brother, but all ideas and opinions are my own.

DSC_5743

The how-to is pretty simple:

  1. Get a wood dowel or pole
  2. Loop and attach ribbon over it
  3. Add your ‘flag’ element and designs
  4. Finish with some added ribbons or bonus details such as buttons
  5. Add a thin ribbon to hang (and hot glue onto ends to hold it all together) and go!

Note: If you don’t have a sewing machine this would be a simple project to hand stitch, or even tie a knot in the ribbons around the pole instead.

Here’s a link to my YouTube video.

Here is a photo of where my flag is hanging – as you can see no the prettiest place to photograph – but I’m all about sharing the real life stuff!

DSC_5783

I took it outside to photograph (so often home décor projects don’t look best where they really live) as well.

DSC_5778

All of these simple ribbons together – oh how I love this! I already have visions of using my ScanNCut to make wood leaves and creating a fall version – wouldn’t that be pretty? Ah but for now – and the rest of summer – this Fourth of July inspired flag will hang in my home. This project might have taken me all afternoon, but it was worth it!

Also of note: Tune in to HSN on July 6th to see Julie Fei-Fan Balzer rock the ScanNCut! You can check out hsn.com for exact times (or watch online!) if you want to see this machine in action some more!