Studio Q&A time!

clean1

It’s not “done”… in part because I still am not pleased with a few elements and in part because I think there will always be change and adjustment in here as I grow and change as a creative person. That said… it’s as close to “done” as this studio has ever been! I made quite a few tweaks and adjustments, and picked up a few things last weekend as well. I’m photographing and working on a video but I still need your help!

supply

What I need to know is, what would you like to see? Organization? General photos? Detailed info? One quick shot like this one is good enough? Do you have a specific question? I have a hard time deciding and a lot of ideas here so any feedback would be greatly appreciated. Thanks!

b1

Now Scrappy, Ranger, and I are back to preparing the children for back to school… this week!


Operation Clean Studio: Patterned Paper

DSC_1047

Over the years I have stored my paper in MANY ways. Vertical, horizontal, inside a carrier, cupboard… the thing is paper is the base for ALL that I do, so I need it out, easy to access, and simple. Paper is my #1 pain storage wise because to have it up it has to be on a HEAVY DUTY desk/surface. A regular shelf is too delicate. This was my biggest “ARG” as I re-did my studio.

The solution was to line it up along my big dresser (aka the former diaper table picked because it would be great for crafting once babies outgrew it!) and for once I’ve got all paper in the same spot. Gotta tell you – this has worked WELL so far!

The longest standing system I have in place is the plastic magazine style holders for patterned paper. I purchased these over 10 years ago, when I was a scrapbook store manager and I still use the originals! I use these for patterned paper, divided by manufacturer.

DSC_1049

I also have a cube-style for cardstock that I purchased at Michael’s 4+ years ago. Around that time, I also simplified (as in, stopped buying) almost all cardstock colors! I keep white, cream, straw, kraft, navy blue, a soft aqua blue, grey, 2 greens, and 1 pink. that is all I’ve purchased in the last few years, and I STILL have “other” colors of cardstock!

DSC_1052

Oh if the need arises I will buy a single sheet for a specific project, but so far? So far I really still have all that OLD loads of colors of cardstock stash I’m working through! I’ve only had to purchase cardstock twice that wasn’t in my regular stock.

The one addition I have now is that I got a 8 1/2 x 11″ sized holder for all my specialty papers/random cardstock sheets that are that size, as well as sizeable chunks of random colors.

DSC_1054

The other thing you see above is that my one cube has storage for bigger sticker sheets. This works well here also because all of these items need to have clear space (for me to pull things out/in) and so far, so good.

As time allows, and as I am sure I like how things are I will keep sharing the storage solutions (or long time favorites) here. Everything is somewhat settled here, but I’m still adjusting and adding so I am not ready to do a “full tour” just yet. Got questions? I love to answer! Just let me know.

Mid-week peek…

skarpi

  • You can see my new floor
  • Yes, yes miss Scrappy is the cutest.
  • the drawers/dresser blue wood with FULLY REMOVABLE drawers thing? each drawer is about 6x6x10 making it PERFECT for so many things! Very excited I wandered into Home Goods looking for some retail therapy.
  • I folded every single piece of fabric the same size <insert eye crossing emoji here>
  • I crafted for the first time in here today
  • I’m so glad all this work is being done – it is WORTH IT!
  • Many new projects, an exciting free class, and announcing of Camp Scrap coming soon! You wanna be on my newsletter list (once a month mailing at max)…

In the middle: of a studio make-over!!

Hey everyone,  I’m in the middle of a 100% studio make-over which is taking longer than anticipated – so I am not yet set up to craft again. I don’t have a project to share today, but I do want to share with you what’s going on here in my world:

First of all, for nearly a year I have contemplated the re-model and to try and figure out how BEST to fit my studio back together. Made notes of things that don’t work, things that do, things I love, things I dislike… I’ve also been cleaning and purging my studio this whole time too. One small drawer, one bit at a time.

Here is a photo of it circa exactly 3 years ago:

circa2012april

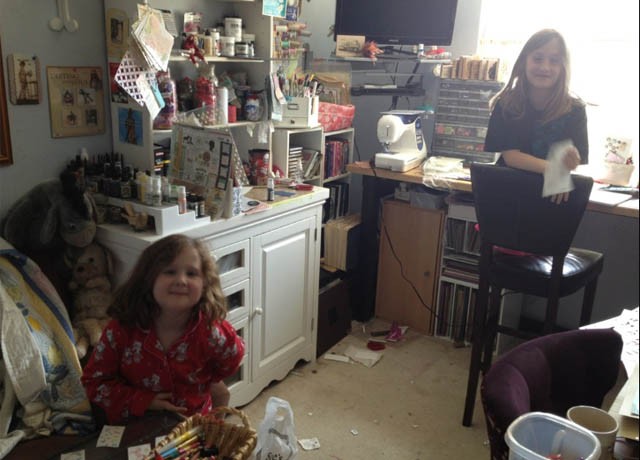
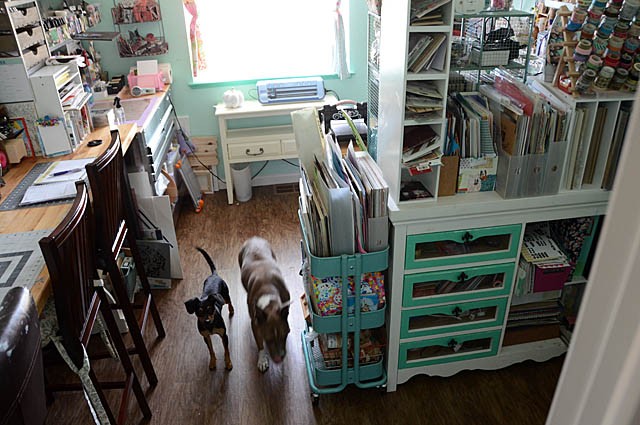
As you can see cardstock used to be housed on the ground (and patterned paper is in that brown cabinet next to it). My die cuts and sewing supplies were up in that far corner under the TV. I can see my purple chair – which means my computer desk right there bottom left had not yet migrated to the closet.

Over the last 13 years of living here I’ve revamped this room OFTEN. But here’s the mistake I made every time:

I never emptied it 100% and thoughtfully put each thing back.

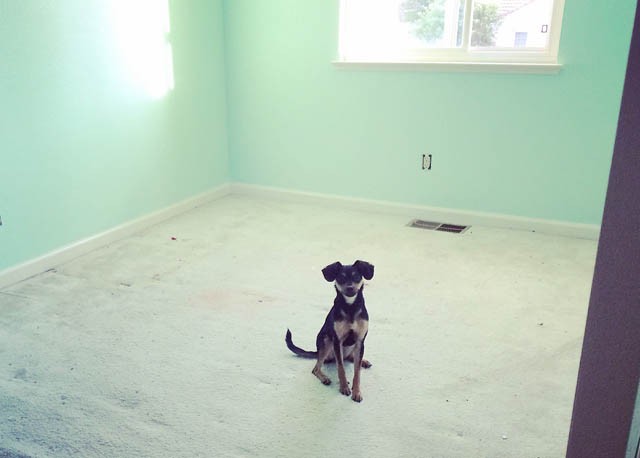
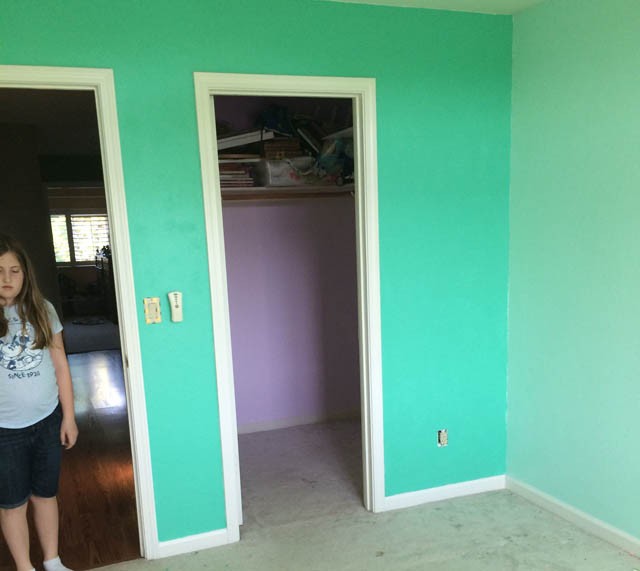
This time is different. About 2 weeks ago I started painting (the room was empty!) and then I had the floors re-done. You can imagine what a piece of carpet that had been my studio floor for 13 years looked like!!

IMG_1272

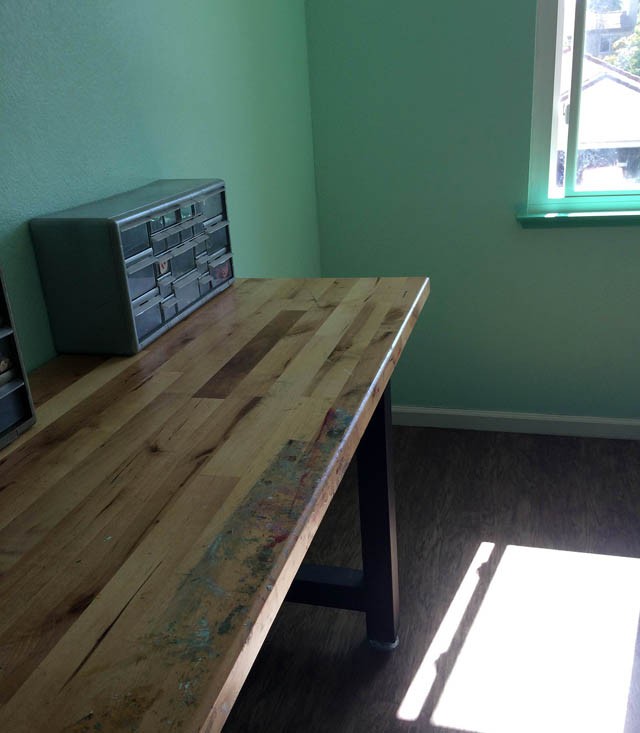
The day before the new carpet went in I went in with masking tape on the floor and plotted out the 3 big pieces of furniture I own and how I saw them fitting back into this room. I made some sketches of how the little stuff would fit – but honestly that just can’t be figured out in advance too well.

Once the three big pieces were back in I re-measured, re-tested, and reconsidered what I NEEDED. Now note that I think adorable shelves, cute cubbies and drawers, and other beautiful studio stuff is grand. I really do.

The thing is… I need hardcore heavy weight holding no limitations type stuff! A big box of photos weighs a LOT, let alone 10 of them! So in addition to thinking about space constraints, I’ve been thinking a lot about how I craft, how I use this space, and what is useful to me.

IMG_1462

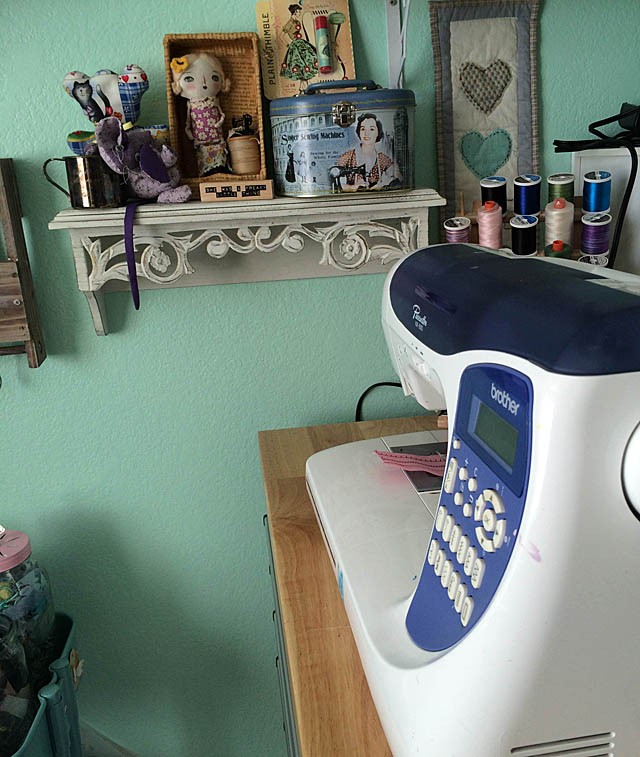
The sewing machine has to have a space about 3x bigger than it. period. Otherwise I just move and shuffle things every time I use it – and I use it a lot. There are a few other things I know too – for example:

  • Paper on floor level = bad
  • Embellishments out of packages and stored in  small drawers or containers = good
  • Things need to be stored simply. No fuss no dedicated spot for one specific small item
  • I like to have multiple working spots so people can craft with me and/or I can leave wet projects and move on to things elsewhere
  • I need to better utilize my wall space
  • The more I can store away, the easier it will be to keep clean
  • Simple. Can’t say that enough. The storage must be simple.

As I find my storage solutions, work with what I have here, and continue this process I will be doing regular blog posts to share with you the process and (eventually) the finished studio!!

Scrappy Saturday: The empty room

I’m so off… I thought today was Saturday and posted this. WHOOOOPS! Ah well, enjoy a peek + the return of scrappy…

IMG_1167

So many tiny buttons and treasures! Such room to roam! Scrappy the dog checks out the EMPTY studio and is confused but also slightly delighted by the new play space.

When I decided it was floors time, I also decided I would be rethinking every single thing from ink storage to where I put stuff. I took out the TV that had been on the wall for at least 10 years and for the first time since 2002- this room is truly empty and I will work it over completely.

Big project guys – BIG project.

IMG_1162

Here you see Miss E, a view of the wild purple multi-color closet (more on that some other time), and a shelf up high that looks messy but isn’t!!! It is carefully controlled chaos to allow me to use that shelf as a holding spot since 100% of things have to be off the ground in here.

Note that the paint colors are going to look different in EVERY photo because time of day and lighting greatly change things. Which is why I picked these colors: they look great in all lights!