Studio wall: painted rainbow heart

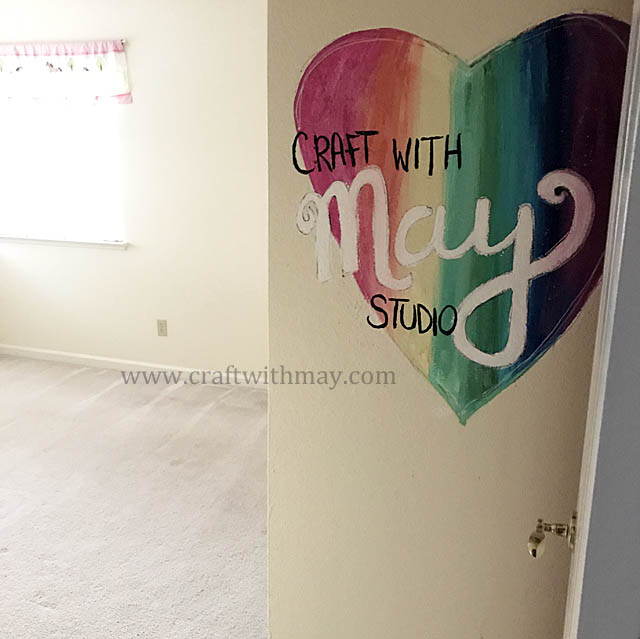
I’m excited to share with you a look at how I put together the first project in my new studio space. When you open the door there is a wall area that is too close to the door to hang anything on (on other side of that ‘wall’ is closet that runs along that side of room), and since door is right there not like I can put any storage either. So what should I do?

I decided to use only things I had on hand, and a paint brush. And well, just have fun!

The results are better than I hoped – and I think once that ancient carpet is out and I am moved in it’ll really be something! Want to see how I did it? Here is a link to my YouTube video showing a peek at my process.

I used EVERYTHING I had on hand. Acrylic paint, white paint + spray color, stickles, puffy paint… whatever!! My goal here was to have fun and make an entryway something out of this spot. I could have used stencils and other materials to make it more “perfect”… but that’s just not me. I wanted to 100% just use paint + brush + my own hand and hand craft it. Have FUN, enjoy the process, and be ok with being a little chaotic.

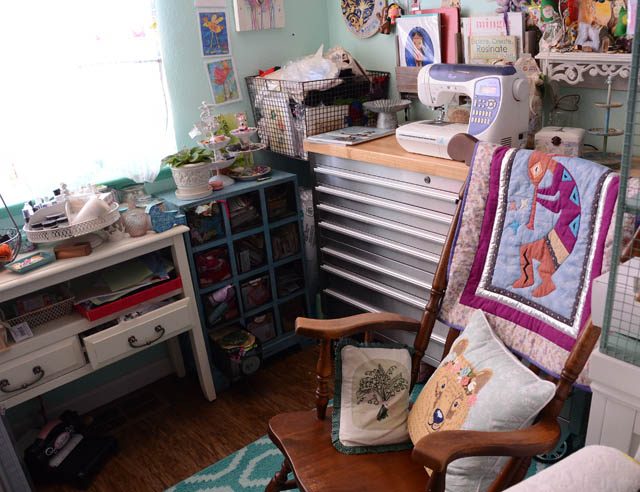
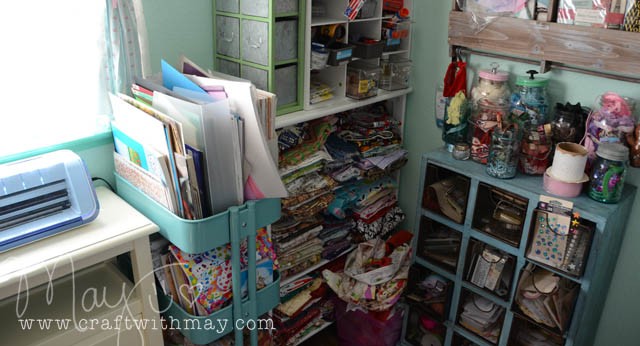
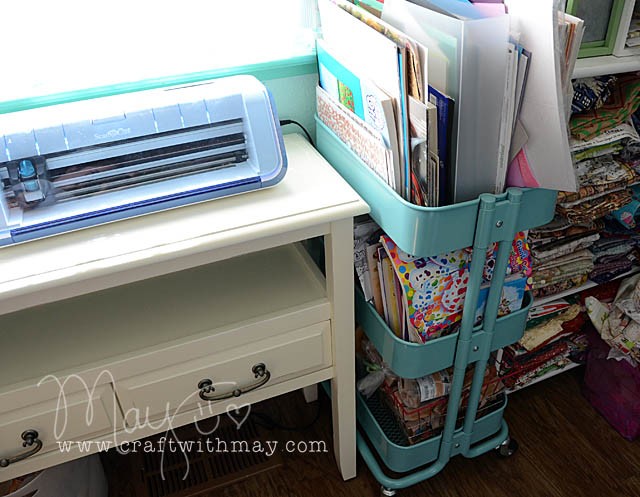
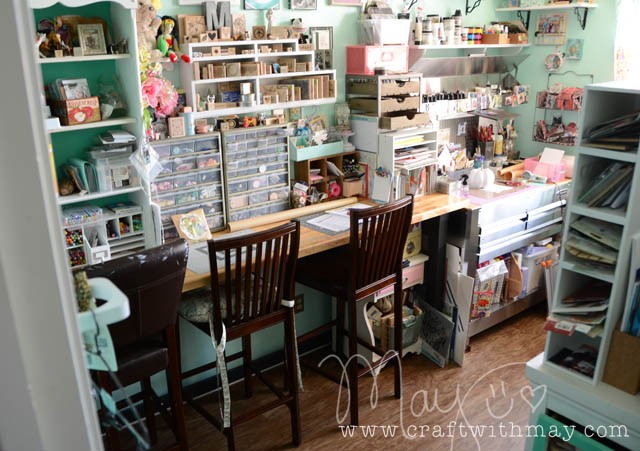
I love the results – can you guess the color “theme” of the new studio?

I will be sure to share more with you soon as I’m moved in fully. Wish me luck!

Around here: October in the studio

Scrappy (above) watching over the neighborhood from a newly discovered perch. Hey guys! All is CRAZY here but it’s (hopefully) coming to an end so I wanted to share! The short version of the story is… except my room and the kitchen we reorganized the entire house. This has been going on since around June – it’s a process! Let’s focus on the fun & painting and crafty details!  Continue reading “Around here: October in the studio”

peeks around the studio

DSC_5188

I rearranged some things (slowly and over a number of days!) and wanted to share the results. I was able to get my grandpa’s rocking chair (he made it!) into the studio. On the chair are a quilt and pillow my grandma made along with a bear pillow that I fell in love with (Target).  DSC_5185

I’ve always said that when it comes to your space, function should be #1, but a close second should be things you enjoy, treasures that make you happy. It’s a big reason why you’ll find random nonsense items in here – and I’d not have it any other way. DSC_5205

Of course that can also include things like awesome new Hero Arts stamps (see Hawaii one, below) that I’m finding ways of working with and testing out. This whole slow and steady thing sucks – not gonna pretend otherwise – but I’m making the most of it as best as I can, and remembering that this is all worth it.

DSC_5210 copy

Oh, and don’t worry. Studio is messy as ever even if I’m only crafting about 1/100th of my norm. I’ve not yet figured out how I’m managing to do that… guess I’m just creatively messy by nature and not even being one-armed can change that about me!

What about the Raskog?

When Ikea first peeked the beautiful aqua-licious raskog my heart raced. I couldn’t wait. I wanted it! So pretty! Before it was even in stores it became a craft community phenomenon. Ah, but here’s the question: Is it worthy? Is it worth buying?

First off, there are many copycats now. I’ve seen carts that look just like this everywhere from Cost Plus to Home Goods. So don’t get hung up on the exact Ikea original – think general rolling cart as I share my thoughts and ideas.

raskog1

Currently mine has kids paper, coloring books, and the bottom holds all their stamps. This isn’t ideal – my hope is actually to use up what is currently being stored on the top two layers and replace with other items. In the past I’ve happily stored:

  •  Cardstock (top only) and patterned paper
  • Stencils (top only)
  • Stamps (unmounted/clear sheets, top only)
  • jars of ribbons/trims
  • smaller open-top containers of items
  • my general “in-box/in-progress” area
  • paper scraps
  • wood mounted stamps
  • paint and mediums

You really could put anything in here – including putting smaller containers into those levels. Personally what I love is that it is flexible. I can go big or small. Loads of things or one type of thing. Add storage into the storage or not. Also, it’s open. Which means that I don’t have drawers or lids to close. The portable aspect is really nice as well, but not usually a major factor for me.

raskog2

If you are say storing your supplies in one spot in a closet? This could be a store-all. You can fit a shocking amount. I’ll be sure to update as we use up the “little kid” items and phase out the shelf contents or find new homes for them. How are other people using theirs? I went hopping around and found some great examples to share with you:

Happie Scrappie has a lot of little things stored in her two cards (the carts are quite a few photos down)

Patter goes wild with Project Life cards

LifeMadeCreations has me all hmmm about more little containers in a Raskog

Letzte inspires me with how she’s got things hanging off the cart.

View from the studio…

studio1

I will get into various organization ideas and tips in future posts – to cram it all in one would be madness! To start, let me show you what it looks like in here right now.

DSC_4682 copy

Trying to get a handle on the layout? Here’s a rough sketch of the studio + closet. I did one of these (many times!) when working out how to make the most of a 9×11 foot room + walk-in closet!

dc2 copy

Where it says “birds eye view” is the hallway… and where I took this photo from.

DSC_4674 copy

If you’re trying to get organized – from your tote bag to a whole space – the #1 key is to think about how you craft. What you use. What would make your life easier. And working within the space you’ve got.

Here’s a video (link to YouTube) – you can see my studio through the years, demolition, and well as loads of new studio photos!

The most important things I’ve figured out are:

  • Leave space for more. Don’t think you can fit a supply exactly. Your amount may increase or decrease.
  • Be realistic about how organized you will actually upkeep. A drawer for paint? Great! Specific slots/rainbow order? never gonna happen.
  • Have spot(s) for mess. What I mean is, have a box, bin, or other spot where “random/mess/in progress” can go. Not a ton of space – but someplace so messy bits in progress don’t have to cover other areas.
  • Think about how you work, what will be great in practice vs looks

DSC_4496 copy

For me, having cupboards and bigger bins is BAD. I just dump and shove. Having smaller areas, having things broken way down is much more useful and easier for me to keep clean.

For pens – I like having them all out and ready to work. I don’t have to go digging I can just sit down and color.

DSC_4510 copy

When it comes to bits and pieces from journaling cards to ephemera to epoxy to buttons? fully removable drawers so I can pull out what I’m digging through and then put the whole drawer back.

DSC_4526 copy

This fun little one is full of “for the kids” and random bits like party beads we didn’t use, sequins, bold and bright not likely to show up in my own projects items. Even better those whole drawers come out!

DSC_4529 copy

My latest? This “Supplies” tub for brand new things. I like having a spot for the brand new items so I can try to break them open before they get put into my stash.

supply

All items like the idea-ology charms will go into their general spots/drawers once opened or used. I love having this because once upon a time a single bin is where everything went!

What are you stumped on storing? That’s what I’ll be covering next…