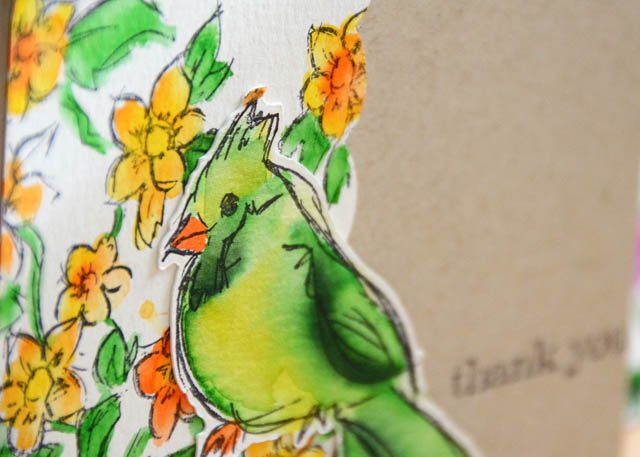
Once in a while I hit on an idea that is absolutely perfect – and turns out exactly or better than I had imagined. This is one such time! My inspiration was simple: I wanted to make some gift card “cards” for some Jr High teachers I’ll be seeing this week at conferences. After looking around at my supplies I decided that a bird stamp set + my ScanNCut would be just the thing.
I set myself a goal to decorate a bit more seasonally as well as using up stash items like the spool of twines you see above. I’m also trying to use up paper I have vs buying more. I share this because as I sat and thought about how to add all these things could come together the answer hit me: ScanNCut craft time! Continue reading “Fall leaf garland with ScanNCut”
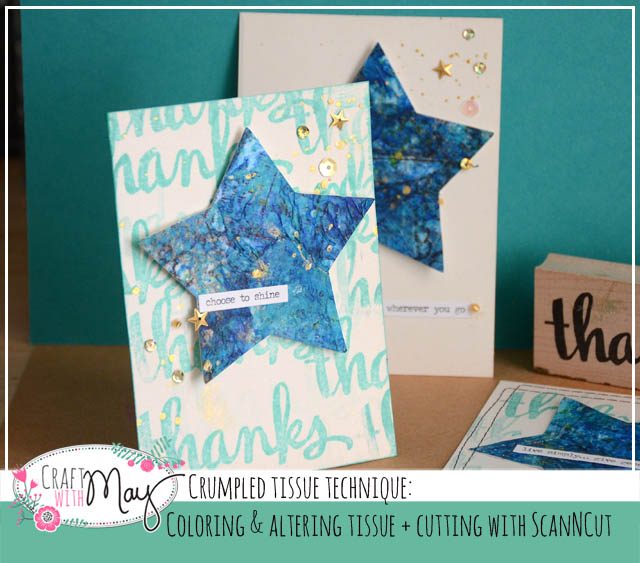
I went looking at kid artwork to inspire today’s post and what I found was this: tissue. Mosaic designs to crumpled, tissue shows up a TON in school artwork! So, how could I be inspired by this and put my own twist on it?
disclaimer: I am a paid consultant for Brother, however all ideas and opinions are my own. The ScanNCut is indeed a machine I use, love, and can’t get enough of!
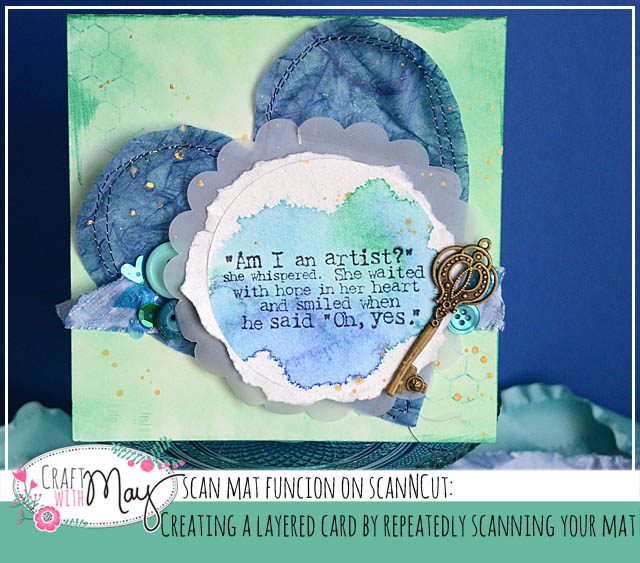
My solution was to crumple and glue (any liquid adhesive should work) a sheet of tissue to a very heavy sheet of cardstock. Why heavy? So that any warping would be minimized and the surface stable. I just crinkled, smudged, and basically let the tissue do whatever simply making sure it was glued down absolutely everywhere. That’s a key for later on.
Once satisfied and it was mostly dry I began painting. Acrylic paint, sprays, inks – whatever! Just let each layer semi-dry so you don’t make mud and blot off excess as needed. The results? Incredible! Even better? Now I’ve got a super fun piece to create with – and cutting it out will be a breeze. Here is my tutorial video explaining my process.
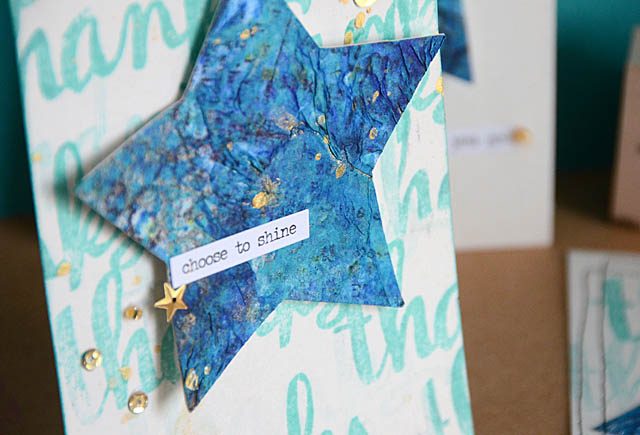
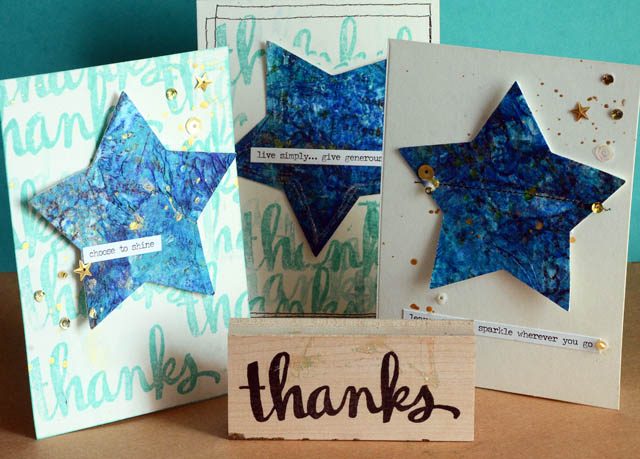
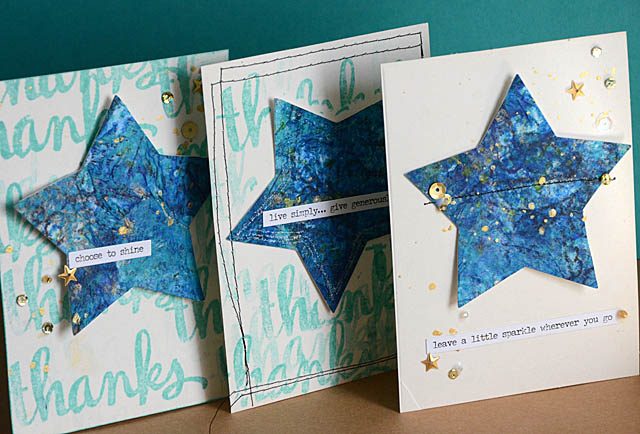
As I mentioned in the video I have a LOT of Thank You cards to write this week so having a basic idea to then alter/mix up but make the same basic card helped a lot. Here are three of the cards I made with my wild painted tissue.
I absolutely love the results – and I think this technique could be fantastic for anything from Christmas ornaments to home décor to art journaling. All inspired by simple elementary school tissue art too – who would have thought?
If you create with tissue I’d love to know how you use it and what you like to make. I’m always looking for new fun ideas. Thanks for checking out my project and remember stay tuned because each week I add new tutorials, videos, and crafty fun.
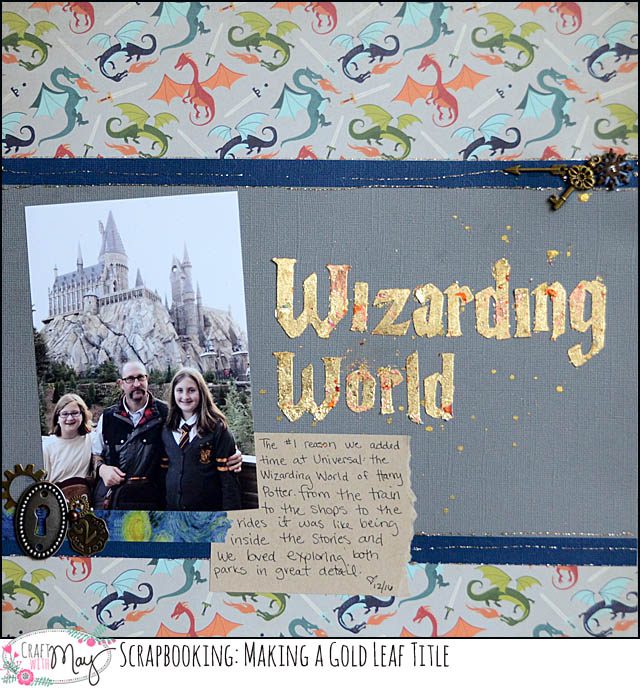
When I scrapbook, the process goes photo + story sorted out then I figure out what room is left for embellishing (paper layers, metal bits, buttons, title, etc). Today I am going to share a layout that is the total opposite! Using my ScanNCut (disclaimer, as always that I am a paid consultant for Brother, but all ideas and opinions are my own) I created custom letters which I cut out from paper covered with double sided adhesive… and wow.