Cards for every occasion: Inspired by lessons 3 and 4

Today I’m back with two cards- these cards were inspired by lessons #3 and #4 in my free scrapbook.com class. I had such fun raiding my die cut drawer and stacking details up!
DSC_6108

note: affiliate links are used in this post – should you use them they help support this site at no additional cost to you.
pic1

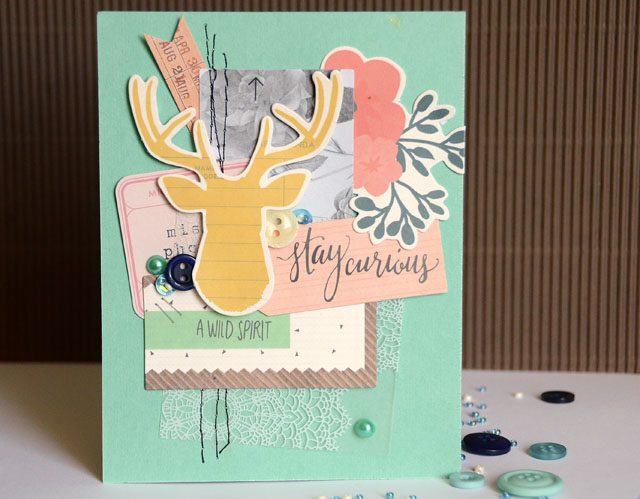
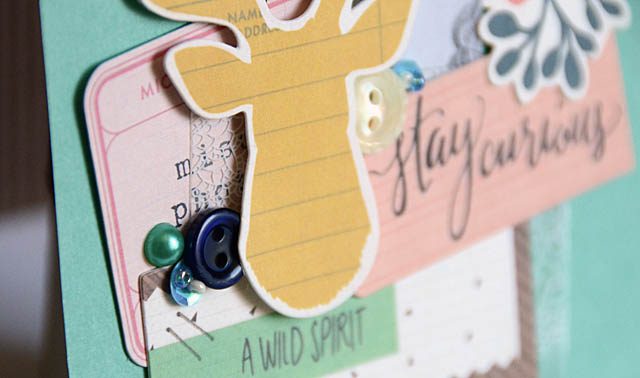
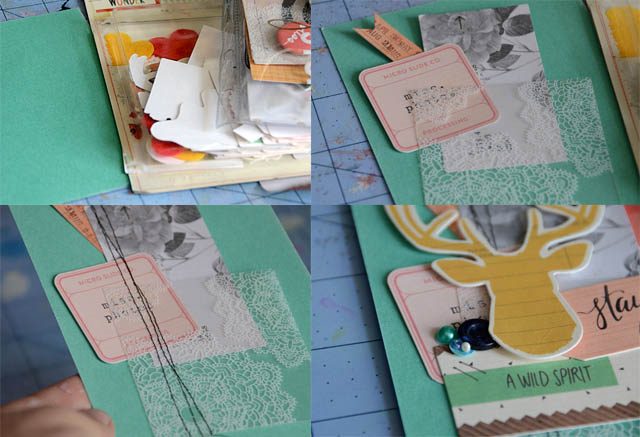
I pulled out some die cuts, layered, and stitched them into place. Then I added a few more – and added a deer head on foam adhesive. When creating a card like this I like to pick a few pieces at a time. I also like to add texture! The stitching worked well, but I also added in some buttons & embellishments from the Attic Findings kit (link to scrapbook.com)
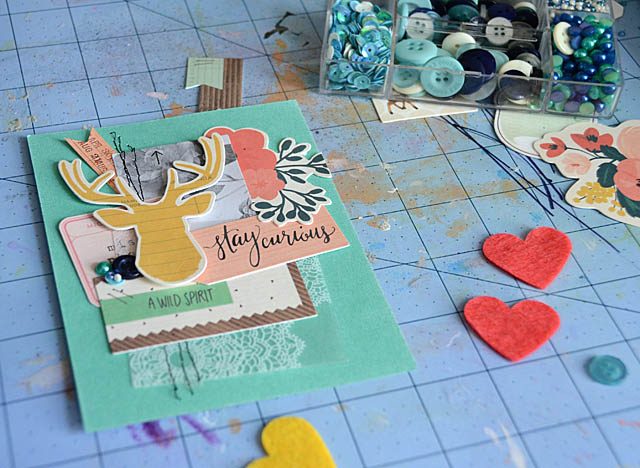
DSC_6083

Here is my finished card:

DSC_6102

As you can see just a few strategic embellishments and the card was done! I used some Heidi Swapp (link) from an embellishment pouch and then some Crate Paper bits and pieces as well.
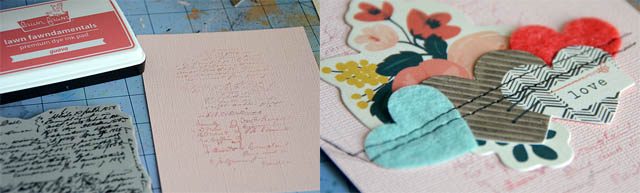
pic2

For my second card I edged cardstock and stamped in Lawn Fawn Guava (link) – my current absolute favorite color ink!
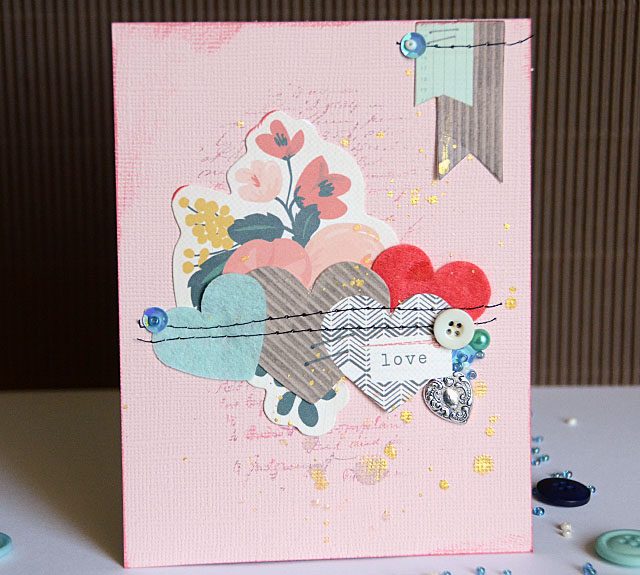
DSC_6088

From there the process was similar – but fewer pieces. I really love ephemera packs from Crate Paper – I hope they never stop making them! This one is a few years old and I’m glad I got it out and used up.
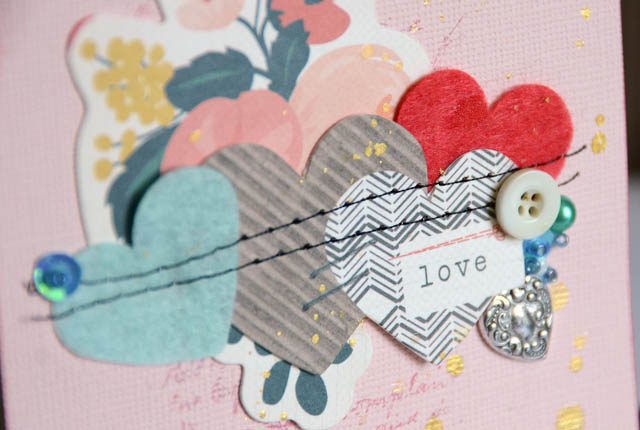
DSC_6091

Want more card ideas? Be sure you’re signed up for my free class! You can visit scrapbook.com and sign up for my class and many other free classes.
28 Lilac Lane hop winners

Thanks for all the lovely comments – here are the lucky winners from last week’s blog hop!
DSC_5437
Marcie Lovett (Ashli/tropical)
Carol Watson (Chari/new leaf )
Daisies Girl (Audrey/Attic findings )
OneCraftyStamper (Nina-marie/tropical)
Rita Montgomery (Emma/attic)
Michelle T (May/attic)

If your name is here – email me (craftwithmay at gmail.com) with your mailing address, and I’ll get your info to Buttons Galore who will be sending you a 28 Lilac Lane kit! So fun!

Stay tuned – I will be having another giveaway soon!

Decorated boxes with 28 Lilac Lane – and a giveaway!

DSC_5437

Happy Friday, everyone! Today’s post is extra fun because I have two projects to share, there’s a hop going on (see end of my post for others participating!) featuring 28 Lilac Lane, and I’m giving away a kit! Before we get going let me tell you there are some affiliate links in this post (thanks for supporting the site!) but also some regular links as well – no difference on your end I just always disclose that!

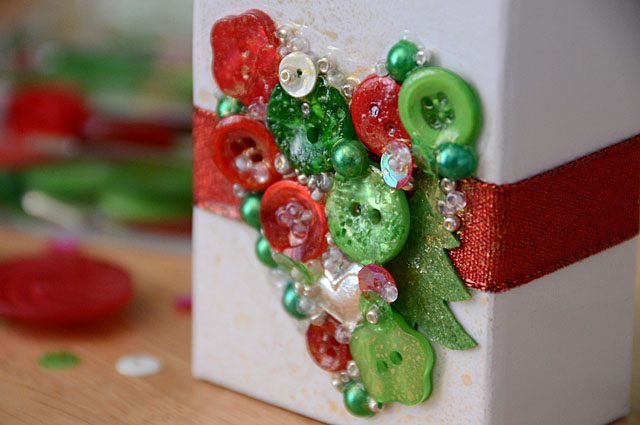
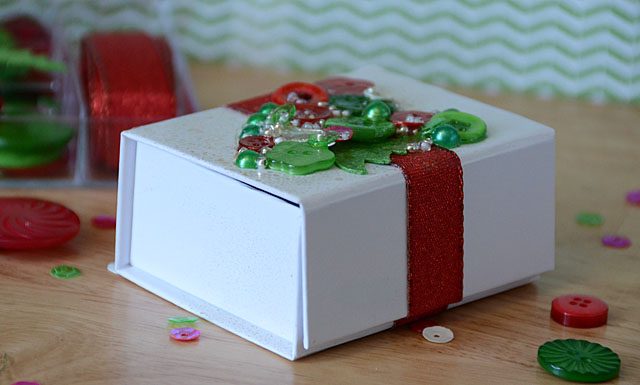
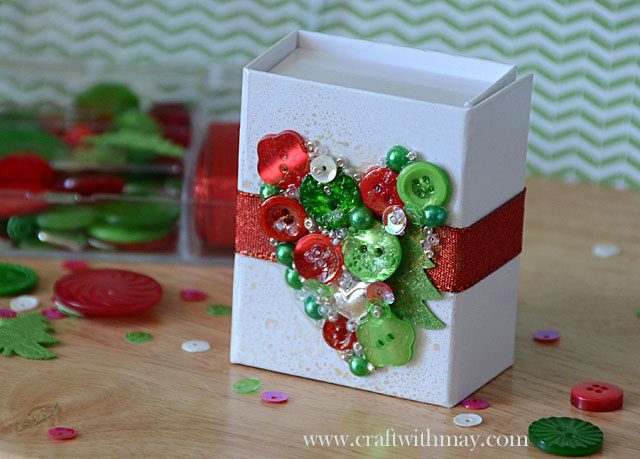
Let’s get started with a holiday box featuring the Holly Jolly kit. It’s a little Christmas gift action in July!

DSC_5448
I created a full video tutorial – you can watch it on YouTube.

I used the Holly Jolly kit, PPA adhesive, and the box I used was from the container store though any box would do.
DSC_5453
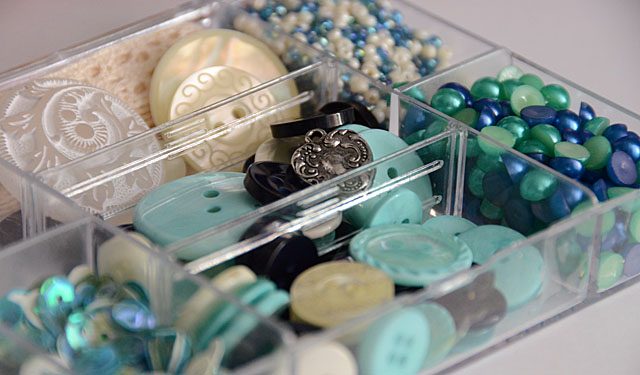
Looking for 28 Lilac Lane? It’s all over! Some online shops that are carrying the line include A Cherry on Top, Ellen Hutson, Scrapbook.com, Simon Says Stamp, and you can also purchase items directly from the Buttons Galore website.
DSC_5457 copy
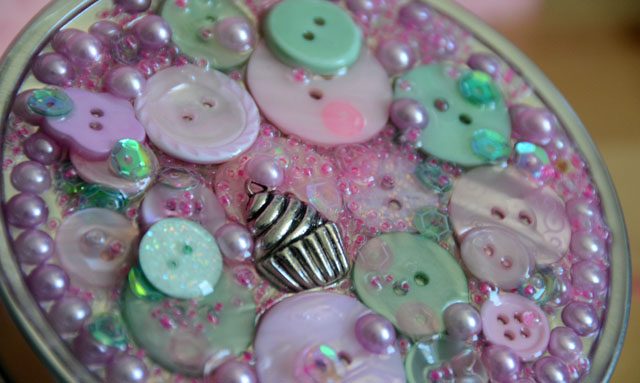
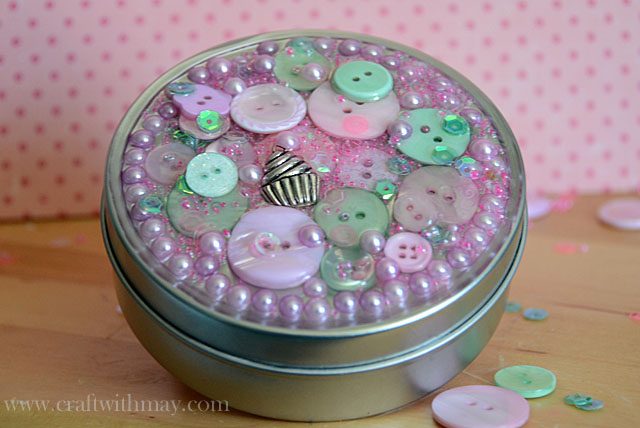
There are, of course, many other ways you can do a project like this, and you could also create a treasure box for yourself vs a giftable box! In fact, I tried just this with a metal tin and the Hello, Cupcake kit.
DSC_5568
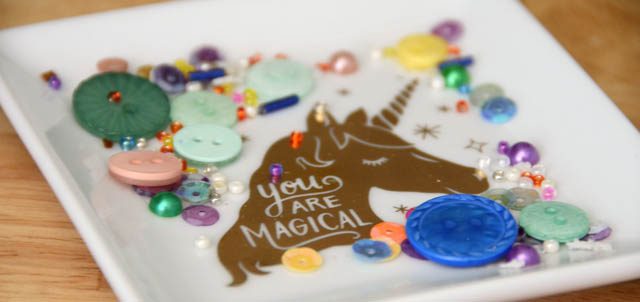
For this project, place all the items onto a layer of Ice Resin! The lip around the edges kept everything contained – though waiting 24hrs for it was hard! I’ve found Ice Resin (available many shops including scrapbook.com here) or PPA adhesive (available many shops including Ellen Hutson here) are definitely my favorite adhesives for 28 Lilac Lane. These projects would work for absolutely any kit – or even bottle of my embellishments.
DSC_5575 copy
Giveaway: Buttons Galore and More will be giving away some 28 Lilac Lane kits! Each blogger participating today is picking a favorite kit and one winner per blog will be selected. To be entered for your chance to win, leave a comment by July 11th, 2016. For more chances to win be sure to leave comments on all of the blogs participating today. A list of winners will be posted here on July 12 with instructions on claiming your prize!

I will be giving away an Attic Findings kit (below) – while I love all of the kits this is definitely a favorite!
DSC_5695

Link-up:
For more inspiration please check out all of the bloggers participating today
May Flaum http://mayflaum.com
Chari Moss
Ashli Oliver 
Audrey Pettit 
Nina-Marie Trapani 
Emma Williams

Thank you for joining us today – hope you enjoy all the ideas and don’t forget to leave comments (and check back here!) for several chances to win a prize!Chari Moss

Patriotic ribbon flag

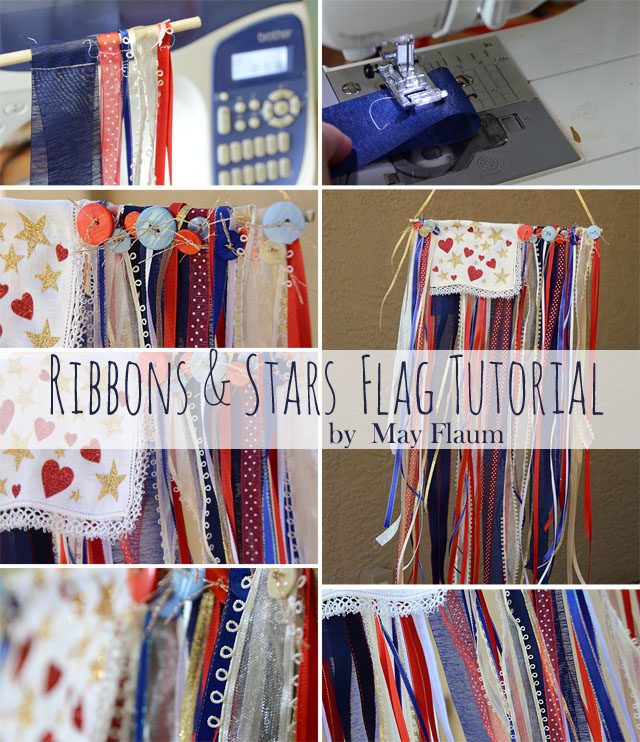
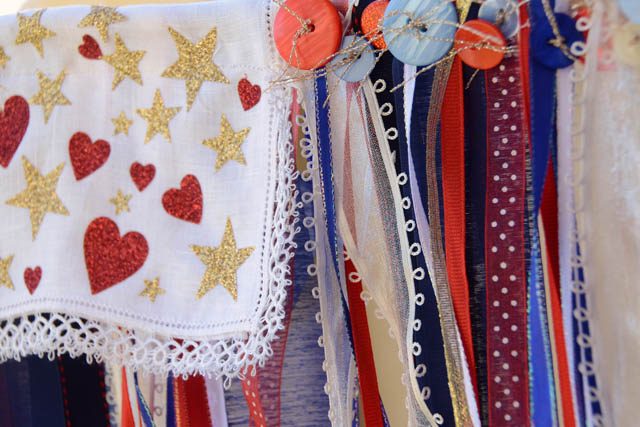
I forget when I first saw a ribbon flag years ago- but I’ve always wanted to make one! There is just one drawback to a project like this: it takes a LOT of ribbon. I think mine took somewhere around 20-25 yards and it is a small one! What got me thinking about this was that while cleaning I found a dozen of rolls of simple ribbon that I’d purchased and not used. What to do? Create, that’s what!
mayflaum_ribbonflag_tutorial
disclaimer: I am a paid consultant for Brother, but all ideas and opinions are my own.

DSC_5743

The how-to is pretty simple:

  1. Get a wood dowel or pole
  2. Loop and attach ribbon over it
  3. Add your ‘flag’ element and designs
  4. Finish with some added ribbons or bonus details such as buttons
  5. Add a thin ribbon to hang (and hot glue onto ends to hold it all together) and go!

Note: If you don’t have a sewing machine this would be a simple project to hand stitch, or even tie a knot in the ribbons around the pole instead.

Here’s a link to my YouTube video.

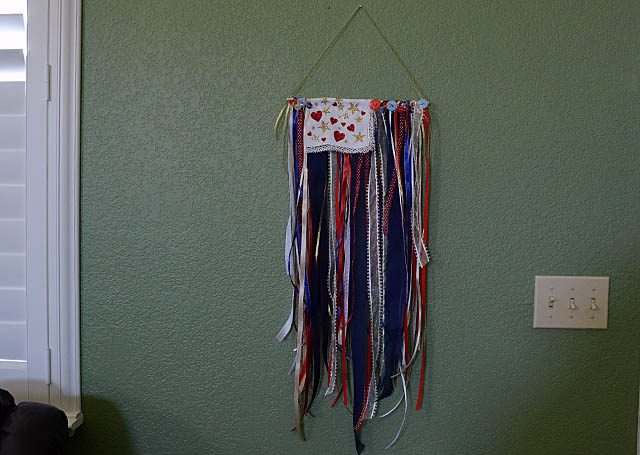
Here is a photo of where my flag is hanging – as you can see no the prettiest place to photograph – but I’m all about sharing the real life stuff!

DSC_5783

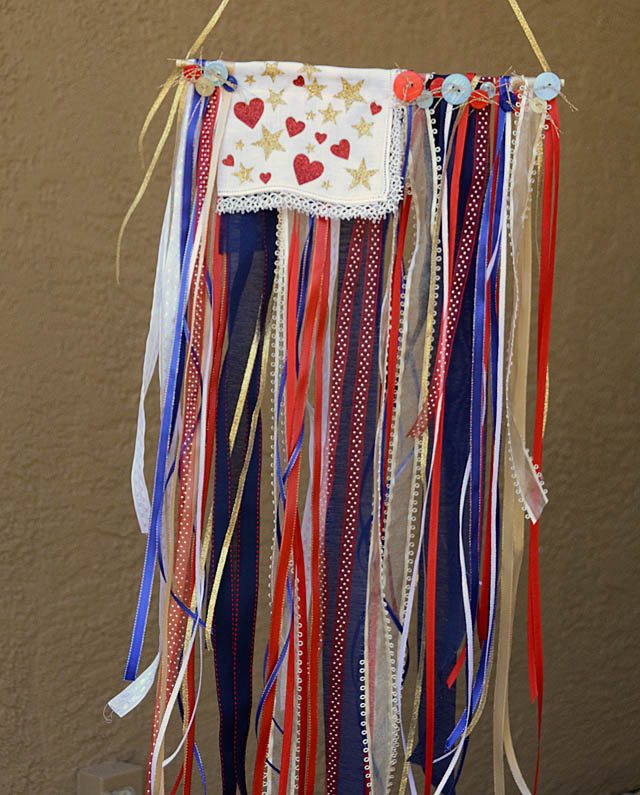
I took it outside to photograph (so often home décor projects don’t look best where they really live) as well.

DSC_5778

All of these simple ribbons together – oh how I love this! I already have visions of using my ScanNCut to make wood leaves and creating a fall version – wouldn’t that be pretty? Ah but for now – and the rest of summer – this Fourth of July inspired flag will hang in my home. This project might have taken me all afternoon, but it was worth it!

Also of note: Tune in to HSN on July 6th to see Julie Fei-Fan Balzer rock the ScanNCut! You can check out hsn.com for exact times (or watch online!) if you want to see this machine in action some more!

Inspired by Lesson 2: Card with Lawn Fawn Fairies

If you haven’t already – you can hop over to scrapbook.com and sign up for my free self-paced class “Create a Card for Every Occasion” – ten video lessons packed with inspiration!
picsb.com
note: affiliate links used in this post – no cost to you but it helps support this blog should you choose to use them. Thanks!

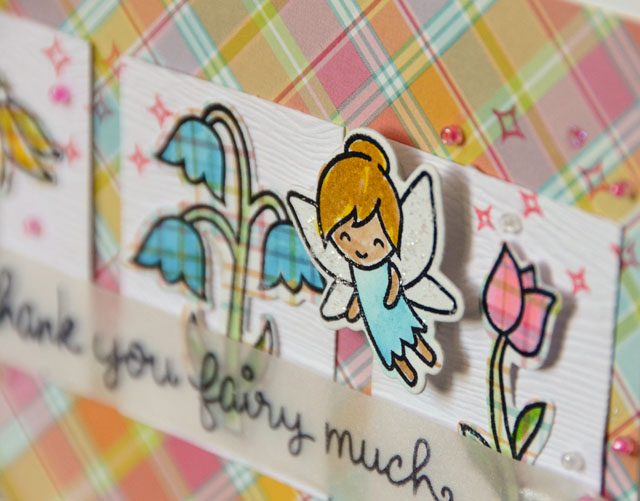
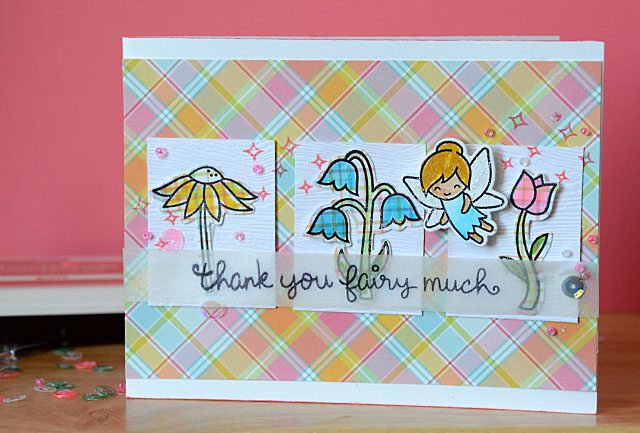
Today I’m working on lesson #2, and once again inspired to use Lawn Fawn stamps. With so many cute little stamps often it is challenging to figure out how to use them best, and also how to do so in perhaps a more simple way.
DSC_5592
I created a full video tutorial on YouTube for you to see how this process went – and the techniques I used including coloring and stamping on patterned paper! I just love how this card turned out!

Supplies Used (links to Scrapbook.com)
Lawn Fawn Fairy stamp set, coordinating die set, guava ink, and patterned paper; zig clean color pens; vellum; 28 Lilac Lane beads & sequins; black archival ink; and woodgrain cardstock
DSC_5613
My favorite thing about this card is the flowers on patterned paper! I don’t often color on patterned paper but for this card I think it worked out beautifully! To see the original card that inspired this one, and to register for my free class you can click here to visit Scrapbook.com. They’ve got loads of wonderful free content – including my class – I hope you enjoy!