Changeable photo décor with ScanNCut

DSC_5618

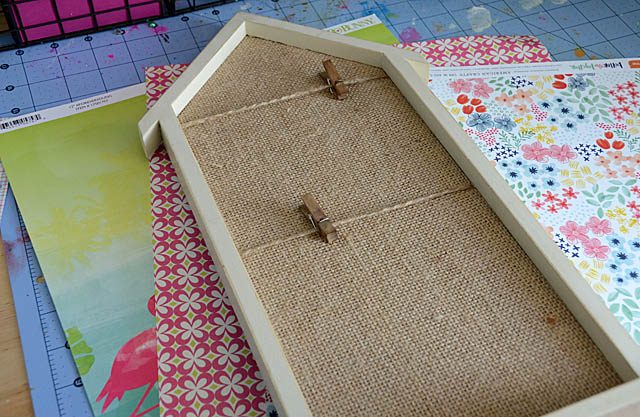
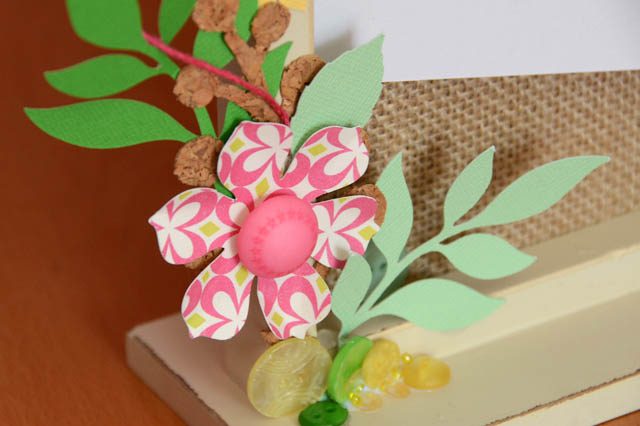
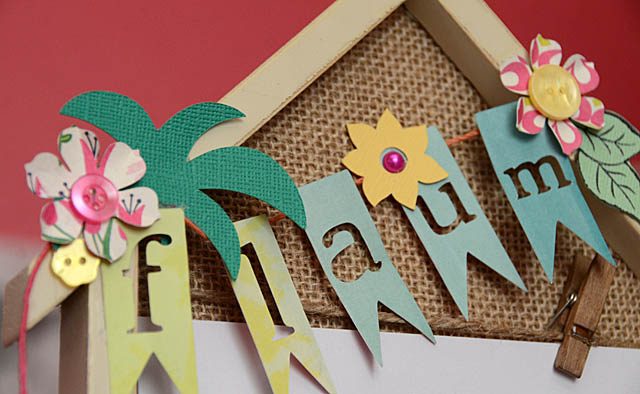
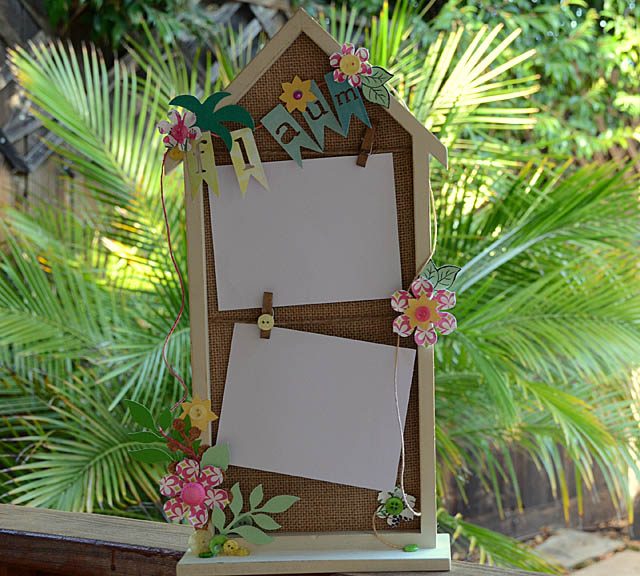
So the other day I found a wonderful house shaped photo holder. What I love about this is I can change it out, add ephemera – anything! I could also hot glue some embellishments on and really deck it out!

disclaimer that I am a paid consultant for Brother, but all ideas and projects are my own.
DSC_5622

This project ended up taking a LOT longer than I assumed – but it was so fun! What I also like is that if I want at some point I could remove the décor pieces and re-do. One reason I LOVE hotglue for a project like this – easy to remove in time and with a little pick!
DSC_5628

Here is my video tutorial at YouTube so you can watch the full process. I love bringing you along with me for the creative journey.
DSC_5641

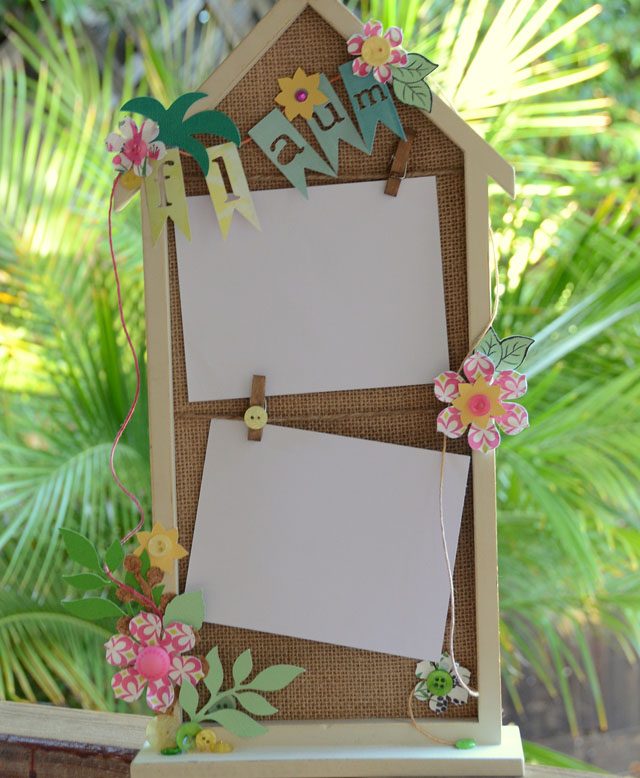
Now photographing this? That was a challenge! Had to take it outside and wow do I like it! I think it is going to be fun to tuck ephemera like tickets and things along with photos in this. I do so love easy makeover projects like this – even better when they might be a little time intensive – but not difficult.
DSC_5649

I hope you have enjoyed this project and video tutorial – I can hardly believe we’re heading into July! Where is this summer going?
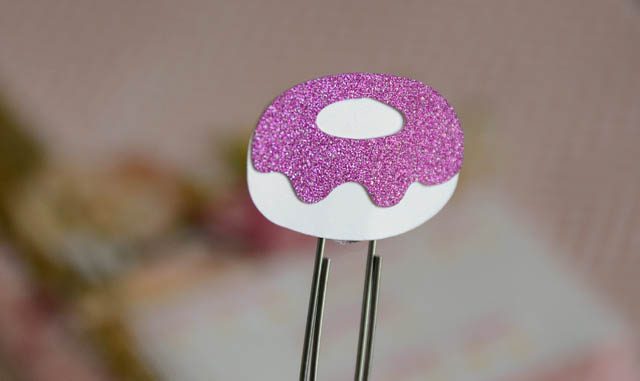
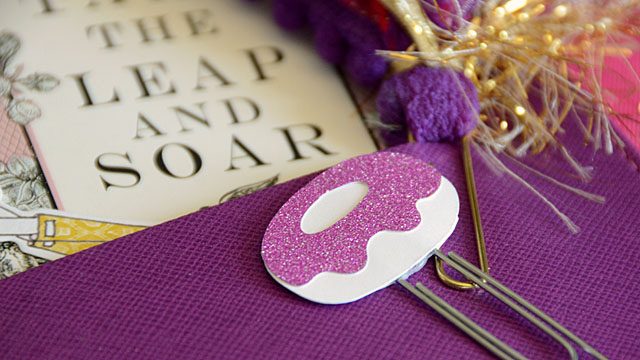
Donut Planner clip with ScanNCut

DSC_5538

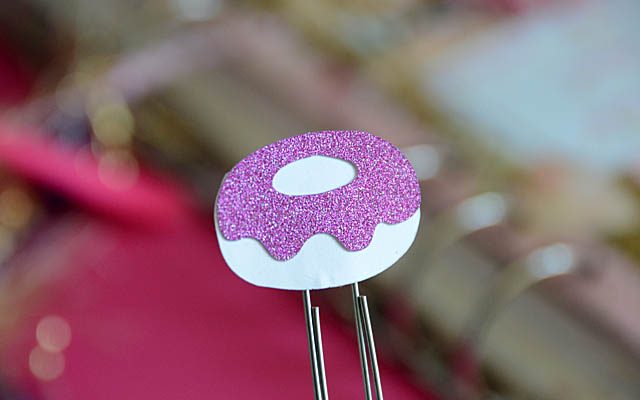
I’ve been wanting to explore making my own paper clips. Great for everything from clipping money into a birthday card to planner organization, really! There are a lot of materials you could use of course. What will I do next? Well when flipping through the existing patterns on my ScanNCut machine I realized a donut clip – perhaps a glittery one – would be fabulous!

disclaimer that I am a paid consultant for Brother, but as always all ideas and opinions are my own.

DSC_5544

My planner needs are evolving – more on that another day. But I’m in charge of all the weekday meals for now so I thought a fun food based clip would do nicely. I ended up creating one 1.3 inches wide. Perfect size! You can click here for my YouTube tutorial

I wasn’t actually sure if I could edit the sizes after picking the pieces – so I was pleasantly surprised that while 1.75 was minimum size the machine allowed, once I got into the edit screen I could change that! So just one great tip from me to you. I’m always learning something new, I tell you!

For today I’m just THRILLED to have this glittery donut adding a little handmade sparkle and fun to my planner.

DSC_5553

Right now I’m trying to figure out how to be better at organization and planning. I don’t believe anyone is simply good at it. I believe it is a skill to constantly work at and hone. I will be back to share where I’m at (and what is/isn’t working) on that front in a separate post. Have a sweet week!

coming along…

Hey all, just a quick check-in post to let you know how things are going here at injury central. There’s new pains, but I’m told it’s ok and most likely “using muscles that haven’t been used in months” kind of pain, not injury bad pain. Pain is good? I will take it.

DSC_5180 copy

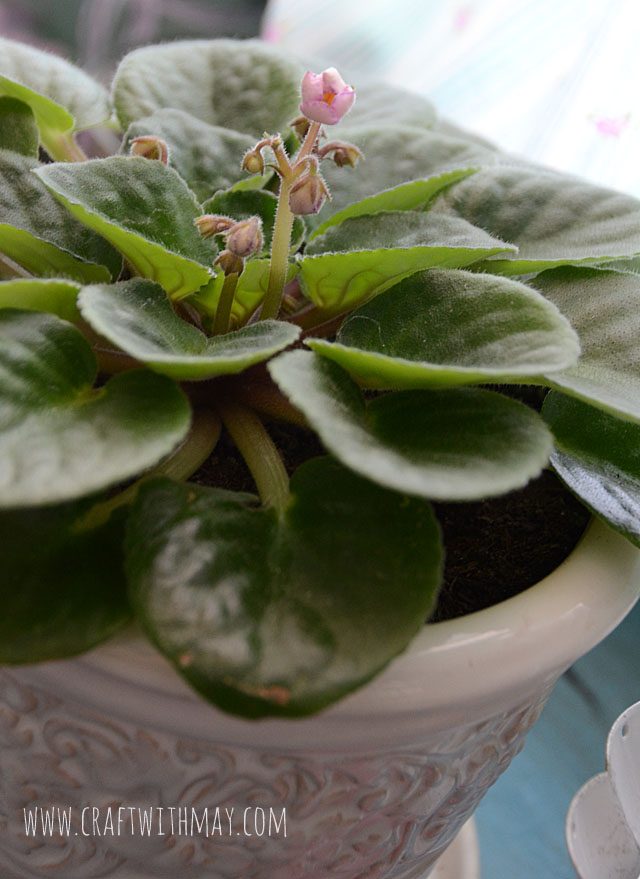
I’m able to write a bit, as well as type just a bit more. Most coloring, holding scissors, or utilizing a knife are still just not possible with the brace situation I have going on. That’s ok. I’m finding things that I *can* do each and every day, and I’m focusing on that. I am also focusing on things like the fact that my gardening attentions have my long time violet blooming for the first time in about two years.

New growth, new ideas, inspiration, and possibilities. Yes this is hard, and I’m not going to pretend otherwise or pretend I don’t want to scream when asked if I’m better yet… but the progress is happening. I will keep trying to see this time as an opportunity for new directions and positive habits. Trying ideas and testing things I hadn’t previously done. Why not?

Who knows – maybe my blooming violet here is just one of many fabulous rewards I will get for the patience and good work…

Cards for any occasion: lesson 1

Great news! One of the FREE online classes that I filmed for scrapbook.com is now open for registration. Not a card maker? not a problem! It’s packed with techniques and ideas you can use in your art journal, scrapbook, or mixed media project as well.

What could be better? Each week I’m going to be sharing a video and card inspired by class right here on my blog, so over the next ten weeks you’re going to see ten very different takes on the various lessons from class. Double the fun!

DSC_5504
Note: Affiliate links are used in this post- thanks for your support!

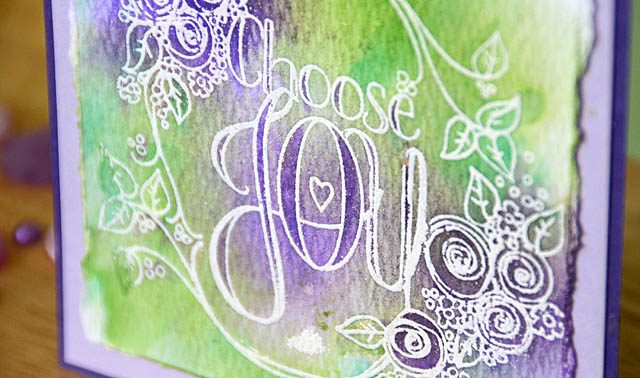
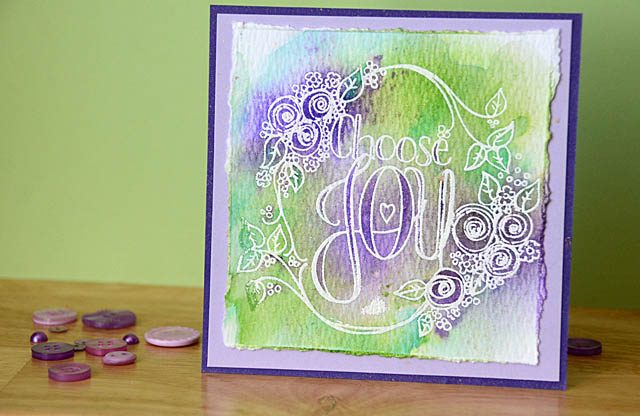
So kicking it off lesson #1 in class (sign up for class here) is a fun loose watercolor birthday card. Stamp 1 image. add some color. mount it onto cardstock layer(s) and done. It’s a simple idea, and one I really like because whether your coloring skills are limited or you’re wearing a wrist brace still (like me) it’s doable. Different every time. A TON of fun.

Here is a Link to YouTube video for my new take on this lesson.

The card I created here features a new Tammy Tutterow stamp, as well as purple and green shades of distress ink. You could use any watercolor type medium, and while optional I find embossing in white or clear to be well worth it for that extra pop. Bolder/darker colors around the edges will help it really stand out.

DSC_5507
I really love how this first card turned out – and I hope you’ll join me here every week as well as over at my free class. I love that scrapbook.com offers these free courses that help show techniques and ideas for paper crafting, and it was a total labor of love creating this class. I hope you enjoy the bonus content posted here at my blog each week as well!

Hand crafted gift topper

DSC_5463

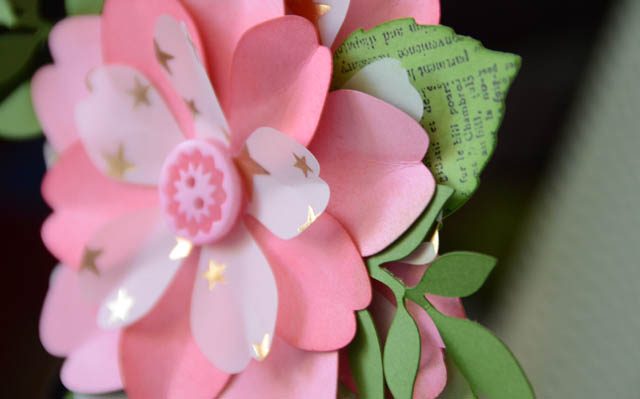
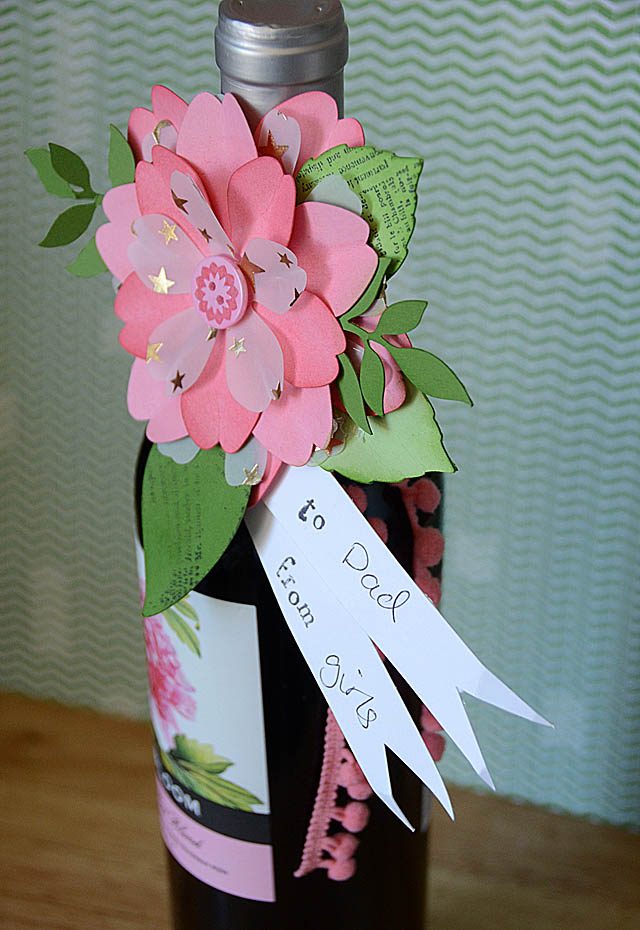
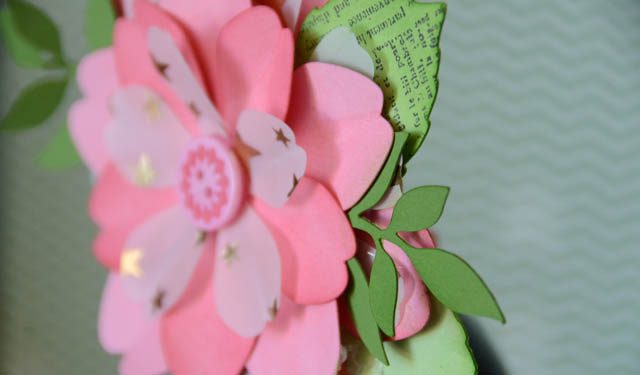
A few paper layers, some ink, and of course my ScanNCut and I’ve got a layered flower ready for the top of a gift box, wine bottle, or any other gift! Hey guys, I’m here with a video tutorial to kick off the week. Before I share the how-to a disclaimer as always that I am a paid consultant for Brother, however all ideas and opinions are my own.

Here’s a link to my YouTube tutorial where I explain this project.

I just love the fun of playing with various materials, layers, and inks. So easy and really adds so much to a gift!

DSC_5468

Funny fact: I thought I had already photographed this project and changed my mind – put the topper on a box for Father’s Day!! Then realized “Um… whoops” stole it back for the wine and re-photographed. These things happen! But – it’s also a great reminder that projects like this are not only giftable but reusable as well.

DSC_5473

Like to dress up your holiday gifts? Create some of these now and save them for later! Holidays are a great time to use these – and even better if they’re already made. I can hardly believe how fast July is sneaking up on us!