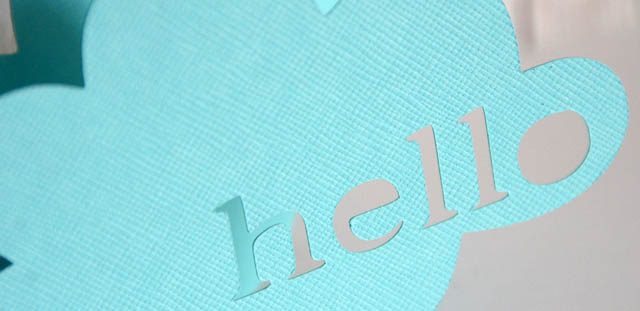
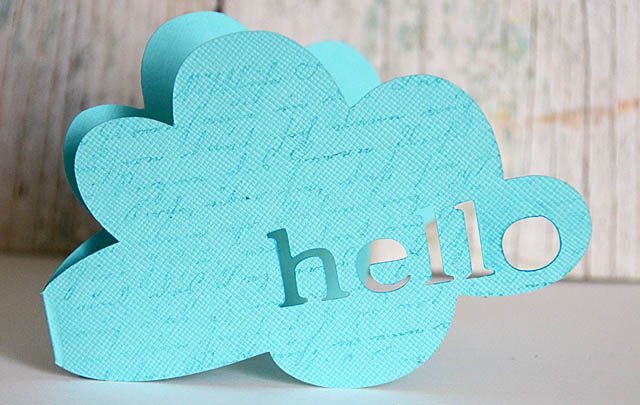
Once in a while, I like to try and make something truly quick and very simple. I deeply love my complex projects but I also like to mix it up. To make a card like mine all you’ll need is a single piece of cardstock. I think this would work great as a party invite, a thank you, or a holiday card! One design, cut out of whatever papers you like, then customize!
Here you see the finished card – this one stamped with a bit of script just to show how easy even adding embellishment to this sweet little card is! I really love how it turned out and I hope I’ve inspired you to try something easy. Oh yes, and as always I remind you that I am a paid consultant for Brother, but that all ideas and opinions are my own.
One of the things I’ve been doing a lot lately, is looking for where I can put little touches of creativity into my everyday life. Ways to craft a prettier life in small ways.
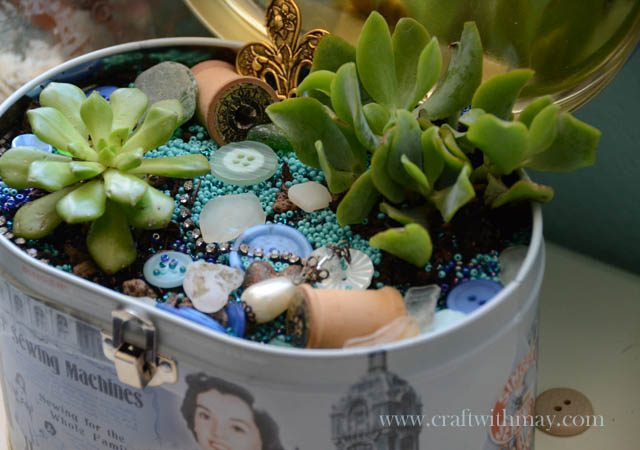
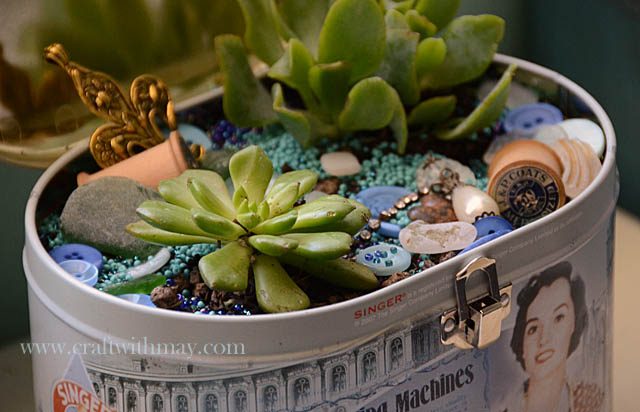
Last week, I planted a few little succulents in some containers that have long been unused. Thinking about how the soil does not (should not!) be too moist, and that dirt wasn’t the most attractive, I thought why not add some beads & buttons?!
So I took a sewing tin I’ve had forever and made it a treasure! So much fun adding details and the best part? Everything will be reusable. Nothing is ruined, nothing will be used up. It’s all totally able to be removed/changed/used elsewhere! I think the key is low water plants. I wouldn’t do this with my fern that has to be kept moist all the time.
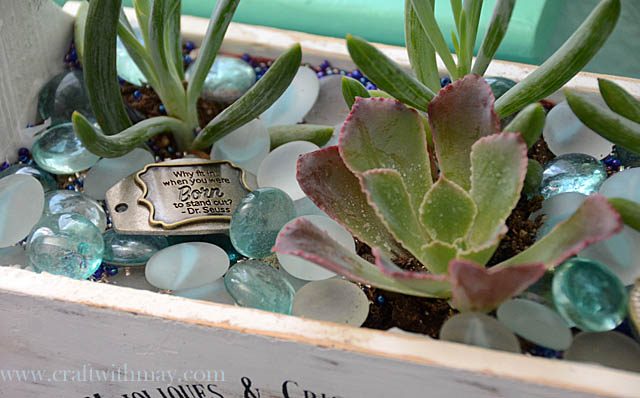
I also got out some jewelry charms so play with – love having happy sayings here.
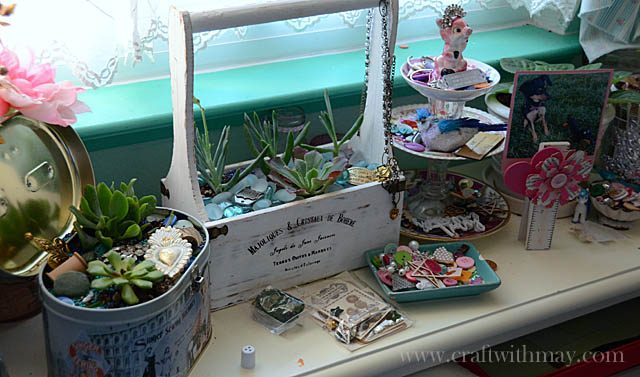
Here is a shot of my studio window – and all the lovely plants + embellishments!
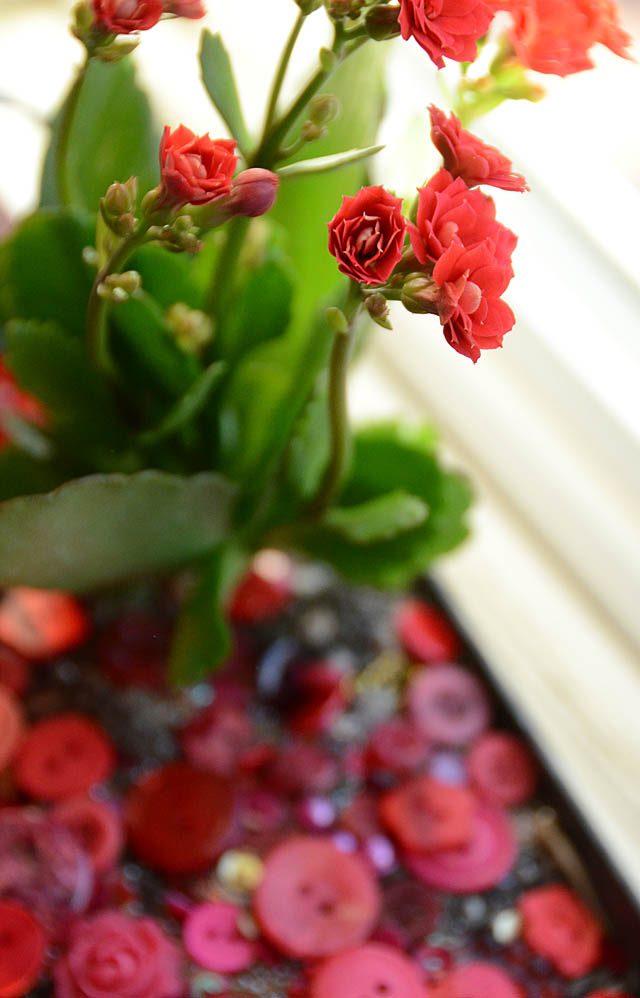
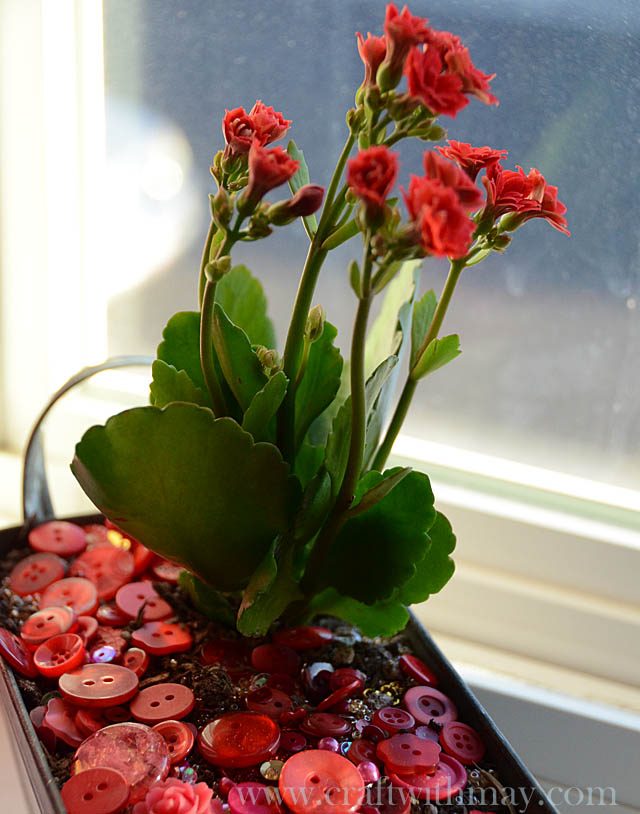
Out of space (haha!) I began thinking about other possibilities. One in particular? Gifts! So I got a pretty red flowering succulent and got a new container ready for Elizabeth’s room!
She loves all the red treasures – and I love this new idea on using (even if temporarily) my stash of embellishments in this way! I think buttons & beads are best – if using metals I made sure they wouldn’t rust/be in places that get wet.
Christmas in July?! Only a little bit, I promise! Oh before we get to the project let me explain… you see today’s project is important for two reasons.
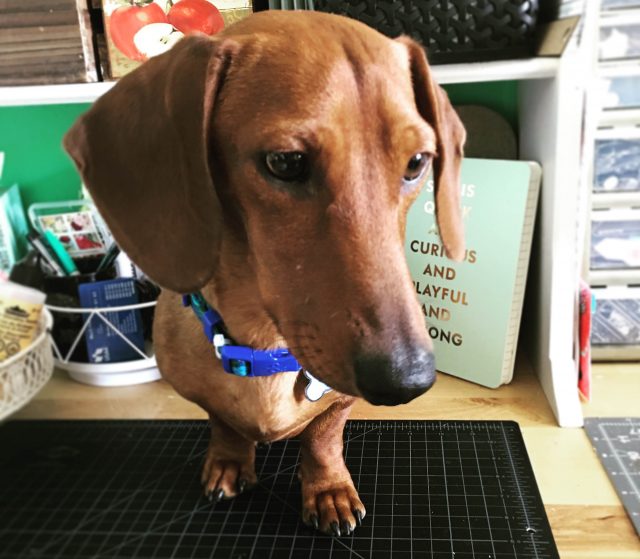
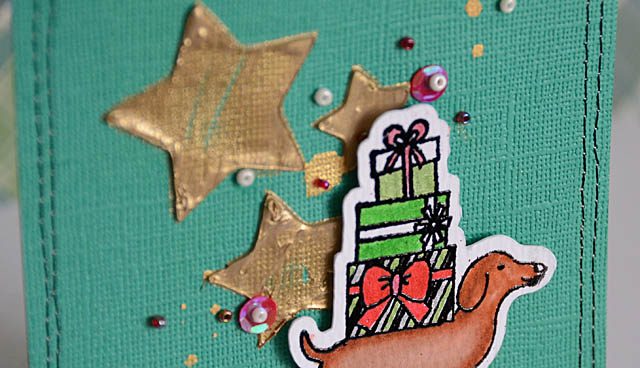
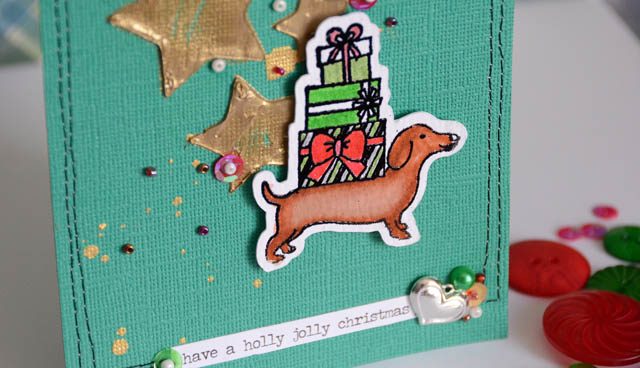
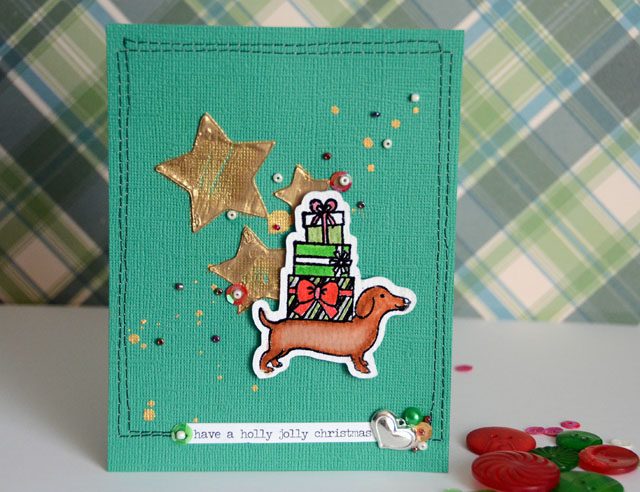
This is Bandit! He’s a one year old Dachshund (rescued, of course!) and he’s been here two days. Anyhow inspired by him I looked around and I knew I just had to make a card with my Dachshund stamp – even if it was holiday themed! Always good to have a few things done ahead! Anyhow I used my ScanNCut to quickly cut around it, with a .08 outline (love that I can customize it!)
disclaimer – I am a paid consultant for Brother, however all ideas and opinions are my own. I truly love the ScanNCut!
Another detail that is noteworthy – I used watercolors + sparkle pens to color this image. Without a brace. For the first time! I have a LONG recovery road still ahead, but it is exciting that I was able to color this stamped image without pain. What could make it more fun?
I realized that the “garbage” left behind after making ScanNCut stamps a while back is in fact really great for a paste stencil. True it’s a little thick I wouldn’t recommend it as a material to make stencils necessarily, but if you’ve made anything from a cut from paper to silicone stamp material like I had then definitely try it!
I love how this turned out, and how it combined a few different ways to put my ScanNCut to use while also being inspired by our new pup and testing my wrist and exercising it a bit with coloring.
Here is my finished card – really love how it turned out and while I know its a bit early – I am a fan of crafting out of season as you are inspired to do so!
Hey guys- here with a quick and super fun idea. As you guys know I’m always telling you go ahead and make extras with your ScanNCut, go ahead and punch and cut extras to use up the scraps you can use them later.
Well today I did just that!
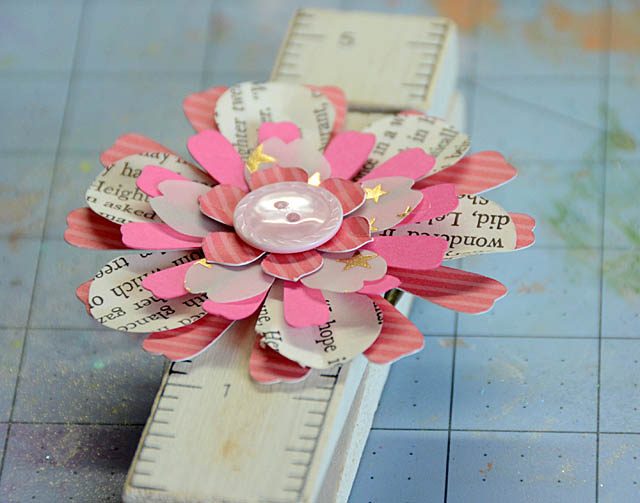
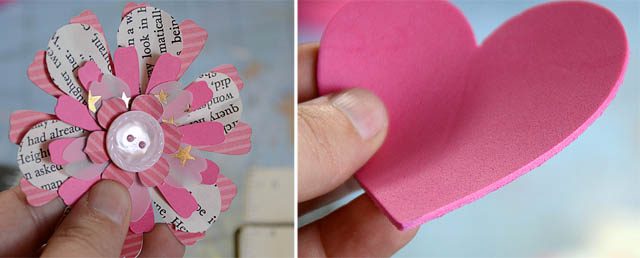
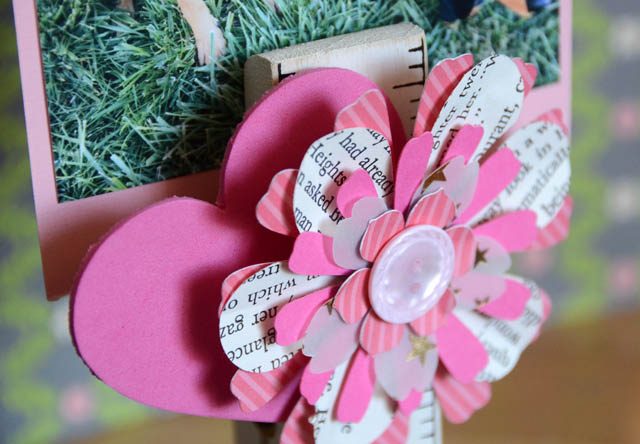
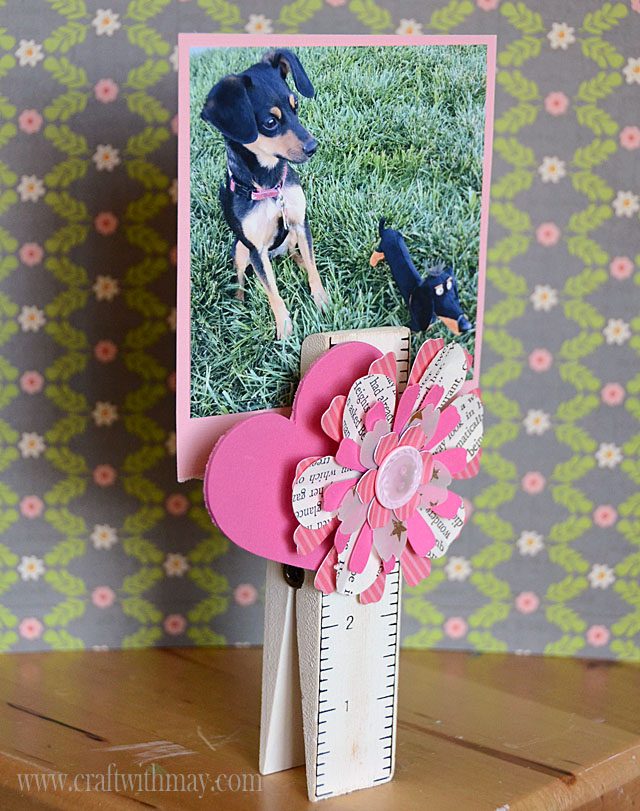
I took a foam heart – yes the ScanNCut will cut foam and other thick materials with the deep cut blade- and a number of flower pieces. Put them together on a little ruler clip that I found at the craft store last week. Simple, easy, great use of leftovers!
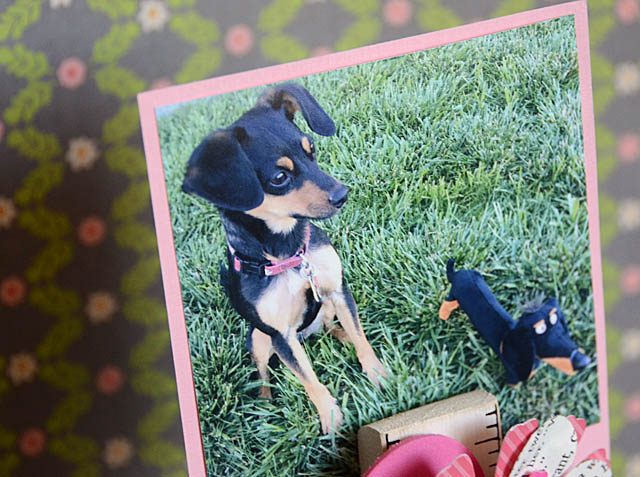
I used gummy dots of adhesive so that when I’m done I can peel it off and change it up! For now though, loving scrappy + her much shorter doppelgänger toy! The top part clips closed, bottom wide/open to stand up. So fun!
Having pre-cut basics is one thing I’m a huge fan of because you never know when you’ll want to whip up a super quick project, photo display, or other décor project. Thanks for checking out this quick idea, and I hope you’ve been inspired!
Disclaimer that I am a paid consultant for Brother, but all ideas and opinions are my own including how much I love the ScanNCut and how crafty it helps me be!
Hey there, I’ve been quiet! No special reason just slow moving as ever these days, and didn’t realize how many days had passed since I blogged. I’ve got a great project and video for you today – and it only takes 3-5minutes at the very most!
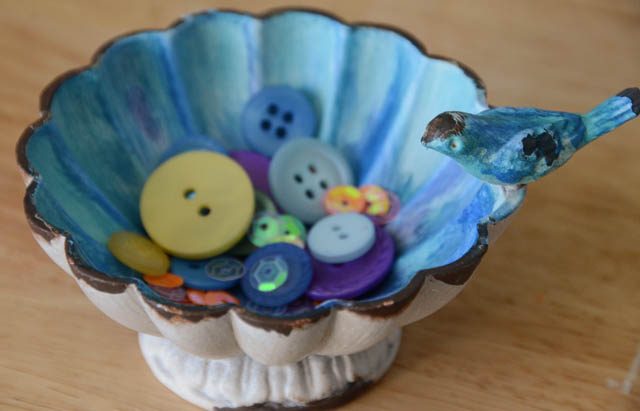
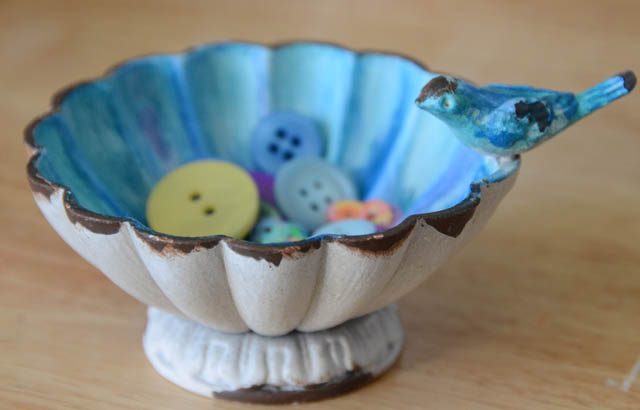
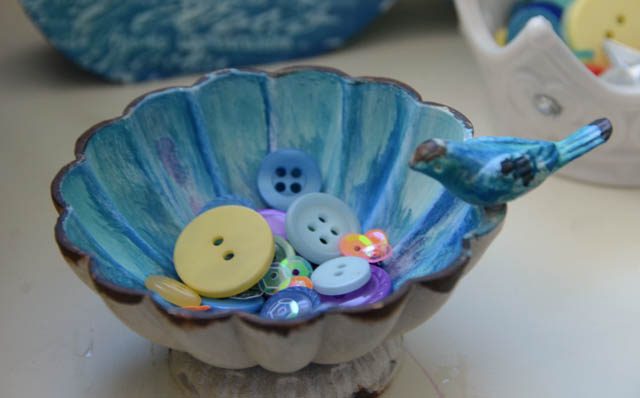
This project was so quick and so easy! Basically I took this little metal distressed cup (perfect for buttons!), added a few swipes of alcohol ink, and now it’s colored and lovely.
If you’d like to watch the transformation/how-to check out my YouTube video here. The process was so easy – and would work on a number of surfaces. Lately I’ve been painting a ton, so I love that with this project, there was no waiting for anything to dry.
One final cool thing about this? If I decide I am tired of it I can wipe it down with blender solution and it’ll all (or at least most) come off and I can begin again! I’ve long been a fan of Ranger’s alcohol inks (available most places Ranger is sold – including many large craft store chains) and what it can do. I hope I’ve inspired you to redecorate a little something in your home. I definitely didn’t need another holder for stray buttons – but I do so love looking at it!