Happy St Patrick’s Day!

I’m really lucky to work with such a great company (Brother), and create projects to share on their website, seen on HSN and in ads, and so much more. Love that ScanNCut!  Today I want to wish you a happy St. Patrick’s Day and share with you my latest feature project created for them.

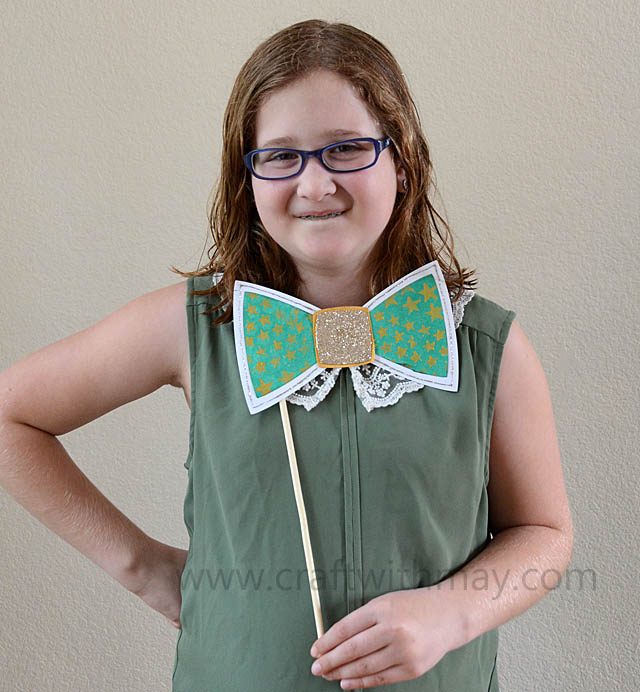
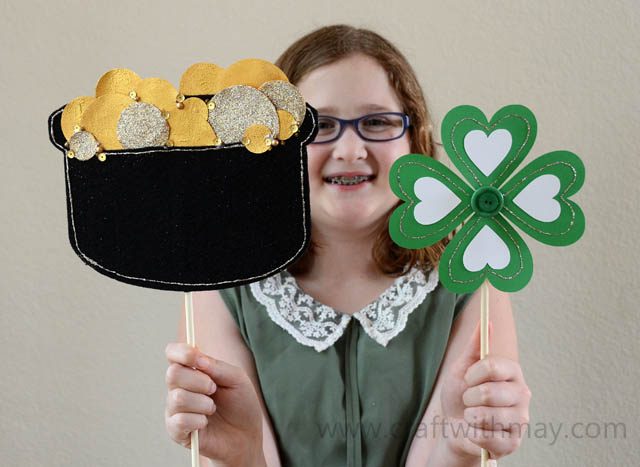
The sweet Miss Rebecca is modeling the photo booth props I created as a tutorial. Here is a link to the PDF file instructions on the ScanNCut website. I love that they offer so many tutorials and ideas on their site – and I always love when they come to me with a new crafty challenge such as this. My personal favorite? When I can make interesting things out of basic shapes. Love that!!

These props were a lot of fun to make and I’m inspired to try my hand at more seasonal props – for photos and just to have around! These turned out so darn cute (if I do say so myself!) and I hope I’ve inspired you to play a bit with your seasonal crafting.

Happy St. Patrick’s Day!!

Shaker pocket with ScanNCut

Crossing over lines and knocking out creative barriers is on my mind. I want to see what I can do with what I’ve got – and how I can play more and “cross over” things I’ve got in use already in new ways. Since I’m feeling motivated to be extra organized and to get on top of my many things to do from the post office drop off to writing this very blog post, I decided to make my notebook a bit more festive.

a disclaimer, as always that I am a paid consultant for Brother, but that all ideas & opinions here are my own. Just being totally honest as always!

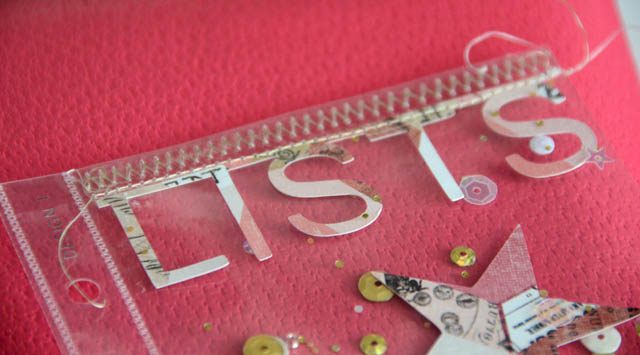
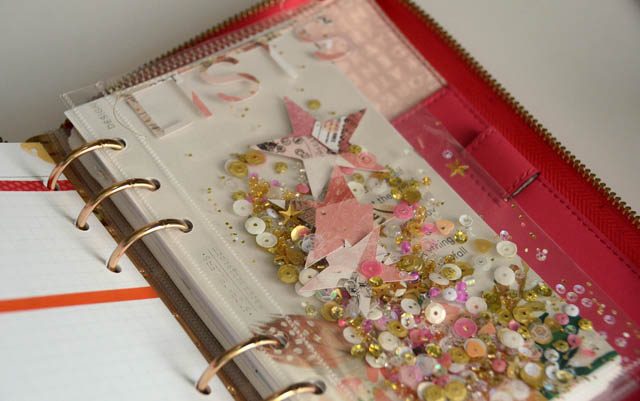
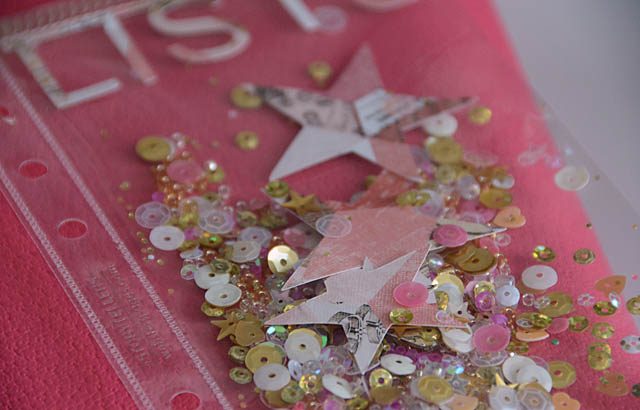
So the question on my mind has been: what to do to at least make this book of daunting lists a tiny bit fun? Answer: sequins and beads! Here is a link to my YouTube tutorial for this quick and easy project.

While it in no way will help productivity, it should make opening this book a touch less overwhelming on the busy weeks, and more motivating when things are slow, don’t you think? I found a clear pouch, but I want to experiment more with card making and scrapbooking shaker pouches and the options for creating them. For this simple stitching or tape runner could have worked.

But what else could I do? What materials do I have that could work for a shaker window or partial clear pouch? I will keep investigating the possibilities for sure.

My other take-away is that I love the word connected by the bar at the top. Where else can I put this into action? What else can I do with it? I am all for finding creative ideas and opening up my mind to the various crafts they could apply to. I’m thinking the word + bar could be real neat for many things from art journaling to card making to pocket page scrapbooking.

I’ll explore more of these ideas some other time – for now it’s back to the lists for me!

Plannercon 2017: a thoughts & recap post

I’m back from plannercon2017, and what a wild weekend! I got to see some really fantastic speakers and take some good classes but the biggest plus for me was hanging out and speaking with fellow attendees and creative ladies.
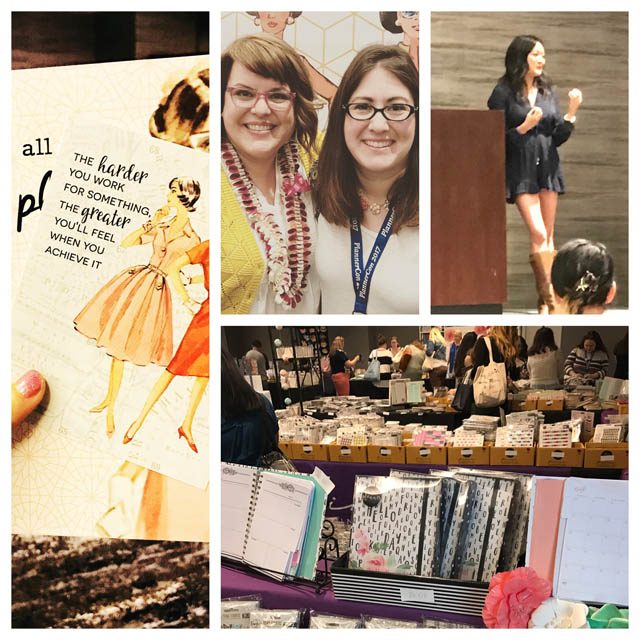
Some ladies were long time crafters, some were hoping for new ideas to better plot and execute ideas in their lives, some were there to shop! We all had different experiences and ideas, but what I loved most was how friendly and helpful everyone was.

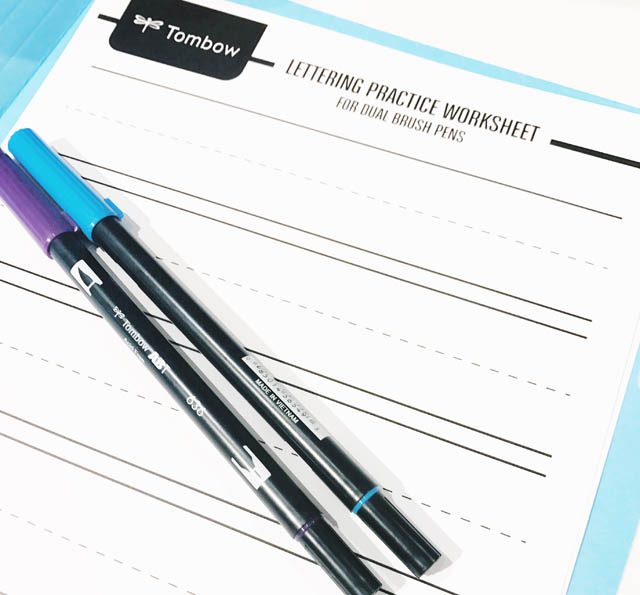
Though my wrist got real mad (as I type this one handed am in my pressure point brace! oops!) from all the writing I especially enjoyed the Tombow lettering class. Some better lettering isn’t that hard or far off if I simply practice.
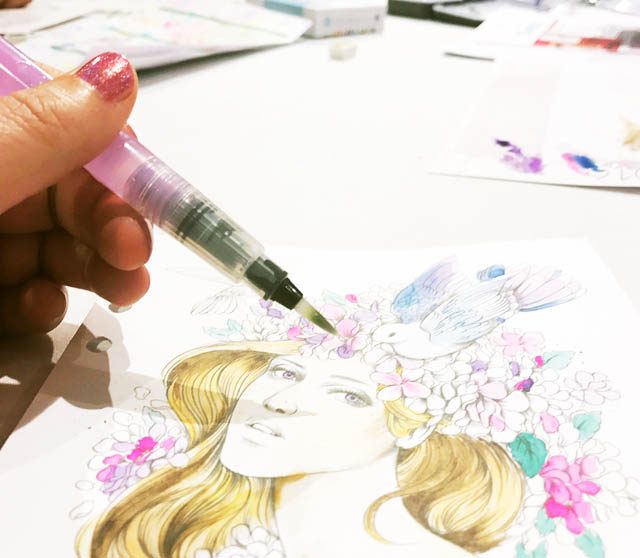
I also enjoyed some no pressure coloring with Prima marketing.
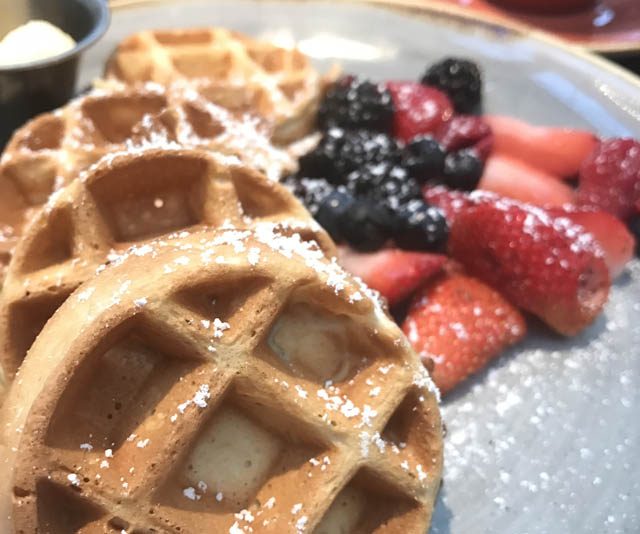
Fueled by carbs and a lot of bottles of water, I kept making new notes. ideas. things I want to share with you here. Things I need to work on and explore.
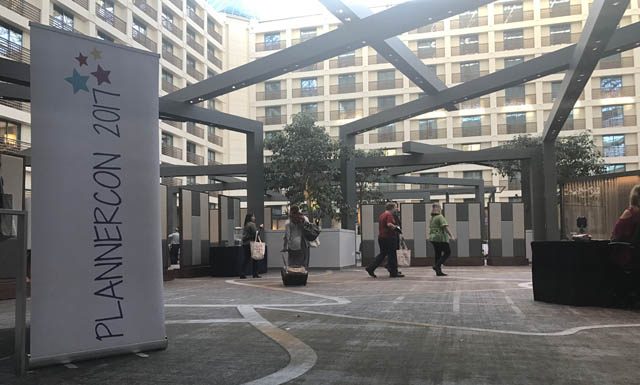
Over 1,000 people were there, and I didn’t meet a single mean, rude, or negative person. I was really inspired by how everyone was open to different styles and outlooks. No harsh judgment or “well that is the wrong way” talk. I loved spending time around the registration area (pictured below) just chatting with whomever I came across. I met some new ladies as well as reconnected with some that I’ve known a long time.
In the new to me column, I met (and totally adore!) the owner of Crown & Crumpet. The girls and I popped in for lunch one day and I was blown away by not only how good the food was, but how much creative fun went into this space and business. It really topped the weekend off for me because creativity takes many forms and there is no one way to approach it. Whether you cook or scrapbook or paint – or add stickers to your weekly planner – there is space for all of us striving to live a happy and creative life.

We talked about having a “craft tea” so stay tuned for that info if you’re near San Francisco area!
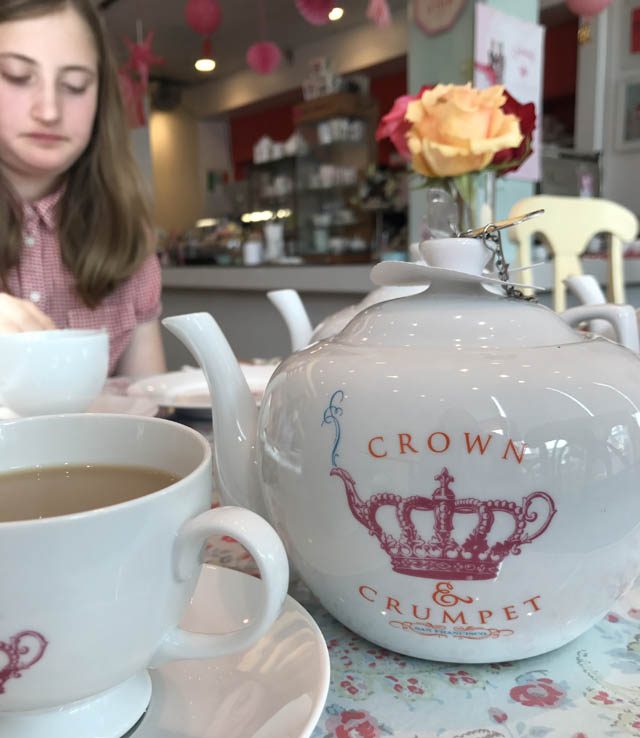
My daughters did attend with me, but only showed up for food. They had the weekend of their lives (not one argument!) gaming and enjoying unlimited wifi in the room. They tell me it was the best weekend ever. Ha!
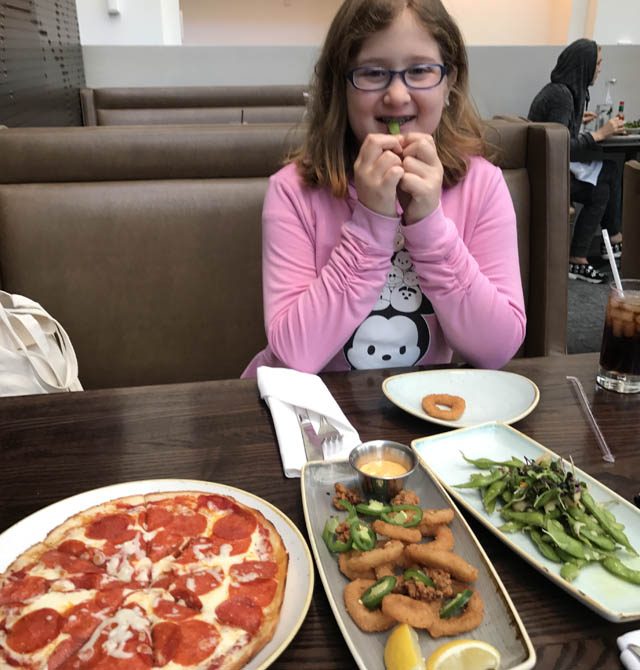
As a side note – the Hyatt near SFO airport is where this all happened, and is a great hotel to stay at if flying out early AM. They’ve also got some yummy food. The girls and I recommend the garlic edamame and the truffle fries most especially!

Also: if you’re on youtube you can check out my channel and my “from the studio” mostly every week series. This week I chatted about plannercon and what’s going on in my world… video is here.
The fancy little note pad

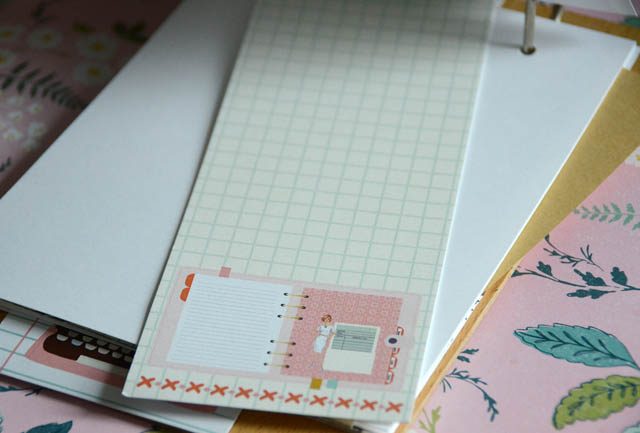
I wasn’t going to do a blog post – but I figured why not? You see I recently spent the afternoon avoiding real work (ha!) and creating a fancy little notepad for myself for a conference this weekend.

What I needed was paper on a sturdy surface to write notes during a conference. I don’t know how many notes or what I’ll write – or if I will be inspired to write at all. So I didn’t want to commit to a new notebook just for this only to end up being annoyed that 1/10th of it was used and not want to keep filling it up. I also thought that a small notebook would be flimsy and hard to write on my lap.

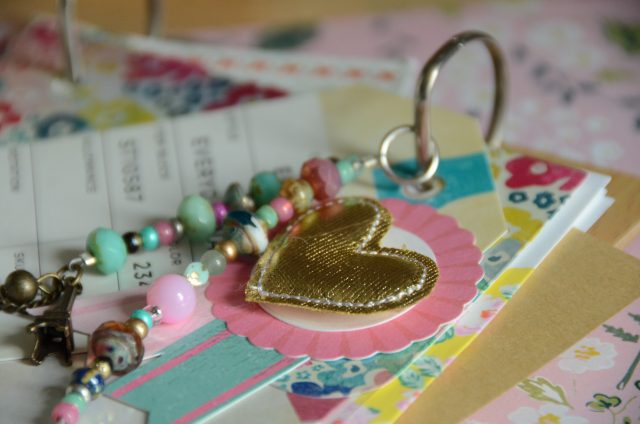
So I thought: clipboard! I couldn’t find mine but in the search I unearthed a 5x7ish D-ring option.

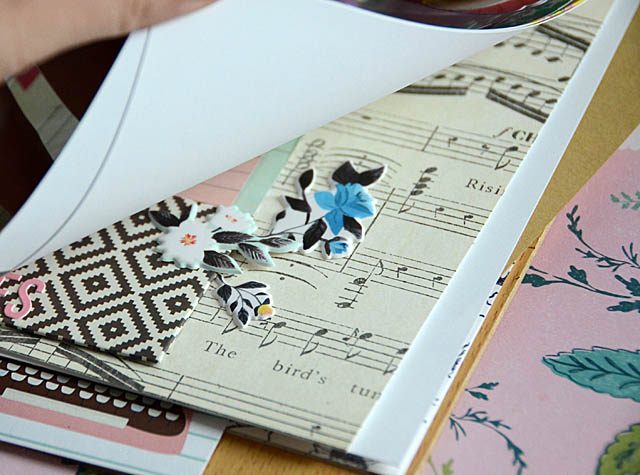
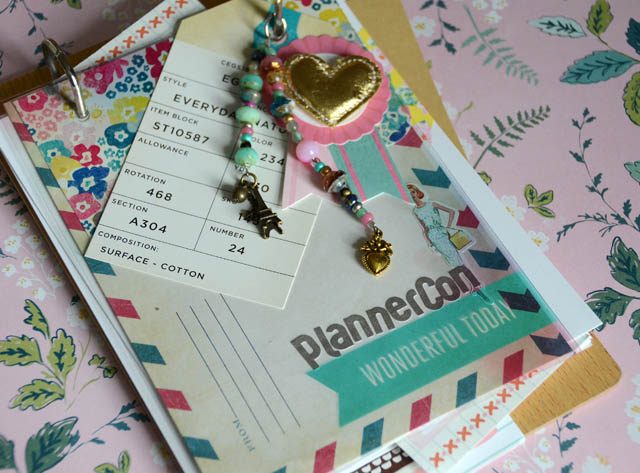
I added papers, some stickers and fun (because why not?!?!) and got to work. Here is a YouTube video where I explain why I am using (or not using) what I have on this.

Here is the cover/front:

I am excited that there is a “planner con” in San Francisco this weekend so very close to my home – and the price was really reasonable for a craft convention with such high quality speakers too. I will be sure to report back with how it went – and if my notebook worked well or not.

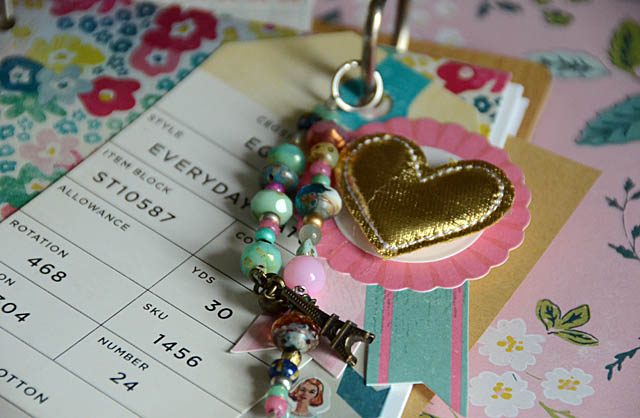
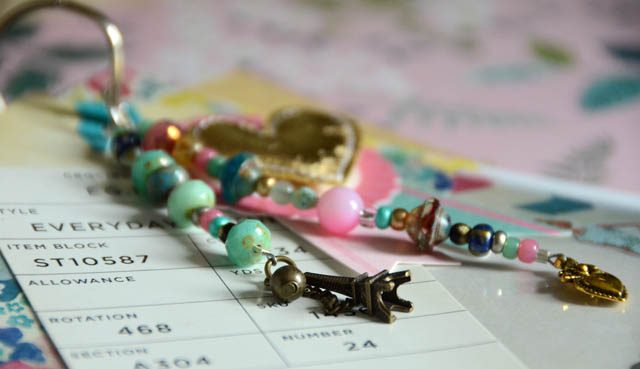
I mentioned in my video another video on how-to for a planner charm similar to mine. Here is a link to that video.

I really want to get better at how to write down plans, and make them HAPPEN, so I have lots of high hopes for the weekend. If you’re coming be sure to track me down – because I have little goodies to share!

For now I’m off to double check my bag. I really am just bringing some pens + this notepad! I really do love that I had some fun decorating something for a temporary use – and that I have a plan to transfer the “keeper” notes. I’ll share more about that (and which art journal they go into!) when I return.

Have a great weekend!

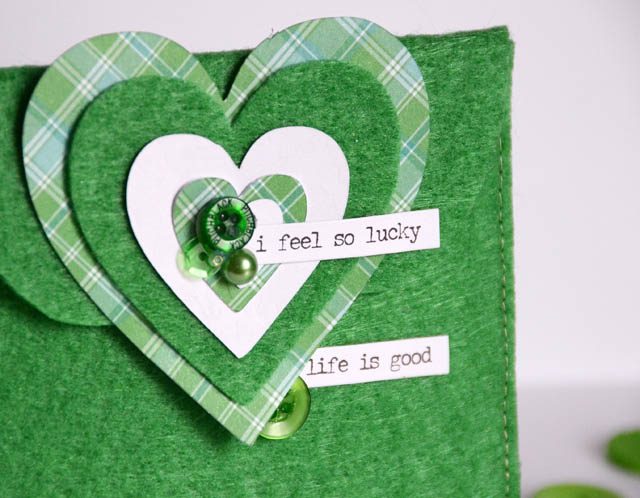
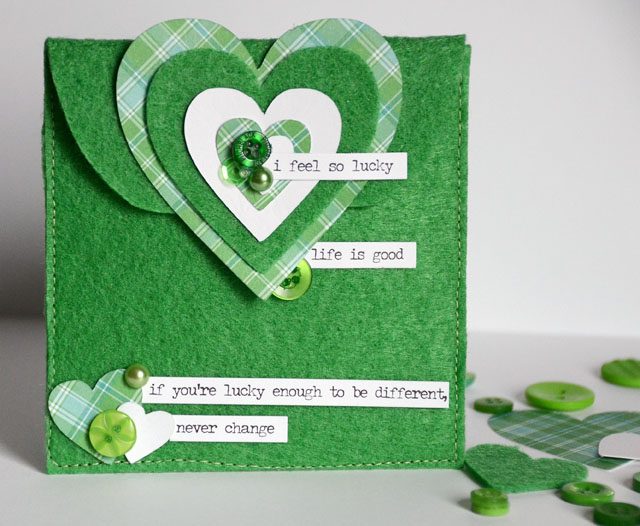
So Lucky: felt pouch with ScanNCut

It doesn’t happen often, but once in a while I get lucky and a project turns out exactly how I want it to.

I had an idea for some stiff green felt (see my YouTube video for full tutorial and story) and I wanted to make a gift pouch. This was not only easy – but it turned out so darn cute! I am absolutely delighted with the details and I will be buying more of this style of felt to use with my ScanNCut for sure. (disclaimer/note as always that I am a paid consultant and work with Brother, but all ideas and opinions are my own here. It’s a machine I love to use – but like total honesty and want you to know I am affiliated with the company!)

Back to the project at hand – the finished size is 4×4 (front) – and oh how I adore it! I really don’t know how or why I have never tried my hand at a project like this. Silly me!

This project also reminded me of my love of bold Kelly green and how I need to use it (and other bold greens!) more often in my crafting. I hope I’ve inspired you to share a bit of a treat with someone else today – and enjoy some St. Patrick’s Day inspired crafting!