scrapbooking: What “old” ideas can I put to use?

Once in a while I like to look back through my past projects here on the blog and find new inspiration from old ideas. Today I’m looking back at some ScanNCut projects (usual disclaimer – I’m a paid consultant for Brother, but all ideas & opinions are my own) to see what I could try that I have forgotten about or simply not brought back! Here are some that come to mind.

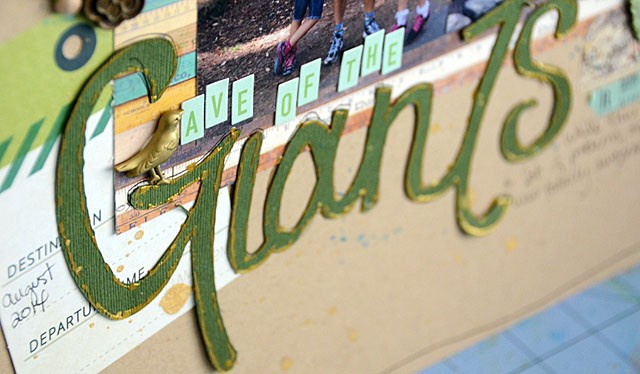
1. Hand written and scanned title
412

From the paint details to the embellishing I love this page – but it is that this is a hand drawn title that I love the most!

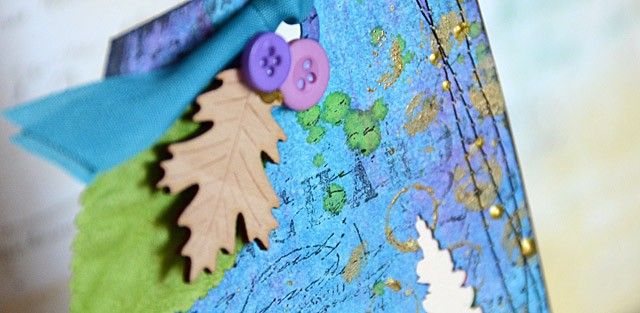
2. Use the negative!

DSC_2166

This is an idea I’ve not quite figured out the logistics of – but I want to! Basically I want to apply this to a scrapbook background as this is one of my all time favorite tags.

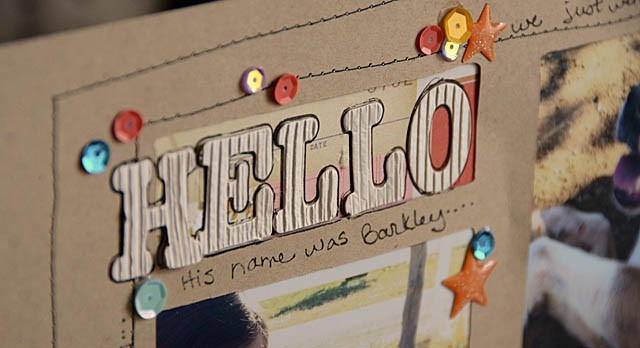
3. Template/windows

DSC_3046

This is one that I wanted to include because I think it would be really cool for a shadowbox. I’m always considering how things I’ve created and techniques I’ve tried can apply to projects of other kinds. This I think you’ll be seeing in an unusual way in the future!

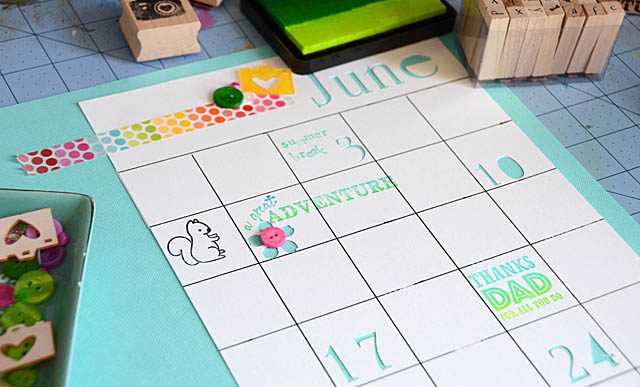
4. Countdown calendar

DSC_5118

Last summer I simply cut a bunch of shapes out of a “calendar” I’d draw on paper. It is one of my favorite things that I did and I’d love to make something similar perhaps for my scrapbook this year. I’d also like to play with the machine pen functions to see what I can do.

These are just four ideas – but I do hope I’ve encouraged you to look back for tomorrow’s great ideas! Sometimes we find a new spin, twist, or technique forgotten and it can be great fun. I’ve only scrapbooked 2 layouts this year – but that is changing as I gear up for some fun crops and at home ‘crafty days’ as well.

Mission: Craft more label less

I’ve been doing a lot of forms of creating lately from creative vacation planning (a class coming this summer!) to decorating projects with thoughtful detail (class live next week!) to messing around with jewelry. I love it all.

And guess what? I’m excited. I am working on a group (membership cost: free and open to all who want to join!) for creative folks. You, me, anyone really. I’ve been frustrated by some labels and crafty boxes lately… and well I decided to give something I’ve long been putting off as maybe too crazy or nobody else would want to join in off. No more!

If that sound cryptic, well it can’t be helped. But by posting this it helps me stay accountable and forces me to go forth with my wild plans as well.

I’m finally getting in a good creative place where I’m making more I love vs hate (more on that some other day!) and April is going to be a wonderful month jam packed with fun. I’ll be in New Jersey for about a minute (I joke… but I believe start to end the trip is 40 hours), I’ll be in Phoenix (anybody want to do a meet up?!), and I’ll be in Dixon on the 8th hosting a creative event. I’ll be working and demoing products of all types – and all creatives from scrapbookers to planners and everything in between are most welcome to join in. Contact the store (link) to sign up for that.

In the meantime, I’m heading back into my lair/dojo/studio to work on plans for how to bring more to our creative community that I’m so happy to be a part of. I hope you’ll stay tuned, and I hope you like the big fun coming soon!

Let’s dig into some details!

Can you believe next week is… April?!

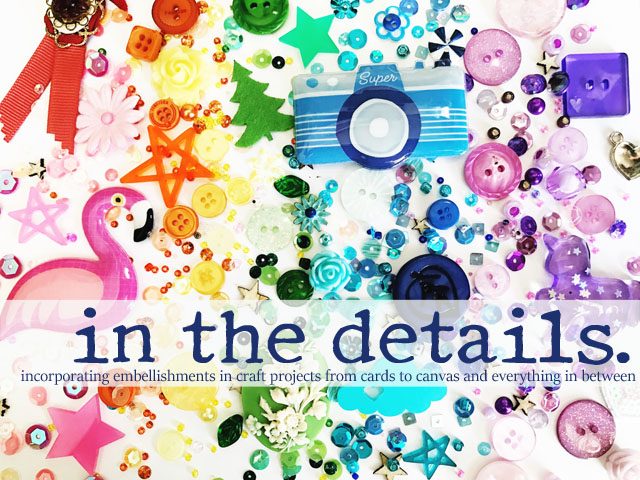
I certainly can’t, but I am preparing by loading up videos galore for my new online class In the Details (photos here are projects in progress from that class!) and I couldn’t be happier with how class has turned out! This is a three week journey in detail through my process. Every lesson has been thoughtfully crafted so it will apply to whatever you do – scrapbooking, mixed media, card making, even decorating planners! Whatever you like to do, if you struggle with embellishments I strongly encourage you to join me.

Here is a link to sign up – pre-registration ends 3/31 so you save $5 by signing on early!

This class has been a long time in the making, and I’ve truly loved the process of seeing it come together. I hope that you’ll join me – and have fun with all the lovely details. If you have any questions about how it will work or anything at all – feel free to ask here or shoot me an email. Making these classes is such a labor of love, and this one is no exception. I’m so happy with it – and I hope you will be too.

April brings not only the start of this class, but some exciting new adventures and things to share with you as well. So do stay tuned! Not subscribing to my blog? Visit mayflaum.com and get yourself on the newsletter and/or blog email lists! The links to do so are in my sidebar.

Hoppy Easter with ScanNCut

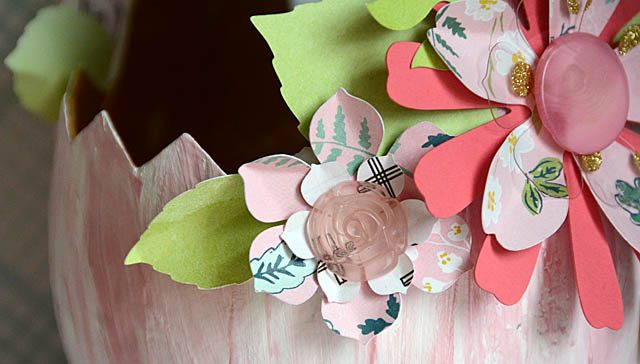
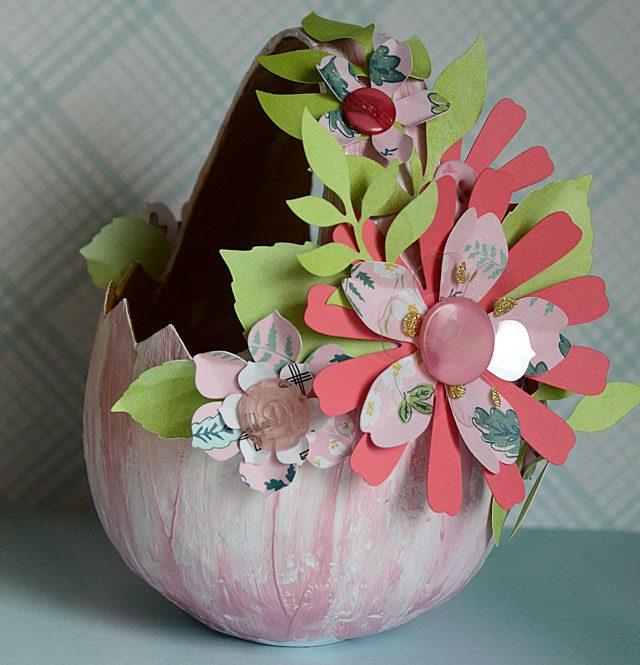
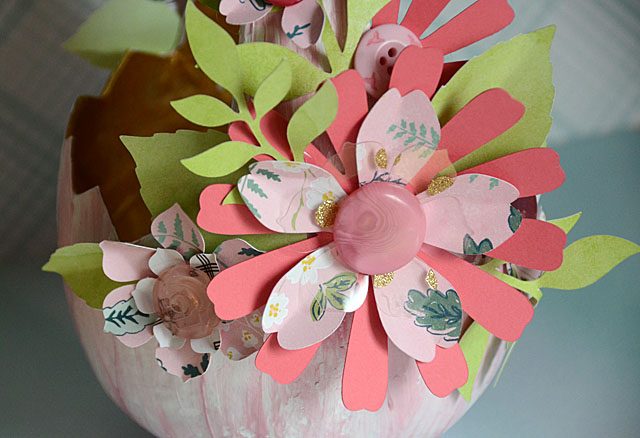
Spring is here, and I’m in the mood for some pink flowers! When I found this cute egg basket I thought it would be the perfect holder for some candy. But first, to decorate! Some acrylic paint, a bit of gold shimmer – and of course leaves & flowers cut out from my ScanNCut and I was ready to rock!

Here is a link to my YouTube video tutorial.

I really love how the soft spring colors come together – and most especially how easy this was!

It really didn’t take a lot of time (well, the paint drying sure did!) or supplies to make some custom décor for my house. I love how this turned out, and I’m looking around to see what else I can add here to add to the spring vibes. How are you decorating this season?

as a reminder/disclaimer as always – I share with you that I am a paid consultant for Brother, but all ideas and opinions here (and anywhere I post!) are my own. Love this machine and how it’s changed my crafty life!

Charity Bloghop & a Narwhal canvas

If you’re visiting from Libby Hickson’s blog – welcome! If this is your first stop on the hop or you’re one of my regular readers I of course welcome you as well. Let me explain a bit about what today’s special hop is about.

Have you ever thought of giving a donation to a charity in someone else’s name, and gifting that person with the knowledge (and perhaps a physical gift) that you did good in their name? Sandy Allnock approached me with this idea, and with tying it into crafting a card or other project to go along with it, and as it is a fantastic idea – not only to give and share but also share creative ideas – I jumped right in. Visit her blog (link) for the start of the hop and more info, and at the end of my post I will share the next blogger’s addy for you to continue on this journey of inspiration.
The idea immediately got my attention because I’d never given someone else a gift in this way, but I remember as a kid getting some stationary or some such as a part of such a gift so I decided to focus on a magical girl, and a special gift. After pursuing several websites I decided on the World Wildlife Fund, and that I would do a virtual adoption. That means all the donation money would go toward the animals, though I did get a printable certificate via email to include. I like this as a personal challenge because now I would need to craft up a gift for my recipient myself.
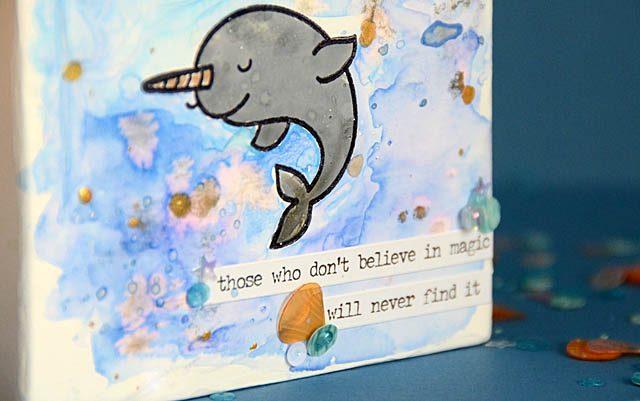
I decided to go with a magical creature via WWF (Narwhal – here’s a link), and to create a 4×4 canvas piece that she can hang in her room to remember this gift and special occasion. As this is one of the most magical girls I know, I figured (correctly) she’d love every aspect of this from knowing she’s helping animals to having her own custom artwork.
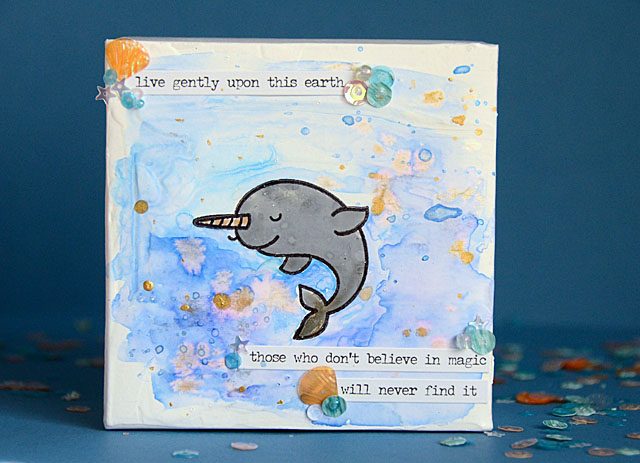
To create a canvas piece like mine it really is quite simple! Mine is 4″ square and you’ll want to use a canvas, wood block, or other similar piece.

  1. Coat the front in gesso and let it fully dry. This will give you a great base to work on.
  2. Stamp (archival ink) your image(s). I used the Lawn Fawn Narwhal stamp.
  3. Color with ink, watercolor, sprays, or whatever you like! I used clean color pens and a water brush and then flicked with Heidi Swapp gold mist.
  4. Add any embellishments desired. I went with some sticker word strips and sequins. It didn’t need much!

Scared of messing it up? Don’t be!! If you’re working with any kind of watercolor or water reactive medium you can spritz heavily with water and wash it away to begin again. If you truly mess it up rinse with water as best as you can to remove any color that will come off, then follow up with a fresh coat of gesso or two.
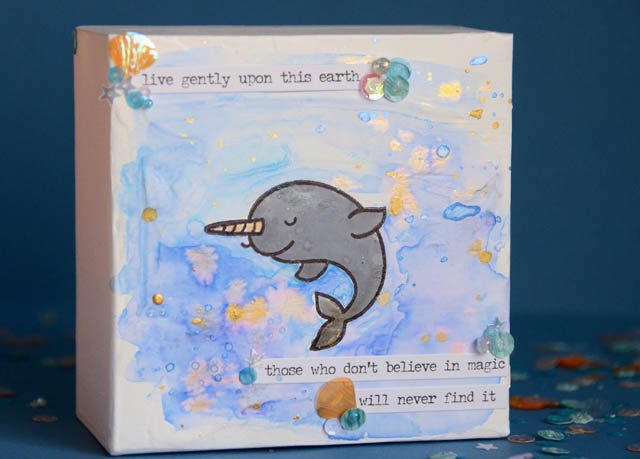
This is a project any of us can do, in any format or theme. If you want you could stamp in layers (on paper) and build a more dimensional project. I love the metallic sparkle and dreaminess of this peaceful narwhal stamped just so to be the center of attention. Once done I added a note about how magical she is, and what had been done in her name along with the certificate.
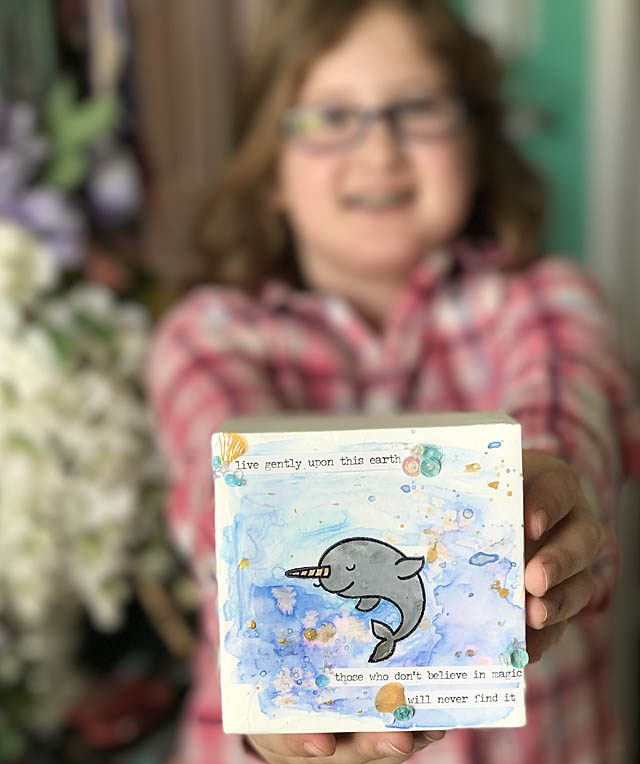
Let’s just say, it’s already on the wall and a big hit. Thank you so much Sandy, for reminding us this is a wonderful option to gift + do good, as well as bringing the crafty element into this. She’s also arranged for some fantastic prizes (see below), so check her original blog post for even more info as well. The next stop on the blog hop is: Cindy Lawrence 

PRIZES: Awesome companies are helping inspire you to hop along and leave comments on all the blogs – Altenew ($30), Lawn Fawn ($50), My Favorite Things ($25), and Ellen Hutson ($25)! Be sure to go say thanks to them on their social media for helping get the word out about giving…and leave comments by Wednesday March 22. Winners will be announced on Sandy’s blog on Thursday March 23, along with a total amount we’ve raised together!