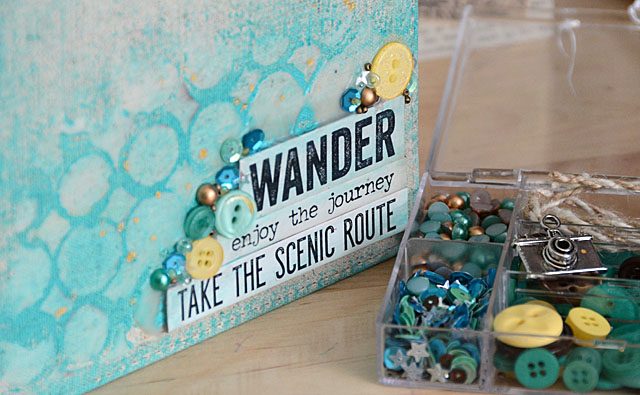
Let’s Wander: A travel journal cover

The “planner trend” that has been taking hold of the craft world has really made me realize how much I do love to make a good plan. My personal favorite? Travel planning! From sorting out the best routes to take to finding the coolest stuff to do – one of my hobbies is definitely planning adventures! We have just put a deposit down on a Mediterranean cruise (2018), and that has got me way overwhelmed just thinking of the possibilities!
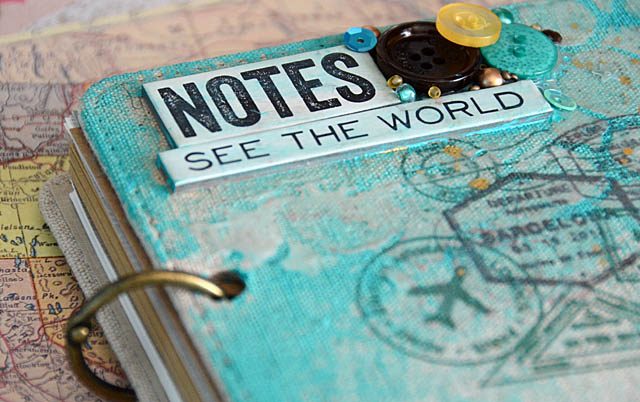
Ah, but no stress! You see as I have 30 minutes here or 15 minutes there I will watch travel shows, look at websites and build a plan, and through it all take notes. Loads of notes. Tons of notes!! This process lets me work ideas out and figure out what works, what is ridiculous, and what is downright genius. Also when I see something totally random like a Paris bistro (should we enter Europe via Paris) or a tapas bar in Barcelona on a travel or food show – I’ve got a place to jot it down!!

if you’ve got thoughts, notes, ideas – please do share in the comments!

I find sitting down and having massive planning sessions overwhelming – on any kind of project or subject – so this also keeps me from wondering “wait what was I working on?!”
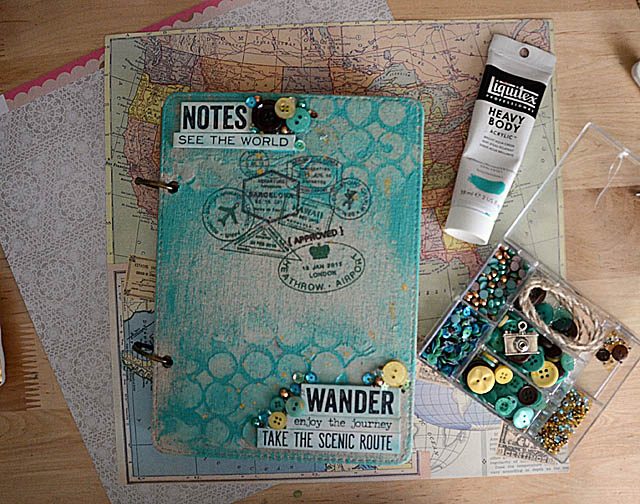
If you’re wondering ok May, what does this have to do with crafting?! Well friends I created a video on how I decorated this cover. I really like how this turned out and I’m loving the way this will work. Unlike a normal journal, I can add and remove pieces from this one.

Here is a link to my YouTube video.

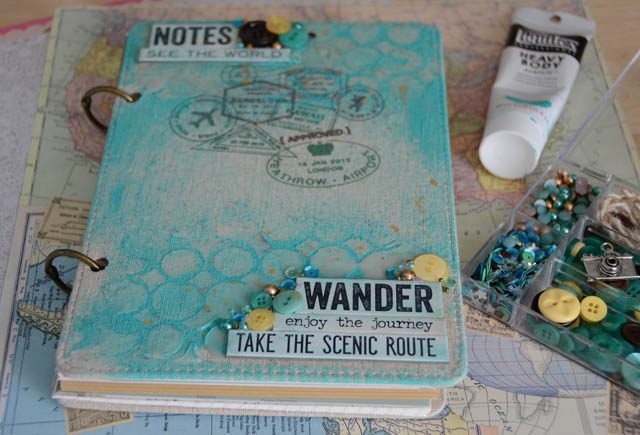
Here are some of the products used. I found (affiliate link used) this notebook on Amazon – VERY expensive! It must be older/discontinued? I want to say I found it on clearance on Target but I can tell you I paid less than $10 for it! I also used matte finish gel medium, Tim Holtz chipboard and stencil, and embellishments from my “Let’s Go” embellishment kit. I haven’t seen the embellishment kit yet in any online stores- but you can get it online directly if you’d like. Here’s a link to the kit.
Whether you call it brainstorming, planning, preparing – once in a while a bit of thinking ahead is a fun break for me. Strange hobby? Maybe- but I do enjoy it. In fact this weekend I’m heading to “planner con” a conference with some exciting classes and speakers. Excited to try something entirely new to me and meet new people – I’ll be sure to report back and let you know how it went and what I learned!

side note: if you have tips/suggestions/recommendations for me and my travels I’m always happy to hear them! I have a personal tips & recommendations section of this book.
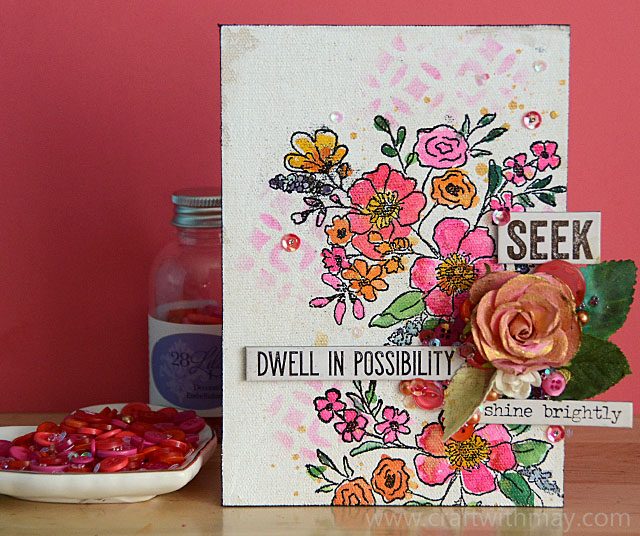
Dwell in (mixed media) Possibilities

I have a new online class launching (info coming next week- early reg page is here!) – it’s all about embellishments and I think you’ll really love it. I’ve been working on it a long time and can’t wait to share even more info. What inspires me to mention it? I just made a canvas that was inspired by class lessons that I’m going to share with you here today.

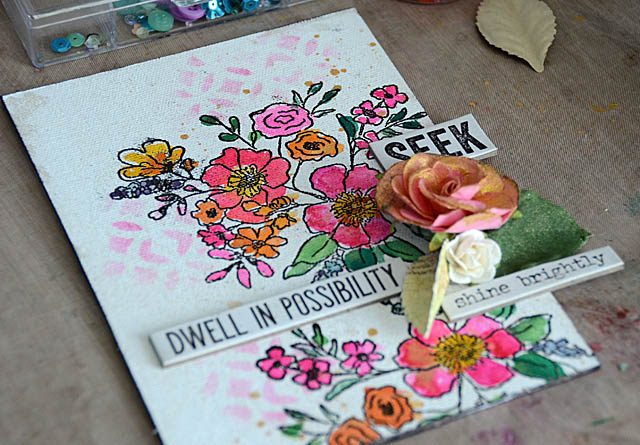
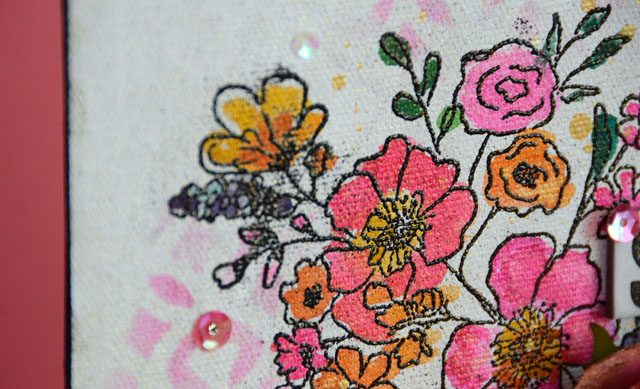
This is a SUPER easy 3-step canvas mixed media project.

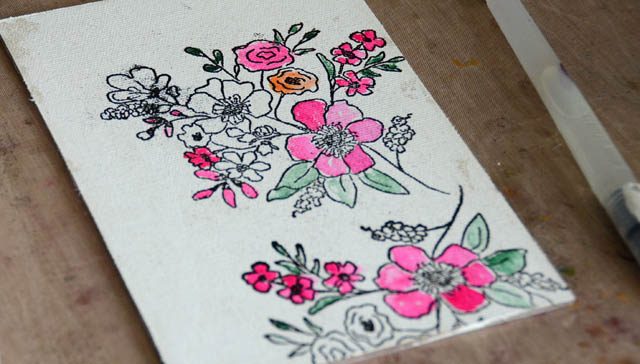
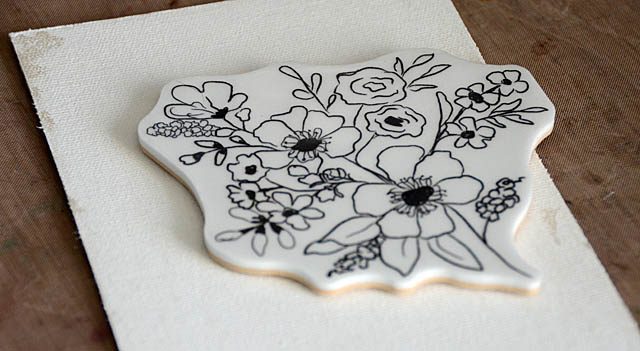
Step 1:  black embossing on a gesso coated canvas. Heat set, then color as desired!

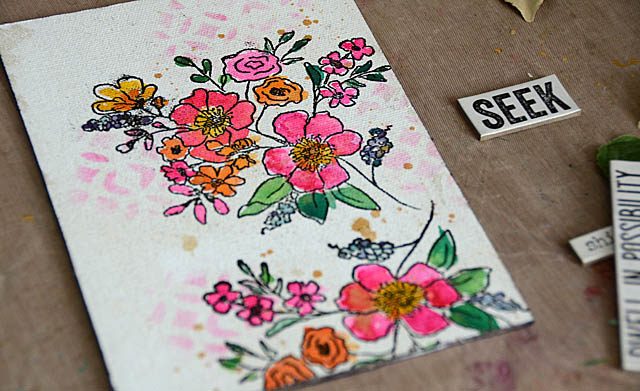
Step 2: add stencil (with distress ink), gold flecks of mist.

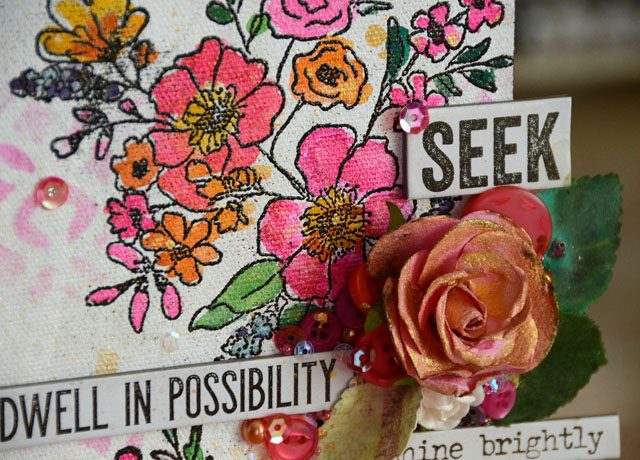
Step 3: Add embellishments working big to small

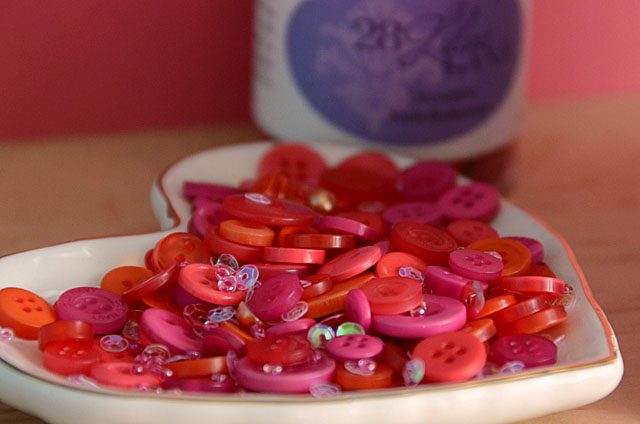
Step 4: Don’t forget the buttons!

Was that the easiest, fewest words needed tutorial ever? Pretty much! Want to win some 28 Lilac Lane buttons and goodies? This project is featured at the Mixed Media challenge blog this month HERE – and I’ll be giving away a box ‘o goodies as well as a spot in the class I mentioned before.

Looking for the supplies I used? Here are a few affiliate links where you can find my button mixes and more-

Christina Adolph stamps at Blue Moon Scrapbooking

Fruity Fun embellishment bottle (28 Lilac Lane) at Ellen Hutson and also available at Simon Says Stamp

Tim Holtz chipboard words at Simon Says Stamp

I am so in love with these new stamps – you’ll be seeing them again from me! This is such a fun project to kick off March (national crafting month!) with – I hope you enjoy and stay tuned for loads more.

Now I’m off to seek some new creative possibilities…

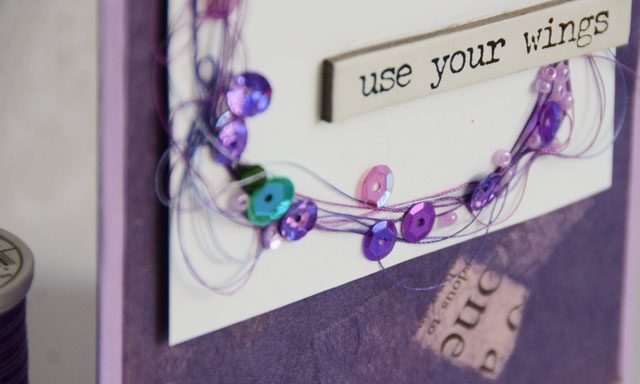
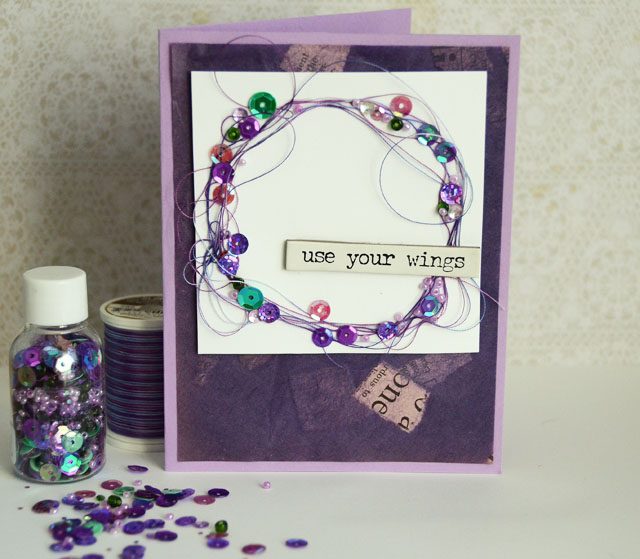
“messy wreath” card with 28 Lilac Lane

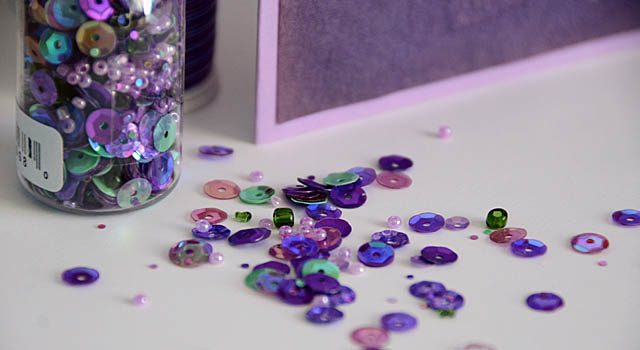
I’m so excited to tell you that the new 28 Lilac Lane products are shipping now – and in shops! I’ve spotted a lot at Ellen Hutson (affiliate link used)- that site has a lot of the new goodies – all the bottles, shaker mixes, sequin mixes, and the new bead & sequin mini bottles too! Today I’m playing with the wisteria hues bottle (link) – a personal favorite of course!

My inspiration for this mix was my wisteria (in my backyard), but Mardi Gras got me thinking about colors for which mini bottle to use first. Love this particular mix and I’m excited to share this – and many more- with you. Now despite the name mini, you should know that there isn’t anything “mini” about how much is really packed into these bottles! They’re a great value and so easy to travel with you’ll want to collect them all!

Here is a link to my YouTube video tutorial for making a card like mine.

This ‘messy wreath’ is so much fun to create- and so quick and easy. I have several variations of this I like to play with – and just a note if you’re in Northern California I’ll be doing a make ‘n take with this design at my upcoming craft event!! (contact It’s All About the Scrapbook in Dixon, CA to register).

As I mentioned before, this Wisteria mix (link) and much more are available now at Ellen Hutson. I also used some old mulberry paper as well as a Tim Holtz chipboard phrase to accent my card.

Have you seen 28 Lilac Lane in your favorite shop (online or local)? If not – let them know you’d like to! If you do – be sure to email me (craftwithmay at gmail) a photo or where you saw it! Starting soon, I’ll be randomly drawing winners in a few ways each month (for sharing 28 LL photos/projects online, letting me know about sightings of the line, etc)!! I’m so excited to have Buttons Galore supporting my efforts to share some more happy mail and love – as well as looking forward to thanking you for sharing your creations. More info on that later – as well as more information on my upcoming online class! Are you signed up for my newsletter? If not, be sure to (link in sidebar of my blog) for an exclusive offer on class. Newsletter subscribers always get first notice as well as guaranteed best prices on online classes.

Now I’m off to enjoy some King Cake and maybe craft something New Orleans inspired! I hope that you have a wonderful day as well.

Birthday cake topper with ScanNCut

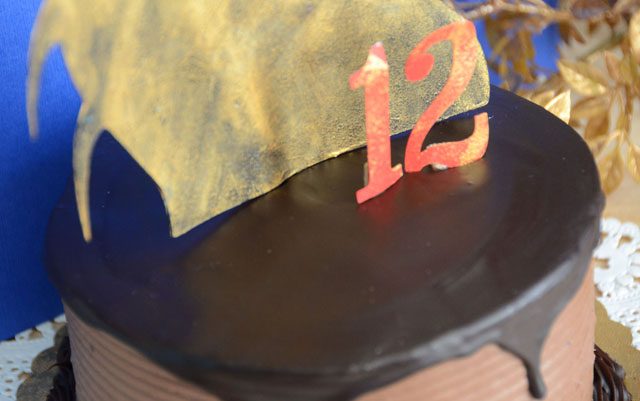
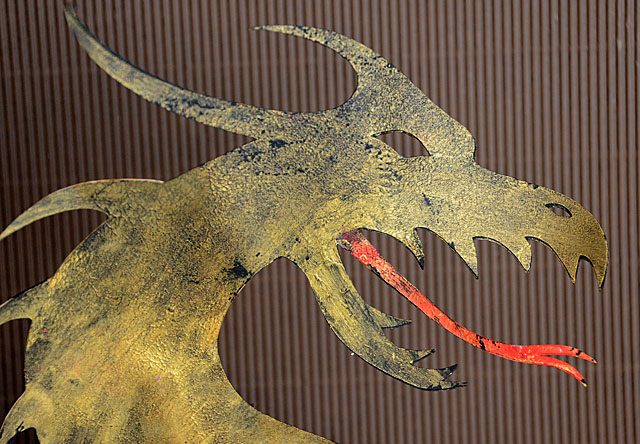
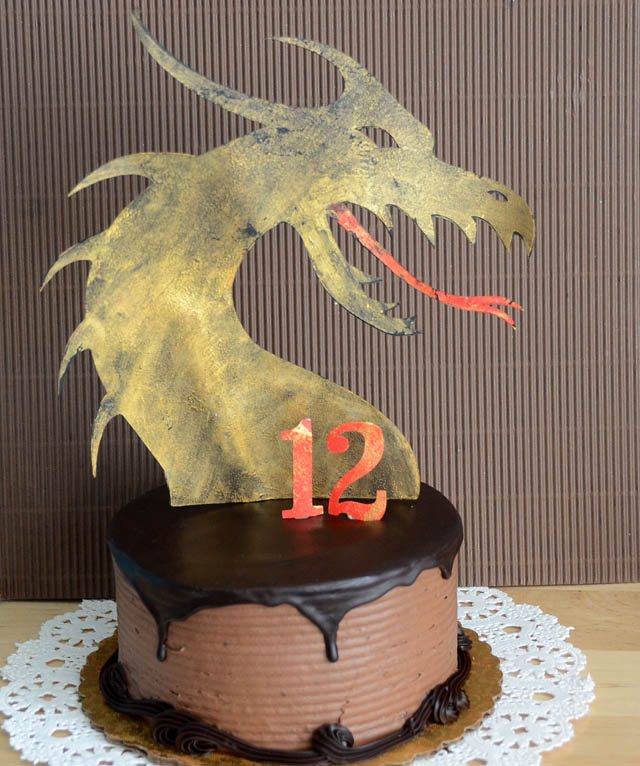
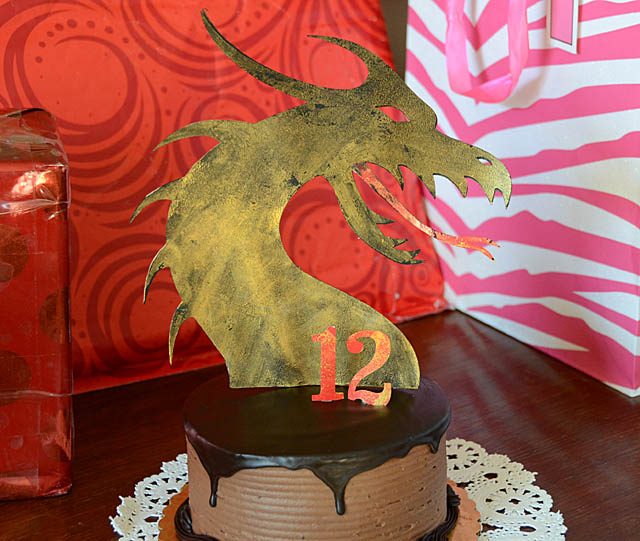
Miss Elizabeth is turning 12, and she wanted just a small simple chocolate cake. No party, no fuss. The party planning, decorating, DIY side of me just couldn’t let that go down so uneventfully! So I came up with an idea: use supplies here at home to create a cake topper for that cake. But it needed to be something just right for her, and I recalled the pencil case I decorated last year. (Here’s a link)

Inspired to use the same clip art design, I pulled out my ScanNCut and got to work. Here’s a link to my video tutorial.

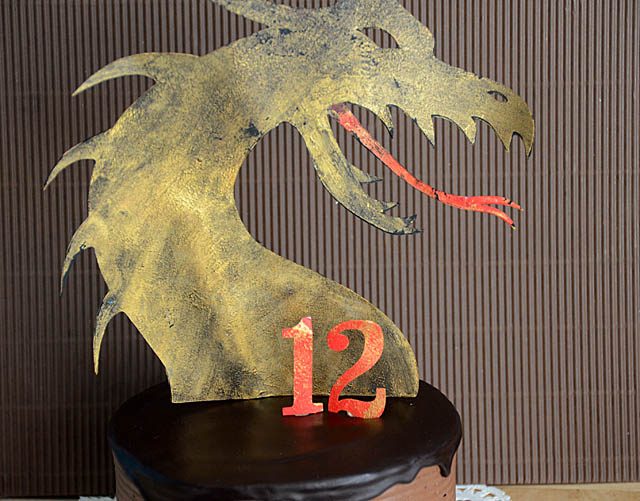
I only needed 5 things for this project: popsicle sticks, white cardstock, red paint, black paint, and old paint. The dragon I brushed with black paint then paper toweled it off. Because my gold paint was applied in a textured way, it was that easy! I just love the results.

So what does the birthday girl think? She was BLOWN AWAY! She loves that it was the colors (gold red and black) as well as theme that was perfectly her and unlike anything she’d ever seen. Mom win! I need to remember that I can do so much with just a few supplies. And really customize things and save money too. My ScanNCut as you know has become a game changer in my crafting, and this is no exception! I hope you’ve enjoyed sharing this bit of craftiness with me this week, and that you have a great weekend!

The usual disclaimer – I do work with Brother as a paid consultant, but all ideas and opinions are my own. This is a machine I love and use very often, and I’m happy to share ideas with you here!

Ready for spring: four beautiful new paper collections

As the rainy days continue I can’t help but think of spring days ahead. I recently placed an order of four bright happy paper crafting lines, and since it’s been a long time since I posted about product favorites (and I got a heads up on a great discount code!) I thought it would be the perfect time to share some faves.

There are affiliate links for Scrapbook.com in this post – using affiliate links supports this site should you make a purchase, but of course there’s no obligation! (thank you in advance for support and keeping the lights on in the studio)

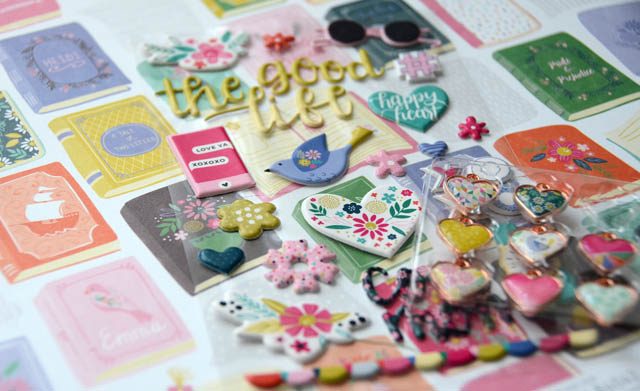
First up, Paige Evans has a new line and it is my favorite of hers so far! I ordered the book paper, puffy stickers, and the charms. I already did share one tutorial with the charms (see it here). I’m loving the playful florals, bright happy colors, and patterns and designs I find useful for my own style of crafting.

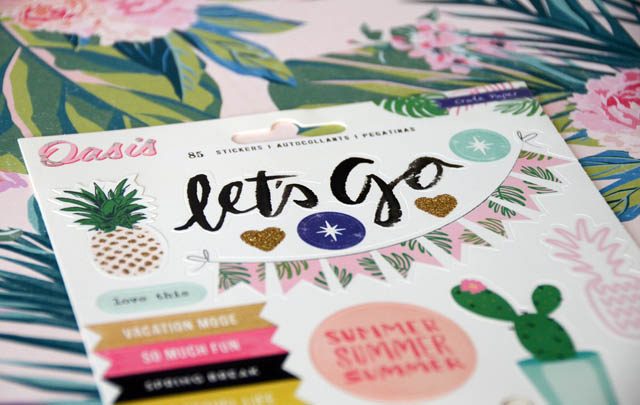
Next up, the Oasis. This Crate Paper line will be great for summer, for tropical vacations, and just for happy projects! I only got the sticker sheet and 2 papers – a mistake I mean to fix!

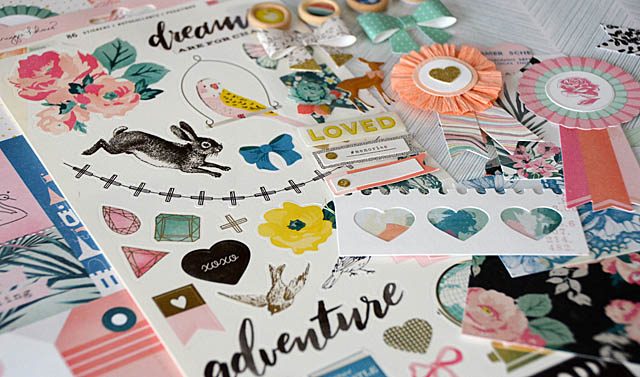
If you’ve been reading my blog for line, then you know I LOVE Maggie Holmes! Her collections always coordinate with past ones, as well as being unique in their own way. This new one Chasing Dreams has me so happy that I’ve already broken open the stickers & die cuts and gotten to work!

How do I pick what items I’ll buy? I look for patterns I’ll use, and for product types I use up or am in need of or feel are unique. I also set a budget, and a limit. Usually 3-4 items from any one line to begin with. If I use it all up quick, I can then order more!

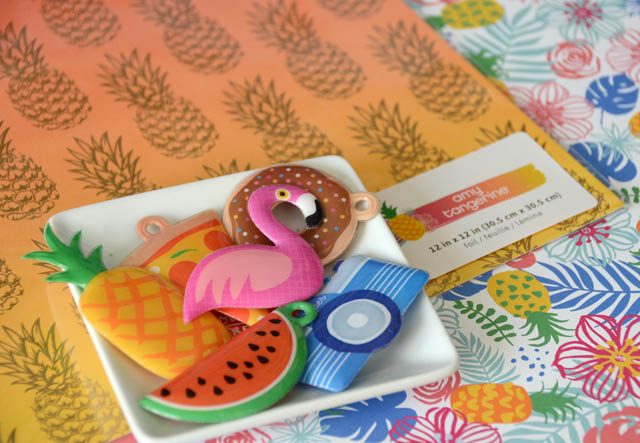
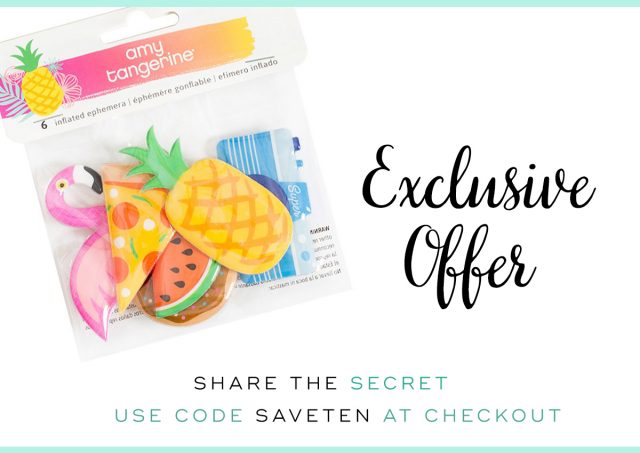
Last but not least, Amy Tangerine wowed me with this pineapple paper and these ‘inflated’ embellishments. Oh Happy Life is a line full of great colors and bright color that she’s known for. Oh yes, and these items do blend nicely with older Amy Tangerine lines making them extend the life of older stash and why she’s long been a favorite of mine as well.

Speaking of cool – Scrapbook.com has a discount code that is good for a very limited time on all these items (and everything else in stock)!

Use code SAVETEN to take $10 off any purchase of $100 or more. This offer ends Tuesday 2/21/2017 so it’s a good time to stock up! I’m heading back in for a few more items as well as some new inks and more paper – my stash is running low and I’ve got a lot of creative projects in the works…

What products are your favorites these days? Anything new got you excited to craft? Let me know!