ScanNCut: Dachshund fun!

As I always disclose – I am a paid consultant for Brother- and all ideas and opinions are my own.  So imagine my total delight when they let me know they had a brand new set of animal patterns for my ScanNCut!
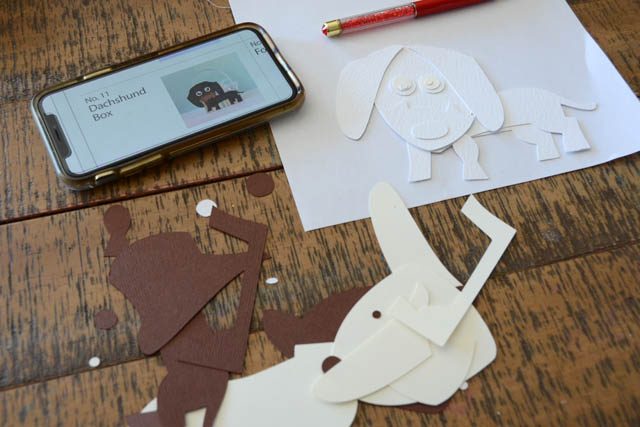
Full disclosure – I was totally overwhelmed by the intensity of these patterns at first. SO MANY pieces! SO MANY possibilities! I decided to take one pattern and really play with it and see what I wanted to do. After cutting out of a scrap of brown cardstock (the dog, without the box portion of the pattern) I realized… these would be great for coloring!!

So I got out my watercolor markers and water brush and began!
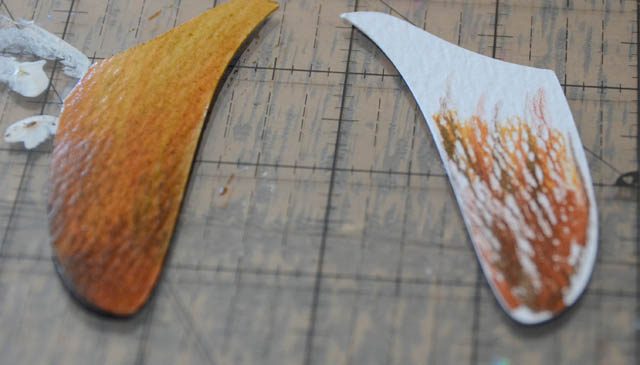
I went for the ears first – and man. This was FUN! I really love blending color + water it’s so soothing! So the more pieces, the more to play with!
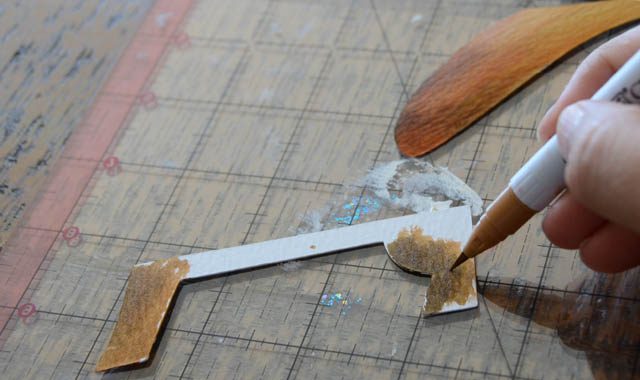
Then I just kept playing with shades of color and body parts! Body, the “behind” leg piece, the head…
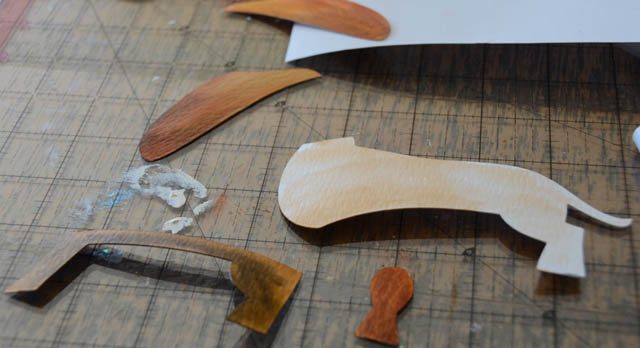
Once they were all colored I used a liquid glue (glue pen) and worked through the pieces! I glued the eyeball bits together separately then attached entire eye to my puppy. I also left out the muzzle piece. Don’t be afraid to mix up intricate die cuts! Why not?
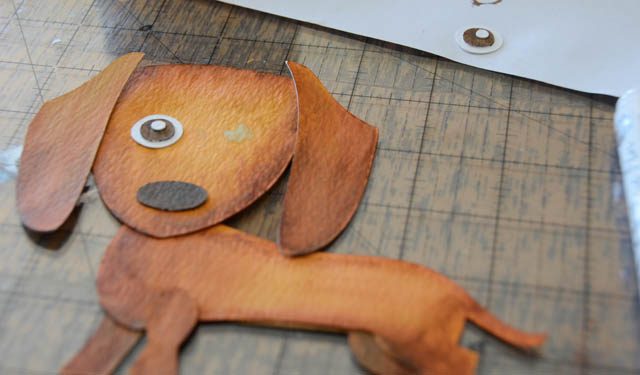
To recap the how-to on the ScanNCut end:

  1. The animal patterns are available in the online Brother Mall (here)
  2. Download/move the patterns to your ScanNCut wirelessly or via USB thumb drive
  3. Open the pattern, remove any pieces you do NOT need, arrange pieces.
  4. Cut!
  5. Repeat cutting for additional pieces/layers if needed

I turned this sweet guy into a simple card.
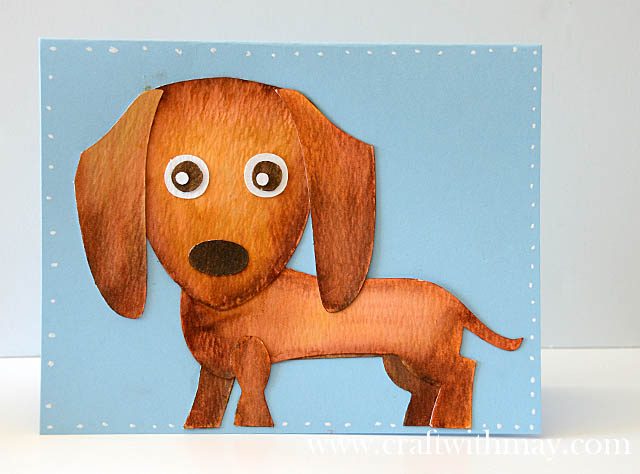
My tip – I realized white paper or watercolor paper would be best first. That way I could color as needed vs try and guess which pieces were which color.
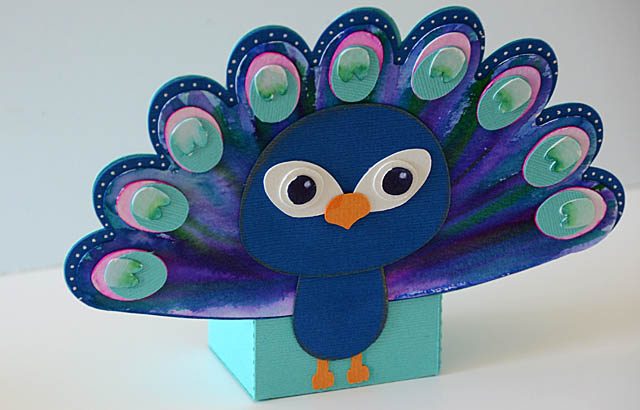
Ready for more? Me too! Here’s a Peacock I did with the box it came with! I added white accents to it as well as using cardstock vs coloring all pieces. Such fun! This will be up on the Brother site with full “how to” soon. It’s a project I made for them with another pattern. Now my only question is which animal will I make, out of what material, and what will I do with it?

A card? Gift bag? Box/project as shown in the cut files? Who knows! I’m always one for new creative play and my day spent with these animals was such fun! I love having project bases that I can take as a starting point and run with them.

Wishing you happy creative running today as well…
Grab onto that spark!

To say things are chaotic here would be an understatement. Between kid schedules, working ahead (I will on the road for about 6 weeks this summer!), and trying to find my stride creatively and fitness wise – well it’s a crazy time.

And it is a wonderful time. 

I have given myself full permission to simply follow sparks of inspiration. To test out ideas and just simply see what will happen if —. No excuses about being overwhelmed or busy, no nonsense about “not a good time”. Just doing… and seeing what happens.

Why would I embrace such a chaotic way of being and random following of ideas in life overall? There is a bigger plan and idea – and today I will attempt to explain the new method to my madness.

Continue reading “Grab onto that spark!”

one royal week: and a new card how-to!

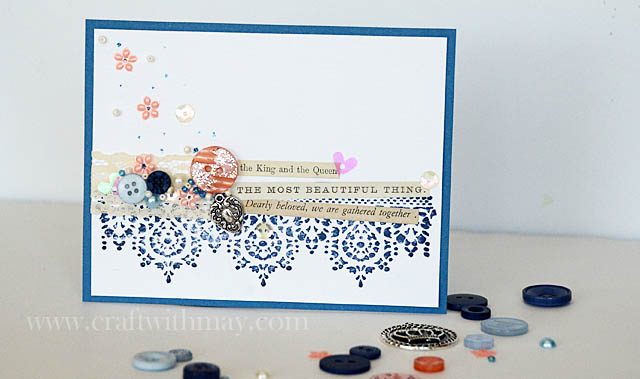
I’ve been crafting up a storm this week – so busy but so fun! Today I’m excited to share with you a quick and easy tutorial for this royally fun week! Not only is it my birthday week, not only is Deadpool 2 coming out, but it’s also the Royal Wedding! And I have new 28 Lilac Lane kits coming out!

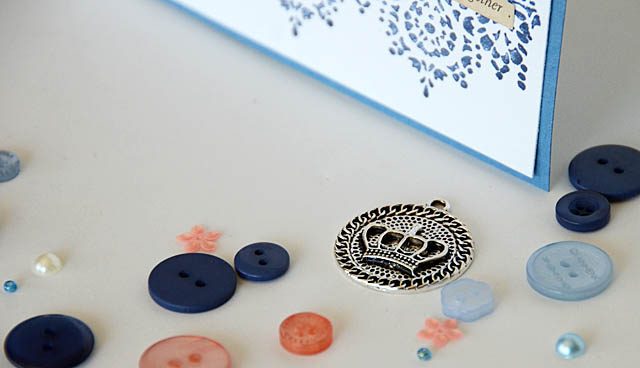
This card was made using the brand new “Royal Celebration” kit! This should be shipping to stores, but if you can’t find it or can’t wait you can also find the whole line on the Buttons Galore website.

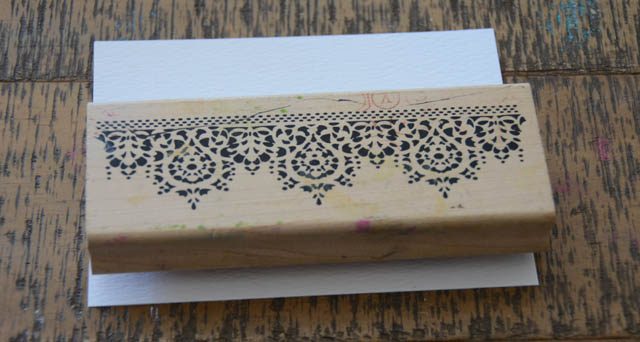
First, I stamped (or you could use patterned paper, washi tape, etc) across the card in Blue archival ink.

Then I pulled out the kit and figured out key elements. At this time I also pulled out sentiment stickers and placed those down.

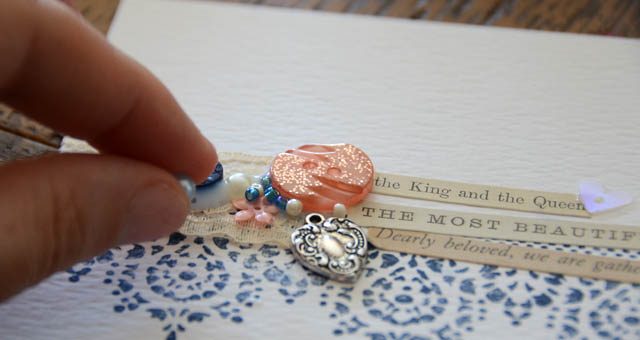
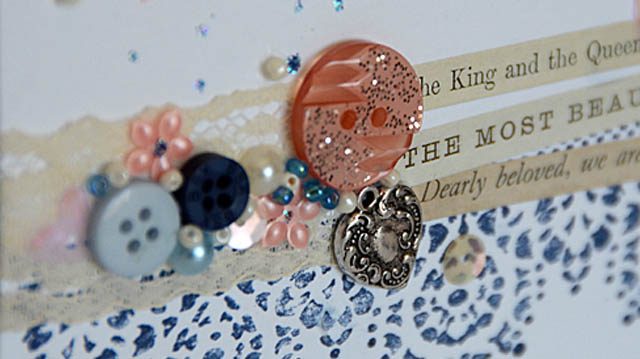
My anchors for this project (aside from the stamp) are: lace, button, charm, sentiment trio of stickers.

Once the base elements were in place, I added in the smaller bits! Sequins, pearls, beads… the little goodies that really help a project shine.

It didn’t take much – but I am royally pleased with how this card turned out! And I’m excited for a fantastic week ahead as well.

Happy Crafting!

Quick Formula: sequin card

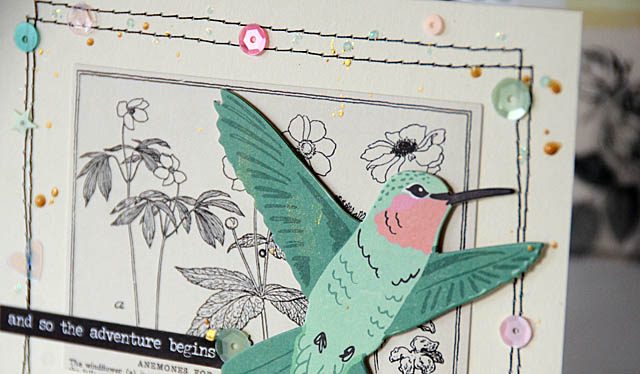
Today I want to share with you one of my “quick and easy” formulas for crafting. Today’s example: An easy way to use up those loose sequins on your work space! This is something I come across a lot, and making a card is always a great easy way to “clean the desk” as well as use up some random supplies.

Continue reading “Quick Formula: sequin card”