Color play & fun

DSC_3765

Hey everyone, just popping in today with a little creative reminder:

Go forth and try something new! Instead of looking up the right way to do things, or spending time seeking inspiration just play! test! try it out! I find so often that I learn more about and get more confident in using new to me products by doing this. Sometimes learning what NOT to do is just as important as learning what to do – so needless to say I really do encourage you loosen up and play a bit. See what works for you.

Here’s a card I made with new Wplus9 stamps and random watercolors. Love having an ‘art’ set of stamps now, and playing with new to me colors plus new to me stamps? Perfect creative play!

DSC_3772

Whether it’s a color medium or some paste, a new glue or some type of paper you’ve not worked with before I encourage you to go forth and get crazy. Have a good time, remove the pressure, and just play.

looking for the stamp set I used? It’s (affiliate link) available now at Ellen Hutson.
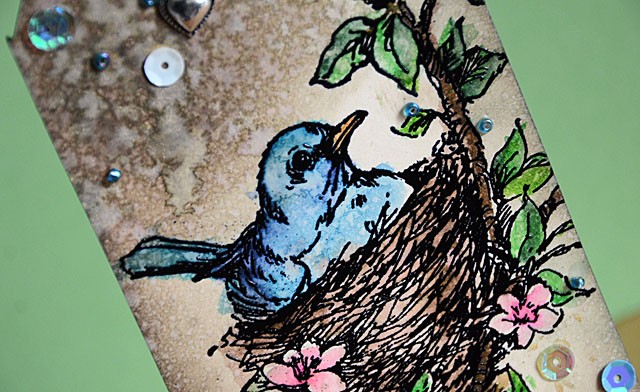
Distress Bird Tag

DSC_2304

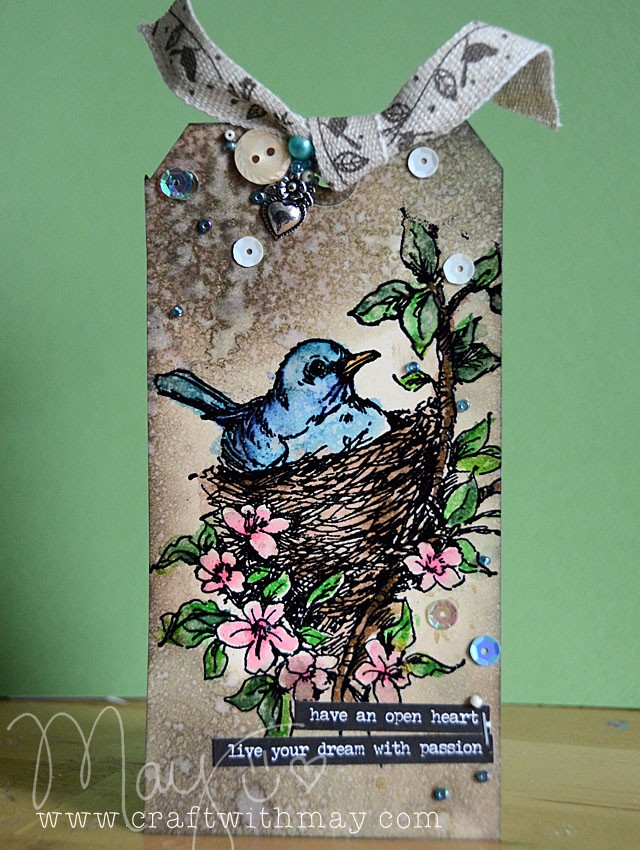
True story: This was one of my favorite projects to make lately, and it took less than 10 minutes. Crazy when that happens! From the bird stamp (one I found on clearance at Michael’s) to how fun it was to add bits and pieces from my new embellishment line – this simple formula for a tag is easy to do and a lot of fun!

DSC_2316 copy

To make a tag like mine:

  1. Stamp an image with clear embossing ink, then heat set with black embossing powder.
  2. Color with distress ink and a water brush
  3. Use a brown distress ink and blending tool around the entire image. Then spritz with water
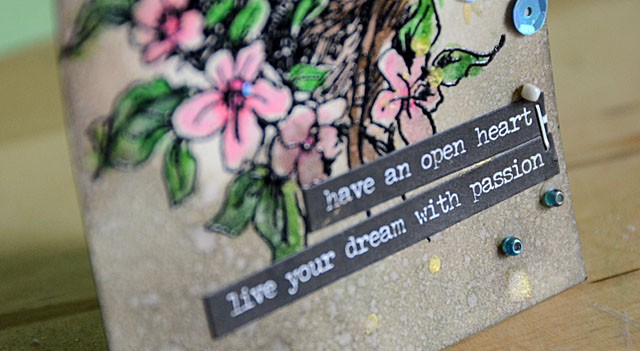
  4. Add embellishments (I used Attic Findings and New Leaf- 28 Lilac Lane kits), gold mist, and stickers to complete the tag

DSC_2320

28 Lilac Lane is now available in stores! On-line (affiliate link) the full set can be found at Ellen Hutson here.

ScanNCut apron tutorial and give-away!

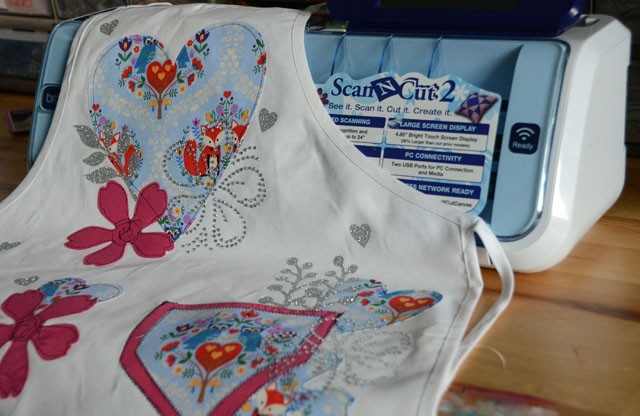
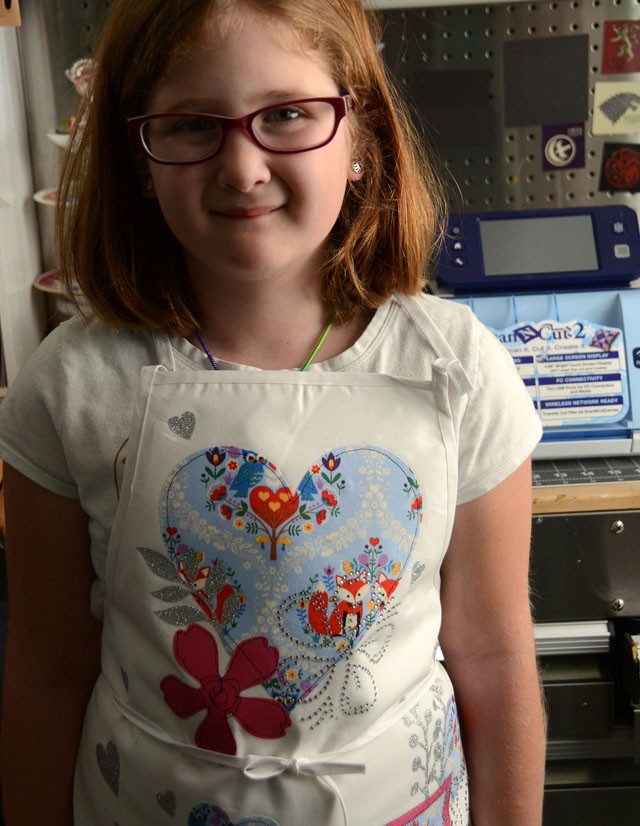
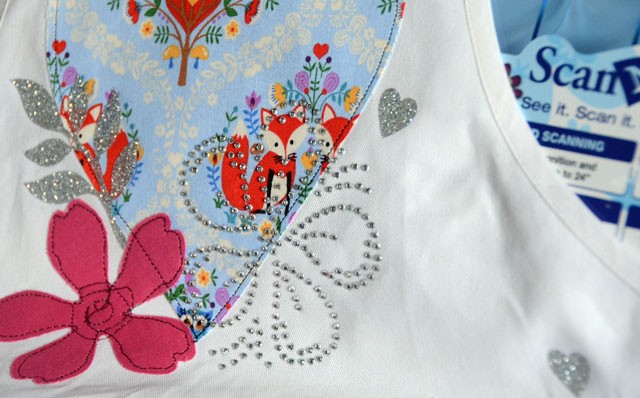
See this apron? I made it… to give away to one of you! In addition to this, my friends at Brother are going to also give the winner their own Rhinestone Kit! The winner will be drawn at random (using random.org) next week – but before we get into all of that let me share how I made this apron!

mayf_apron (1)a

disclosure: I am a paid consultant for Brother, but all opinions and ideas are my own.

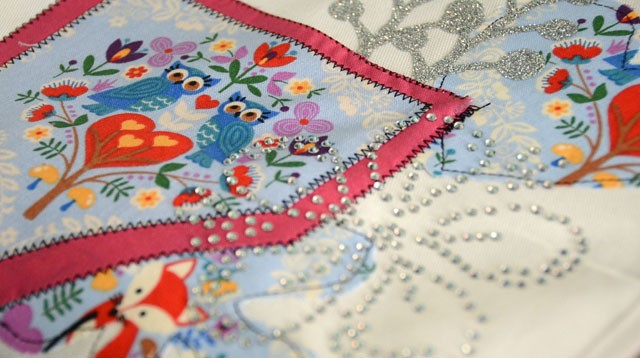
I will be sharing a how-to for a tote bag similar to this apron later this week – in fact I’ve got several projects coming this week that I think you’ll enjoy. For this apron I’ve used the Rhinestone kit, glitter iron-on material, and fabric cut with the ScanNCut. The rhinestone kit is a favorite because it lets me make my own designs as well as take advantage of the pre-made designs as well. I’ve got to warn you – it can be addictive!

mayf_apron (17)b

Here is my YouTube video and full tutorial.

and here is my assistant/model! The apron is too big for her – but she sure does look cute in it!

mayf_apron (23)c

Back to the give-away details: To enter for your chance to win this apron and a ScanNCut rhinestone kit from Brother, leave a comment here on this post by March 13, 2016. A number will be drawn (using random.org), and the person whose comment is that # will win! The winner will be announced here on this post as well as contacted via email on the 14th. One comment/entry per person please and thank you!

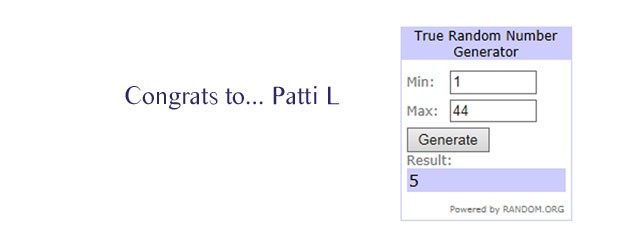
CONGRATS TO THE WINNER!!

pattil

I’ve contacted you via email – congrats Patti!
mayf_apron (31)a

Thank you SO MUCH to my friends at Brother for sponsoring this fun give-away, and for creating products I love working with so very much! My ScanNCut2 is so much fun to work with, and I simply love how it has expanded my crafting possibilities! For all my previous posts and videos featuring the ScanNCut, check out the archives here.

Simple hoop project

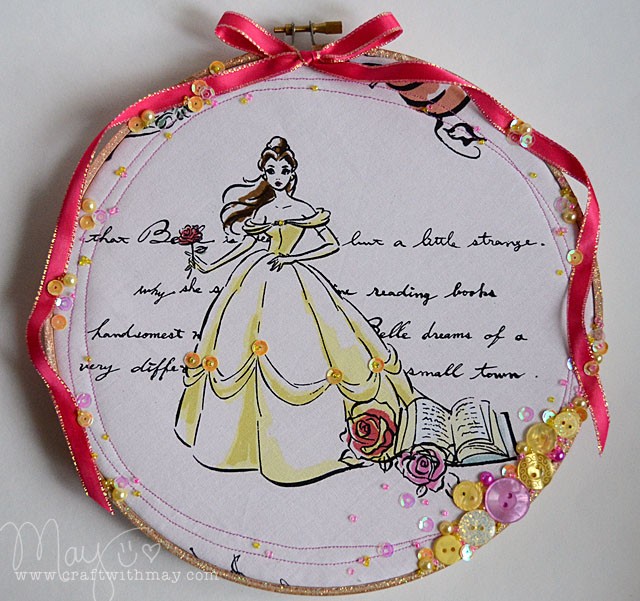
belle

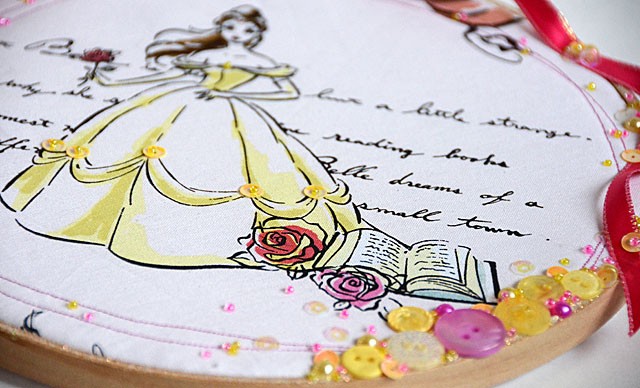
I have long loved embroidery hoops, and lately I’ve been playing with growing my (so meager) skills! This simple hoop was created for the CHA trade show (my new embellishment line, 28 Lilac Lane) and features the Sunshine and Pretty Princess bottles and trim from the Hello, Cupcake kit. To create a project like this:

  1. Mark where the fabric will be, then draw a light line.
  2. Stitch fabric and backing material together (loop around near edge), then place into hoop.
  3. Stitch and pull tight the excess on the back of the hoop.
  4. Use PPA or other clear drying glue, place a bow, as well as all the buttons, beads, sequins, and pearls into place.

hoop1

What I love about this project is that while I did stitch a bit, mostly this project was put together by just gluing! I do love a shortcut, and this was definitely quicker than hand stitching. It also allowed me to embellish the very edge where stitching wouldn’t be able to be done on a hoop like this.

National Craft Month: Give-away!

DSC_3842

28 Lilac Lane is shipping! If you’re in Northern California – this Friday from 4-6 I will be at It’s All About the Scrapbook in Dixon, CA doing free make & takes, and celebrating! If you can join in the fun please do.

In the meantime – I’m kicking off National Craft month with a give-away! A new 28 Lilac Lane kit, cookies, and some stamps too! (Sorry for the grainy pic!) To enter, leave a comment here on this blog post by March 9th, 2016. I will pick a number at random and email the winner directly. Stay tuned here to my blog – I’ve got more coming all month long!!