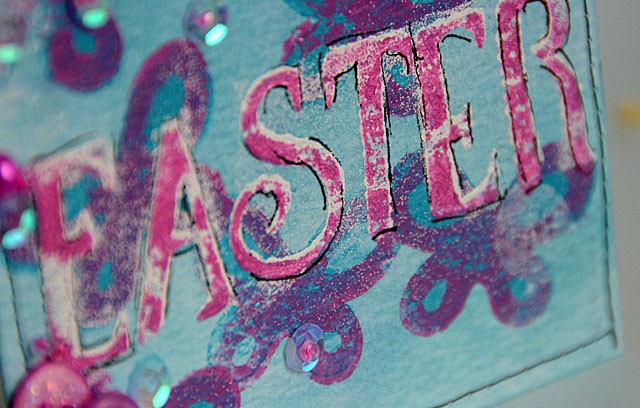
Mixed Media Stamping with ScanNCut

DSC_3760

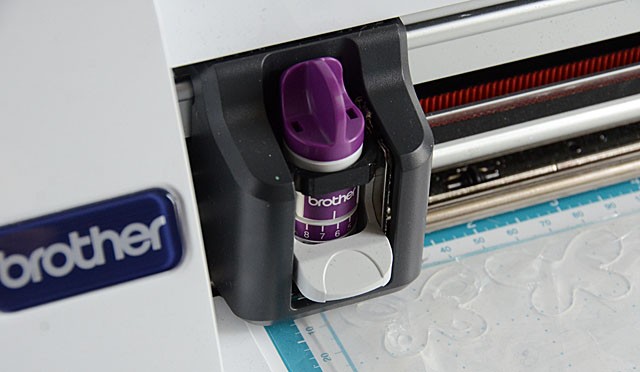
When it comes to making my own stamps I’ve never been one to carve. Oh sure the results are beautiful but it takes precious time! Could there be a quicker way? Well if you’d like to make silicone stamps, you can use your ScanNCut (any model!) and the stamp kit from Brother to cut your own designs.

Disclaimer: I am a compensated consultant for Brother, however all ideas and opinions are my own
DSC_3734

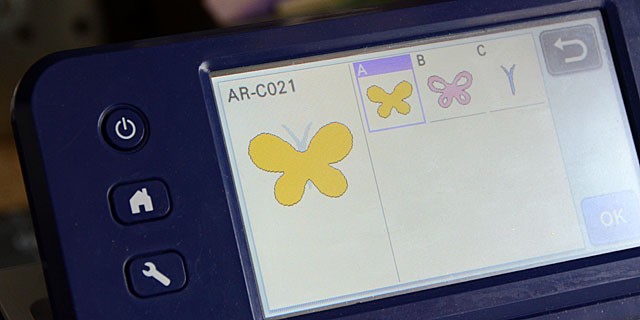
First off, you’ll pick your design(s) and cut them out of the stamp material. I used this butterfly design because I liked that there are two layers and I have some ideas for layered stamping.
DSC_3732

If you’d like to see the full video tutorial for how to do this, click here for my YouTube video.
DSC_3738

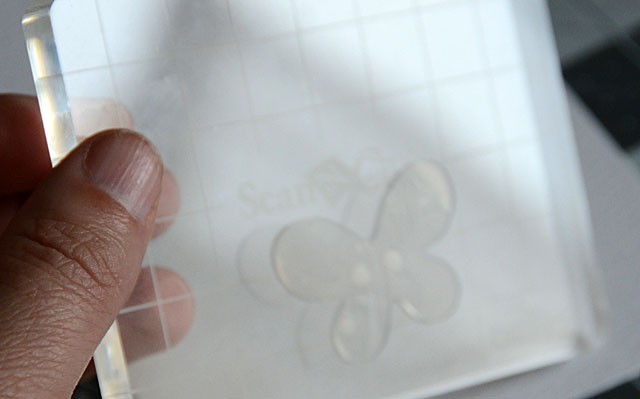
Once designs are cut out it’s stamping fun time! I am really liking acrylic paint and pigment ink on these stamps. One thing I LOVE is that mediums really don’t want to stick to the silicone. On the downside, it means some inks can be tricky to work with!
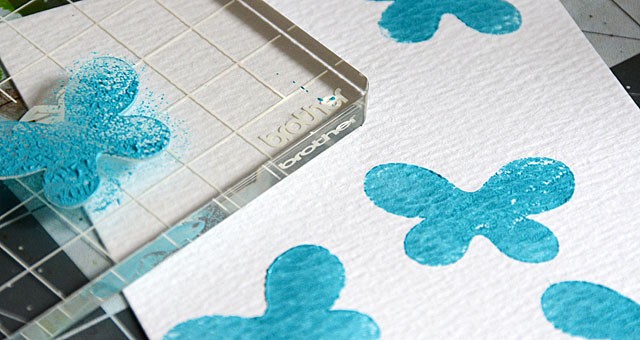
DSC_3740

On the upside? cleaning is SO easy! They look like new even when someone messy as me is working with them!
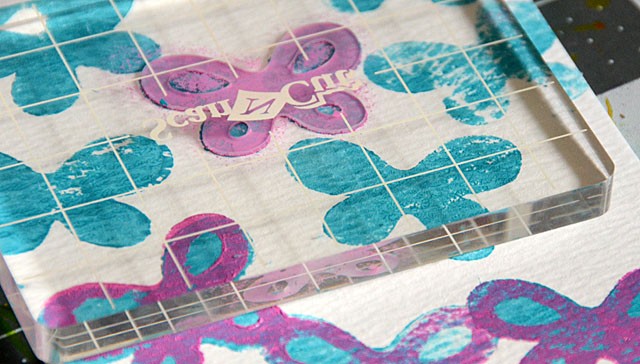
DSC_3743

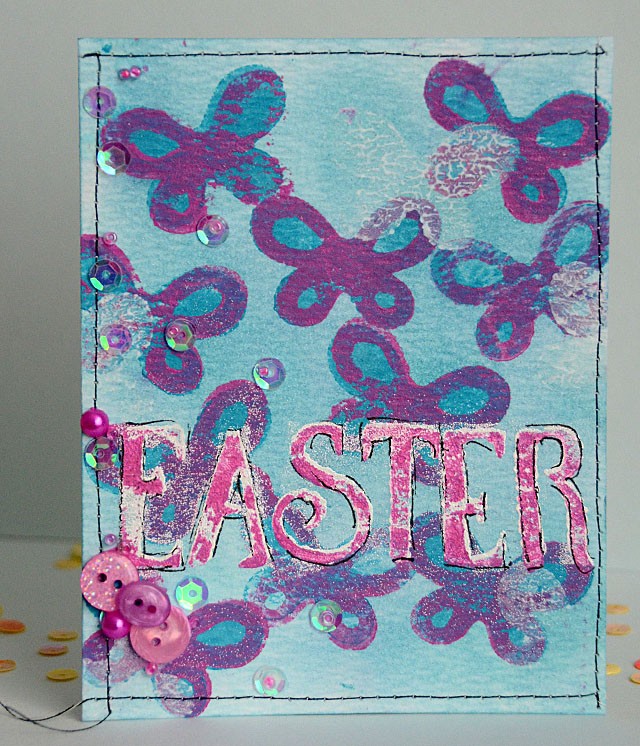
Once done with my blue I went back in with some purple/pinky paint and the other butterfly stamp. Love how this turned out!
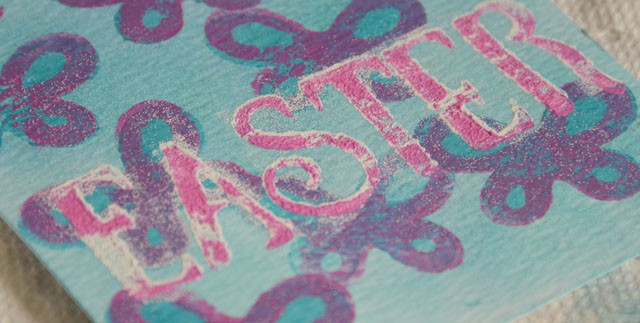
DSC_3745

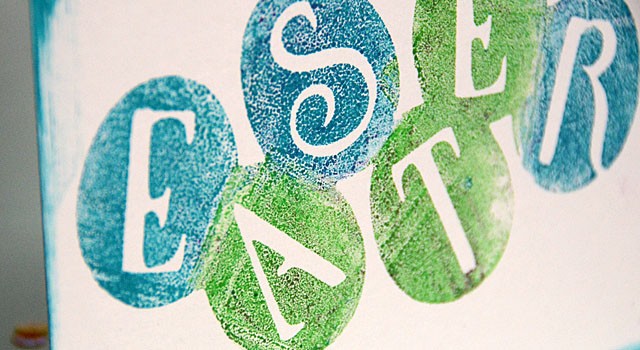
The in twice with the letters for Easter. First in white, then again in the pink-ish color. The Easter letters were actually cut out from an egg word design seen below.
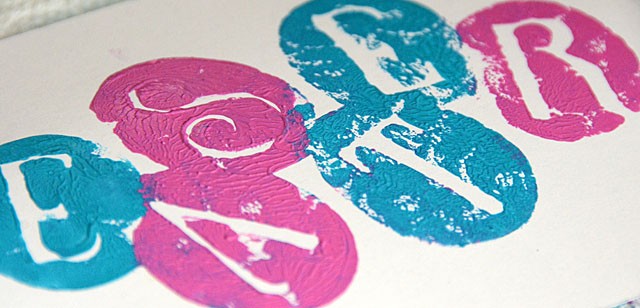
DSC_3747

When playing with this design I found paint was a bit too much. I preferred pigment ink (see below)
DSC_3751

I really like how I can get interesting patterns and effects with ink and paint on this super slick surface and that cleaning is usually a single swipe of a paper towel for 100% clean stamps. I am excited to play with a few more possibilities, and share with you some more mixing of mediums with these stamps that aren’t quite like my usual stamps.
DSC_3756

Have questions? Comments? Requests? Do let me know!

Rainbow watercolor canvas

DSC_2255

I had this silly idea, I wasn’t sure it would work but what the heck. I pulled out a white canvas board and some distress ink and stamped colors in a rainbow with the same butterfly stamp. Then I spritzed with water, then gold mist.

DSC_2260

From there it didn’t need much! A quote chopped out of paper, a few dimensional butterflies cut out from a different butterfly stamp, and a scattering of random 28 Lilac Lane accents. I’ve said it before, but this line is so much fun to play with! What I love about this project is that I used bits and pieces from tons of the kits, and did so very sparingly. It didn’t need much!

DSC_2266

I love this project so much- it was a CHA favorite for sure. I’ll be recreating (and filming a video) for a similar project soon. Thank you for all the kind words about my new embellishment line, and for all the love for all my projects that I’ve made so far! Now that the line is shipping to stores, I’ll be creating new videos, tutorials, and of course looking forward to seeing your creations!

This rainbow canvas reminds me that sometimes the simplest projects can be our favorites…

28 Lilac Lane: Love Story Kit

DSC_1783 copy

What could be more fun than playing with a lot of buttons? Creating a texture filled button-tastic card, of course! Hey guys I’m here today with a super quick share – a card I created for the CHA debut of my new line 28 Lilac Lane (kits now shipping!)

love_project_card copy

This card was created with the “Love Story” kit that is full of gold, white, and shades of red goodness, texture, and detail. Love this one so much – and while I am kicking it off with a Valentine it could be used for much more. I hope you enjoy this quick share – and have a great day!