Fairy simple stamping with ScanNCut

dsc_7568

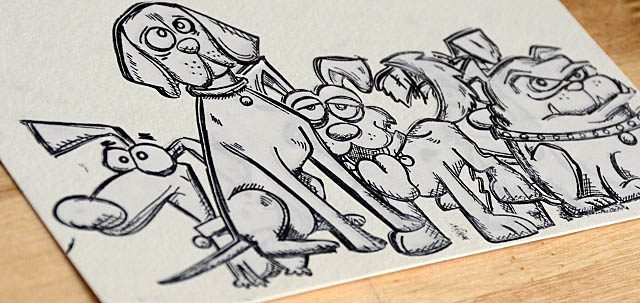
Have you ever had one of those “aha” moments and you just can’t stop wondering why in the world you’d never tried something out before? Well I was playing with masking stamps with my ScanNCut (post on how-to here)  and all of a sudden I thought… whoa. What if I got all the stamps to overlap (thanks to EASY masking) and then cut that whole image out using the ScanNCut. Would that work? Is it too crazy to dream?

Well friends, turns out the only crazy thing is that it took me this long to do it! I am intensely in love with this – and I have visions of Christmas scenes, spooky haunted houses, and sweet garden scenes like this one too! Oh how much fun this is.

dsc_7574

Now before I share my video I remind you (as always) that I am a paid consultant for Brother, but that all ideas and opinions are my own. Just for your information – I disclose that in spirit of full honesty but if you know anything about me or how I roll you know it’s always HONEST here! I adore working with Brother, and oh man I love this machine. Ok, let’s get to the how-to. Here is a link to my YouTube video.

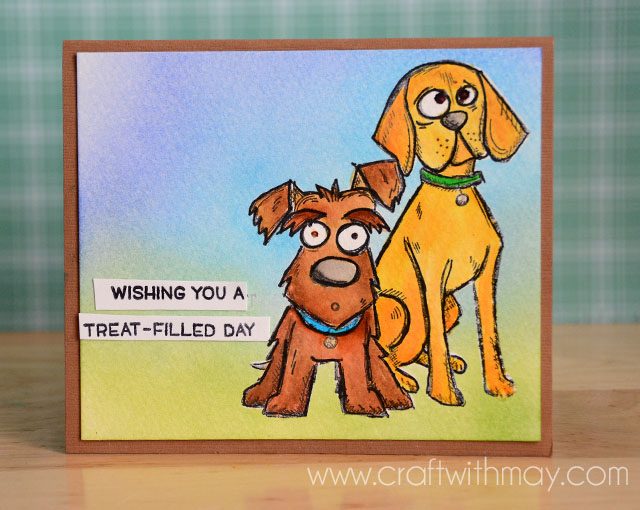
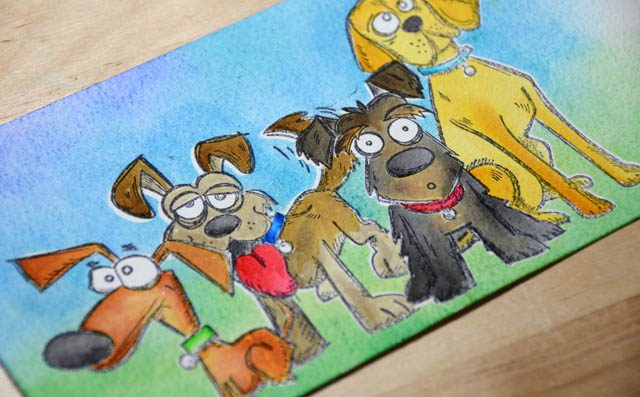
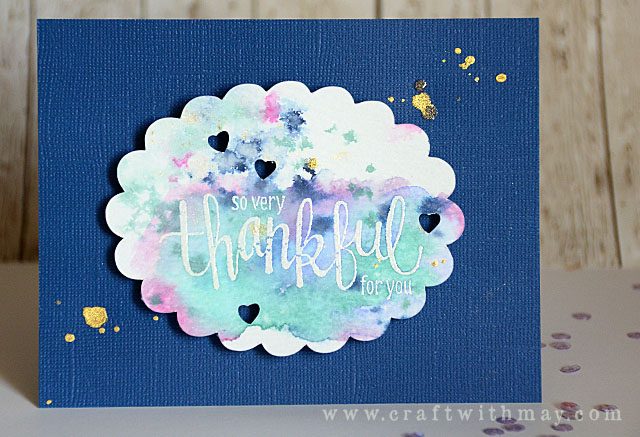
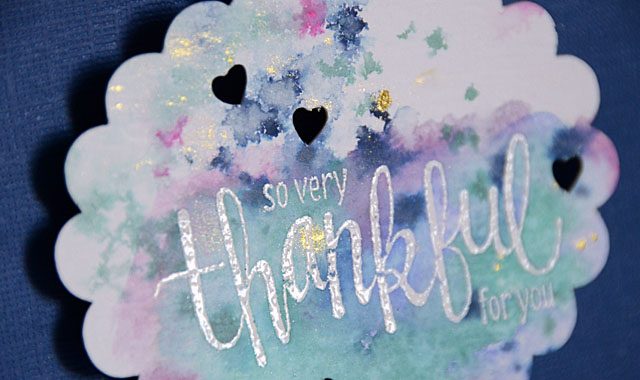
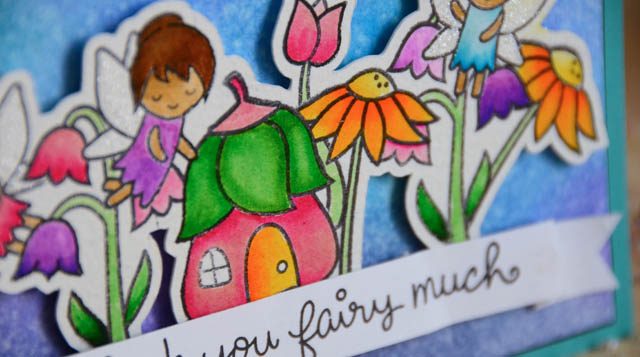
Here is my finished card – it’s so sweet! I love that this technique allowed me to color away, then mount the scene onto any background I might like. This is a bit wider of a margin (.08)- I really love that doing this is an option vs being stuck with one specific size, and I adore that I can make any scene I want and cut it out!

dsc_7577-copy

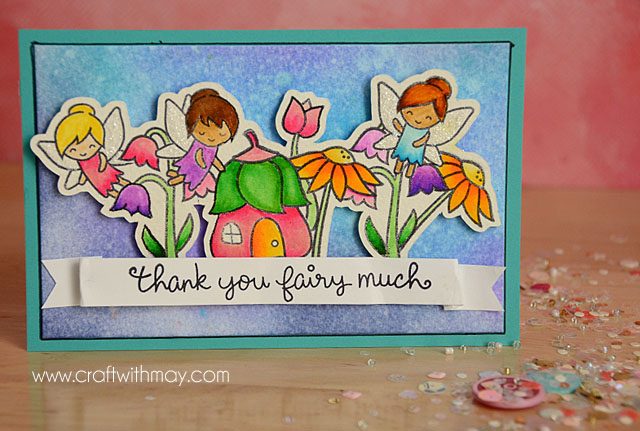
The only ‘rule’ you’ll want to follow is to ensure every single image is attached to another in some way so that in the eye of the machine scanner brain, it sees “one” outline and not many. Although I suppose you could layer multiple scenes to create even more depth? Oh the possibilities! I hope you’ve enjoyed this as much as I have sharing it. This sweet fairy card is on its way to a dear friend and I am off to dream up some Halloween inspired ways to put this technique to use…

Layered stamping with the ScanNCut

dsc_7437

You know that the ScanNCut can cut stamps, but did you know it can also be used for creating stamp masks?

I so love the look of layered stamping, but man do I dislike having to use masking fluid, cut masks, or otherwise take a lot of time to achieve the effect! So guess what? I’ve come up with a far faster way to do it!

Step 1: Pick your stamps, and stamp them with permanent ink onto masking paper.

Step 2: Scan, and cut out the images.

Step 3: arrange/set up your scene, then stamp (starting with images you want at the “top”) and cover with masking paper images.

Step 4: color, stamp, and remove the masking paper as you please.

dsc_7440

You can do this as simply or with as many layers as you like! I do have *one* cautionary tale: If working with watercolor or water reactive mediums, be sure to let the layers/colors dry fully or you’ll end up like my image below.

dsc_7443

To share with you my full process, I’ve created this YouTube video.

dsc_7451-copy

Here is my finished card (as seen in the video) – I just love how it turned out! Below you can see my progress on another version. I just love I can have this pack of goofy dogs – and spend very little time actually setting up the prep for the layers! This would work for any number of stamps, and in a few different ways that I’ll be sharing over the next few months.

dsc_7460

Note that I am a paid consultant for Brother ScanNCut, a machine I use, love, and enjoy tremendously! All ideas & opinions expressed here as always are my own.

Big ScanNCut news: Now in Michaels Craft Stores!

If you’re  a regular reader here, then you know I’m a paid consultant for Brother and I love the work I do with them testing out ScanNCut features and updates, as well as creating projects for them. When I got an email asking if I’d go check out the new ScanNCut display at Michaels, how could I resist?

img_0247

My local shop did not have it, however the Emeryville, CA shop is one of the locations that is carrying not only the ScanNCut, but also many accessories! The girls and I were so excited to see this end cap full of fun ScanNCut goodies.

img_0249

Here is a link to the Brother website where you can search locally for your own location.

01-banner-image

The above ad features my projects – love seeing work I do for Brother used like this! Speaking of, you can find a lot of my projects as well as other talented designers on the ScanNcut website – including free tutorials and videos.

img_0255

Back to the shop, here you can see my helpers posing with all the lovely items – I’m *SO* excited about this and I was so glad we could go and see the display ourselves.

img_0258

What else could be exciting? Well there’s a great software update (available now), some new accessories coming this fall, and I have loads of new projects on the way too! It’s so great working with this wonderful company, and I love seeing how more and more people are using this machine and enjoying it the way I do! If you have any questions, or requests for videos be sure to let me know!

ScanNCut 101 video and some past favorites

As you may know, I am a paid consultant for Brother. I create projects for them regularly (SO FUN!) and of course when I come up with fun projects and ideas I share them here on my blog as well. Today I want to share a new basics video with you, as well as some links to past favorite projects and posts.

First off, here is my post for is the ScanNCut is a good machine for you (and difference between models) post.

DSC_5245 copy

Here’s a plant topper post – great for gifting and for the upcoming holidays!

Here is a ribbon flag post – I’ll be doing a fall version soon!

I do so love the iron-on material and here is one of my favorite (simple!) projects a fabric pencil case tutorial.

ironon1

One more to share here – decorating a holiday notebook. Hard to believe it’ll be time for a new one soon! All of these projects are fairly easy to recreate with a ScanNCut – but I’ve got a new video to share before I go today!

I’ve gotten a few requests for a basic basics “101” type video series, so here is the first one. Got questions? More requests? Just let me know! here is a link to my YouTube video

There are some new accessories and exciting stuff with the latest software update – so stay tuned for more ScanNCut fun from me in September!

ScanNCut: repurpose ‘ruined’ card front

DSC_6773 copy

See this card? It was never supposed to be this way. It was meant to be a fully white card front, no fancy cuts at all. Ah, but you see I seriously messed up my idea and it was headed to the recycle bin. Instead, I thought well let me run it through my ScanNCut and see what happens.

Here is a link to my YouTube video. One thing you’ll notice is that I had some trouble at first with my paper sticking. 100% user error! I like to try and include those kinds of errors in videos now and again, because I know we all do that stuff, and it’s one of those things that I like reminding myself of. Always use a standard tack mat when working with such serious paper!

When you work with watercolor paper you’ve got to remember that it is thicker and rougher than normal papers on a machine. I have an old blade that I save to use just when I’m working with this kind of paper because it really dulls a new blade fast! Anyhow, I just love that adding a few cuts to a card front that didn’t look good to my eye changed it into an oval that looked beautiful!

I debated leaving this as an oval and placing on a gift, but I’m short on cards and decided instead to mount it with foam adhesive onto blue cardstock.

DSC_6777

This is a great reminder to me to be sure and rethink “mistake” pieces before giving up on them! Die cutting (or punching) shapes is so often a way to rework paper that wasn’t quite right. My favorite part is the little tiny hearts cut out – they really added the special touch I needed!

I’ve been creating up a storm for Brother (usual disclaimer: I am a paid consultant but all ideas & opinions are my own) – and I can’t wait to share some more layered and complex cuts with you.