Halloween Borders: Hero Arts Stamped card (just playin!)

DSC_5760 copy

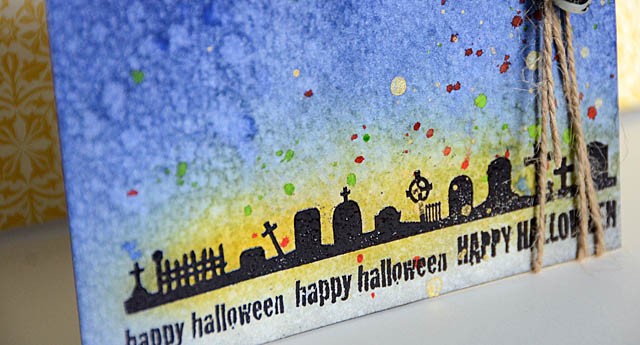
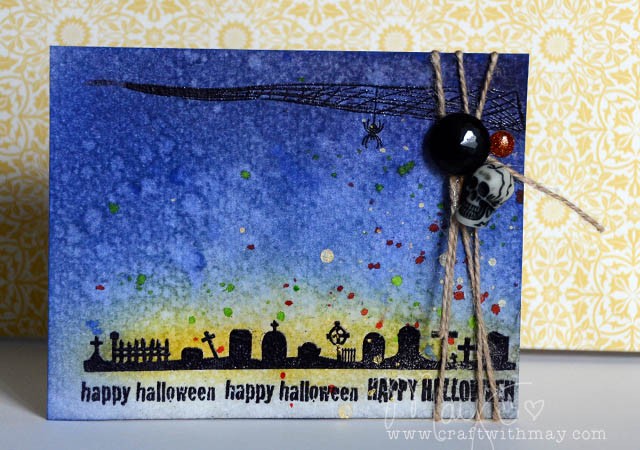
Hero Arts has a new Halloween border set and I decided to play around with it! I’ve said it before I’ll say it again – when I get a new stamp set I like to just mess around – no pressure. This time I managed to turn it into a finished card. What I did was:

  • Stamp the words, graves, and spider web and emboss (black powder).
  • Layer various blue and yellow distress inks, mist with water
  • Splash distress spray stains (citron and coral)
  • Add final touches!

DSC_5769

It is a super simple card – but it was a lot of fun and the perfect way to kick off this month. Happy Crafting!

Looking for this stamp set? It’s available now at stores including (affiliate links) Ellen Hutson and Simon Says Stamp
Fall Starbucks Gift Card (take 2!)

DSC_6305

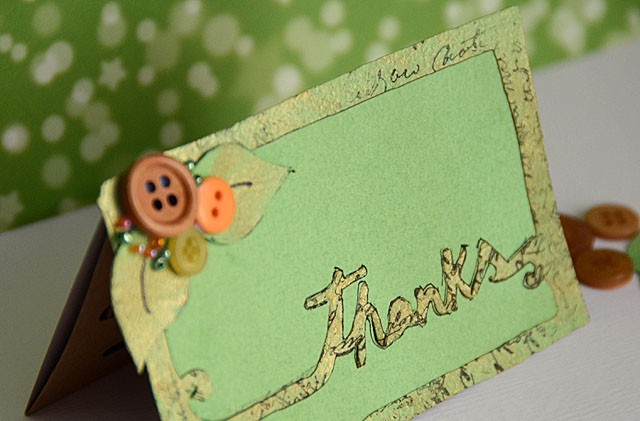
A few days ago I did a post about using my ScanNCut (disclosure as always that it was provided by them, etc) to create custom card sentiment frame art – well that’s what I’m calling it. Anyhow! Here’s a link to that post for the full video tutorial.

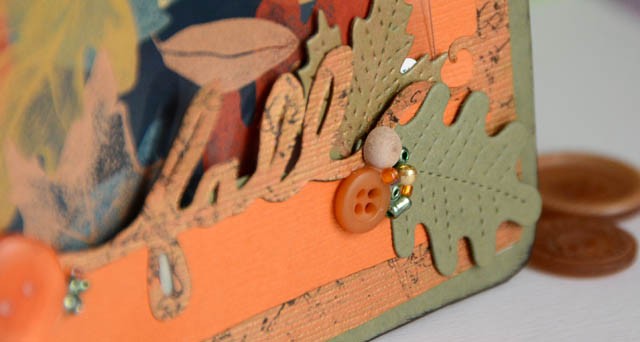
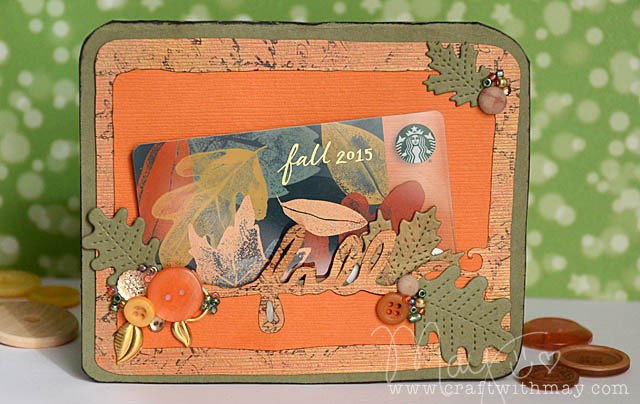
Today I’ve got a different version! This was a “clean up the desk” project that involves not just my ScanNCut, but also some mix & match where I used leftovers from another project – Lawn Fawn (affiliate link) Stitched Leaves dies as well as assorted buttons, beads, and even a little wood dot.

DSC_6299 copy

In case you couldn’t tell – this gift card really inspired me and I am totally digging fall.

Happy Crafting!

Candy is my favorite.

DSC_5424

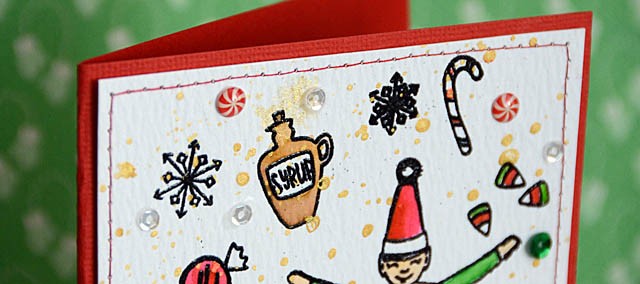
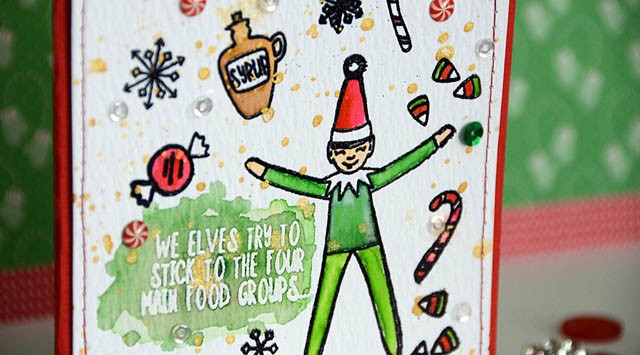
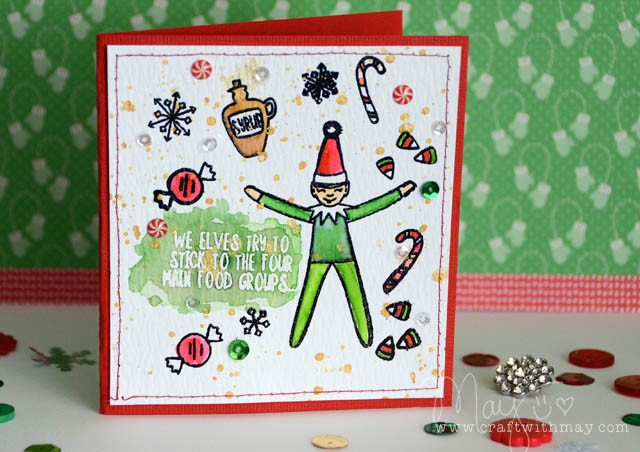
When I saw this stamp set I knew I HAD TO HAVE IT. If you know me at all you know I adore all things Elf (movie) and regularly quote Buddy. So the chance to make a swirly twirly gumdrop of a card was too much to resist – even if it is only September!

DSC_5426

My technique for the card was simple:

  1. Stamp sentiment in white, then emboss with white powder.
  2. Stamp everything else with embossing ink + use black powder and heat set.
  3. Use Clean Color (Zig) pens or any watercolor really and color it up
  4. Heidi Swapp Gold mist + some rhinestones and do-dads to finish things up
  5. Stitch to red cardstock and it’s done!

elf1

I had so much fun with this one – I want to make a lot more projects with the wee elf + his candy stash. I couldn’t resist the early (out of season) share! With the way my schedule is though, the holidays will be here before we know it and all us crafters know it’s best to spread out the making season so it stays fun and doesn’t overwhelm our December!

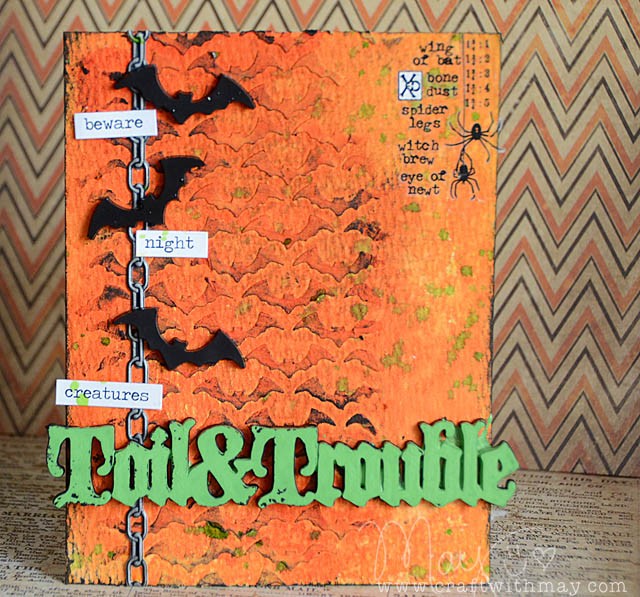
Beware… those Tim Holtz Halloween products…

They are addictive!

DSC_5127

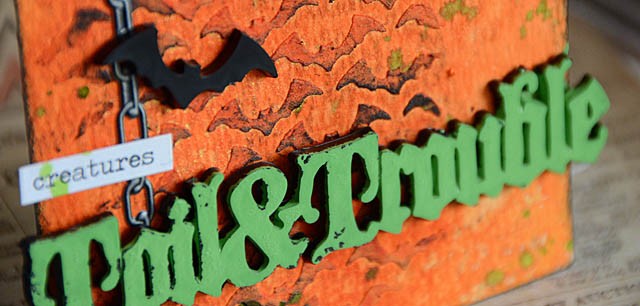
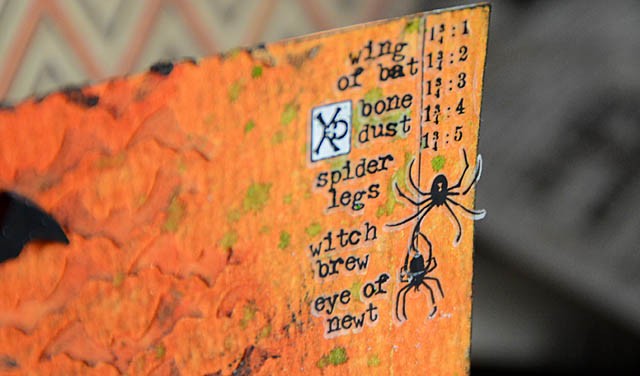
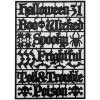
I had such fun with this one featuring new Tim Holtz Halloween goodies. The bat Stencil, the rub-ons, the paint on the black plastic words… just way too much spooky fun!

DSC_5131

Paste + mist, then all the decorating (including painting the big words), and the final touch? That would be ink (black) and also flicks of the green mist. LOVE that as a finishing touch!

trio
BlueMoonScrapbooking and Scrapbook.com carry most of the supplies I used, you can also use the affiliate links below to Simon Says Stamp.
Supplies Used:

Custom Gift Card with my ScanNCut

This time of year I start thinking about gifts. Budgeting for the holidays, people I’m thankful for, ideas I want to make happen craft wise… I just get all full of creative inspiration! Today I’ve created a video tutorial for how I’m doodling my own word art to create custom gift card holders and cards.

Disclosure: I am a paid consultant for Brother International Corporation and have received a ScanNCut from Brother to evaluate. However, the opinions expressed are entirely my own and based on my use of the product.

Link to YouTube

DSC_6290

Here is the card I created in the video – including my new homemade leaves. I love how simple this is but I also just adore that I can use the whole paper – no waste!

DSC_6286 copy

There is so much potential here – I also want to create with a pocket inside that word – I will keep doodling, scanning, cutting, and creating and be sure to share with you here!