I am so very excited to share with you the first (of many, no doubt!) acrylic pour projects that I have created with the Dina Wakley pour medium. This stuff is easy to work with, you can minimize waste, and it’s so much fun! In this blog post I will talk about some tips, how-to, and suggestions for projects as well.
I purchased (affiliate link used) Dina Wakley pouring medium from scrapbook.com – it comes with the cell creator and YES, you want both to get started. A bottle of cell creator will last longer than the initial small bottle that comes in the set – so I bought just pouring medium refill once I ran out. Oh and yes guys – once I got started within 2 days I’d poured my heart out and was out of the product! It’s really that much fun!
The rules and how-to for this are really simple:
- You mix 3 parts pour medium with 1 part acrylic paint
- Use fresh/good paint. If the paint is old/dry? I get crayon-like lumps that won’t go away
- Once paint colors are mixed, add in a drop of the special additive (cell creator) and mix again
- Pour one at a time, or into one cup then “dump” onto your project.
- Move around and see what you get!
- Let it dry – I’d say overnight at least because you want to be sure it’s 100% dry!
- Want to seal it? Resin works GREAT! I’ll do a post on that process real soon!
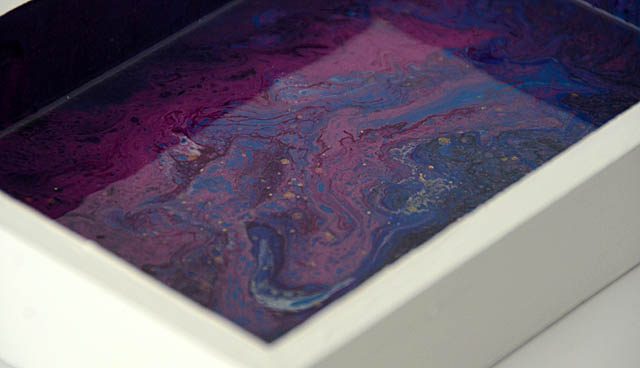
So far I like working with at least 4 colors, making sure there are at least two extremes contrast wise. Below you see dark blue (nearly black), two purples, a light blue, and a pearly white. I used a mix of many brands of acrylic paint – so feel free to use what you’ve got!
I have found I prefer the results when I put them all into a single container then “dump” them together onto the project. The results always look great and never forced or awkward as it sometimes does if I pour one color at a time. No doubt though, there is a learning curve and I’m sure I’ll come up with many more ideas. Here is a link to my YouTube process video for this specific pencil box.
Because I created a pencil box, there was zero pour-over or waste which is really important to me. In so many videos I see a lot of paint pouring over and while you can place projects under… I don’t always want to have to do that! So this is a perfect project for me.
I am currently working on:
- tag
- canvas
- wood boxes (inside or out!) like this
- photo frame
- wood veneer embellishments
- chipboard embellishments
There is a lot of fun to be had – and it doesn’t just have to be on a canvas which I love. I’m eager to do one large canvas for my dining room, but I haven’t decided on colors and since it will take a lot of paint and be more costly – I want to feel more confident in my skills!
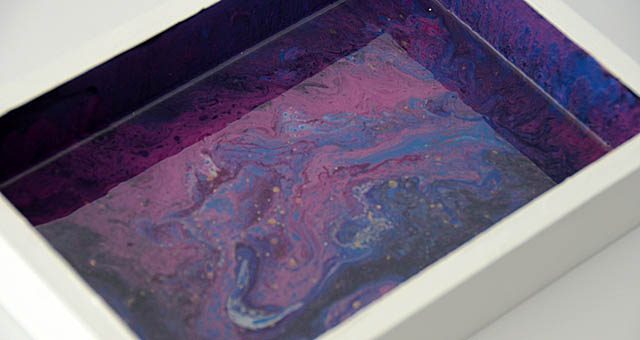
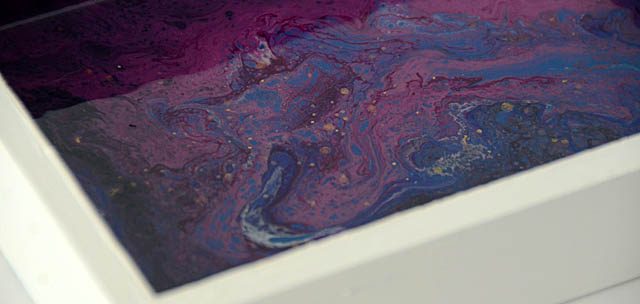
One last note about this piece – see the gold dots/specks? I flicked it with Heidi Swapp gold spray! Totally worked – and opened some new ideas for me as well. What I really love about this technique is that anyone can do it, and you don’t need a lot of supplies!
My tips if you are interested in creating your own pour projects is to start small, work with tiny amounts of paint and medium, and give yourself space to get comfortable! In this project I poured down one color (darkest) then poured everything else over it. That worked really well to help things “slide around”.
Once my reorder arrives (soon I hope!) I will be playing more with techniques as well as ways to make projects that are budget friendly. I’m thinking holiday ornaments would be a blast! If you have tried pour medium I’d love to hear your thoughts, and if you have questions please do feel free to ask!
Looks like fun!
This is really cool! I saw it on scrapbook.com and didn’t know what it was. I love her paint and was getting some new colors. Thanks for sharing. Michelle t