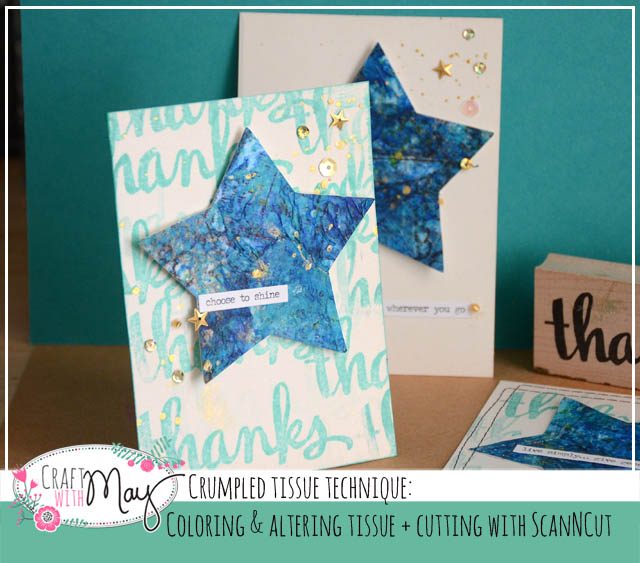
I went looking at kid artwork to inspire today’s post and what I found was this: tissue. Mosaic designs to crumpled, tissue shows up a TON in school artwork! So, how could I be inspired by this and put my own twist on it?
disclaimer: I am a paid consultant for Brother, however all ideas and opinions are my own. The ScanNCut is indeed a machine I use, love, and can’t get enough of!
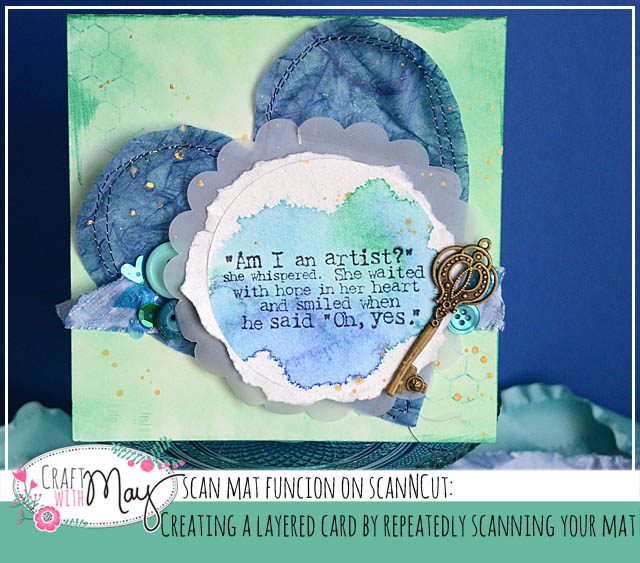
My solution was to crumple and glue (any liquid adhesive should work) a sheet of tissue to a very heavy sheet of cardstock. Why heavy? So that any warping would be minimized and the surface stable. I just crinkled, smudged, and basically let the tissue do whatever simply making sure it was glued down absolutely everywhere. That’s a key for later on.
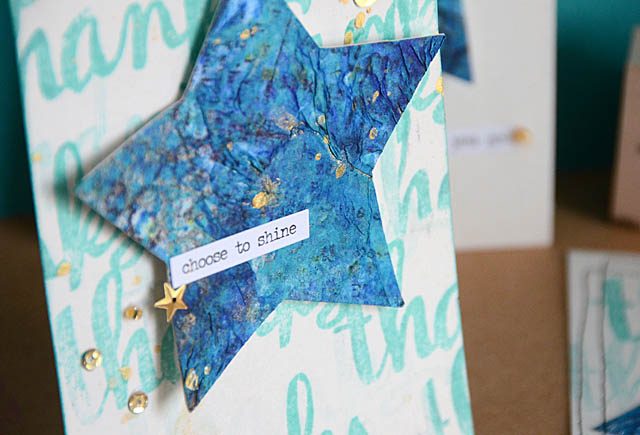
Once satisfied and it was mostly dry I began painting. Acrylic paint, sprays, inks – whatever! Just let each layer semi-dry so you don’t make mud and blot off excess as needed. The results? Incredible! Even better? Now I’ve got a super fun piece to create with – and cutting it out will be a breeze. Here is my tutorial video explaining my process.
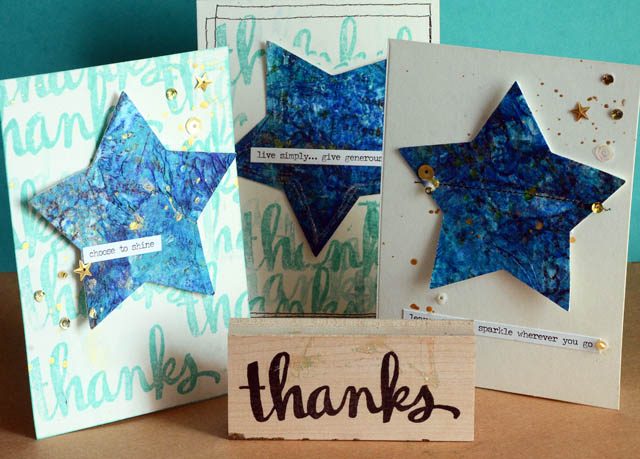
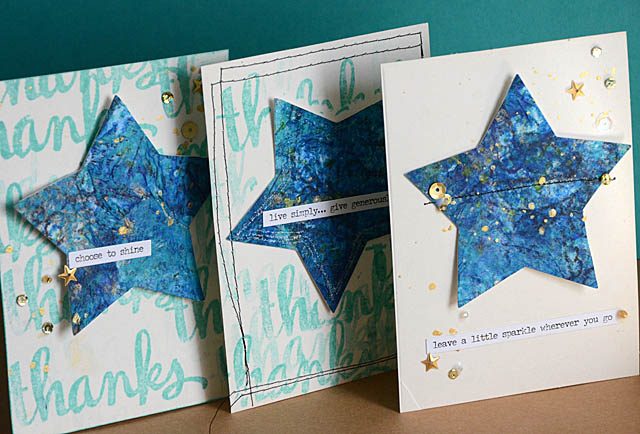
As I mentioned in the video I have a LOT of Thank You cards to write this week so having a basic idea to then alter/mix up but make the same basic card helped a lot. Here are three of the cards I made with my wild painted tissue.
I absolutely love the results – and I think this technique could be fantastic for anything from Christmas ornaments to home décor to art journaling. All inspired by simple elementary school tissue art too – who would have thought?
If you create with tissue I’d love to know how you use it and what you like to make. I’m always looking for new fun ideas. Thanks for checking out my project and remember stay tuned because each week I add new tutorials, videos, and crafty fun.
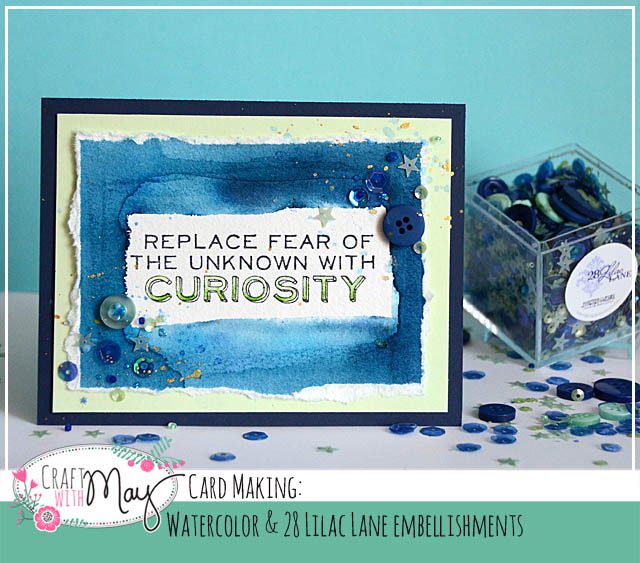
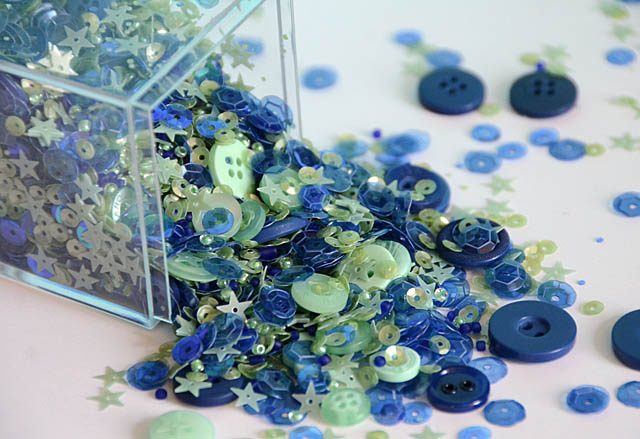
When it comes to buttons & sequins I can never get enough! I’m so excited that new mixes are headed to stores now and you can begin enjoying a whole new batch of 28 Lilac Lane mixes!
This one is Indigo Mint – and a personal favorite. When trying to decide what to create with this mix I decided some brusho + cracked pistachio distress + a simple card would be just the thing! I made a YouTube video to show how I created this card.
The new mixes are viewable (and can be purchased) direct from BGM – and as I said before they’re shipping to stores as well. You can find Brusho, PPA, and the other supplies I used at Ellen Hutson. Note that the stamp is an older Tim Holtz/Stamper’s anonymous one – harder to find but it is around.
One of my favorite things to do is to play with wet paper then add color. It’s a whole different look and I love watching it dry, shift, and leave interesting colors.
Stay tuned for more projects with the new 28 Lilac Lane mixes coming soon – I’ve got so many ideas and I’m excited to see what you create with these as well!
I love working with stamps to create cards – but sometimes a little planning really goes a long way! Today I’m playing with a stamp set that is just so simple & lovely… can I plan an equally simple & lovely card?
I am loving this dream princess set from Sweet Stamp Shop. Reminds me of Mulan which got me thinking about how to best create a card. In my video I talk you through the process – including my “hidden” stamping to help me keep track of my color use. Here is my YouTube tutorial– I hope you enjoy!
In the beginning of the video I mention that I struggle with “less”. I get to playing and man I just want to keep going! There are a number of ways to control – including coloring on wet paper as you saw me do in the video. Other ideas? Continue reading “Watercolor Princess card featuring Sweet Stamp Shop”
Welcome to Camp Scrap! For more details about this special blog event, prizes, community, and more check out the FAQ page here. Note that affiliate links are used in this post.
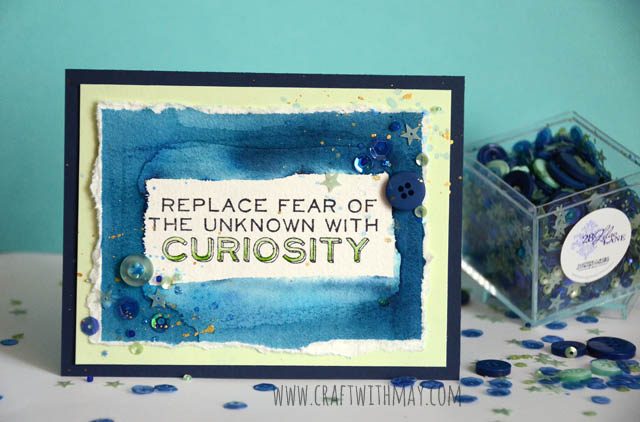
Today I challenge you to be inspired by someone that has a totally different approach or style than your own. Me? I’m inspired regualarly by an amazingly talented artist and card maker: Sandy Allnock.
Sandy blogs and shares her many artistic talents through online classes as well (check it out here!) I learn about coloring techniques, copic markers, and always enjoy seeing what she does with stamps. Her classes are epic – if you’re looking for watercolor, copic, or coloring instruction? Look to her. She’s a MASTER.
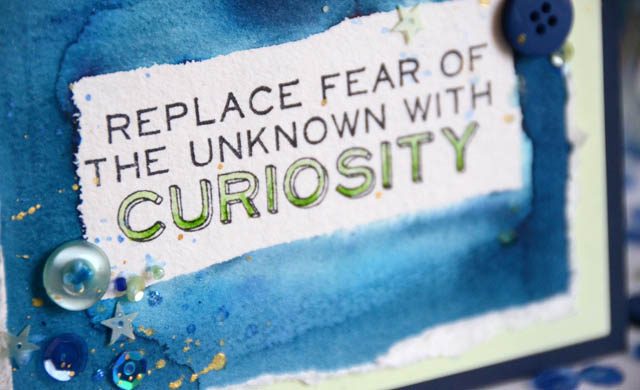
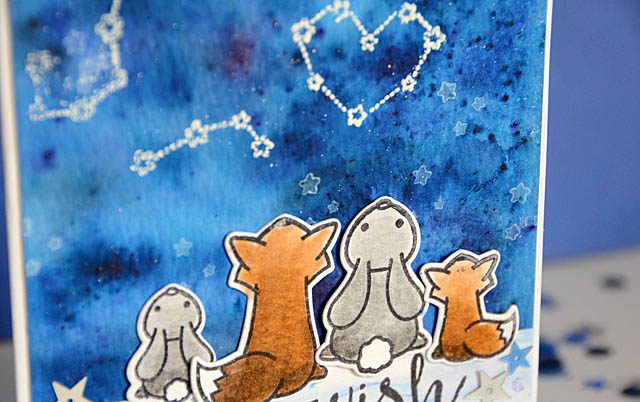
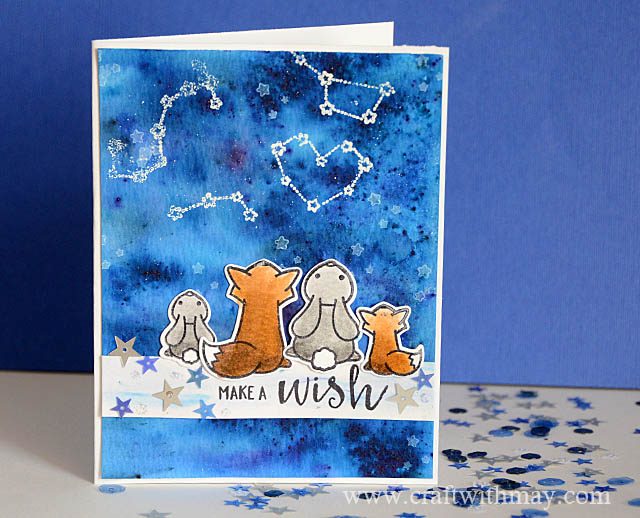
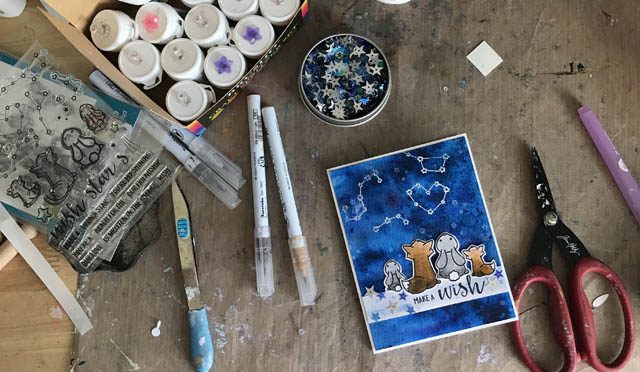
Me? I’m not a master of copics or watercolor but I do enjoy learning and dabbling in techniques and new ideas. I love the process and enjoy them tremendously and that is definitely what matters. Last summer Sandy sent me some brusho colors while I was struggling with feeling totally useless and only able to work left handed. I could stamp an image onto watercolor paper. Sprinkle some brusho. Add water. And OH! How creative I felt and how magical it was to be making stuff one-handed. Brusho saved my sanity at a time I was barely hanging on – and I’ll forever be grateful to Sandy for sharing with me. Thinking back on that, I knew I had to create with them for this post, and I decided some star gazing Lawn Fawn stamps would be the perfect compliment.
Speaking of Brusho, I used Prussian blue, violet, turquoise, and cobalt blue – Ellen has all of these and many more in stock. If you want to get a few I’d stick to a trio that go together and see how you like them or the starter kit. While I did a background here, there’s some really fun stuff you can do with water + stamps + brusho. In fact, I’ll be sure to create another video (or three) with them in the coming months because they really are just the most fun! Used carefully, they really don’t make a mess either.
Sandy inspires me so much with her intricate creations, but not to make my own. You see I’m a big fan of a enjoying what someone does with something, then taking it in your own direction. Two examples – I’ll take just one idea of how she colors a background, or take a general coloring tip such as shading. I thought the stars would be the light source hence the dark on their booties, light at top. How else can you be inspired by someone who has an entirely different style than your own?
A single tip or technique that they use
General design of the project
A color combination you’ve not thought of or used before
Try something “not you” just to see how it goes and stretch your style
Get inspired to use that — (paper, stamp, ink, whatever!) because they used it or something similar
I get great joy from watching Sandy create intricate backgrounds I’d never attempt to do myself. And, people like her who do what they do as well as they can and continuously challenge themselves creatively are the BEST inspiration! Similar style to me not required.
For one of you, I’ve got a fun goodie bag of (not yet released!!) 28 Lilac Lane sequins & paper crafting treats I think you’ll enjoy. If you’d like your chance to win simply leave a comment on this post. The winner will be drawn and announced on July 16th in the ’round up’ post here on my blog. Good luck – and happy crafting!