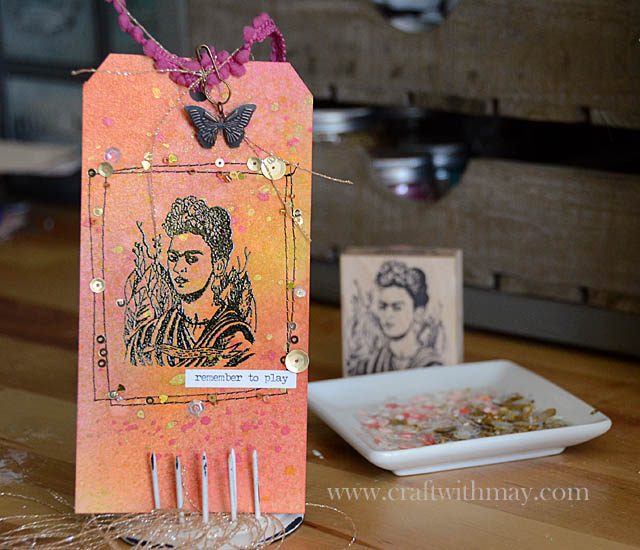
Remember to play.

DSC_6269

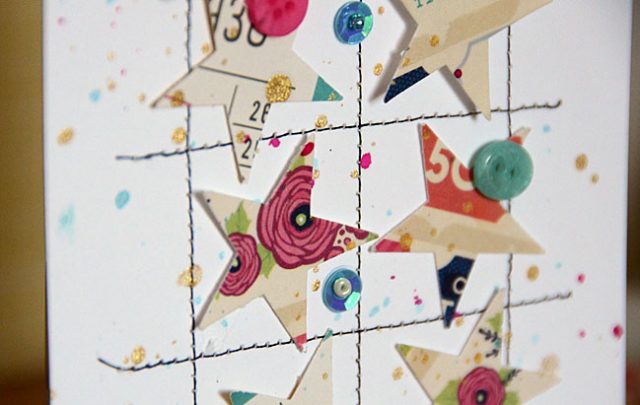
No recording the process no reason. Just playing today. Sometimes when you have a few minutes to create it is a good idea to just follow a random thought, idea, or otherwise just play. No goal in mind. No reason for it. Just PLAY! Some of my favorite projects and best techniques have been found this way- always good to be open to new things!

DSC_6268 copy

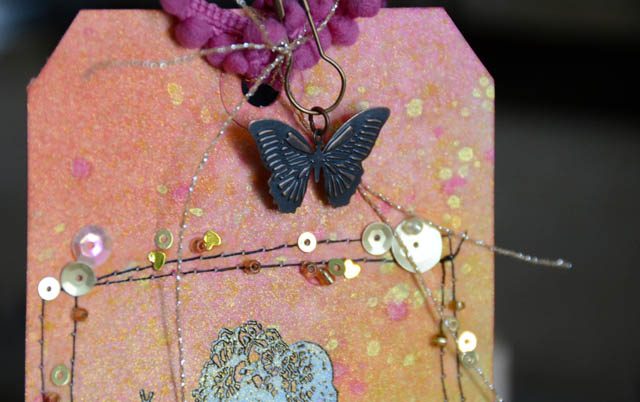
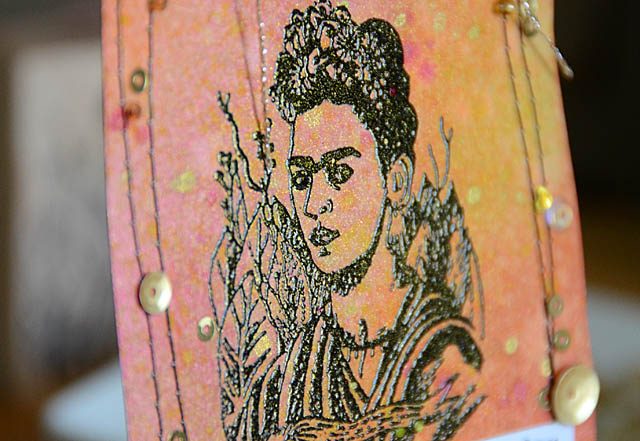
I made this tag with Distress Ink then Heidi Swapp mists then some stitching and finishing touches. The original stamp (source unknown) is done with black embossing powder. Simple stuff really, but for me a good exercise and bit of just because fun.

DSC_6272

I hope you enjoyed this project and that you have a wonderful weekend.

Inspired by lessons 5 & 6

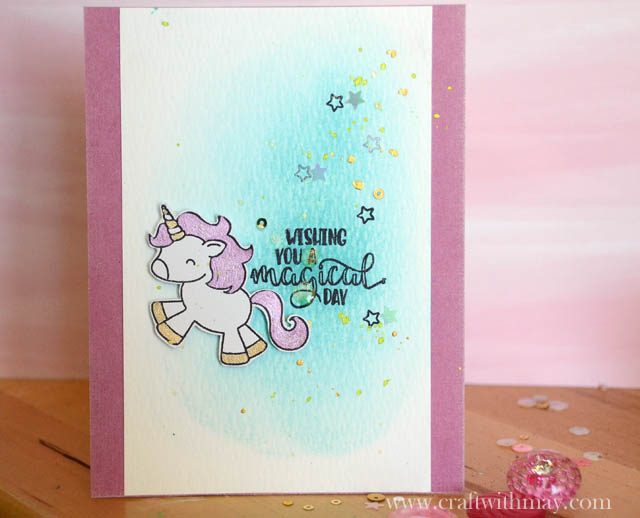
Today I’m drawing inspiration from two different lessons in my card making class with Scrapbook.com. I hope you enjoy this card – and do note that affiliate links are used in this post. It must be all the my little pony shows & play that have been happening this summer but I needed to play a with something sparkly…

DSC_6368

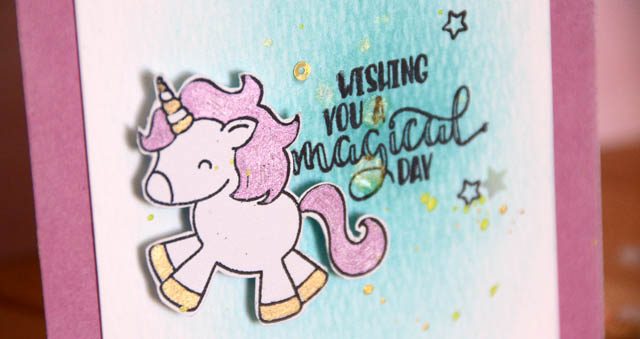
It’s no secret I adore this unicorn stamp set (link to scrapbook.com) from Avery Elle – and I decided to see if I could try a dry version of the lessons in class. What I mean is, instead of watercolor I used a glitter pen to color my unicorn. For the background just a few swipes of dye ink! As I so often do, I flicked a bit of mist (love that color!) and added a few sequins.

DSC_6374 copy

One of the things I think is really important is to remember you can always ALWAYS substitute! I wish you a magical day, and I hope that you enjoyed this sweet little card.

Want more card ideas? Be sure you’re signed up for my free class! You can visit scrapbook.com and sign up for my class and many other free classes.

Gel medium transfer: Game of Thrones inspired wood décor

DSC_6129

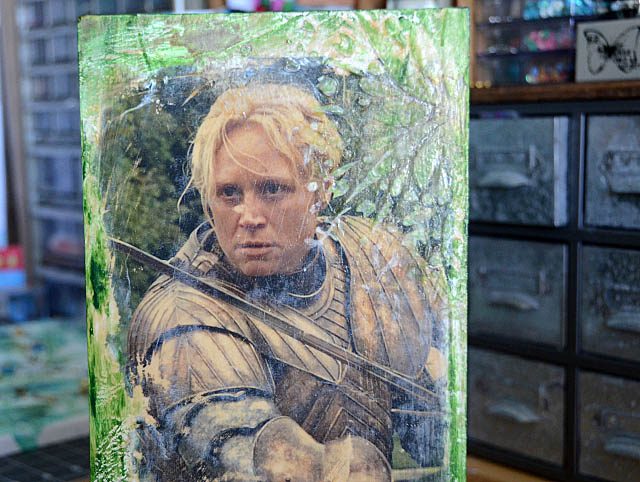
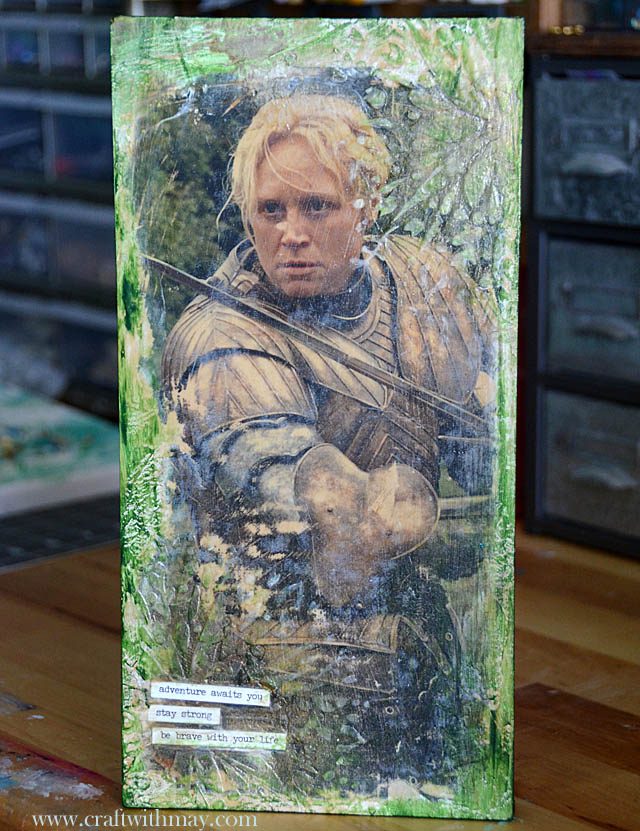
I have a calendar featuring Game of Thrones, and I’ve been playing with some of the pages in my art journal. However, I wanted to do something special for my favorite character Brienne! So, First I tested (with a random corner of a page I wasn’t using) on a scrap of wood if this idea would work. I needed to make sure the ink would transfer. When it did? We were off!

If you aren’t familiar with the process, here is a link to the video tutorial explaining this gel medium transfer technique.
DSC_6138

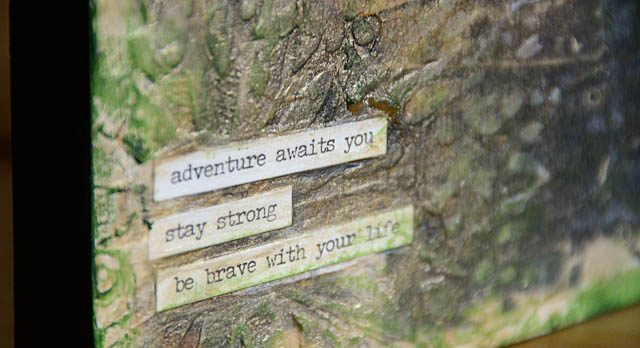
I wish you could see this in person because you can catch hints of woodgrain, and it’s really so cool! After I transferred this image I added some paste, paint, stencil, and texture around the edges. I also added some phrase stickers. I really can’t tell you how much I love how it turned out!
DSC_6145 copy

As I said before it’s hard to photograph because there is so much texture and detail you really can’t get from a photo. This is a technique I learned many years ago and I truly love using it. All you need is a matte finish gel. It could be gel medium, or the Ranger matte clear texture paste, or something similar. Remember the hardest part is you must let it fully dry! Looking for a medium that will work? I’m listing some of my favorites below – note they are affiliate links.

Ranger clear matte texture paste  (Ellen Hutson)

Prima matte soft gel medium (Scrapbook.com)

Dina Wakley soft gel (Simon Says Stamp)
Embossing + Ink

One of my favorite basic techniques is to do white or clear embossing on white paper, then coloring with dye inks. Today I’m going to share two examples featuring Close to My Heart stamps.

DSC_6335

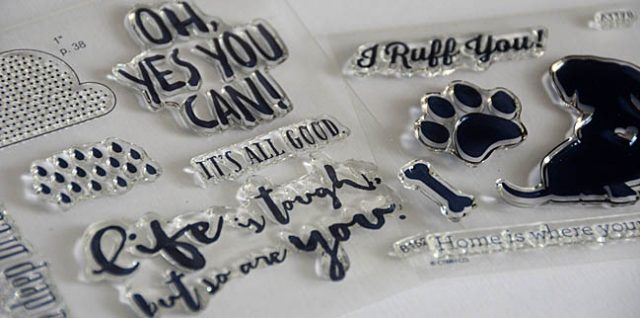
These stamps are available from CTMH- just love them and especially this new puppy one!

DSC_6342 copy

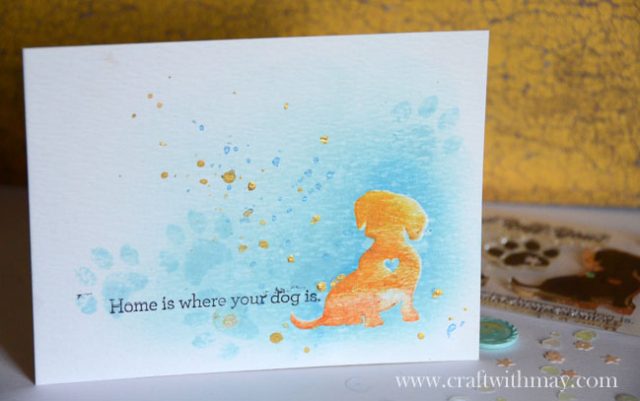
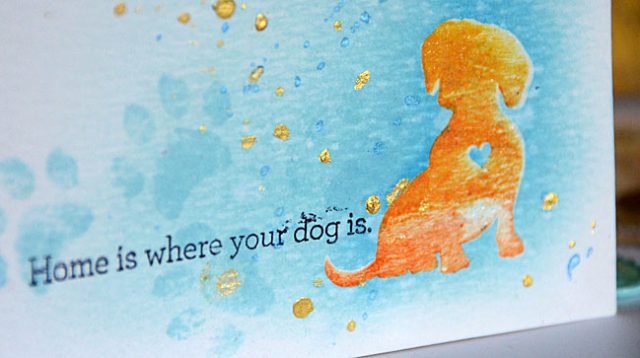
I stamped the pup with ombre (Hero Arts) ink and whoops. I forgot I had heavily textured paper and this was a bad choice for this type of stamping. What to do? Re-stamp with embossing ink and clear embossing powder! Once heat set, I knew it would work because then I came in with some light blue (distress) ink around the image which helped the puppy stand out. LOVE the heart in the middle!

DSC_6344

I then stamped my sentiment (and a certain new puppy bumped me as I did so but that’s ok!) and added some paw prints the same color. Love how this turned out, and a few sprinkles of gold mist and my card is ready to go. Inspired, I decided to try the same but this time with white embossing powder (and no ombre ink!)

DSC_6351 copy

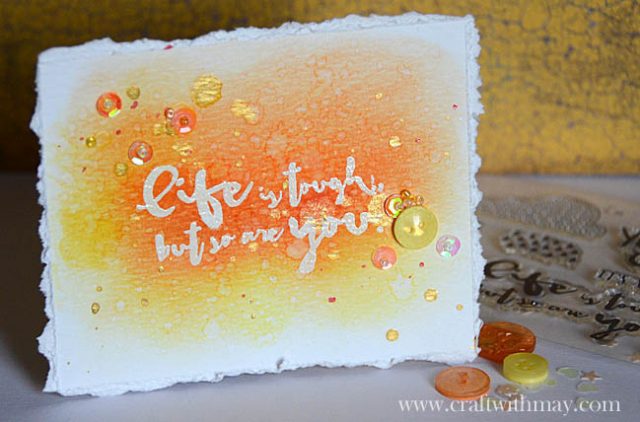
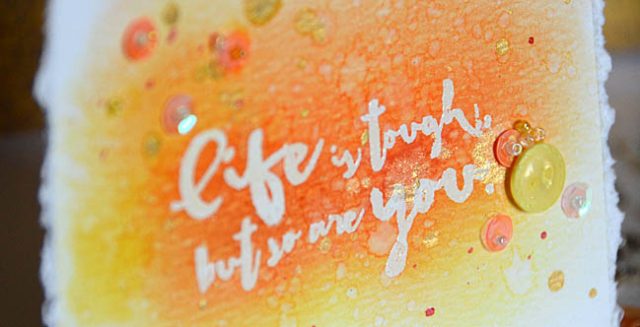
This one I used a variety of distress ink colors, with the darkest oranges next to the words. This stamp set is really cool – love the uplifting messages. I tore all the edges and added a few more embellishments (as well as water splats and gold splatter)

DSC_6355

Just love how these cards turned out and I really like playing with basic techniques now and then. Hope you enjoyed these – you’ll definitely be seeing me using both sets again!