** Give-away now closed. Congrats to LynneR! **
Today I am so excited because not only do I have some ScanNCut projects fresh off my table to share with you, but I also have a give-away! As I always share I do work with Brother with the ScanNCut, something I simply love doing! (official disclaimer as always – I am a paid consultant for Brother, but all ideas and opinions shared on this blog are my own) The lovely ladies I work with at Brother reached out to me about doing a particular product feature and a give-away as a part of a “Brother Blogger Bash” that they are doing. Please read on to get more information about that, and of course check out the project I’ve created with the stamp material!
The stamp material Brother offers for the ScanNCut is a really fun accessory to play with because it allows me not only to make my own custom stamps, but once cut I can utilize those stamps 5, 10, 100 times. However much I like! I’ve done several videos in the past, here are two:
Stencil with leftover stamp material
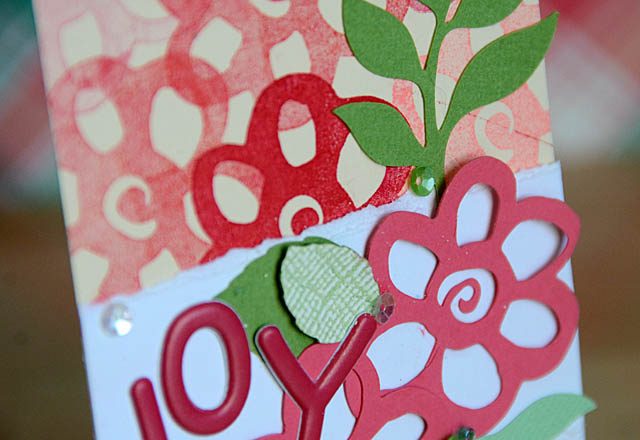
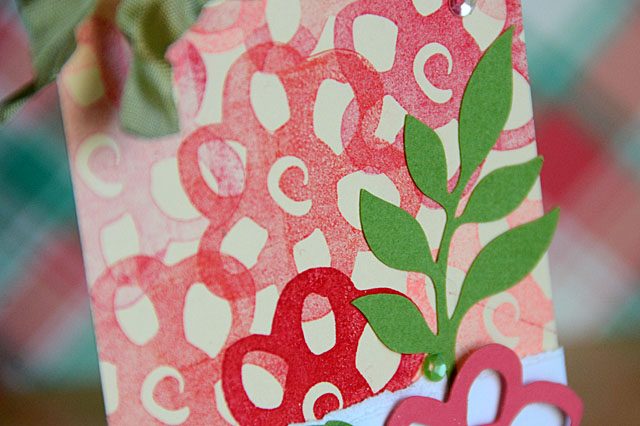
and here is my new tutorial, where I will share how I created my own floral stamp design, cut it out, and even cut out some paper accents to really amp up the texture and fun on this holiday tag.
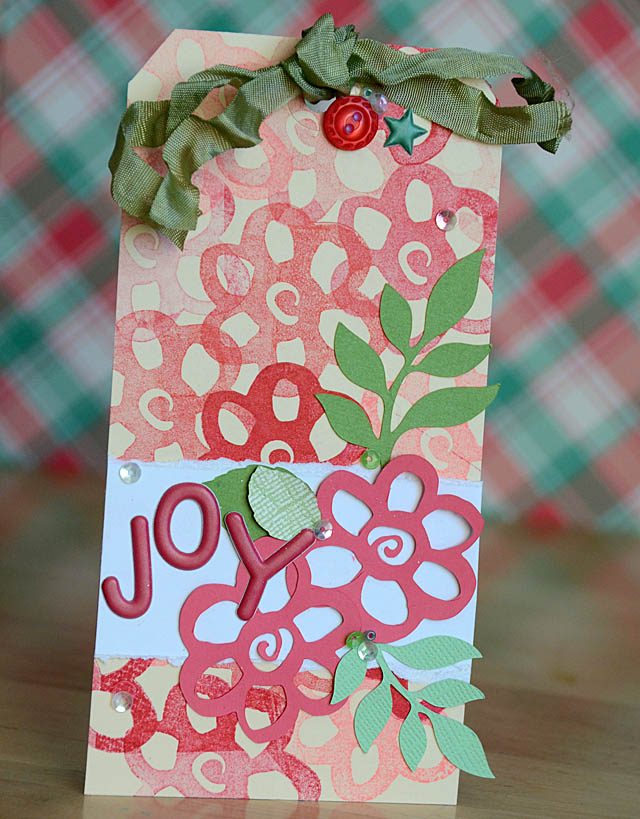
I love that the colors and theme are holiday – but with a more playful flower element! I have a few tips to share with you when making your own stamps:
- Consider how the stamp will be to work with once cut out. For example, I enjoy single stamps vs lots of small parts so a flower like the one I am showing here works well for me.
- If for some reason you lose or throw away the plastic covering that must be over the top of the stamp material: soft plastic like a sandwich or freezer bag works wonderfully. How do I know? Well let’s just say a dog ate mine and I had to get creative! No way was I going to waste stamp material!
- Take a ruler to your projects past. Consider what a good usable size would be and what size would work most often when cutting a stamp. I get tempted to go big – but stamps around 1-2″ get the most use here.
- The pigment ink pads (usually the ‘spongy’ style ones) work the best with this stamp material. I also enjoy paints with them though that can get messy and fast!
I hope you’ve enjoyed this in-depth look at the Brother ScanNCut stamp material. It is available online as well as in stores such as Brother retailers. Today I am giving away an Acrylic block set, the stamp starter kit, and a deep cut blade and holder so one of you lovely readers can get creating your own stamps with your ScanNCut!
** Give-away now closed. Congrats to LynneR! **
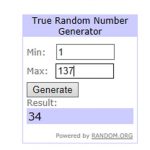
This give-away will remain open through 11/17, and on 11/18 I will use random.org to pick a random comment # and that will be our winner! I will notify the winner via email, as well as updating this post to include the information. Thank you SO much to Brother for providing this generous give-away! I hope that you’ve enjoyed this video tutorial – and that you stay tuned. I have a whole week of ScanNCut projects and ideas to help jump start holiday crafting lined up for you.