Holiday Card ideas & a free online class!

If you would like new card ideas for Christmas – or any holiday – this post is for you!
dsc_9518

note: affiliate links are used in this post. There is of course never any obligation to use them, but doing so does help support this blog so thank you in advance!
dsc_9523

Here is a link to my YouTube video tutorial for the trio of cards featured here today.

I am so happy with how all of these cards turned out – and for even more be sure to check out my new (free) online class with Scrapbook.com that features ideas for holidays all year! Speaking of scrapbook.com – they’ve got all kinds of holiday deals/specials going on so keep an eye out!

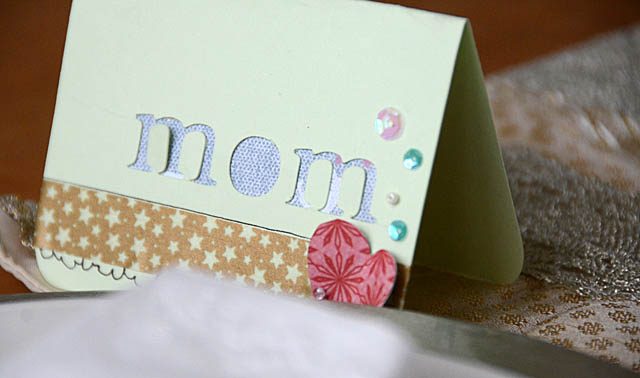
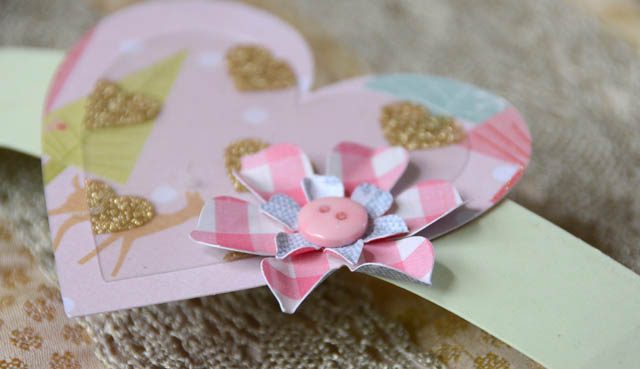
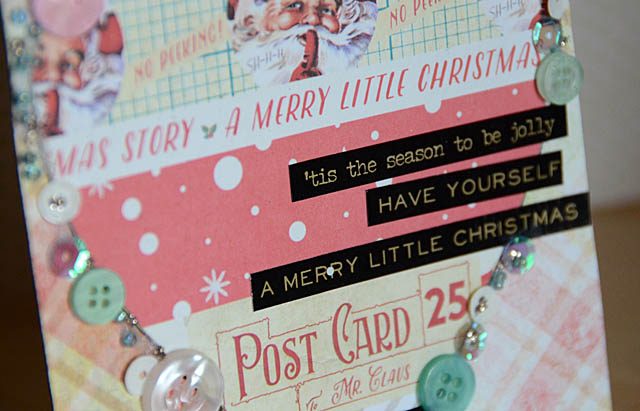
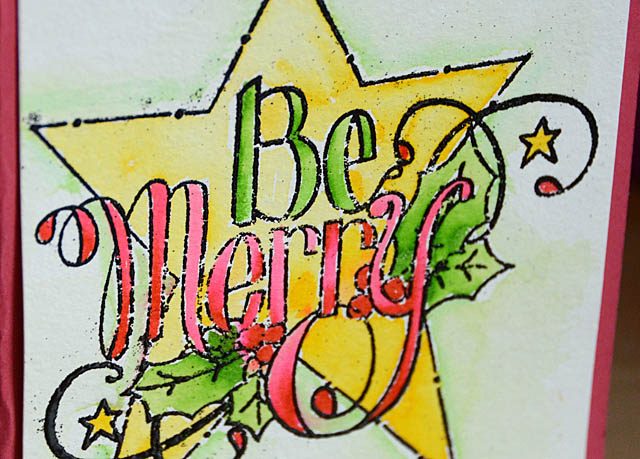
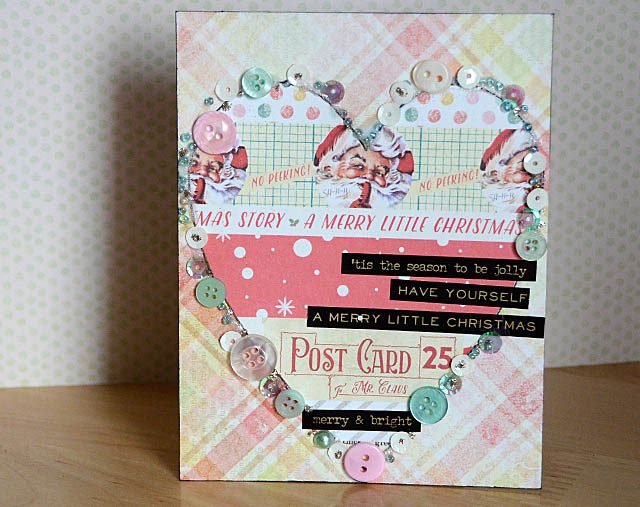
Here are the three cards I featured in the video, as well as some key supplies used.
dsc_9512

supplies used: Minty embellishment bottle, cotton candy embellishment bottle, holiday papers, and sentiment stickers 
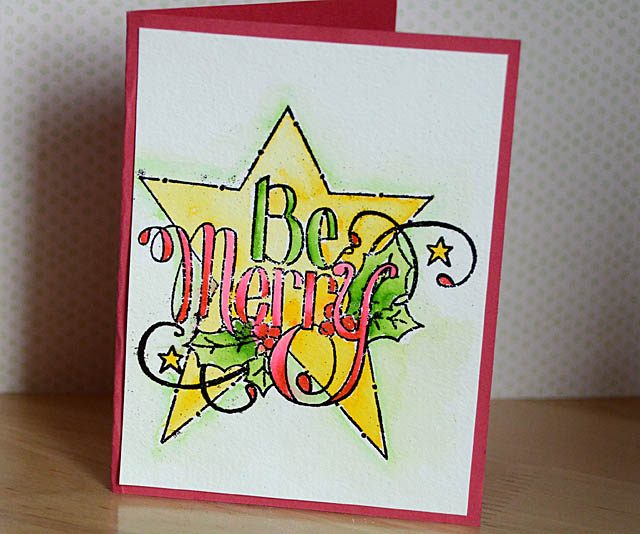
dsc_9521

Tammy Tutterow stamp used as well as clean color pens on watercolor paper – this was so fun! Loving Tammy’s stamps.
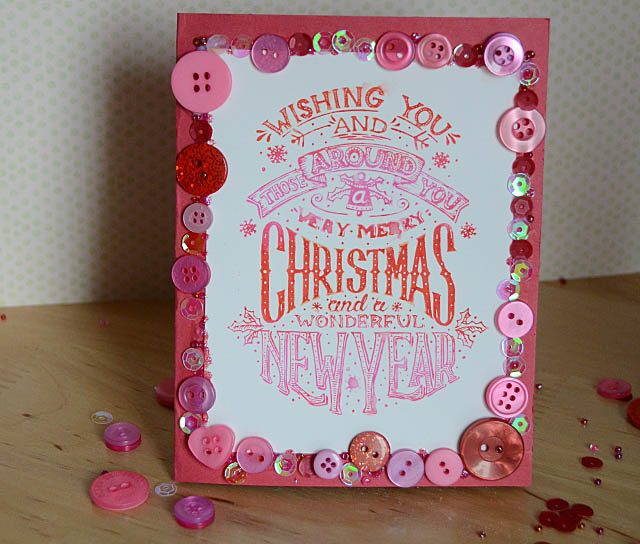
dsc_9531

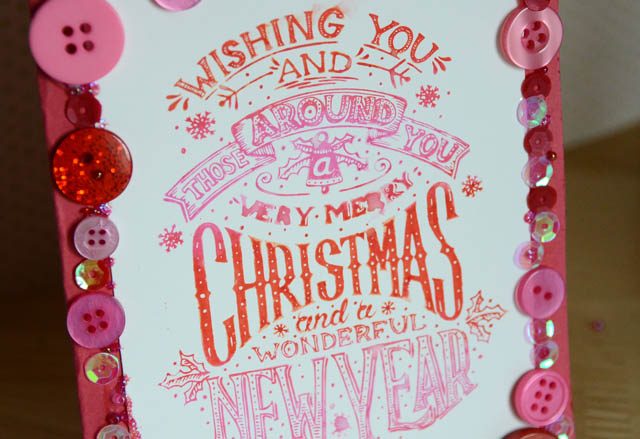
supplies used: distress ink, pretty princess and dragon fire embellishment bottles, sentiment stamp by Tim Holtz

There’s something so fun about creating cards for holidays, and I hope you’ve enjoyed this big post filled with ideas!
dsc_9540

I will be checking in again with more ideas from cards to giftwrap to décor for the holiday season. Have a wonderful weekend, and kick off the holiday season with something crafty if possible.

note: scrapbook.com has a cool article on die cutting up now including one of my cards. Check that out here.
non-specific holiday table: quick! ScanNCut to the rescue!

dsc_9375

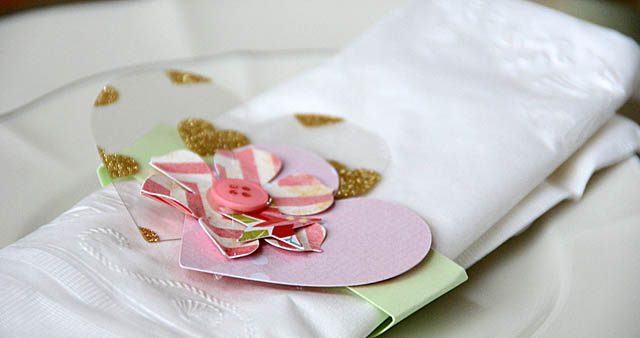
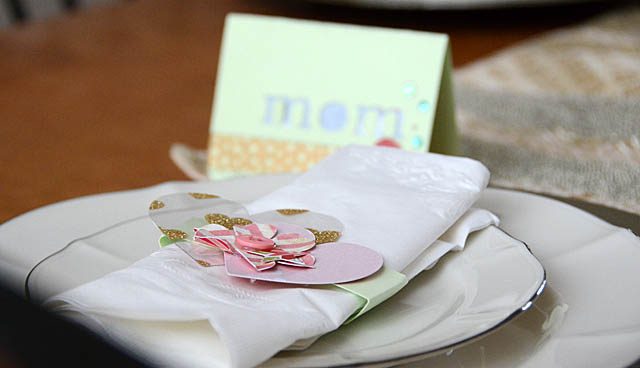
Now this might be crazy talk, but I don’t usually do a centerpiece. You see the thing is people don’t see it! When we all go into the dining room the table will be set with dishes of food and such, the centerpiece immediately removed. If we had a wide table it might be different but ours is long and narrow! Anyhow, I find a decorative runner + a few touches at each seat do wonders.

Is there a point to my ramblings? Why yes! You see from napkin rings to ‘confetti’ for the table my ScanNCut has helped me so much over the years for both detailed well planned out and last minute parties. Today I have a video to share how it is helping me this weekend. I also have some past party videos that could prove helpful for you this holiday season!

dsc_9377

So first off, our holidays are funky this year. Not one “normal” celebration due to schedules and such! In fact we’re having our main event today. Yes, really! Now this is nothing new to us, the firehouse doesn’t get holidays off of course. So we embrace and make the most of whatever each year brings. But… I’m not ready! Not to worry – my ScanNCut will help me.

Here’s my YouTube video for this year’s holiday table and hopefully some ideas that inspire you.

oh yes – and the usual disclaimer that I am a paid consultant for Brother, and that all ideas & opinions here are my own. It’s a machine I use, love, and can’t imagine crafting without anymore!

dsc_9379

For a holiday or party table I strongly recommend making a bunch of shapes at once, then working with what you have. In my experience you’ll use up most if not all and it’s far quicker than having to stop and cut more regularly.

Here are some past party + ScanNCut posts:

Summer Banner

Luau Party Bags

Bridal Shower (PDF on Brother website)

DIY party ideas video (youtube)

I have no doubt I’ll continue to be inspired to add homemade touches to my seasonal and party décor, and that I’ll continue to utilize the ScanNCut as well. I hope I’ve inspired you today to add a few fun touches.

dsc_9388

Coming in December I have some gift ideas, as well as a banner/pennant post and more to share with you. Stay tuned- and have a great holiday week ahead as well – regardless of when or how you celebrate.

Top 5 supplies: Stamps for the holidays edition

class_cards-1

When it comes to holiday crafting I am one for using what you have. Thanksgiving is next week and man, it’s the season whether we like it or not!  Today I want to share 5 of my currently most beloved AND used stamps. I’m not someone who is once and done with her stamps. No way! Mine get used. and used some more. and then more for good measure. Note that links used are affiliate links there is no extra cost or anything – and no obligation to click of course- but if you happen to use them it does help support the site. I’m linking to EllenHutson.com today – one of my favorite sites to order from as the team ships super quick and has a wide selection of stamps & mediums in stock. You’ll be hearing me support small business a lot always – stay tuned for some other top 5 posts coming with favorite artisans and such. Oh but I’m getting ahead of myself!

Let’s talk holiday stamps.

5stamps

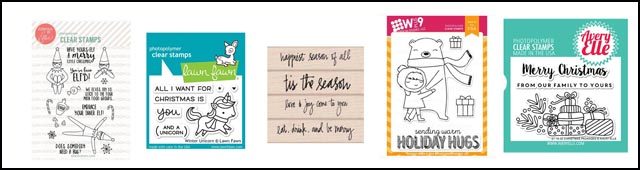
  1. Elf stamp set (Ellen Hutson exclusive set) not only taps into my love of the movie Elf, but is just a lot of fun to play with!
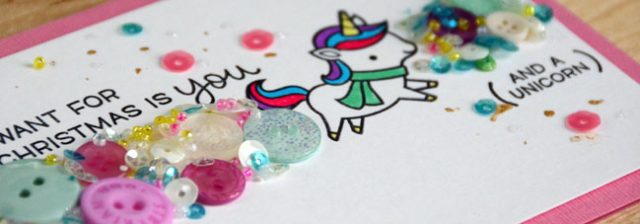
  2. Lawn Fawn Unicorn set is everything my inner child ever wanted. Budget friendly, cute, and so much fun to combine with sequins, buttons, and dimensional elements!
  3. This sentiment set by Hero Arts & Kelly Purkey is just what I needed! Brand new and already so in love. I can’t say enough good things about sentiment stamps that are wood mounted. My favorite.
  4. At just $6, this Wplus9 holiday hugs stamp is just what I need this year. I used this a lot last year, and I’ll be bringing it back for more!
  5. Avery Elle hits the sweet spot with this Merry Christmas stamp. There are 2 ways to word the sentiment and of course optional gifts to color – I like that for a small set there are a lot of options.

And finally, honorable mention to this Tim Holtz trees + sentiments set. I don’t have this set yet – but I think I need it with all those lovely trees plus fantastic and useful sentiments.

How about you? What are your favorite stamps? Any you just can’t do holiday crafting without?

I’ll be sharing my guide to holiday card making, ideas for gift giving, and so much more over the next few weeks – so please do stay tuned!

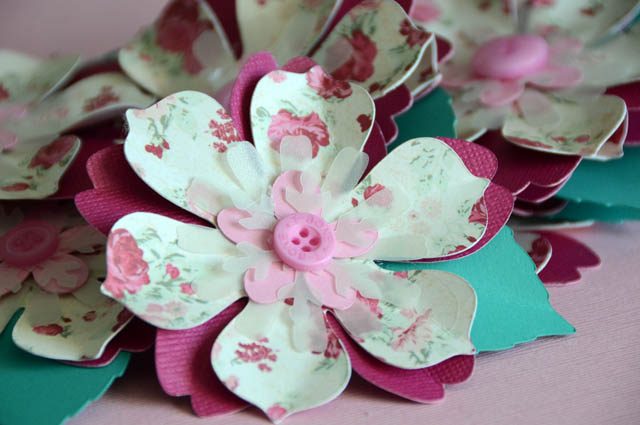
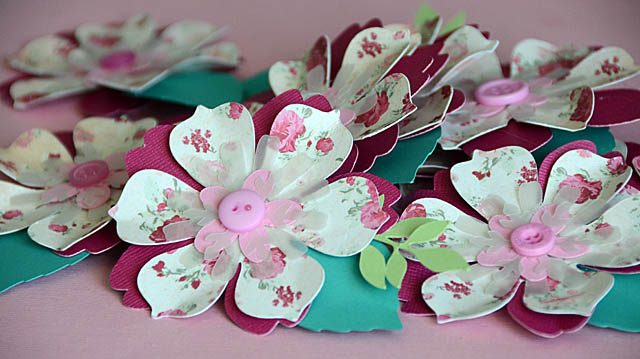
DIY layered flowers #1

When it comes to the holidays, I need things to be QUICK. Oh, not always as I am happy to make favorite dishes from scratch and add homemade touches as well. But I will also run into time crunches where I need things and I mean now! Today’s tutorial is inspired by that.

dsc_8798

If you follow my ScanNCut projects then you know that I love using it to cut leftover paper. If you’re a regular reader here at my blog then you also know that I don’t keep scraps- I cut them! For a project like this I generally will look to my stash of pre-cut items and mix & match to my heart’s content to create layered shapes.

dsc_8803

But what if you want to make a bunch of same/similar pieces? Well then, you’ll want to check out my video today for “DIY layered flowers”. Here is a Link to my YouTube video

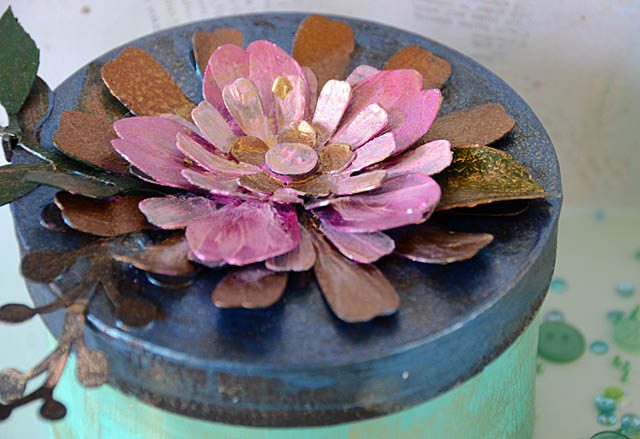
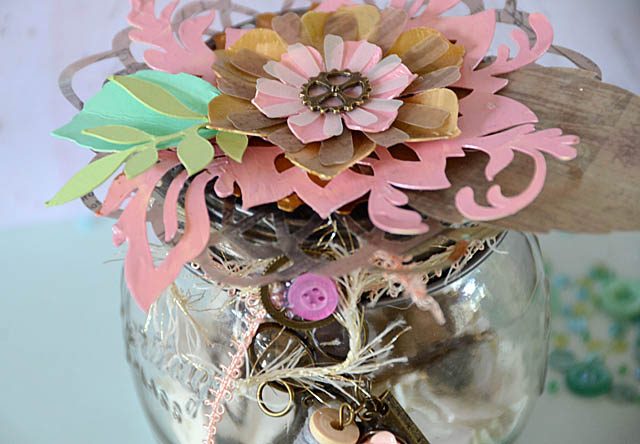
The possibilities go on and on! In fact, here are a few recent projects created with the basic ideas shown in my video.

dsc_9121

Above a painted layered flower, and below a layered flower that includes cardstock, vellum, and painted layers atop a jar.

dsc_9212

This is a project without limits. No minimum or maximum size – and no end to application! It could be used on gifts, gift tags, cards, mixed media canvases, to top a container, or as an embellishment on a scrapbook page. So many options – so many possibilities! I can’t wait to get back in the studio and cut up some holiday papers and get some pre-made flowers set for what is sure to be a whirlwind season.

As always, a disclaimer that I am a paid consultant for Brother, but that all ideas and thoughts here on my blog are now (and forever!) my own.

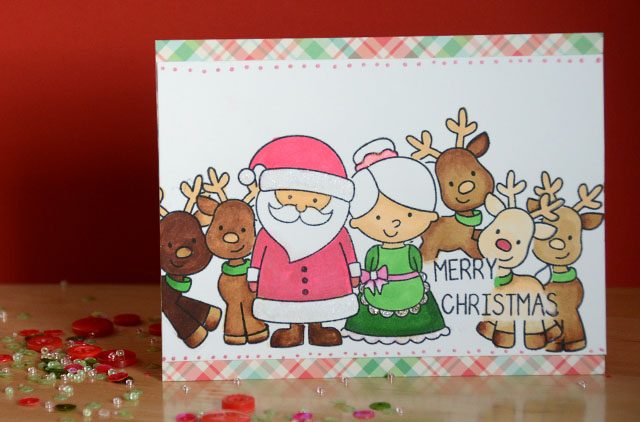
Stamp masking with Santa & Mrs. Claus

dsc_8364

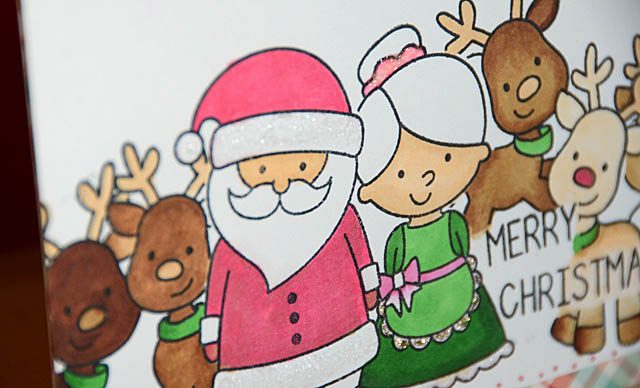
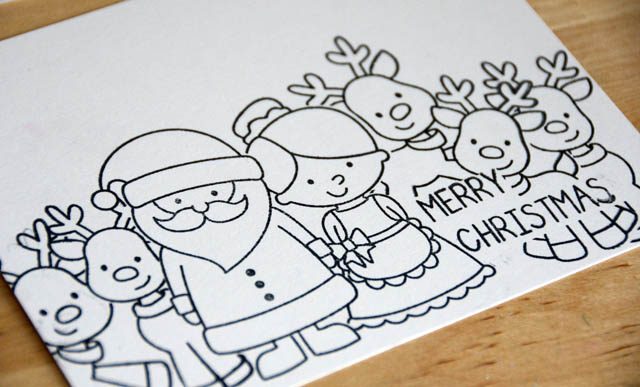
Tis the season for cards & holiday crafting! Last month I shared a video on how to create masks for your stamps really quickly with the ScanNCut (here’s a link to the video) and today I wanted to share a photo story of a new stamp set scene I’ve created using markers.

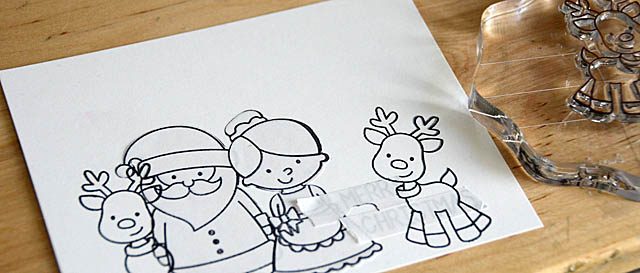
Step #1: Come up with a design and test it out if you’re unsure. Use a piece of scrap paper and play! Once you’re ready go ahead and get stamping, starting with the image you want to be at the front first.

dsc_8358

Tip: Remember to use an appropriate ink for the kind of marker or color you’re using to color this in!

#2: Cover the front stamp with masking paper. Stamp the next layer. Cover with masking paper. Repeat!

dsc_8355

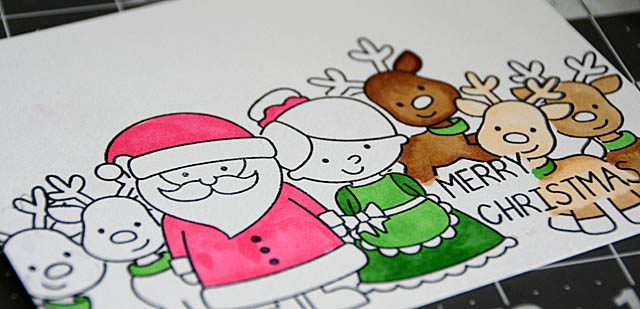
Step #3: Color it in! Remove all of the masking paper and work in any order you like and enjoy the coloring fun!

Tip: If you want a colorful background, you may want to hold off removing masking paper until after you color the background. It depends!

dsc_8360

When I finished mine, I realized it was just too much white! What to do? I cropped mine down 1/2″ and mounted onto a cute patterned paper! I also added some glitter pen dots just for a bit extra.

dsc_8363

I really had a lot of fun with this, and I’m really enjoying that I can do layered masking without the hassle thanks to my ScanNCut! Even with matching dies, I’d still need to hand-cut stamp masks out if I wanted them to be precise. Love this- and can’t believe I only just discovered the fun that it brings to my card making most especially.

Disclaimer: I am a paid consultant for Brother, however all ideas and opinions are my own. I happily share with you my experiences with the ScanNCut and crafting!