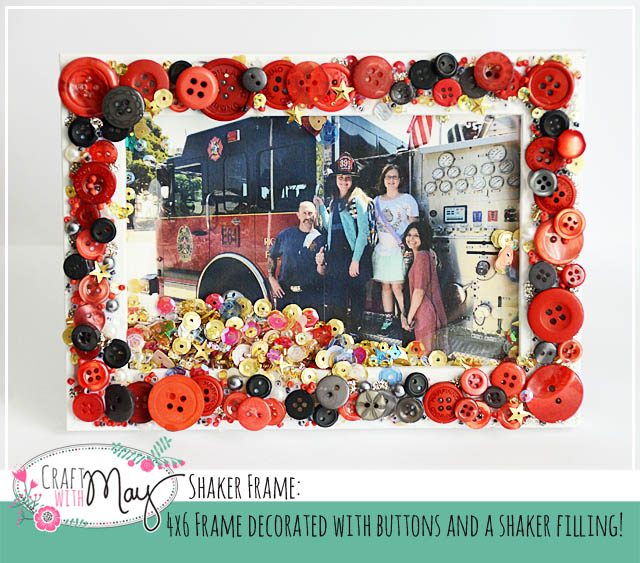
Earlier this summer I posted a little shaker frame – and wow you guys sure did love it! I promised to try again and today I’m happy to share with you a new project and video tutorial. Note – I do use affiliate links in this post. There is never any cost to use them, but the use of affiliate links does help this blog (and keep the free content coming!) so I appreciate the support. Continue reading “Shaker Frame: featuring 28 Lilac Lane”
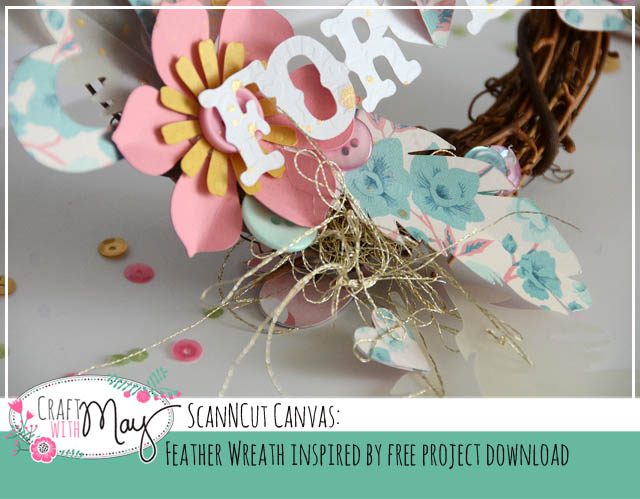
There I was, logging in to create a rhinestone pattern online via ScanNCut Canvas and I spotted a few new to me projects on the home page. Recently I had been discussing with my daughter Rebecca how she wanted some kind of feather décor for her wall in ‘her colors’ once I paint it the new minty green color. I spied a feather project that seemed just right – except I wasn’t sure I had a good place to hang something like the original… so I improvised. Continue reading “Feather Wreath featuring ScanNCut Canvas design”
One thing that I have learned is that like Jon Snow (Game of Thrones)… I know nothing. Well, not nothing but I certainly don’t know a lot, most of it, or much at all in the grand scheme of things. This isn’t a put down – this is to say I can ALWAYS learn more, and I can always improve. To me that is one of the great beauties of life – we always have more to learn!
I went looking at kid artwork to inspire today’s post and what I found was this: tissue. Mosaic designs to crumpled, tissue shows up a TON in school artwork! So, how could I be inspired by this and put my own twist on it?
disclaimer: I am a paid consultant for Brother, however all ideas and opinions are my own. The ScanNCut is indeed a machine I use, love, and can’t get enough of!
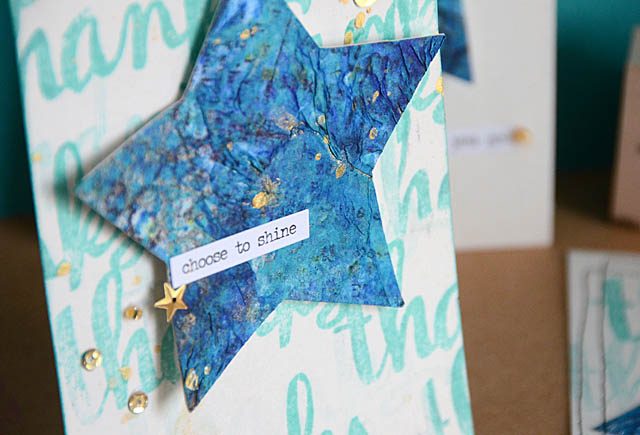
My solution was to crumple and glue (any liquid adhesive should work) a sheet of tissue to a very heavy sheet of cardstock. Why heavy? So that any warping would be minimized and the surface stable. I just crinkled, smudged, and basically let the tissue do whatever simply making sure it was glued down absolutely everywhere. That’s a key for later on.
Once satisfied and it was mostly dry I began painting. Acrylic paint, sprays, inks – whatever! Just let each layer semi-dry so you don’t make mud and blot off excess as needed. The results? Incredible! Even better? Now I’ve got a super fun piece to create with – and cutting it out will be a breeze. Here is my tutorial video explaining my process.
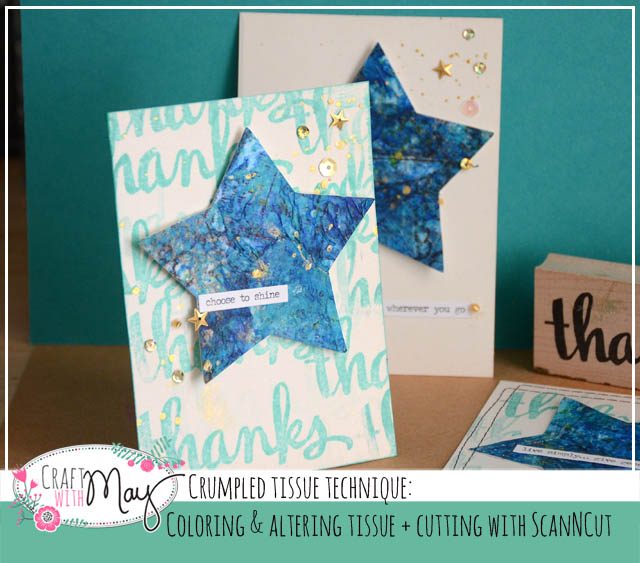
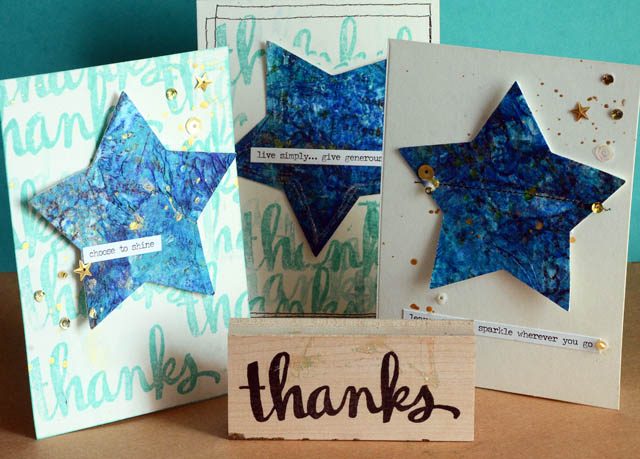
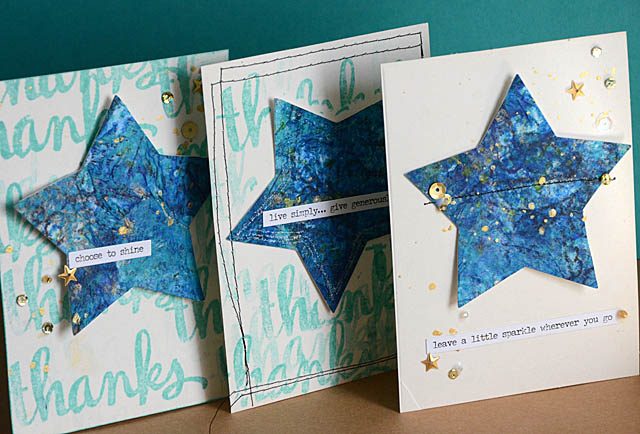
As I mentioned in the video I have a LOT of Thank You cards to write this week so having a basic idea to then alter/mix up but make the same basic card helped a lot. Here are three of the cards I made with my wild painted tissue.
I absolutely love the results – and I think this technique could be fantastic for anything from Christmas ornaments to home décor to art journaling. All inspired by simple elementary school tissue art too – who would have thought?
If you create with tissue I’d love to know how you use it and what you like to make. I’m always looking for new fun ideas. Thanks for checking out my project and remember stay tuned because each week I add new tutorials, videos, and crafty fun.
Yesterday I talked about coloring practice. One place that can be a lot of fun is in a coloring book – though it is somewhat limited with what mediums will work without major issues. I asked my daughters if I could have a coloring book page from each of them to play around with. After all – what good are those pages if we can’t do something to display them? Continue reading “DIY: Coloring Book Page ideas”