Girls Paperie: cabin project

Another CHA project to share today… this one featuring Girls’ Paperie Kitch line (coming to stores VERY soon!)

Just a little log cabin… paper and glitter covered, naturally.

There isn’t too much to say on this one – I just cut paper strips and adhered with Crafty Power Tape (An AWESOME Scrapbook Adhesives product).

I had such a blast creating this special house…

I’m really a fan of altering wood stuff like this. SO pretty and it can be simple as you please.

Now, I just count the days (shouldn’t be too much longer…) until Kitch is available so I can play even more with this beautiful line…

girls paperie: delight layout

This is my layout with the Girls’ Paperie Jubilee line (for CHA)…

I so ADORE this paper – and I really wanted to show off as much of it as I could so I made pinwheels with the portion of the paper that would have just been under the photo. (Cut it out, used cardstock instead to back that area. I do this often when I’ve got just one sheet of a pretty paper and I want to make it last!

I also cut out and placed on foam dots some triangles of paper (below) to add dimension to some of the layout. Wherever I did this, I also added a jeweled brad in the middle to tie it all together.

Then a few cool new girls paperie embellishments, a bit of stamping…

…and I had my layout. I added some yellow stickles to the photo frame, and some thread around it too (just to add support and stability since I’d cut such a hole in the background).

Just looking at this layout has me all excited to play more with these lines when they release next month, and to get working on class projects that incorporate some of these ideas too. Happy Wednesday!

Sweet Treat

Quick! Need to wrap up a Valentine? Grab a big chocolate bar, some scrapbook supplies, and…

Seriously easy. I just inked the edges of the paper, wrapped it around the bar (and taped it to itself creating a ‘wrapper’ of sorts) then decorated the front. That’s new Girls’ Paperie Vintage Whimsey lovliness.

I fixed it so the charm and such could easily be removed and re-used. So once she’s eaten the chocolate, she can enjoy the sweet scrappy treats in her next project!! (Yes, I sent this to a crafty friend)

Girls’ Paperie: Jubilee basket

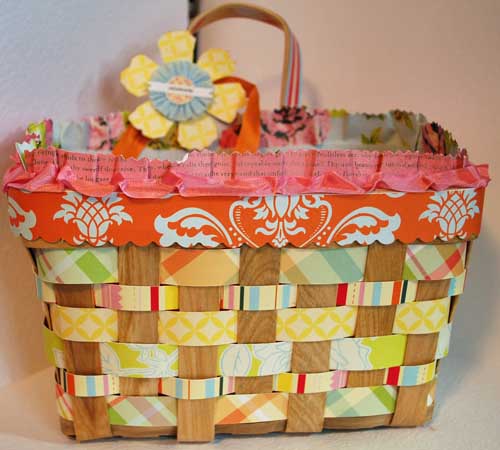
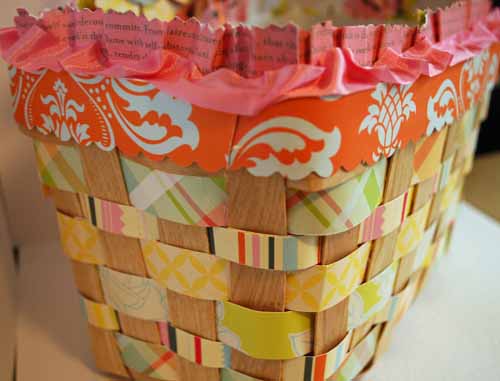
Time for another “as seen at CHA” project from the Girls Paperie.  This was a complete blast. A total “I know what I’m going to do today!” creative moment.


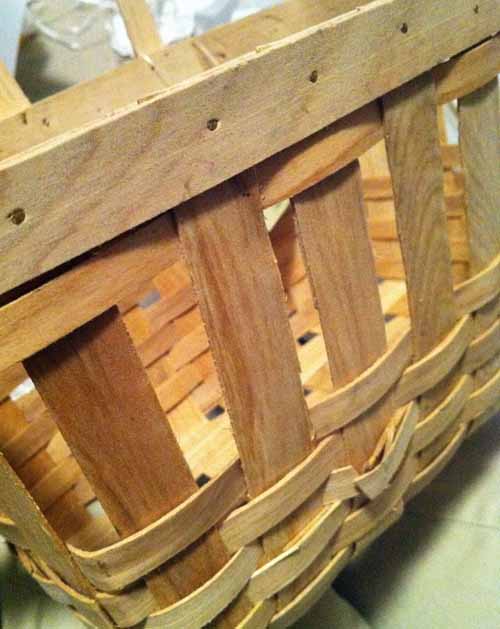
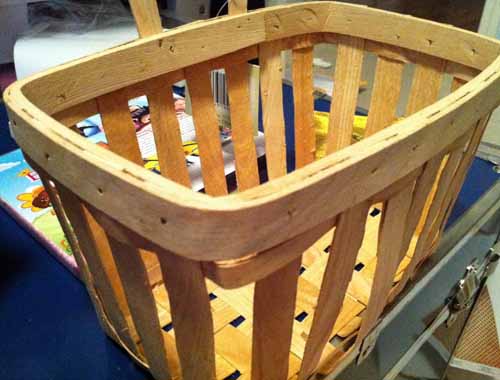
I got a wooden woven basket, and I cut/ripped off all of the pieces going around it. I did NOT alter the top, or the vertical wood pieces.

I just removed all the horizontal ones. The wood is pretty easy to remove – it only took a few minutes until I had this:

I just wove paper through (3/4″ – 1″ wide), and if the paper strip ran out, I just attached it to another of same pattern/width and kept going around! I used double sided tape (Scrapbook Adhesives crafty power tape), and just kept repeating for each new strip around the basket.

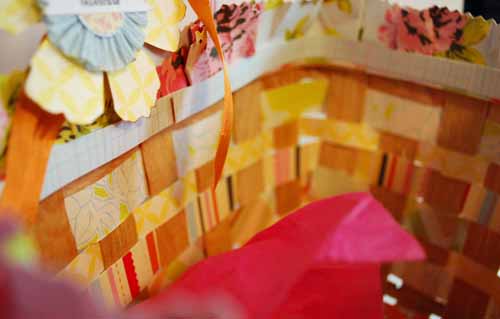
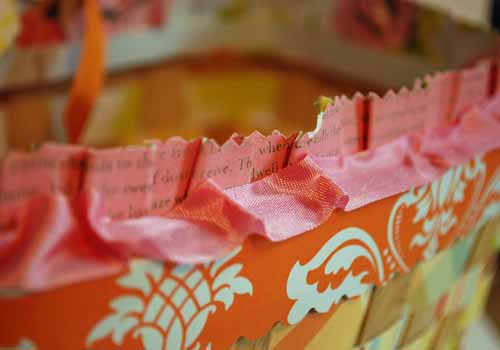
Once I was done, I added a scallop edged piece of paper, some ribbon, and crumpled/folded (pinked edge) paper around the top too. On the inside I added another strip of paper to hide an awkward spot too.

Because this is double sided paper, you can see it’s as pretty inside as it is outside!

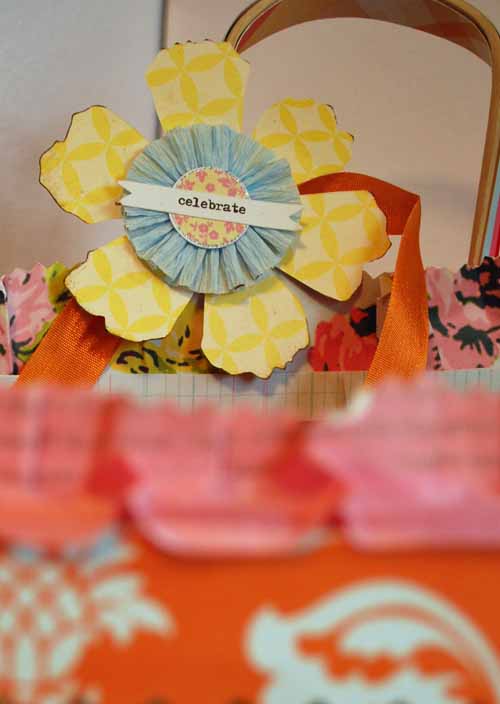
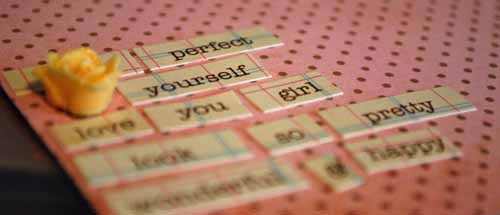
A few more embellishments, and my Jubilee basket is complete!

Such a fun project – and with spring coming I totally recommend doing one of your own!!

Girls Paperie 2011: Miss Fashion

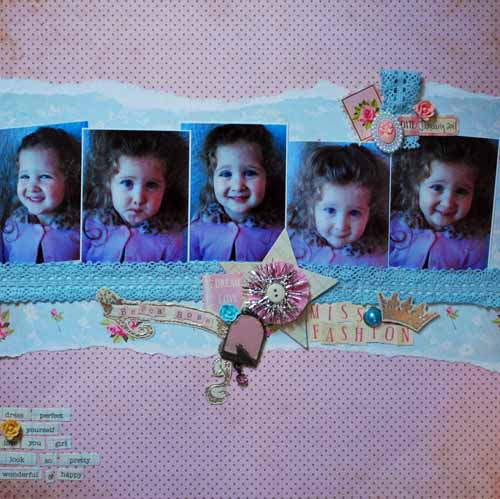
As a part of the Girls’ Paperie design team it’s my pleasure to be allowed to work with the new products and create projects and samples for their CHA trade show debut. Today I’m sharing my first project with you – one with the Vintage Whimsy line.

I really love all of the little details and embellishments Margie has added to the Girls’ Paperie this time around – so much fun stuff!!

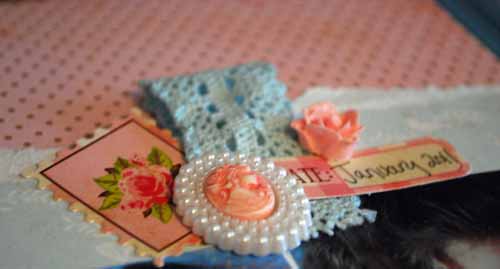
From lace trims to cameos to rose brads… I just don’t know what part is my favorite. I love the soft colors of this line.

I used gold UTEE (embossing powder) with the stamps for a raised effect on cardstock before cutting out. The rest of the layout is pretty straight forward. The photos are about 3 1/2 x 2 1/2 in size.

All the roses, pink, and polka dots in this line make it such a sweet girl and springtime choice.