Time for another “as seen at CHA” project from the Girls Paperie. This was a complete blast. A total “I know what I’m going to do today!” creative moment.
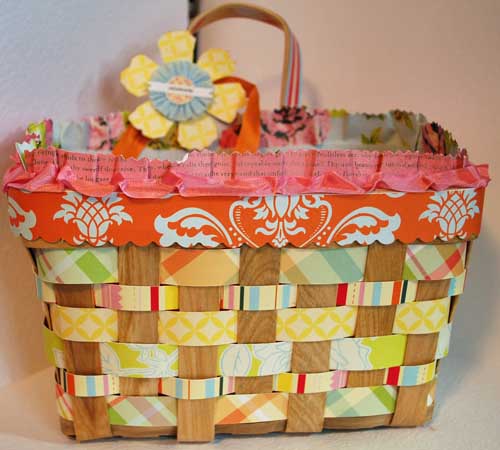
I got a wooden woven basket, and I cut/ripped off all of the pieces going around it. I did NOT alter the top, or the vertical wood pieces.
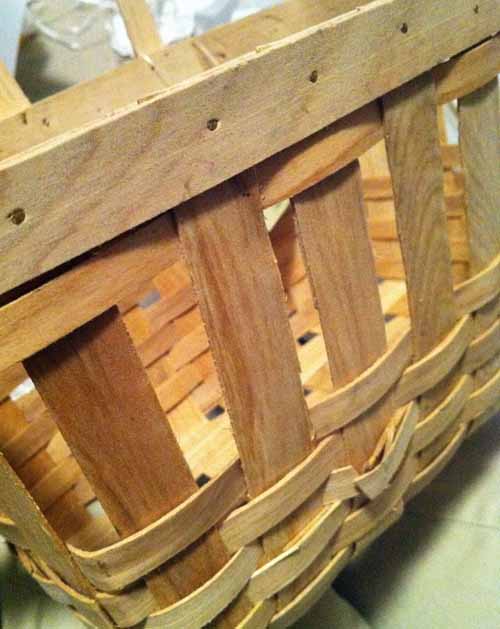
I just removed all the horizontal ones. The wood is pretty easy to remove – it only took a few minutes until I had this:
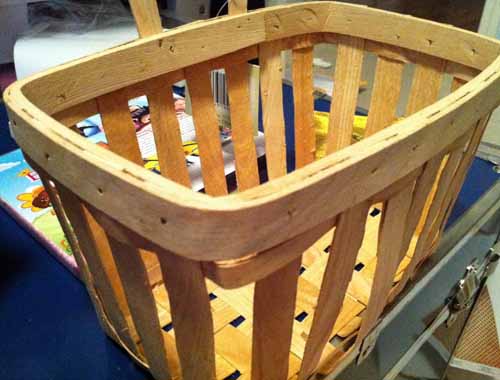
I just wove paper through (3/4″ – 1″ wide), and if the paper strip ran out, I just attached it to another of same pattern/width and kept going around! I used double sided tape (Scrapbook Adhesives crafty power tape), and just kept repeating for each new strip around the basket.
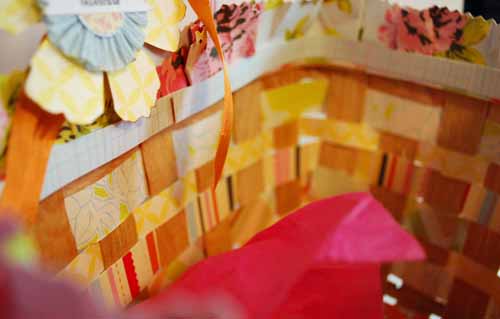
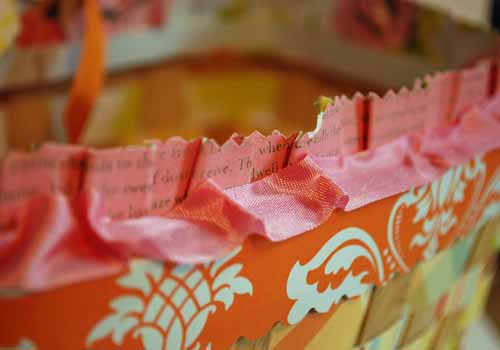
Once I was done, I added a scallop edged piece of paper, some ribbon, and crumpled/folded (pinked edge) paper around the top too. On the inside I added another strip of paper to hide an awkward spot too.
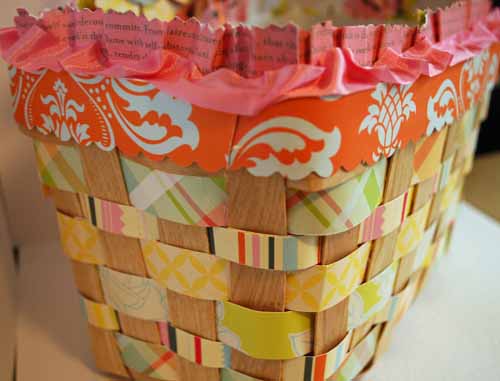
Because this is double sided paper, you can see it’s as pretty inside as it is outside!
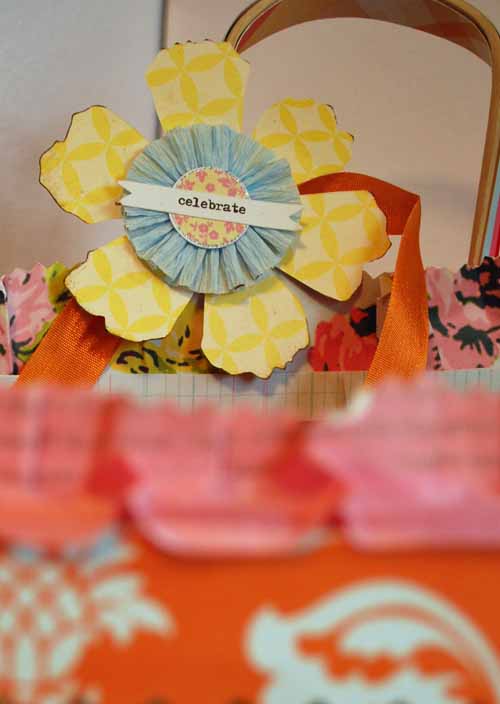
A few more embellishments, and my Jubilee basket is complete!
Such a fun project – and with spring coming I totally recommend doing one of your own!!