ScanNCut: Handwriting with pen tool!

disclaimer: I am a paid consultant for Brother, but all ideas and opinions are my own
DSC_4807

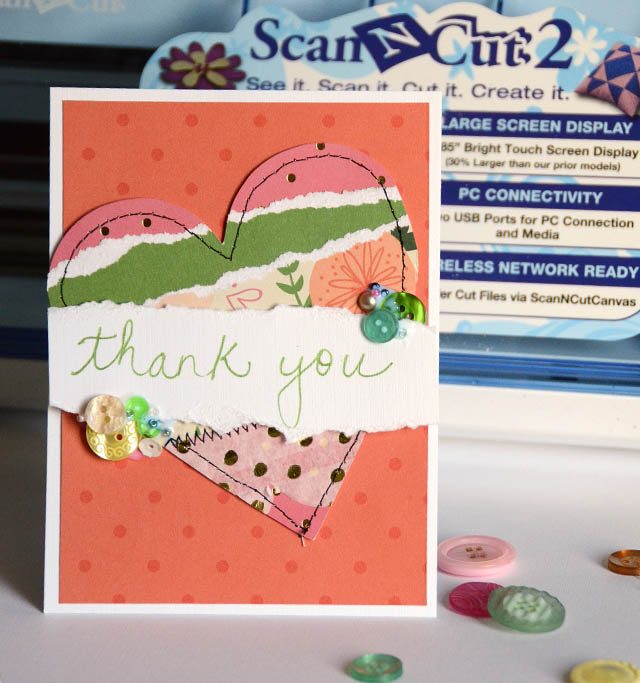
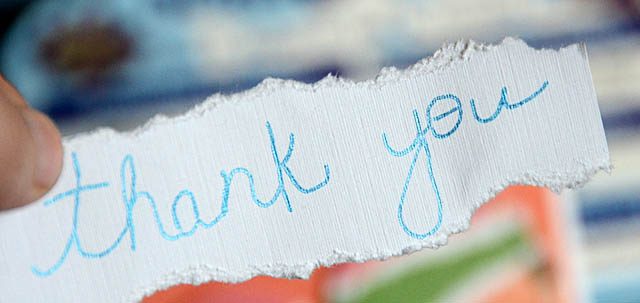
If you’re a regular here then you know – I’m struggling with limits lately! One idea I had was to see if the ScanNCut 2 new Universal Pen Holder could create some handwritten “thank yous” for me to add to my cards. The answer? YES! I’m definitely going to be playing more with this idea and seeing what else I can do. Love that this machine has been SO helpful to me as my use of right hand has been so limited (injury).
DSC_4811

If you want to see how the pen tool works and how I did this, You can check out my video tutorial here.

I’ve always loved my ScanNCut, but now that I’m needing to do less with my hands and get more help, I’m REALLY loving all it does and offers me!
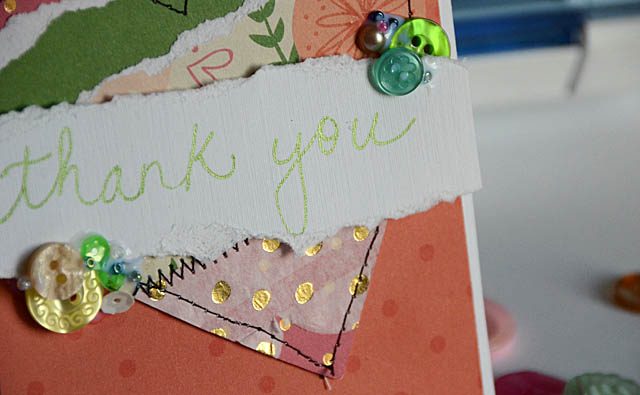
DSC_4809

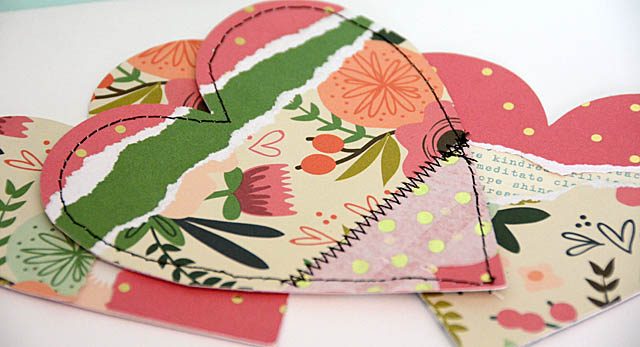
If you think you’ve seen those layered hearts before – you have! Those are from my video just a few days ago! I’m really obsessing on layered homemade embellishments and love all the uses for them.

28 Lilac Lane blog hop

DSC_4705 copy

Hello everyone! Guess what? Today I’m thrilled to tell you that we’re having a 28 Lilac Lane blog hop! This hop starts here, goes through the five artists that have been playing with my new line and sharing ideas (thanks to those lovely ladies!) and ends at the Buttons Galore blog with a give-away. You’ll not want to miss out!

THANK YOU to everyone for the well wishes- being injured is no fun and as I type this I am hoping I’ll be all healed soon! But the good news for you is not only is my new line in stores, but we’ve got a full line up of inspiration and I have a new card and video to share. This card? I just LOVE how it turned out and I hope you do too. Here is a link to YouTube video

I used Hero Arts inks, floral stamp set, and of course the Just Peachy bottle of embellishments from the 28 Lilac Lane line. The adhesive I used is PPA by US Art Quest. 28 Lilac Lane is available in stores now! You can find it online and at local stores as well and I’m loving the positive response so far and how people are using these embellishments.

Remember keep hopping down the line- the next stop is Ashli aka soaphouse mama (link). Keep hopping too – because you’ll find a chance to win some treasure at the end!

DSC_4720

Here is a full list of today’s participants:

Ashli
Audrey
Chari
Emma
Nina-Marie 
Buttons Galore blog

I hope you enjoy all the creative fun we’re sharing with you today – see you next time!

Guest post: Sandy Allnock

Sandy Allnock is super inspiring in all of her creative teachings, but she’s also a super kind person. In fact she sent me this amazingly beautiful blog post that I could share with all of you! How sweet is that? I hope you enjoy…

note: affiliate links are used in this post. Should you choose to use them there is no charge- but I thank you for your support!

Sandy Allnock Sketchy Wplus9 Doodle Buds

Hello there, friends of May! I’m Sandy Allnock and am delighted to guest for my friend May….she’s not a bigtime Copic gal but when I came up with this idea I knew this would be the perfect place to share it – I think this might just be the loosest coloring I’ve ever done!

I began by wanting to create dimension – and realized that this would look really cool with some superloose color sketched in. It’s so fast and easy – it just might be addictive! Watch the video below or click HERE to see it on Vimeo.

Sketchy Copic Coloring on Vimeo.

Wasn’t that easy peasy! Just think of all the stamp sets that could be colored this loose and free!

Sandy Allnock Sketchy Doodle Buds

I also promised the sketch map in case that helps ya!

sketchmap

Thanks so much for visiting…and if you’re interested in more crazy coloring from me, head over to my blog. Oh and that class I spoke of? It’s right HERE.

SandySig

Supplies


ScanNCut: layered DIY embellishments

as always – disclaimer that I am a paid consultant for Brother, but that all ideas and opinions are my own.

DSC_4758

Today is a short post, but an important one! You see as spring is upon us I can’t help but think of spring cleaning and using up scraps. These thoughts, combined with the desire to DIY some embellishments (vs paying a lot of cash!) got me playing with my ScanNCut! There are two approaches to be taken here – you can assemble first or assemble after cutting. There are advantages and disadvantages either way – but both result in unlimited fun, using your scraps up, and also inexpensive options for embellishments!

here’s a link to my YouTube tutorial

I believe next time I’ll try some mini stars, or maybe some smaller hearts with washi tape! The sky is the limit – I hope I’ve inspired you to create more today!

checking in

DSC_2320

Hey guys. So the next few weeks I’ll be pretty limited here – if you don’t see replies to emails or comments that is why. You WILL absolutely still see posts though. I had a few things already done or in the works that I pre-scheduled as well as a few fun extras and some guest posts as well. So stay tuned!

As I type this I’m about to head off for an injection in my wrist (which has confirmed via MRI some tearing/cartilage damage) and will be under strict orders to NOT USE MY RIGHT HAND. In fact there were rumblings about a cast to make sure I am not tempted to do otherwise. In my efforts to follow doctor’s orders and hopefully help speed this glacial paced recovery along I will be a good girl and start typing only left handed or not at all now.

Well, after this post is published that is.

Anyhow thank you for all the kind messages and emails. This journey is teaching me a lot and given me some new ideas. I’m not fond of the idea of a week of being so limited but I’m going to do my best to keep it positive and find the bright sides of things…