as always – disclaimer that I am a paid consultant for Brother, but that all ideas and opinions are my own.

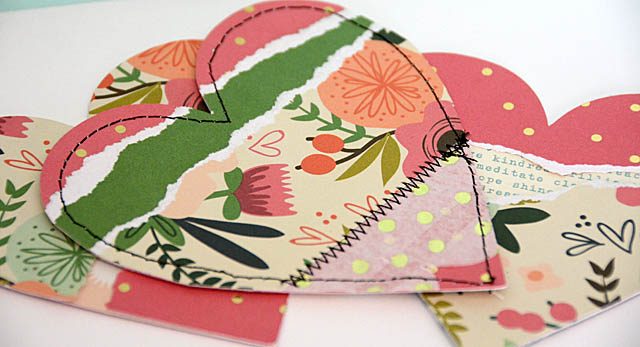
Today is a short post, but an important one! You see as spring is upon us I can’t help but think of spring cleaning and using up scraps. These thoughts, combined with the desire to DIY some embellishments (vs paying a lot of cash!) got me playing with my ScanNCut! There are two approaches to be taken here – you can assemble first or assemble after cutting. There are advantages and disadvantages either way – but both result in unlimited fun, using your scraps up, and also inexpensive options for embellishments!
here’s a link to my YouTube tutorial
I believe next time I’ll try some mini stars, or maybe some smaller hearts with washi tape! The sky is the limit – I hope I’ve inspired you to create more today!
Love those!
Totally adorable!!!
Really cute!
I love making my own embellishments. Lately I’ve been using a little glossy accents or stickles to punch them up a bit and give them a little depth. Your die cuts are so pretty! Michelle t