DIY planner clips with the ScanNCut

DSC_2108

As you probably know, I work with Brother and the ScanNCut team and love being able to bring you tutorials and posts here in addition to other work I do with them. the usual disclaimer that while I’m a paid consultant, all ideas & opinions in this post are my own. In fact- I’m off to CHA and will be at their booth 12-2 and 3-4 doing demos with the ScanNCut2!

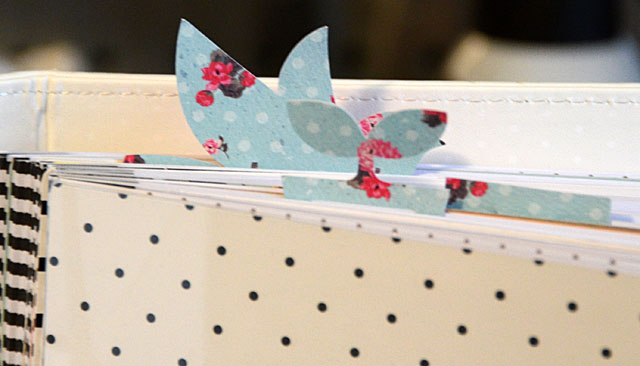
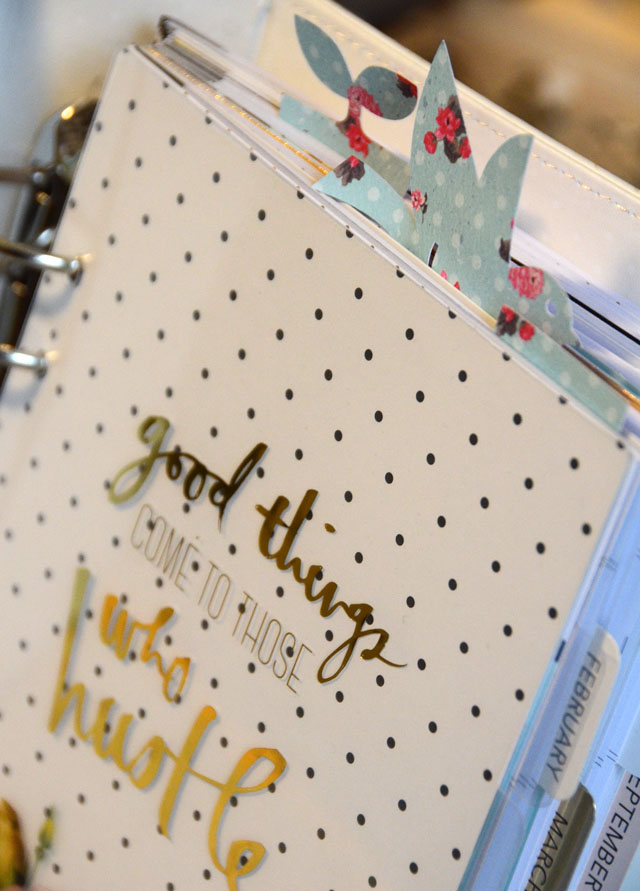
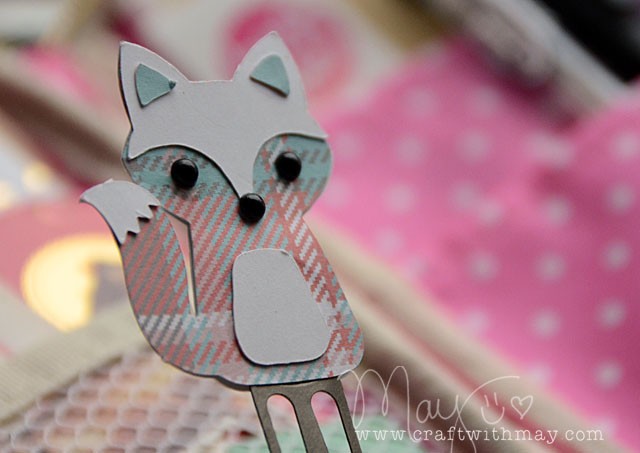
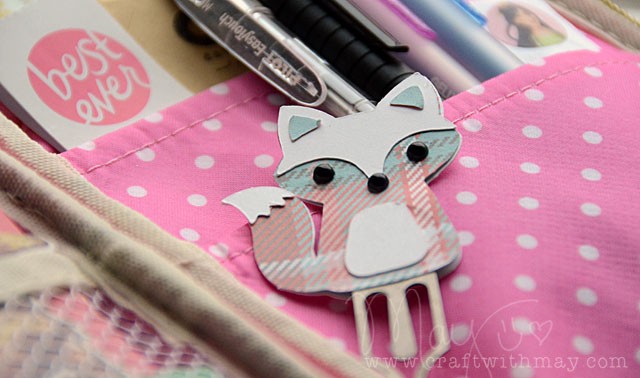
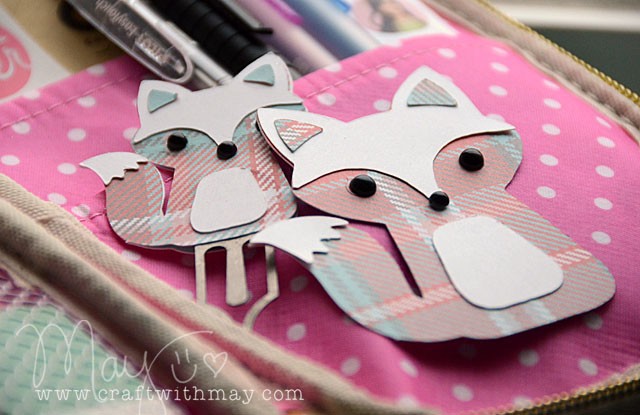
As we enter a new year I’m working on setting myself up with good new habits, and a place to record not just to-do lists and appointments but better organize myself and feel better about my productivity. So what could be better than some placeholder clips made with scraps of paper?

DSC_2111

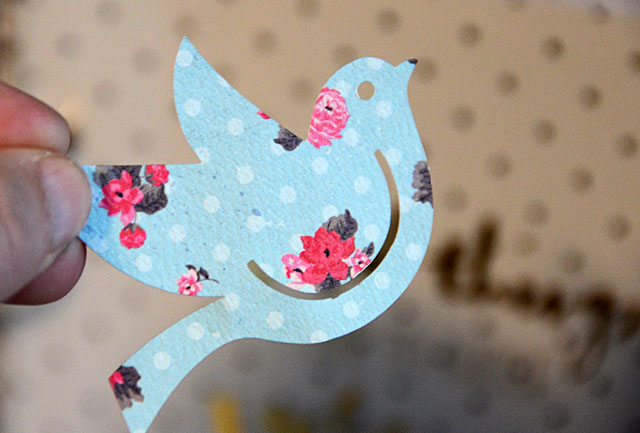
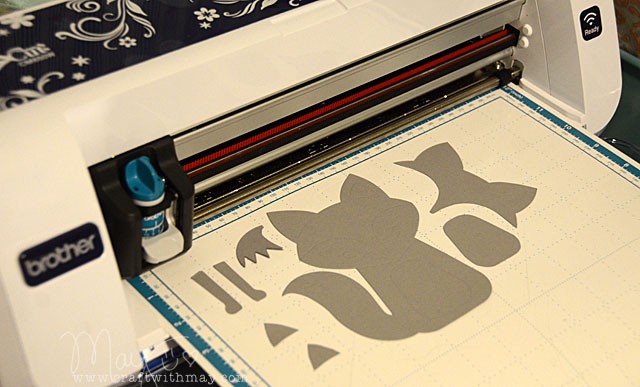
In going through my ScanNCut I discovered these designs, and was glad to finally print them out and play!

Link to YouTube video

Adding a bit of packing tape before cutting really helped with making them more durable – and they look so cute!

DSC_2127

If you keep a planner or have favorite organization tips I’d love to hear what works for you! I’m still working things out and am changing things up a lot. Keeping things simple and practical is definitely a priority!

Bird ornament: Creating an animal with ScanNCut

DSC_1845

This is a project two months in the making. No, really! I’ve been working out the how-to and best practices and allll of this and I am slow at sewing in general. I’ve not mastered anything – but I’m ready to begin this series and take you along as I use my ScanNCut to create wild & funky critters! Thank you to Brother for continuing to work with me and allow me to bring you these crafty posts! Disclaimer that I do work with them, and that within this post ‘opinions expressed by a paid consultant’.

  1. You can use a pre-existing pattern and just re-size to suit your needs
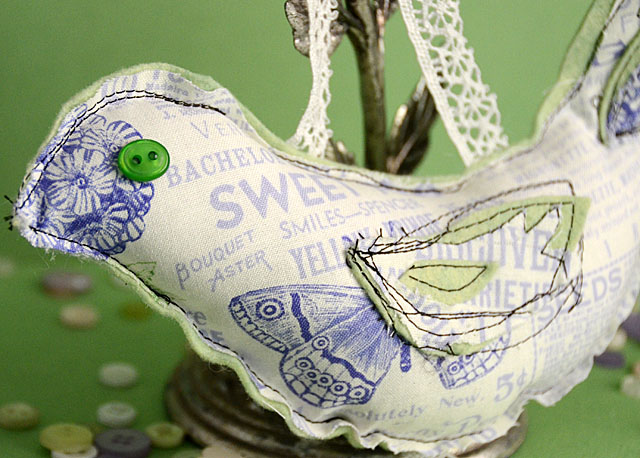
  2. You can alter an existing ScanNCut file – which is what I did with this bird
  3. You could doodle your own inventions and turn them into cut files!

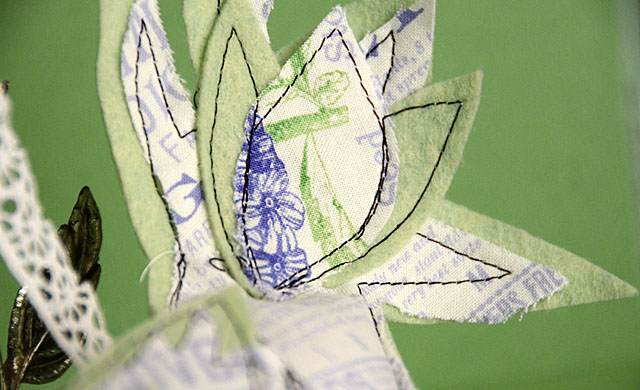
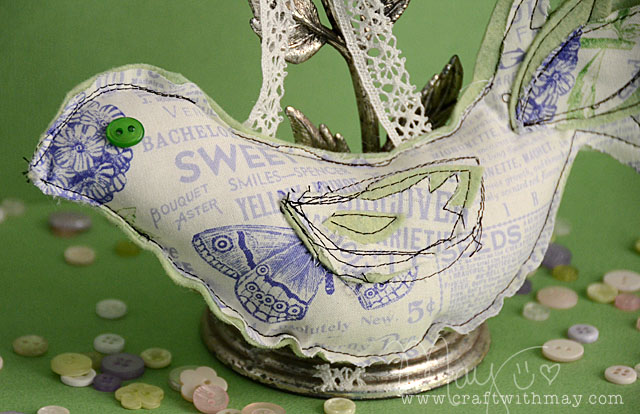
The #1 thing that I’m finding is that some patterns and fabrics look and work better than others. The Brother iron-on glitter sheets are going to be fabulous on my projects like this one – soon as I’m ready for that next level! Ah, but today I’m excited to do some funky intentionally “messy” stitching and share this bird with you.

DSC_1847

Most of the pieces were cut out using the ScanNCut, however some I cut by hand as I eyeballed and needed a basic curve/feather. Love how this technology works so well for me!

Here is my video how-to (link).

bird1

This is just the beginning! I’m not great at this type of project… yet! I’m still learning, and creating my own rules and ideas as I go along. There are a lot of fox and penguin prototypes over here that aren’t ready – but I’m not giving up! In fact I have had so much fun with my testing and fails that I know I’ll keep trying, making, and playing in 2016.

This is my last post of the year – hope you’ve enjoyed it!

Thank you watercolor with ScanNCut2

DSC_1604 copy

Thank you to Brother for continuing to work with me and allow me to bring you these crafty posts! Disclaimer that I do work with them, and that within this post ‘opinions expressed by a paid consultant’.

Today I’m using a built in “thanks” design on my ScanNCut to create some thank you cards. It’s the season for sending thank you cards, after all!

DSC_1577

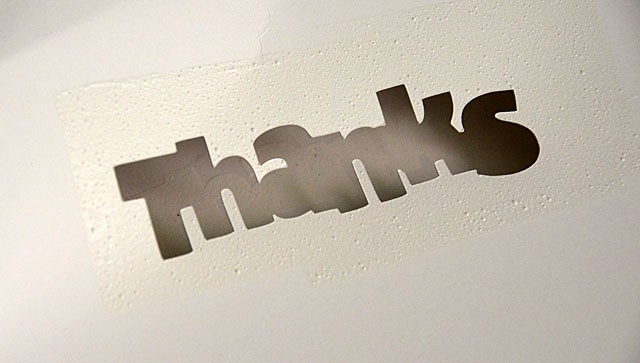
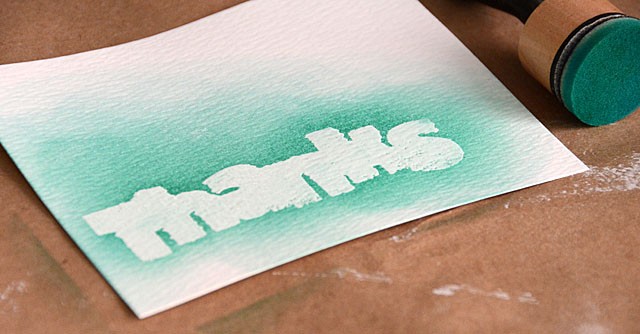
First I cut the design out, and kept the cut-out design. Then I took the paper left over (aka the outline), placed over watercolor paper, and pressed with white pigment ink. A nice foamy/juicy ink pad works best for this as you need a squishy ink pad to really get down and into the design. Once you’ve done this, coat with clear embossing powder and heat set.

DSC_1581

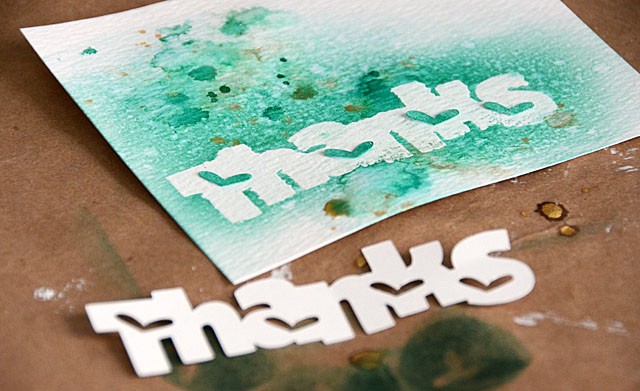
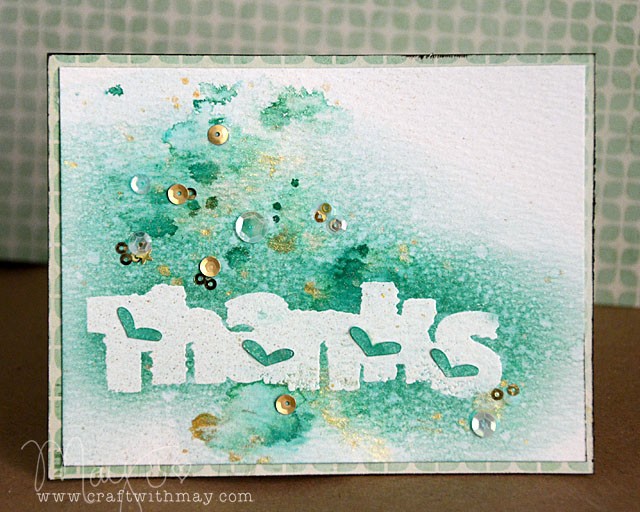
The next step is to take ink and a foam blending tool and ink it up! The embossed word will resist the ink, and if you use a water reactive medium (watercolors and pens work for this too!) you can add water to create splattery looks. For more variety add some more colors (such as gold), then add in the little heart cut-outs (colored with same ink color).

DSC_1583

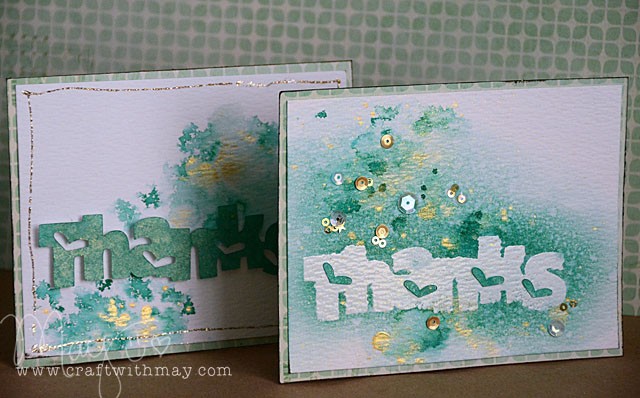
Here you can see my finished card:

DSC_1595 copy

But wait! I couldn’t waste the original cut-out! So I just did a little splattery action and inked up the thanks design.

Now I’ve got two cards ready to send off, and I should probably clean up the holiday mess while I’m at it!

Foxy paper clip: resizing images with ScanNCut2

DSC_1539 copy

Thank you for the support – and to Brother for continuing to work with me and allow me to bring you these crafty posts! Disclaimer that I do work with them, and that within this post ‘opinions expressed by a paid consultant’.

I’ve got some serious plans for this cute little fox. The thing is, her journey began as a much bigger fox and one that I had to die cut multiple times to get all the pieces as well as hand cutting some pieces myself. Kind of a pain! If only I had a machine that I could scan the fox into so I could re-size it and skip all the hand cutting and multiple runs through the hand cranked die cut system…

DSC_1514 copy

Oh wait, ScanNCut2 to the rescue!! Note that this should work on ANY model of ScanNCut – so check it out!

DSC_1543 copy

Here is a link to my YouTube video showing the exact how-to. You could do this with any papers, and in any sizes as well.

mayf_fox1 copy

I just love how these little guys turned out! What happens when you enlarge a die? I’ll be showing you that in about a week!

Using up the scraps to make merry

DSC_1367

I make it a habit to do two things here in the studio: use up scraps as I create them, and to avoid cleaning up unless necessary. Obviously using scraps as I create them helps with this, and so today I’m going to share how I “cleaned up” a few things and with the help of my ScanNCut2 was able to create some gift wrap and take part in the deer trend this holiday as well. Can anyone say multitasking? That’s me!
DSC_1429 copy

Ah but before we go any further as always I disclose that I do work with Brother, and that they did provide me with my ScanNCut machine. Opinion expressed by paid consultant. I will also disclose that affiliate links are used in this post. You guys know by now I only do what works for me, and always share what I love & create here anyhow. But I’m all for transparency and disclosing as requested so there you go. Let’s get back to the creating!

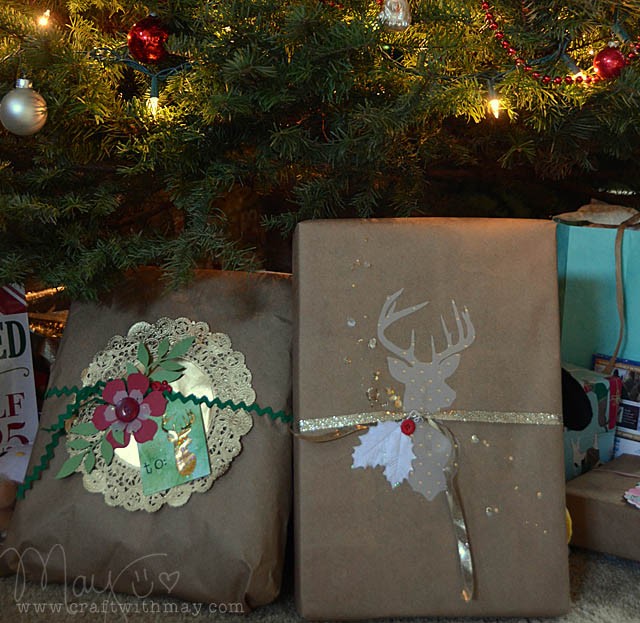
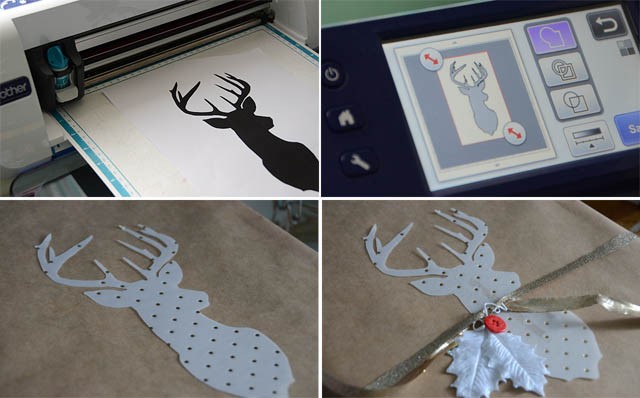
Above are the finished gifts under the tree, both created by using 1 piece of clip art I got off the internet. This is where the ScanNCut really shines for me – you see I printed off a deer (stag?) silhouette clip art that I came across long ago. When I was ready to create with it I just took that piece of paper and scanned it into my ScanNCut and saved the file.
snc2

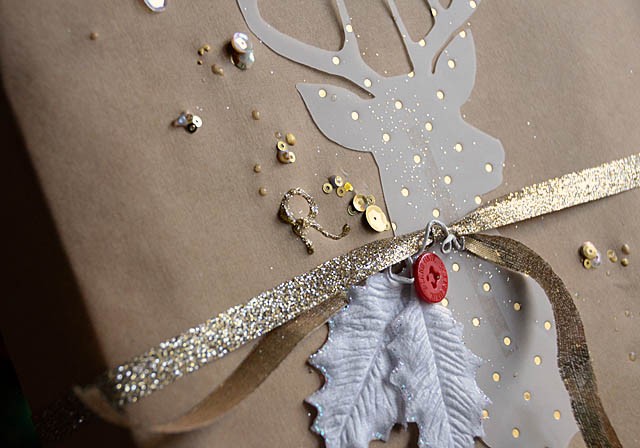
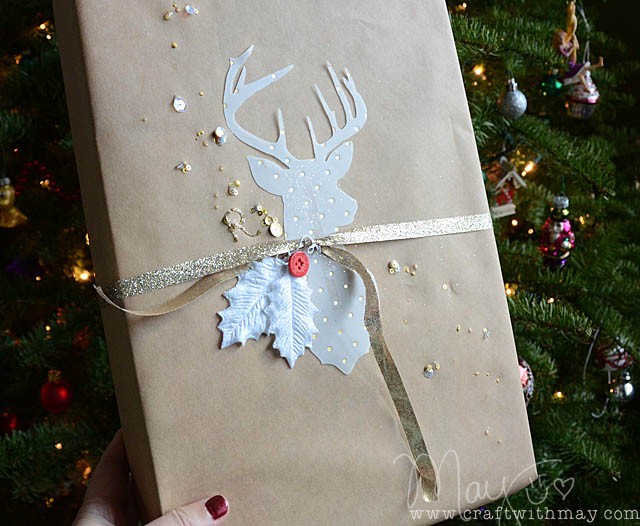
I saved the image to the machine which means I’ll never have to scan it again – it’s in the machine ready to use! For my first gift I printed it out on gold dotted vellum and attached to my package along with ribbon, leaves, buttons, and a few sequins. The ScanNCut makes this so easy – and I could easily mass produce deer like crazy for a real wow factor in my wrapping.
DSC_1356 copy

I just adore how this one turned out, and yes that’s a gold glitter glue “R” for miss Rebecca. (Inside is the new Frozen Lego that she doesn’t even know exists… so exciting!) Wrapping in kraft or other plain paper is my #1 favorite because what I do is create a stack of gifts with sticky notes on them as to who it’s for here in the studio. Then when I’ve got 5 minutes or need to “clear the desk” I pull out some ribbon or bits that I want to use up and wrap one or two or even three gifts quickly – but with special touches.

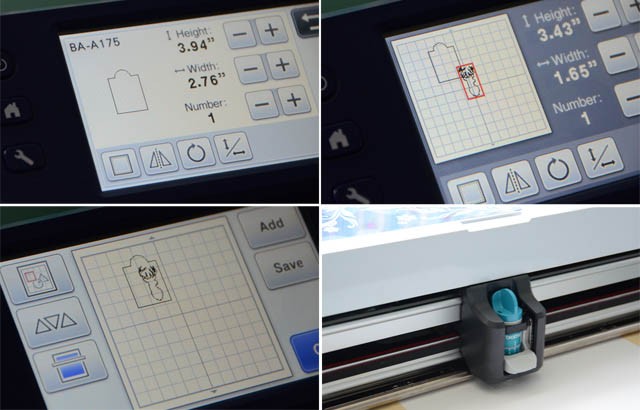
Speaking of – I also LOVE using the ScanNCut to create custom gift tags to use! I’m going to use that same deer file that I’ve saved, but now I’ll stick it inside of a tag:
snc1j

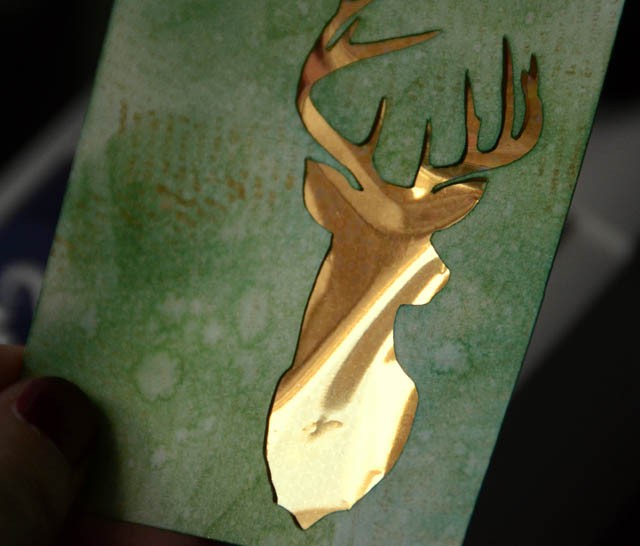
To do this I first created a tag (about 4″ high), then I added the deer image and scaled it WAY down, moving inside of the tag so that it has a bit of border around it. Note that I off-centered it so that I’ll have room for “to/from” on the front. I cut this from a scrap of white cardstock – again with the using up scraps! love that – and off we go!
DSC_1393

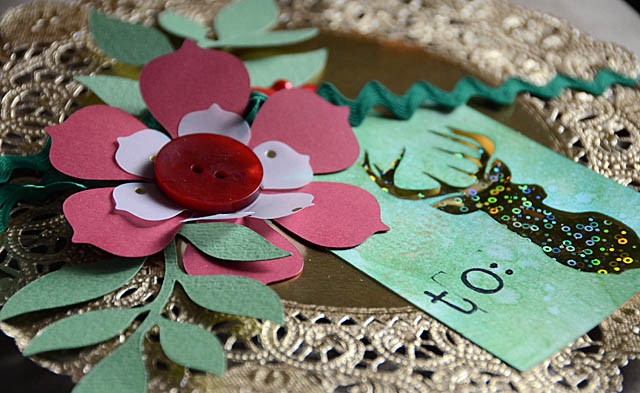
I used a scrap of gold foil material to back my tag, and the tag itself was inked with a gold script stamp and then I used green ink to color it a bit and help my golden deer (buck? stag? you know what I mean) really stand out.

But wait, there’s more! You see I had some red and vellum flowers, as well as some green leaves on the desk left over from a previous project. So I paired these with my tag and a gold doily as well as some green ric-rac for my package. I have YARDS of this green ric-rac so I’m glad to use it as package trim!
DSC_1404

These are just two examples of fun creating that I’m able to squeeze in during this very busy time of year. Combining some creative play with productive gift wrapping makes me feel so good! Even better? I didn’t have to buy anything new to partake in the trend (deer/silhouettes) thanks to my ScanNCut. I love that I was able to be on trend without buying new.

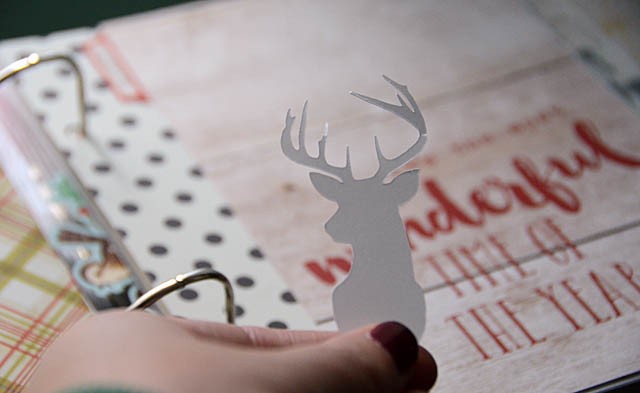
Now, I do have a white cardstock silhouette cut out (left over from the tag)… but don’t fret! It has already made its way into my December album and you’ll see how it was used next week.
DSC_1396

I hope you’ve enjoyed this post, and are making things merry (and crafty!) this holiday season in your own ways.

Wanting a ScanNCut2 of your own? Here’s a link to amazon.com the 350 (aka ScanNCut2) comes with Rhinestone kit as well.