Where to begin?

There are a lot of things “they” say.

It doesn’t matter where you start as long as you take the first step.

It’s a process.

Do your best.

There are dozens if not hundreds of vague and mildly motivating sayings. Some I actually like. But I have a problem. HOW am I turning these vague ideas and concepts into results?

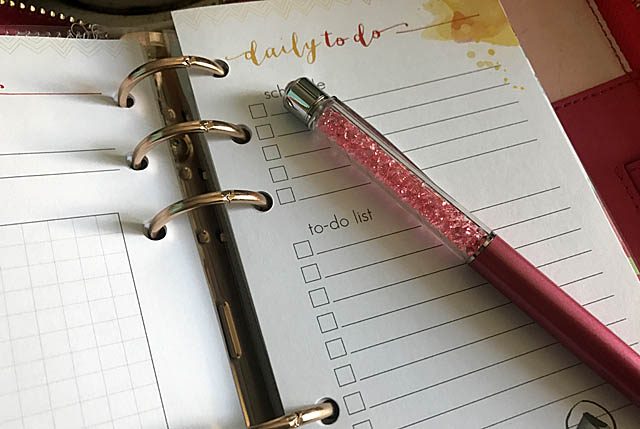
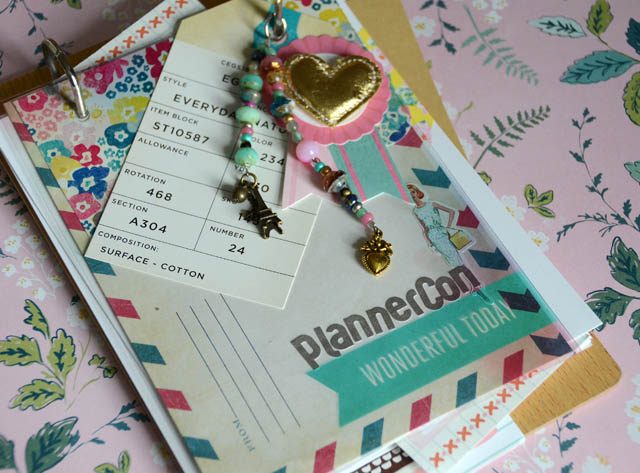
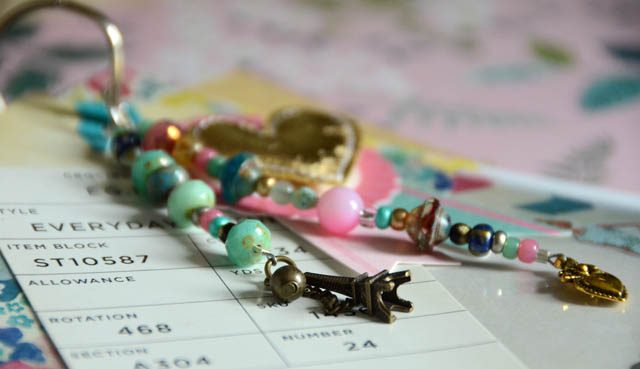
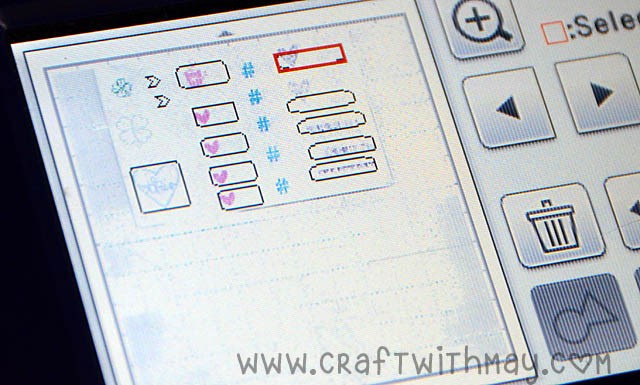
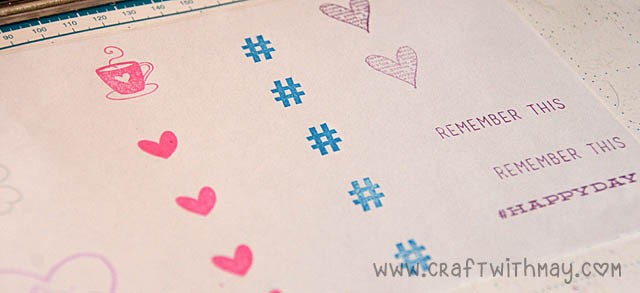
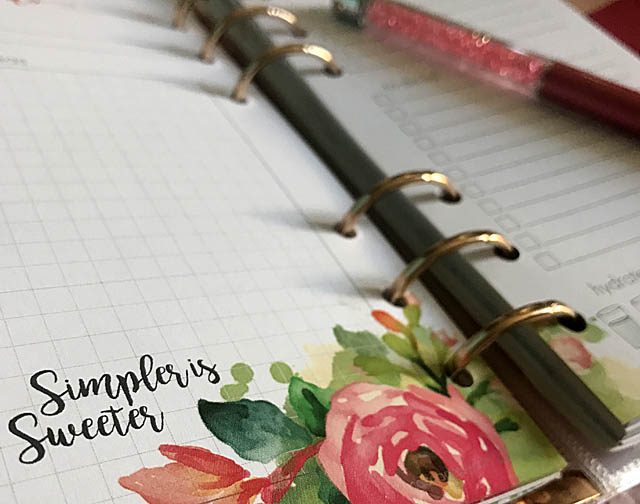
Now I’ve posted before about my current-ish planner setup (here’s a link), but things as always are changing. I have not missed one deadline or appointment since setting things up as they are now. That’s a win. It’s real easy for me to answer the question “are you available….” because the one book has everyone’s appointments and schedules in it, and is easy for me to use.

I’ve also come to really like my business planner though I am using it to about 50% of where I should be and could be.

But. Not to sound greedy… I want *MORE*. I want to figure out how to get myself exercising every day and not talking myself out of it half the time. I want to get myself ahead of deadlines and I want a better overall workflow to my day. I’m writing this post days before it will go live which is good. It’s a small step. But I want so many more steps and I have one burning question:

How do I take ideas & plans and make them actually happen?

The simple answer is of course to “just do it”… but the reality of everyday life isn’t always so simple. How do we motivate ourselves without a team of professionals shadowing and optimizing us taking the guess work out of it each day? I’m talking about life in general here, but also about crafting in particular. I have 10 minutes a day to give to my scrapbooks (another story – coming soonish!), and I need to get more of my ideas out of my notebooks and into reality.

I don’t have an answer… yet.

As of today I’m starting a challenge. I’m going to look for expert advise and try it their way for just ONE week applied overall to my life and see what things stick and what things won’t work at all. What helps and what hurts. A grand life-wide experiment.

Life is short, and each day does matter, so I truly want to make the most of it and I want to share with you things that work. If you’ve got people who are great at organizing or life in general or have your own ideas to add – let me know. The weekly recap will be done via YouTube in a ‘live from the studio’ video series, and once every few weeks I’ll recap ideas here that work.

Because what is the point of learning if we don’t share the success with our friends?!

Have a great week.

Plannercon 2017: a thoughts & recap post

I’m back from plannercon2017, and what a wild weekend! I got to see some really fantastic speakers and take some good classes but the biggest plus for me was hanging out and speaking with fellow attendees and creative ladies.

Some ladies were long time crafters, some were hoping for new ideas to better plot and execute ideas in their lives, some were there to shop! We all had different experiences and ideas, but what I loved most was how friendly and helpful everyone was.

Though my wrist got real mad (as I type this one handed am in my pressure point brace! oops!) from all the writing I especially enjoyed the Tombow lettering class. Some better lettering isn’t that hard or far off if I simply practice.

I also enjoyed some no pressure coloring with Prima marketing.

Fueled by carbs and a lot of bottles of water, I kept making new notes. ideas. things I want to share with you here. Things I need to work on and explore.

Over 1,000 people were there, and I didn’t meet a single mean, rude, or negative person. I was really inspired by how everyone was open to different styles and outlooks. No harsh judgment or “well that is the wrong way” talk. I loved spending time around the registration area (pictured below) just chatting with whomever I came across. I met some new ladies as well as reconnected with some that I’ve known a long time.

In the new to me column, I met (and totally adore!) the owner of Crown & Crumpet. The girls and I popped in for lunch one day and I was blown away by not only how good the food was, but how much creative fun went into this space and business. It really topped the weekend off for me because creativity takes many forms and there is no one way to approach it. Whether you cook or scrapbook or paint – or add stickers to your weekly planner – there is space for all of us striving to live a happy and creative life.

We talked about having a “craft tea” so stay tuned for that info if you’re near San Francisco area!

My daughters did attend with me, but only showed up for food. They had the weekend of their lives (not one argument!) gaming and enjoying unlimited wifi in the room. They tell me it was the best weekend ever. Ha!

As a side note – the Hyatt near SFO airport is where this all happened, and is a great hotel to stay at if flying out early AM. They’ve also got some yummy food. The girls and I recommend the garlic edamame and the truffle fries most especially!

Also: if you’re on youtube you can check out my channel and my “from the studio” mostly every week series. This week I chatted about plannercon and what’s going on in my world… video is here.

The fancy little note pad

I wasn’t going to do a blog post – but I figured why not? You see I recently spent the afternoon avoiding real work (ha!) and creating a fancy little notepad for myself for a conference this weekend.

What I needed was paper on a sturdy surface to write notes during a conference. I don’t know how many notes or what I’ll write – or if I will be inspired to write at all. So I didn’t want to commit to a new notebook just for this only to end up being annoyed that 1/10th of it was used and not want to keep filling it up. I also thought that a small notebook would be flimsy and hard to write on my lap.

So I thought: clipboard! I couldn’t find mine but in the search I unearthed a 5x7ish D-ring option.

I added papers, some stickers and fun (because why not?!?!) and got to work. Here is a YouTube video where I explain why I am using (or not using) what I have on this.

Here is the cover/front:

I am excited that there is a “planner con” in San Francisco this weekend so very close to my home – and the price was really reasonable for a craft convention with such high quality speakers too. I will be sure to report back with how it went – and if my notebook worked well or not.

I mentioned in my video another video on how-to for a planner charm similar to mine. Here is a link to that video.

I really want to get better at how to write down plans, and make them HAPPEN, so I have lots of high hopes for the weekend. If you’re coming be sure to track me down – because I have little goodies to share!

For now I’m off to double check my bag. I really am just bringing some pens + this notepad! I really do love that I had some fun decorating something for a temporary use – and that I have a plan to transfer the “keeper” notes. I’ll share more about that (and which art journal they go into!) when I return.

Have a great weekend!

ScanNCut2: DIY custom stickers

Let me start off by admitting that last week I threw a bit of a hissy fit. You see, I’d ordered some “planner” stickers and when they arrived everything from the color quality to the sticker finish annoyed me! I was not pleased one bit, and I knew there had to be a better and way less expensive way to cover up when I have a change of plans or need to scratch something out.

DSC_2993 copy

Then it hit me. Didn’t I have a sheet of Brother ScanNCut stickers? Couldn’t I just cut those to be the perfect size? Any size whatsoever? Then couldn’t I also tuck them into the pocket so that I would never be without oopsie cover up stickers in the exact right size for mere pennies?

The answer, of course, was yes to all!

snc2

Before we go any farther with this tutorial I will as always disclose that I am a paid consultant for Brother, but of course all opinions and ideas (crazy or otherwise) are my own. I will also disclose that I use affiliate links – and I thank you for your continued support! While it may seem silly to disclose this stuff every post – I am happy to do so!  I always want to be upfront and a clear as possible with you.

So let’s get back to the sticker making. The key how-to is this:

  • Use a label or sticker sheet, and do a test cut. I found 2.5-3 to be ideal.
  • Have a plan for the sheet – have it stamped (if using stamps), printed upon, or whatever you like!
  • Jot down measurements if you’re aiming for specific sizes

DSC_2978 copy

Here is my video tutorial (link to YouTube)


Working in batches has become a serious focus and mantra of mine – so I could crank out 50-100 of these easily and within minutes then have enough for weeks if not months of fixes!
DSC_2981 copy
tip: if I had a specific set-up or size I use a ton I could save as a cut file (even with multiple shapes, yes!) then just open and use that to skip positioning and setting up the sheet in future.

The ScanNCut2 is available in stores, and can also be found online at shops like amazon.com. The sticker and laminate kit I mentioned is also available.
DSC_2983 copy
Now my St. Patrick’s day is festively decorated (though very inexpensively and quickly!) and the whoopsies I made are all covered up too!
DSC_2986 copy
I showed stamping in my example but you could also use:

  • washi tape
  • printed designs or patterns
  • rub-ons
  • stencils

and basically anything that adds the pattern, color, or look that you want and will set onto the paper you’re using.
DSC_2987 copy
but wait – there’s more… that’s right I will be back with more! Below you can see that you can easily scan and cut stamps, printed shapes, or whatever you might like for more shaped stickers…
DSC_2972 copy
I will be back in a few weeks with a follow up and even more ideas.

Foxy paper clip: resizing images with ScanNCut2

DSC_1539 copy

Thank you for the support – and to Brother for continuing to work with me and allow me to bring you these crafty posts! Disclaimer that I do work with them, and that within this post ‘opinions expressed by a paid consultant’.

I’ve got some serious plans for this cute little fox. The thing is, her journey began as a much bigger fox and one that I had to die cut multiple times to get all the pieces as well as hand cutting some pieces myself. Kind of a pain! If only I had a machine that I could scan the fox into so I could re-size it and skip all the hand cutting and multiple runs through the hand cranked die cut system…

DSC_1514 copy

Oh wait, ScanNCut2 to the rescue!! Note that this should work on ANY model of ScanNCut – so check it out!

DSC_1543 copy

Here is a link to my YouTube video showing the exact how-to. You could do this with any papers, and in any sizes as well.

mayf_fox1 copy

I just love how these little guys turned out! What happens when you enlarge a die? I’ll be showing you that in about a week!