ScanNCut: Handwriting with pen tool!

disclaimer: I am a paid consultant for Brother, but all ideas and opinions are my own
DSC_4807

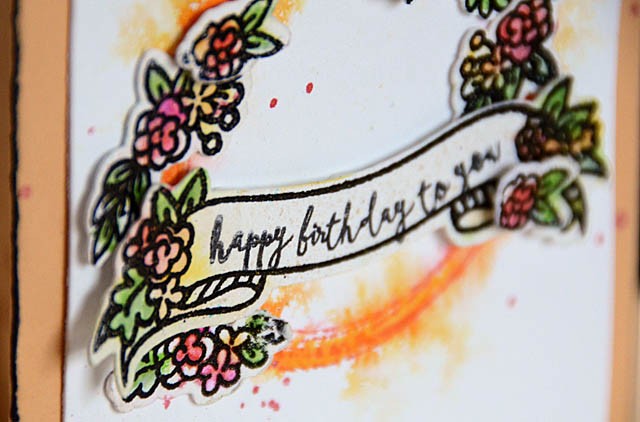
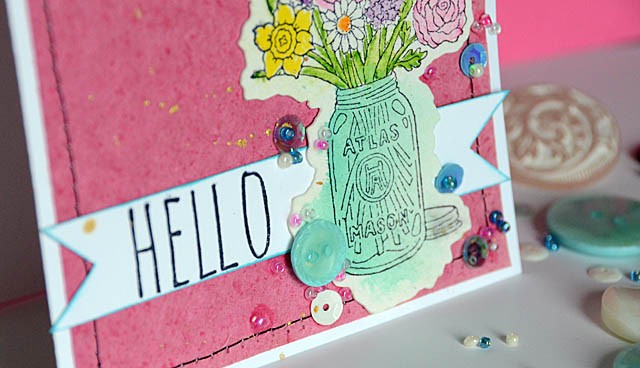
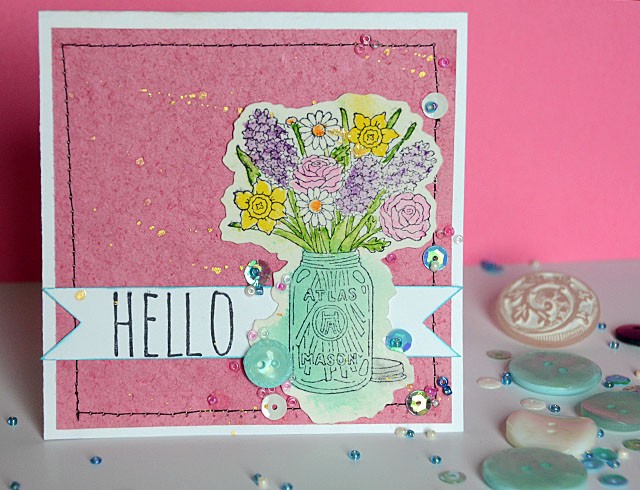
If you’re a regular here then you know – I’m struggling with limits lately! One idea I had was to see if the ScanNCut 2 new Universal Pen Holder could create some handwritten “thank yous” for me to add to my cards. The answer? YES! I’m definitely going to be playing more with this idea and seeing what else I can do. Love that this machine has been SO helpful to me as my use of right hand has been so limited (injury).

DSC_4811

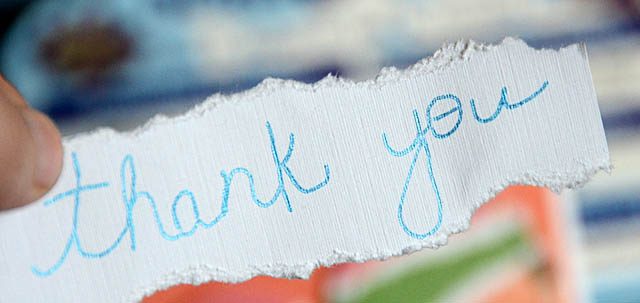
If you want to see how the pen tool works and how I did this, You can check out my video tutorial here.

I’ve always loved my ScanNCut, but now that I’m needing to do less with my hands and get more help, I’m REALLY loving all it does and offers me!

DSC_4809

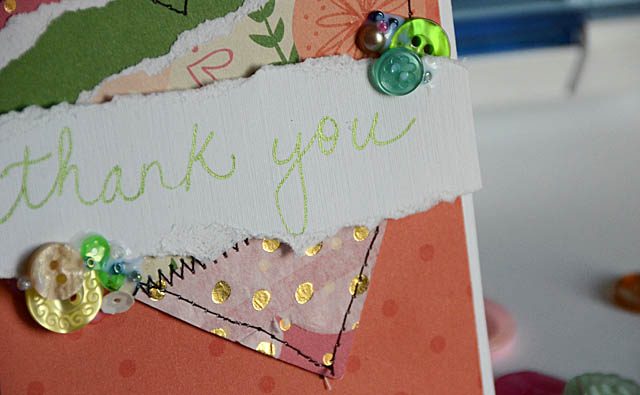
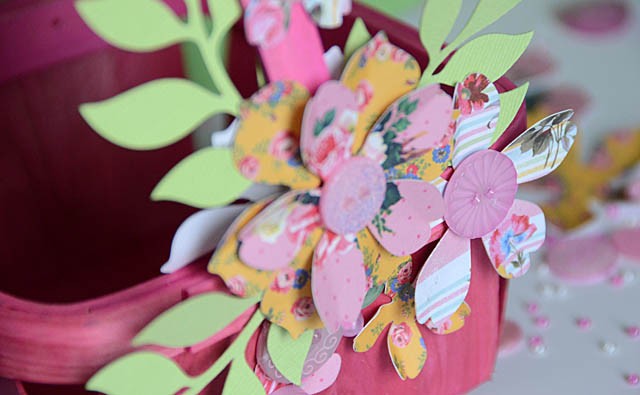
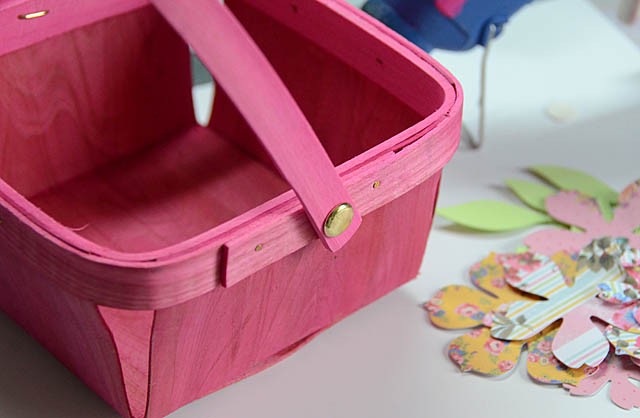
If you think you’ve seen those layered hearts before – you have! Those are from my video just a few days ago! I’m really obsessing on layered homemade embellishments and love all the uses for them.

ScanNCut: layered DIY embellishments

as always – disclaimer that I am a paid consultant for Brother, but that all ideas and opinions are my own.

DSC_4758

Today is a short post, but an important one! You see as spring is upon us I can’t help but think of spring cleaning and using up scraps. These thoughts, combined with the desire to DIY some embellishments (vs paying a lot of cash!) got me playing with my ScanNCut! There are two approaches to be taken here – you can assemble first or assemble after cutting. There are advantages and disadvantages either way – but both result in unlimited fun, using your scraps up, and also inexpensive options for embellishments!

here’s a link to my YouTube tutorial

I believe next time I’ll try some mini stars, or maybe some smaller hearts with washi tape! The sky is the limit – I hope I’ve inspired you to create more today!

Spring Birthday card with ScanNCut2

DSC_4685

What could be more fun than some simple watercolor? How about a quick & easy way to cut out the little floral designs!

disclosure – I am a paid consultant for Brother and my ScanNCut machine was provided to me. However, all ideas and opinions are entirely my own

Today I’ve got a video tutorial to share for scanning and creating a water colored card. This would work for many occasions including Mother’s Day. Click here for my video tutorial.

I don’t often use orange, but this was a perfect contrast to the white background and feels so bright and perfect for spring.

card1

I hope you enjoyed this card and video – I’ll be back soon for more ideas using my ScanNCut2!

ScanNCut: watercolor stamped card

DSC_4022

Maybe it sounds crazy – but sometimes I WANT a crazy cut around my stamp after I’ve watercolored it. Hey guys! I’m back with one more fun tutorial for this National Craft Month ScanNCut week long party here on my blog.

disclosure, as always that I am a paid consultant for Brother, but that all ideas and opinions are my own.

So here’s my YouTube tutorial video showing how I made my banner and got that funky cut around my image.

I had so much fun with this cute little card – and I hope you enjoyed the video tutorial! I am forever playing with my ScanNCut, working with new ways to make it work for me. Had a LOT of fun seeing how the scanner would pick up and cut around my wonky watercolor – and love the results!

DSC_4028

Questions? Requests! Leave me a comment!

Floral Easter Basket with ScanNCut

DSC_3982

Easter is just over two weeks away, and my desk is full of scraps and things! What to do? Simple! Pull out my ScanNCut, and decorate some cute little baskets! disclosure, I am a paid consultant for Brother, but all ideas and opinions are my own.

DSC_3903

So first up load the mat with paper(s), select the flower(s) that you would like and add a few extras too!

DSC_3905

Press the blue scan button (seen below) to scan the paper – love this feature!! This will let you get everything organized and placed right where you want it. Then all that is left to do is cut!

DSC_3907

I found these $1 little baskets at the store – score! Now I’m going to pull out some buttons and my hot glue gun and start layering.

DSC_3919

For a bit more dimension just gently fold the petals a bit. Love mixing and matching all of the patterns!

DSC_3922

Keep adding layers and details until you’ve got it all filled up…

DSC_3995

and ready for Easter gifting! I love doing this to baskets – it’s so much fun and adds so much detail without spending much money on supplies. I hope you’ve enjoyed this tutorial I will be back tomorrow with one more post for ScanNCut week!