Lucky Tote with ScanNCut

DSC_4056

St. Patrick’s Day is nearly here, and I’ve got just the project to celebrate it, and this week of ScanNCut inspired posts!

disclosure: I am a paid consultant (for Brother), but all ideas and opinions are my own

DSC_4050

I’ve created a video tutorial to share with you – to show how easy it is to use both rhinestones and the iron-on material to create your own custom projects. No sewing required! Watch the tutorial video here

I just love how this turned out – and love that I’ll have a festive shopping tote to use! I’m really into customizing the grocery bags lately – such a fun way to have a little more fun with the errands while making something pretty too.

DSC_4045

welded butterfly card with ScanNCut

DSC_3948

Today I’m excited to share with you a simple tutorial using the weld function on the ScanNCut to create a colored card. Before we get started – a disclosure as always that I do work with Brother/am a paid consultant but that all ideas are my own.

To create a card like mine you’re going to go onto the ScanNCut and weld a rectangle with an intricate design. See THIS VIDEO from last year if you’d like step-by-step on that process.

DSC_3896

Once the design is selected and welded, cut it out from watercolor paper and fold.

DSC_3898

This process is so simple and fun! Next up color with spray mists, watercolors, and anything else you like. Then coat in matte medium to set the colors. Once dry, spray with a sparkly mist (if desired!) and stamp script or other background stamp onto the front of the card with white pigment ink.

DSC_3901

Finally, stamp a sentiment along the far side if you’d like, and to create an additional layer inside the card fold and tape a piece of vellum inside. I used gold vellum, and I love how easy this is! Just adhere with a strip of tape along the fold – shown below.

DSC_3929

If you’re feeling extra fancy add a charm and some trim, and it is done! This card is so lovely – and it utilizes one of my favorite techniques too.  DSC_3933

I hope you’ve enjoyed this quick tutorial. I’ll be back with even more soon!

DSC_3948

ScanNCut apron tutorial and give-away!

See this apron? I made it… to give away to one of you! In addition to this, my friends at Brother are going to also give the winner their own Rhinestone Kit! The winner will be drawn at random (using random.org) next week – but before we get into all of that let me share how I made this apron!

mayf_apron (1)a

disclosure: I am a paid consultant for Brother, but all opinions and ideas are my own.

I will be sharing a how-to for a tote bag similar to this apron later this week – in fact I’ve got several projects coming this week that I think you’ll enjoy. For this apron I’ve used the Rhinestone kit, glitter iron-on material, and fabric cut with the ScanNCut. The rhinestone kit is a favorite because it lets me make my own designs as well as take advantage of the pre-made designs as well. I’ve got to warn you – it can be addictive!

mayf_apron (17)b

Here is my YouTube video and full tutorial.

and here is my assistant/model! The apron is too big for her – but she sure does look cute in it!

mayf_apron (23)c

Back to the give-away details: To enter for your chance to win this apron and a ScanNCut rhinestone kit from Brother, leave a comment here on this post by March 13, 2016. A number will be drawn (using random.org), and the person whose comment is that # will win! The winner will be announced here on this post as well as contacted via email on the 14th. One comment/entry per person please and thank you!

CONGRATS TO THE WINNER!!

pattil

I’ve contacted you via email – congrats Patti!
mayf_apron (31)a

Thank you SO MUCH to my friends at Brother for sponsoring this fun give-away, and for creating products I love working with so very much! My ScanNCut2 is so much fun to work with, and I simply love how it has expanded my crafting possibilities! For all my previous posts and videos featuring the ScanNCut, check out the archives here.

Mixed Media Stamping with ScanNCut

DSC_3760

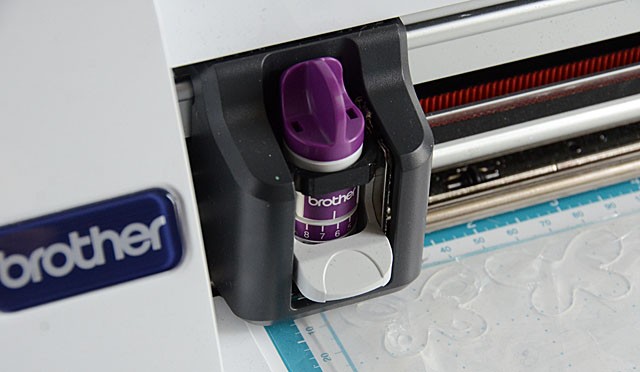
When it comes to making my own stamps I’ve never been one to carve. Oh sure the results are beautiful but it takes precious time! Could there be a quicker way? Well if you’d like to make silicone stamps, you can use your ScanNCut (any model!) and the stamp kit from Brother to cut your own designs.

Disclaimer: I am a compensated consultant for Brother, however all ideas and opinions are my own

DSC_3734

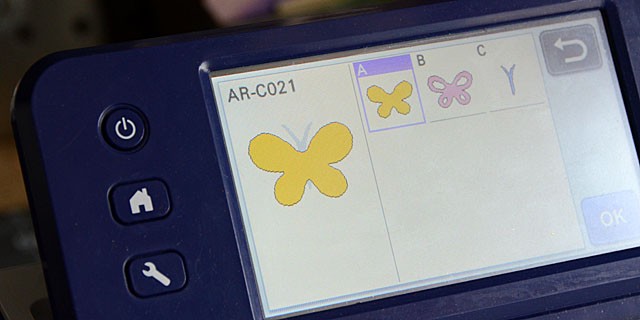
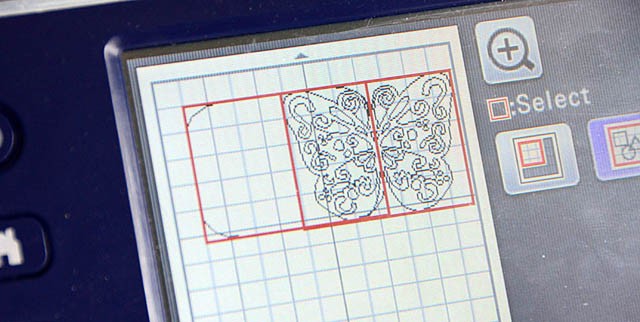
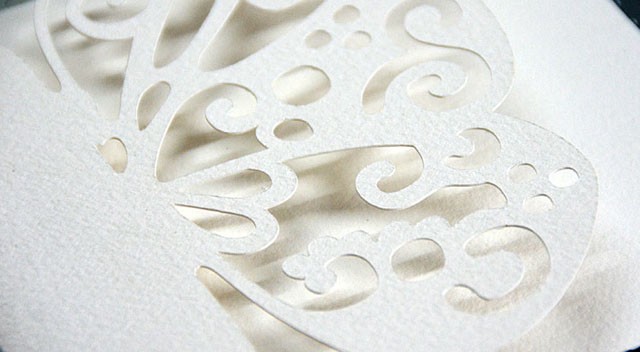
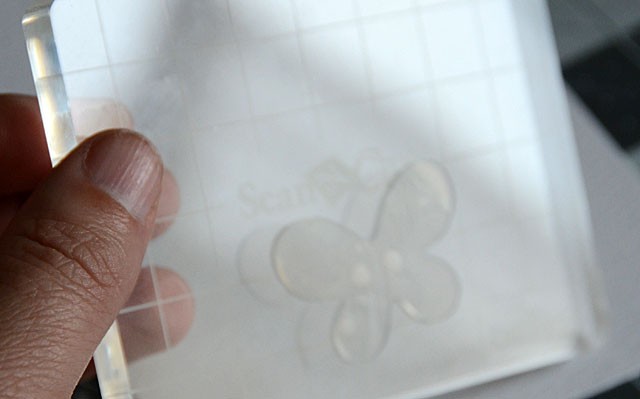
First off, you’ll pick your design(s) and cut them out of the stamp material. I used this butterfly design because I liked that there are two layers and I have some ideas for layered stamping.

DSC_3732

If you’d like to see the full video tutorial for how to do this, click here for my YouTube video.

DSC_3738

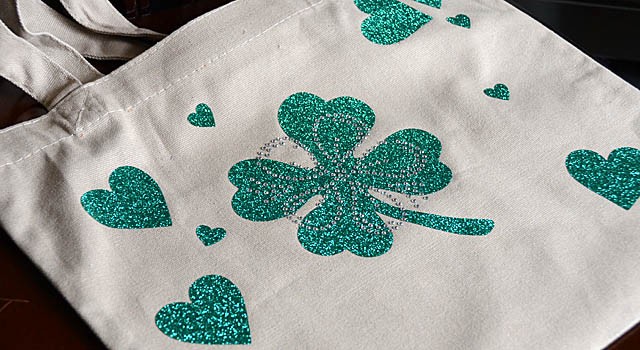
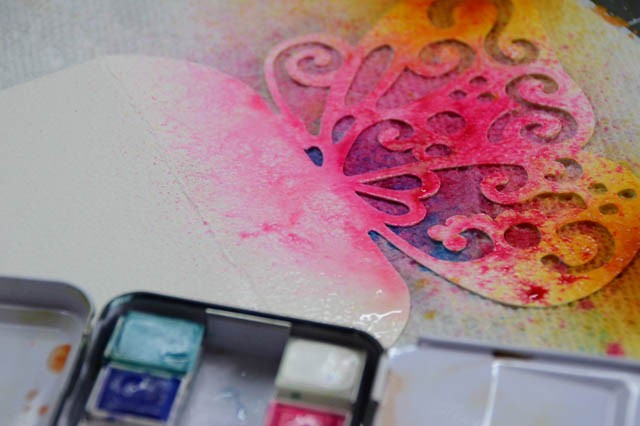
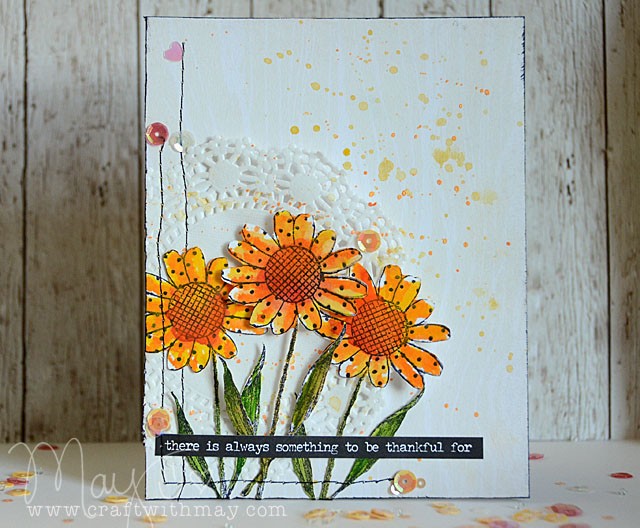
Once designs are cut out it’s stamping fun time! I am really liking acrylic paint and pigment ink on these stamps. One thing I LOVE is that mediums really don’t want to stick to the silicone. On the downside, it means some inks can be tricky to work with!

DSC_3740

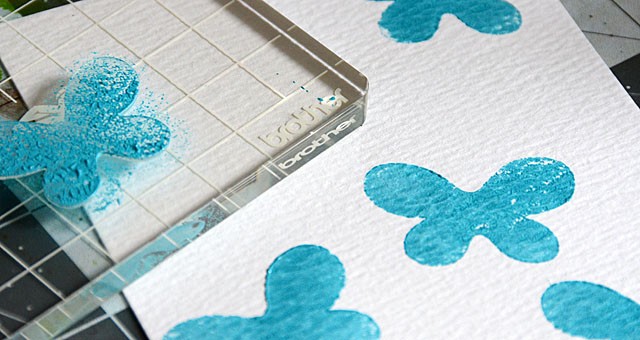
On the upside? cleaning is SO easy! They look like new even when someone messy as me is working with them!

DSC_3743

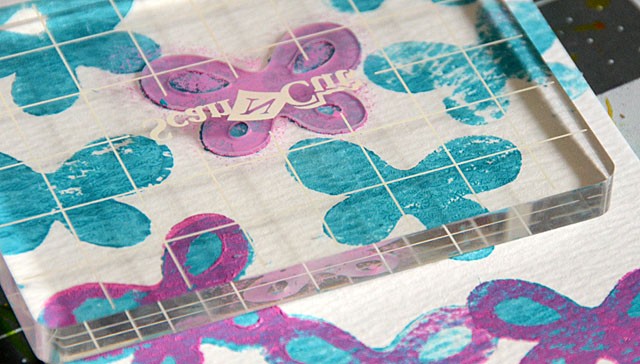
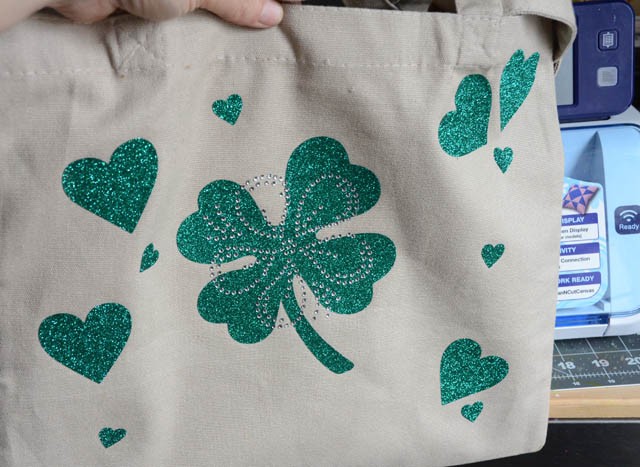
Once done with my blue I went back in with some purple/pinky paint and the other butterfly stamp. Love how this turned out!

DSC_3745

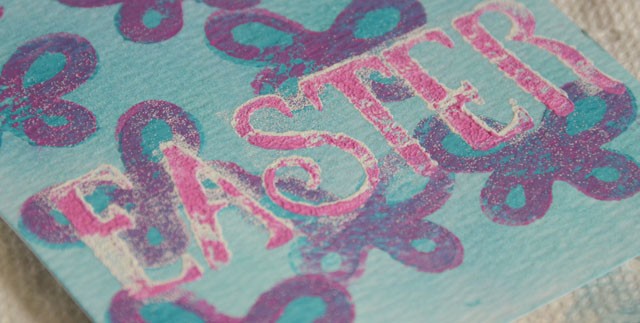
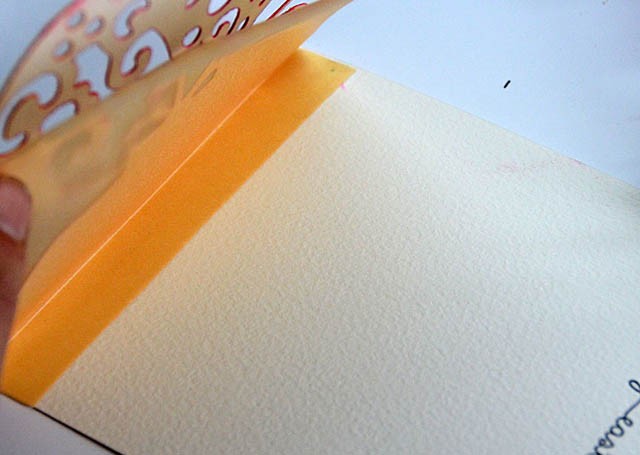
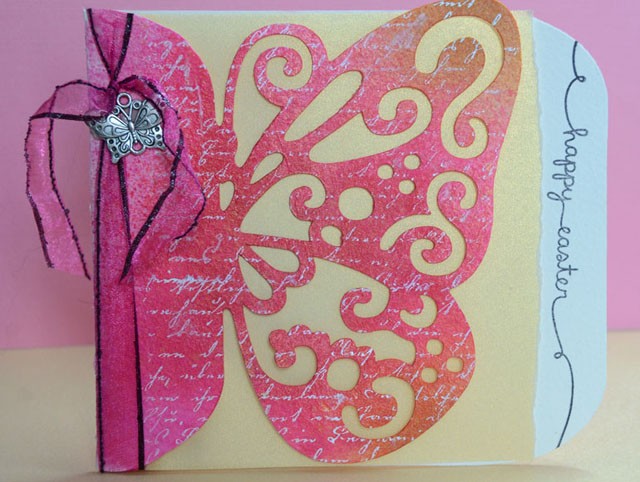
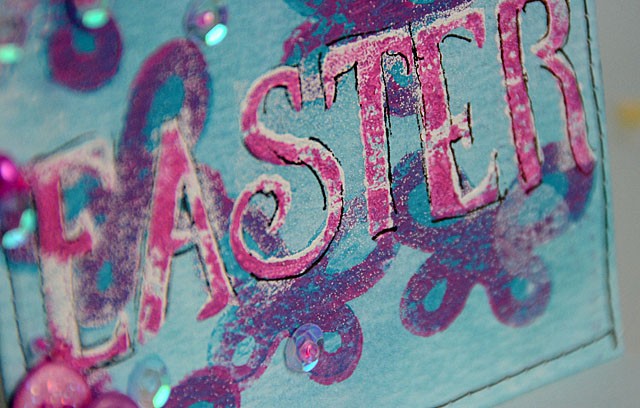
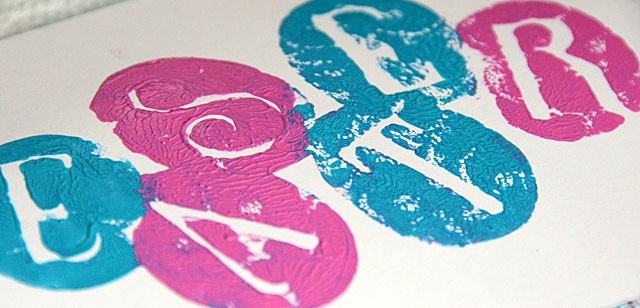
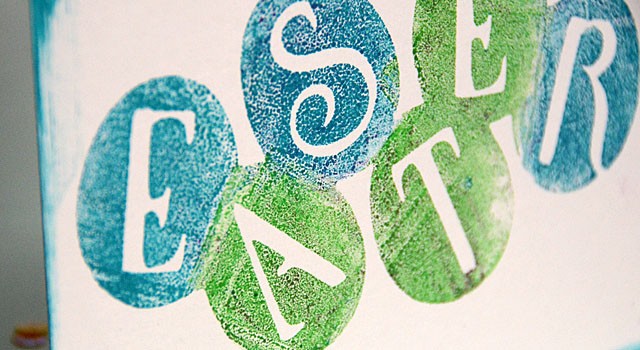
The in twice with the letters for Easter. First in white, then again in the pink-ish color. The Easter letters were actually cut out from an egg word design seen below.

DSC_3747

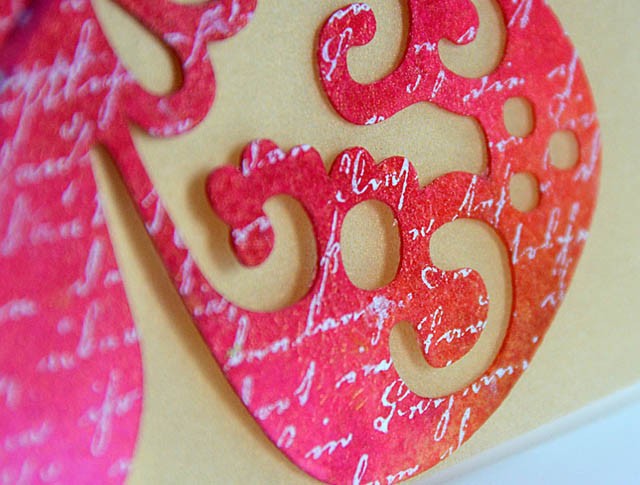
When playing with this design I found paint was a bit too much. I preferred pigment ink (see below)

DSC_3751

I really like how I can get interesting patterns and effects with ink and paint on this super slick surface and that cleaning is usually a single swipe of a paper towel for 100% clean stamps. I am excited to play with a few more possibilities, and share with you some more mixing of mediums with these stamps that aren’t quite like my usual stamps.

DSC_3756

Have questions? Comments? Requests? Do let me know!

Floral stamped card with ScanNCut

When it comes to card making – one of the best things my ScanNCut2 does for me is to cut out stamps – any stamp with a clear outline – and helps me create fun things in a snap. Hey guys today I’ve got a card tutorial and video – I think you’re gonna enjoy this bright spot of spring color!

disclaimer, as always, that I am a paid consultant for Brother but that all ideas and opinions are my own.

DSC_3528

So this card uses a daisy stamp, placed on a stitched background. A bit of color, a few details – it came together in a snap! Here is the link to my YouTube video

I just love how simple this was, and how my card turned out! Splash of sunshine on a rainy day and something fun to send to a friend as well. I love the wild and intentionally blended/spotty color of the flowers combined with the splatter on the background. Just perfect for me! I hope you’ve enjoyed this project and tutorial as well.
DSC_3526 copy

One last note – Brother is running a promotion with a rebate for purchasing a ScanNCut for a very limited time. Info can be found here.