holiday banners made easy!

dsc_9602

This project is so simple, but it’s added so much to my home this holiday season! This year, due to travel we aren’t getting a Christmas tree. It just really would be a super huge pain (not to mention likely to die!) and we don’t want a fake tree either. This was a family vote – keep it simple! We’ve got a few decorations + the tiny artificial trees we always have up for fun. But what else?

dsc_9608

What could I do that was really inexpensive, easy, quick, and add impact?

dsc_9611

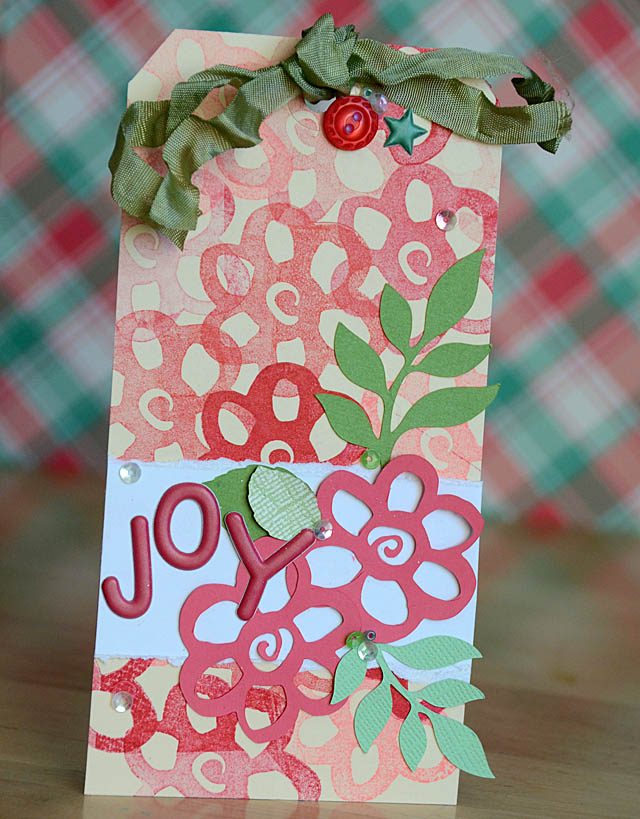
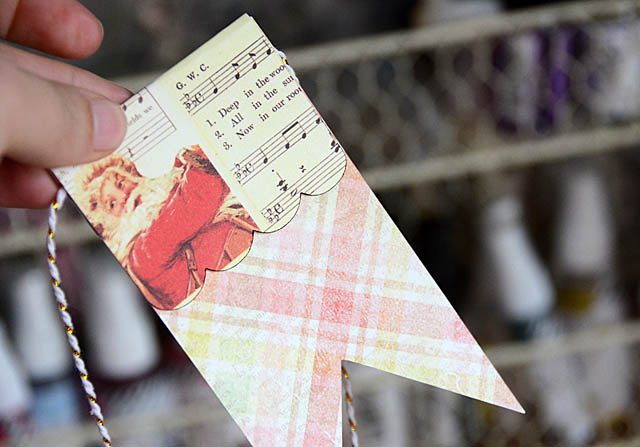
Answer: pull out my ScanNCut and get cutting! Big or small, fancy or simple, these banners were a blast to create! Here’s a link to my YouTube tutorial.

Ah yes, and a reminder as always that I love & use this ScanNCut all the time! I am also a paid consultant for Brother. (all ideas & opinions here my own).

dsc_9613

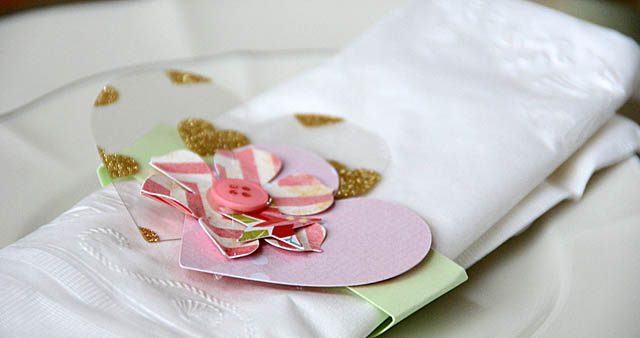
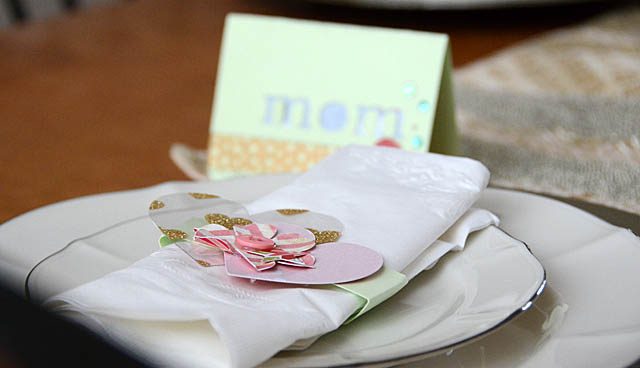
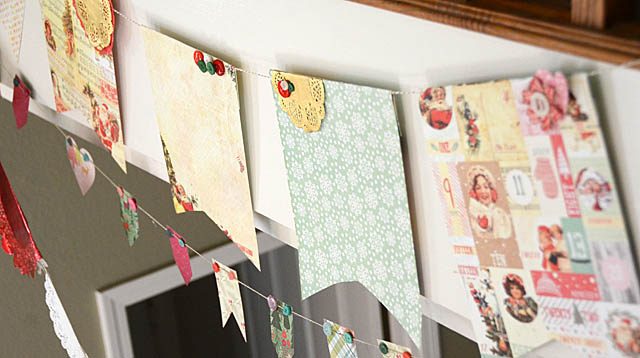
I put these up around the stairs. Hard to get a photo that looks great so I’ll stick to detail shots. What if you wanted to use doilies or plain paper not cut? Well grab that ScanNCut and make some accents like I did here!

dsc_9617

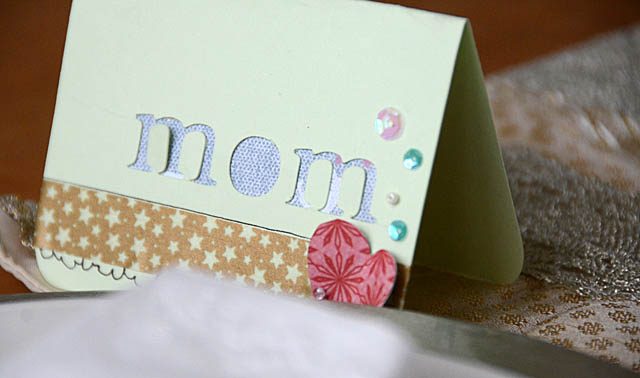
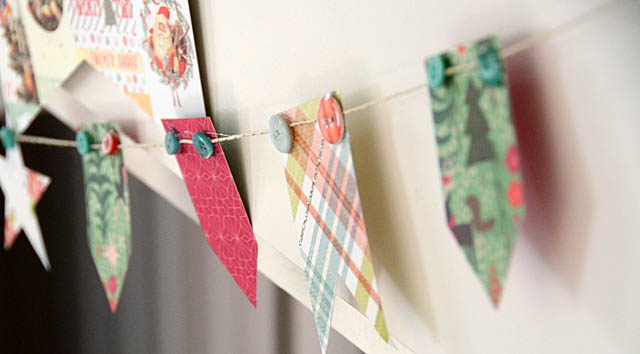
What about adding names, doing monogram shapes, utilizing glitter or vellum papers? Yes to all! As a reminder I prefer twine simply for ease of use (I have huge rolls of it!) plus cost. But you could do any kind of ribbon or material you like for your own banners.

dsc_9618

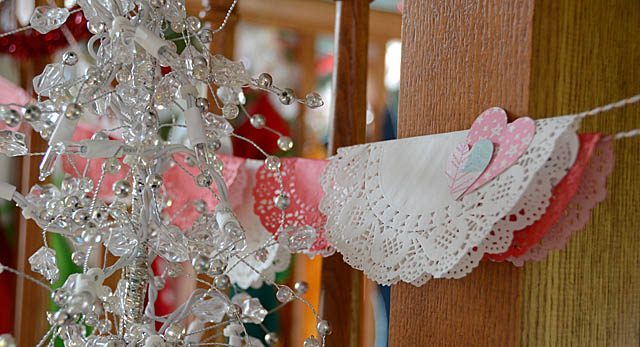
I hope I’ve inspired you to add a bit of DIY décor to your holidays, birthday party or just because! Some of these are intentionally red & white so I can stretch them to Valentine’s Day…

non-specific holiday table: quick! ScanNCut to the rescue!

dsc_9375

Now this might be crazy talk, but I don’t usually do a centerpiece. You see the thing is people don’t see it! When we all go into the dining room the table will be set with dishes of food and such, the centerpiece immediately removed. If we had a wide table it might be different but ours is long and narrow! Anyhow, I find a decorative runner + a few touches at each seat do wonders.

Is there a point to my ramblings? Why yes! You see from napkin rings to ‘confetti’ for the table my ScanNCut has helped me so much over the years for both detailed well planned out and last minute parties. Today I have a video to share how it is helping me this weekend. I also have some past party videos that could prove helpful for you this holiday season!

dsc_9377

So first off, our holidays are funky this year. Not one “normal” celebration due to schedules and such! In fact we’re having our main event today. Yes, really! Now this is nothing new to us, the firehouse doesn’t get holidays off of course. So we embrace and make the most of whatever each year brings. But… I’m not ready! Not to worry – my ScanNCut will help me.

Here’s my YouTube video for this year’s holiday table and hopefully some ideas that inspire you.

oh yes – and the usual disclaimer that I am a paid consultant for Brother, and that all ideas & opinions here are my own. It’s a machine I use, love, and can’t imagine crafting without anymore!

dsc_9379

For a holiday or party table I strongly recommend making a bunch of shapes at once, then working with what you have. In my experience you’ll use up most if not all and it’s far quicker than having to stop and cut more regularly.

Here are some past party + ScanNCut posts:

Summer Banner

Luau Party Bags

Bridal Shower (PDF on Brother website)

DIY party ideas video (youtube)

I have no doubt I’ll continue to be inspired to add homemade touches to my seasonal and party décor, and that I’ll continue to utilize the ScanNCut as well. I hope I’ve inspired you today to add a few fun touches.

dsc_9388

Coming in December I have some gift ideas, as well as a banner/pennant post and more to share with you. Stay tuned- and have a great holiday week ahead as well – regardless of when or how you celebrate.

DIY layered flowers #1

When it comes to the holidays, I need things to be QUICK. Oh, not always as I am happy to make favorite dishes from scratch and add homemade touches as well. But I will also run into time crunches where I need things and I mean now! Today’s tutorial is inspired by that.

dsc_8798

If you follow my ScanNCut projects then you know that I love using it to cut leftover paper. If you’re a regular reader here at my blog then you also know that I don’t keep scraps- I cut them! For a project like this I generally will look to my stash of pre-cut items and mix & match to my heart’s content to create layered shapes.

dsc_8803

But what if you want to make a bunch of same/similar pieces? Well then, you’ll want to check out my video today for “DIY layered flowers”. Here is a Link to my YouTube video

The possibilities go on and on! In fact, here are a few recent projects created with the basic ideas shown in my video.

dsc_9121

Above a painted layered flower, and below a layered flower that includes cardstock, vellum, and painted layers atop a jar.

dsc_9212

This is a project without limits. No minimum or maximum size – and no end to application! It could be used on gifts, gift tags, cards, mixed media canvases, to top a container, or as an embellishment on a scrapbook page. So many options – so many possibilities! I can’t wait to get back in the studio and cut up some holiday papers and get some pre-made flowers set for what is sure to be a whirlwind season.

As always, a disclaimer that I am a paid consultant for Brother, but that all ideas and thoughts here on my blog are now (and forever!) my own.

Stamp masking with Santa & Mrs. Claus

dsc_8364

Tis the season for cards & holiday crafting! Last month I shared a video on how to create masks for your stamps really quickly with the ScanNCut (here’s a link to the video) and today I wanted to share a photo story of a new stamp set scene I’ve created using markers.

Step #1: Come up with a design and test it out if you’re unsure. Use a piece of scrap paper and play! Once you’re ready go ahead and get stamping, starting with the image you want to be at the front first.

dsc_8358

Tip: Remember to use an appropriate ink for the kind of marker or color you’re using to color this in!

#2: Cover the front stamp with masking paper. Stamp the next layer. Cover with masking paper. Repeat!

dsc_8355

Step #3: Color it in! Remove all of the masking paper and work in any order you like and enjoy the coloring fun!

Tip: If you want a colorful background, you may want to hold off removing masking paper until after you color the background. It depends!

dsc_8360

When I finished mine, I realized it was just too much white! What to do? I cropped mine down 1/2″ and mounted onto a cute patterned paper! I also added some glitter pen dots just for a bit extra.

dsc_8363

I really had a lot of fun with this, and I’m really enjoying that I can do layered masking without the hassle thanks to my ScanNCut! Even with matching dies, I’d still need to hand-cut stamp masks out if I wanted them to be precise. Love this- and can’t believe I only just discovered the fun that it brings to my card making most especially.

Disclaimer: I am a paid consultant for Brother, however all ideas and opinions are my own. I happily share with you my experiences with the ScanNCut and crafting!

Brother Blogger Bash!

** Give-away now closed. Congrats to LynneR!  **

Today I am so excited because not only do I have some ScanNCut projects fresh off my table to share with you, but I also have a give-away! As I always share I do work with Brother with the ScanNCut, something I simply love doing! (official disclaimer as always – I am a paid consultant for Brother, but all ideas and opinions shared on this blog are my own) The lovely ladies I work with at Brother reached out to me about doing a particular product feature and a give-away as a part of a “Brother Blogger Bash” that they are doing. Please read on to get more information about that, and of course check out the project I’ve created with the stamp material!

dsc_8486

The stamp material Brother offers for the ScanNCut is a really fun accessory to play with because it allows me not only to make my own custom stamps, but once cut I can utilize those stamps 5, 10, 100 times. However much I like! I’ve done several videos in the past, here are two:

SNC stamp material

Stencil with leftover stamp material

and here is my new tutorial, where I will share how I created my own floral stamp design, cut it out, and even cut out some paper accents to really amp up the texture and fun on this holiday tag.

link to YouTube

dsc_8492

I love that the colors and theme are holiday – but with a more playful flower element! I have a few tips to share with you when making your own stamps:

  1. Consider how the stamp will be to work with once cut out. For example, I enjoy single stamps vs lots of small parts so a flower like the one I am showing here works well for me.
  2. If for some reason you lose or throw away the plastic covering that must be over the top of the stamp material: soft plastic like a sandwich or freezer bag works wonderfully. How do I know? Well let’s just say a dog ate mine and I had to get creative! No way was I going to waste stamp material!
  3. Take a ruler to your projects past. Consider what a good usable size would be and what size would work most often when cutting a stamp. I get tempted to go big – but stamps around 1-2″ get the most use here.
  4. The pigment ink pads (usually the ‘spongy’ style ones) work the best with this stamp material. I also enjoy paints with them though that can get messy and fast!

dsc_8487

I hope you’ve enjoyed this in-depth look at the Brother ScanNCut stamp material. It is available online as well as in stores such as Brother retailers. Today I am giving away an Acrylic block set, the stamp starter kit, and a deep cut blade and holder so one of you lovely readers can get creating your own stamps with your ScanNCut!

** Give-away now closed. Congrats to LynneR!  **

winner

This give-away will remain open through 11/17, and on 11/18 I will use random.org to pick a random comment # and that will be our winner! I will notify the winner via email, as well as updating this post to include the information. Thank you SO much to Brother for providing this generous give-away! I hope that you’ve enjoyed this video tutorial – and that you stay tuned. I have a whole week of ScanNCut projects and ideas to help jump start holiday crafting lined up for you.