When it comes to the holidays, I need things to be QUICK. Oh, not always as I am happy to make favorite dishes from scratch and add homemade touches as well. But I will also run into time crunches where I need things and I mean now! Today’s tutorial is inspired by that.
If you follow my ScanNCut projects then you know that I love using it to cut leftover paper. If you’re a regular reader here at my blog then you also know that I don’t keep scraps- I cut them! For a project like this I generally will look to my stash of pre-cut items and mix & match to my heart’s content to create layered shapes.
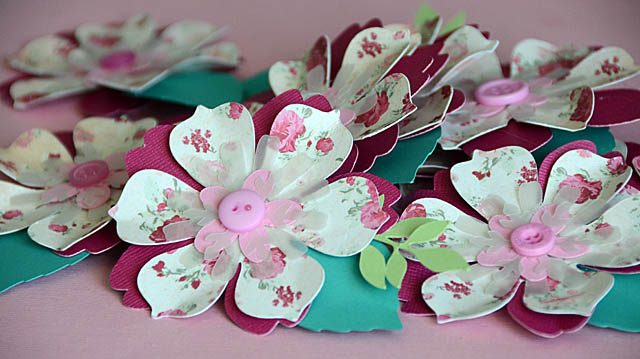
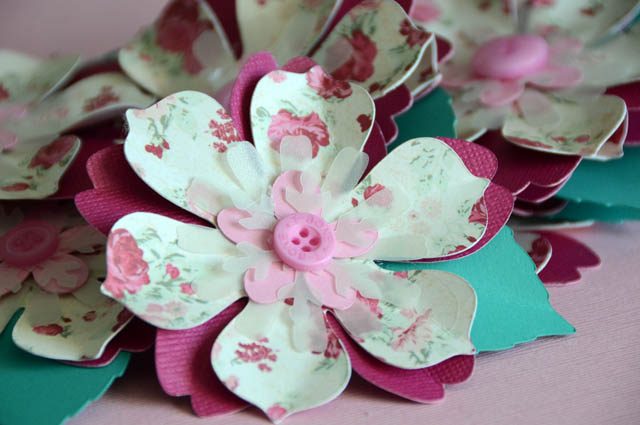
But what if you want to make a bunch of same/similar pieces? Well then, you’ll want to check out my video today for “DIY layered flowers”. Here is a Link to my YouTube video
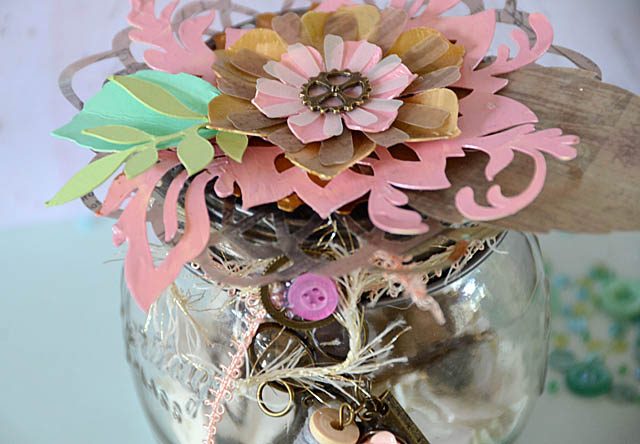
The possibilities go on and on! In fact, here are a few recent projects created with the basic ideas shown in my video.
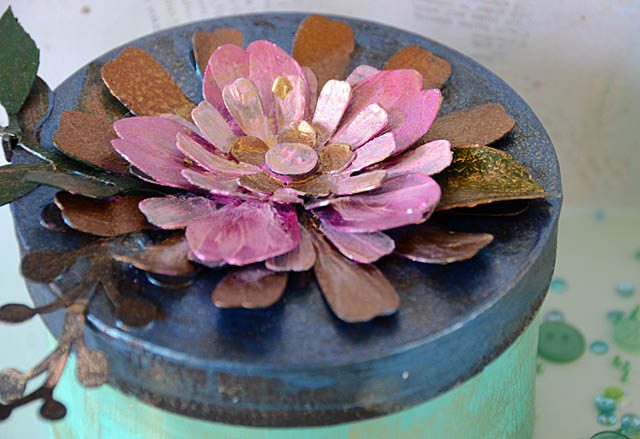
Above a painted layered flower, and below a layered flower that includes cardstock, vellum, and painted layers atop a jar.
This is a project without limits. No minimum or maximum size – and no end to application! It could be used on gifts, gift tags, cards, mixed media canvases, to top a container, or as an embellishment on a scrapbook page. So many options – so many possibilities! I can’t wait to get back in the studio and cut up some holiday papers and get some pre-made flowers set for what is sure to be a whirlwind season.
As always, a disclaimer that I am a paid consultant for Brother, but that all ideas and thoughts here on my blog are now (and forever!) my own.
cool!
Pretty! These would look great on layouts too. Michelle t
Hi May,
These flowers are really cute. I can see them used as gift bag and box decorations for any occasion.
Happy Wednesday,
Fawna
great project thank you
Love how these turned out, May! I need to break out my Scan n Cut and get busy using up all the scraps I’ve been collecting.
I love this!
Really like how easy and beautiful the creation of the the flowers are.
So so pretty! I just love how many built in shapes there are!