Fabric Elements by Rebekah Meier

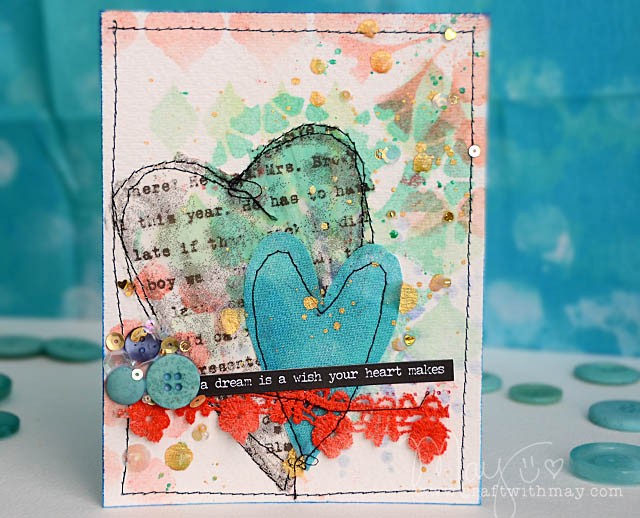
Know what I love? Playing with color + texture + mixing my mediums. So when I got an email asking if I’d like to blog about the Rebekah Meier mixed media line? Sure thing! I wasn’t sure what would be in the package I was sent – but I was excited to try something new and embrace a new adventure. Today I’ve got a bit of information to share including a new challenge/contest for this line, as well as two mixed media cards.
DSC_6135

The products were developed by Rebekah Meier following the success of her books about Fabric Art Collage. There are 32 SKUS now on sale at Joann Fabric and Craft stores, and also a new book by Rebekah called “Techniques in Mixed Media” which shows step-by-step mixed media projects. The products include pre-cut substrates such as Wool Felt, Lutradur, Peltex, Batting, Waffle Muslin, Osnaburg, all in neutrals so that ANYTHING can be created. There is also tissue and stencils designed by Rebekah Meier as well.
DSC_6105 copy

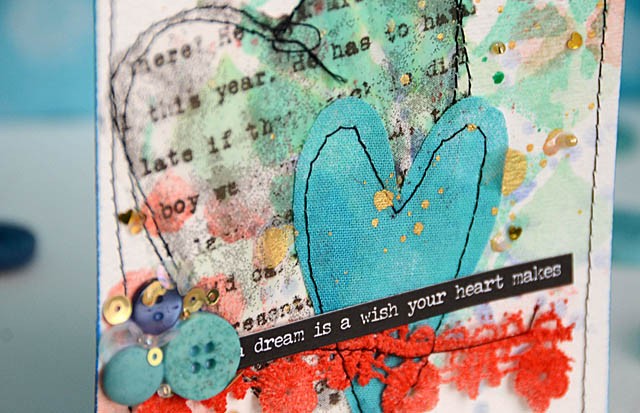
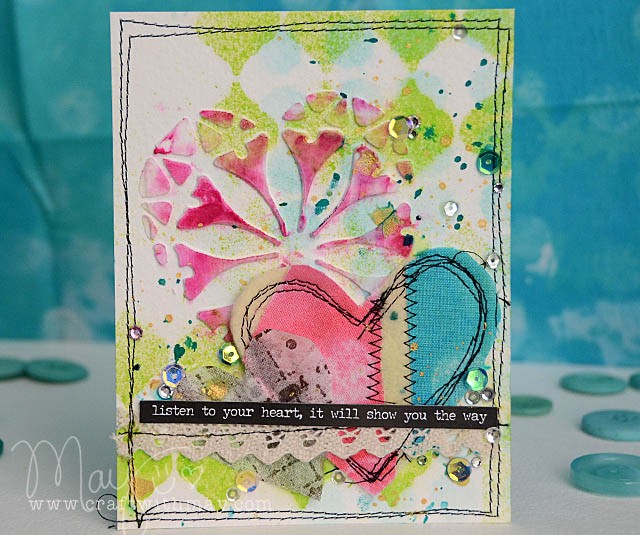
I really love the colors that are used, but also that there is so much neutral in this product line so that I can do anything! I ended up being most inspired by the stencil – and I really love the size of this stencil. If you’ve been following my blog you know already I’m a HUGE fan of her stencils in general – such amazing detail and it just speaks to my inner artist. So I was excited to layer the various images from this stencil. My approach for this was to use paste, inks, and sprays to vary the color intensity and texture.
DSC_6110

I could talk all day about my favorites – from the wool felt (a favorite supply in general!) to the trims to the tissue… so here’s a quick video walk-through of the products I tried as well as a bit of card making fun:
link to YouTube

DSC_6122 copy

Here are some details on the challenge that I mentioned before – going on now!

Fabric Elements Creative Challenge
Fabric Editions, Inc. wants to see how mixed-media artists can adopt and play within the new fabric substrates of the Fabric Elements product line. To kick off the product launch we are having a Creative Challenge using the Fabric Elements products.  Each of the 20 finalists will receive a copy of Rebekah Meier’s book, “Techniques For Mixed Media”. The Grand Prize Winner will receive 1 of each the items in the Fabric Elements product line, plus a Fabi Sizzix cutter and 3 dies: Prize valued at $379.00 (no cash prizes). Click here for the full details on how to enter, and for more details on this line.

The products are in Jo-Ann Fabric and Craft stores and on joann.com. Fore more Fabric Editions information check out: the blog, Facebook, InstagramPinterest, or Twitter

Thank you to Rebekah Meier for inviting me to play with these fabulous products! You’ll be seeing more from me with them later this month – I can’t stop making stuff!

Looking for more inspiration? Check out Cheryl Boglioli’s apron post here, and watch Rebekah’s blog for the future designers participating and full schedule. I will update this post
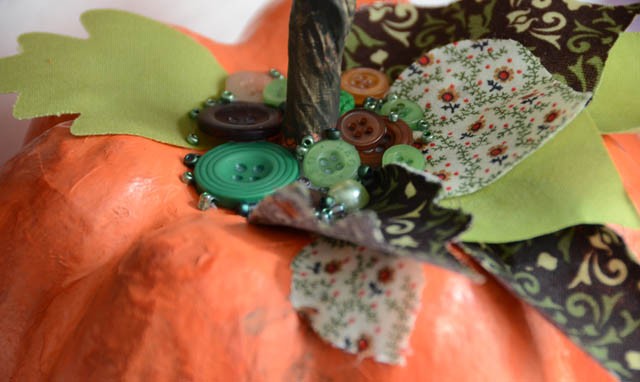
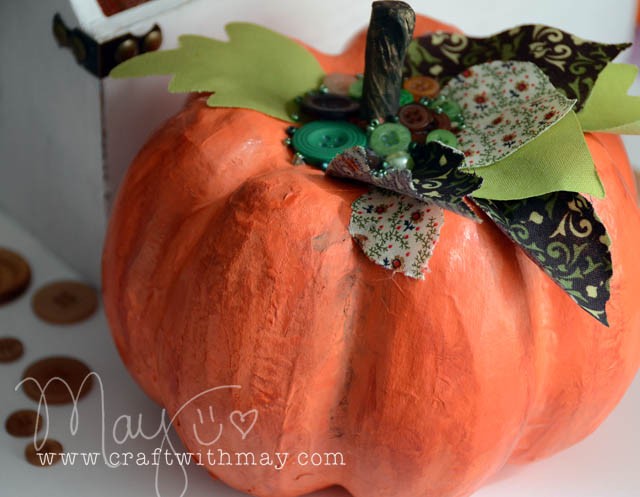
Painted pumpkin with fabric leaves featuring ScanNCut

DSC_5998 copy

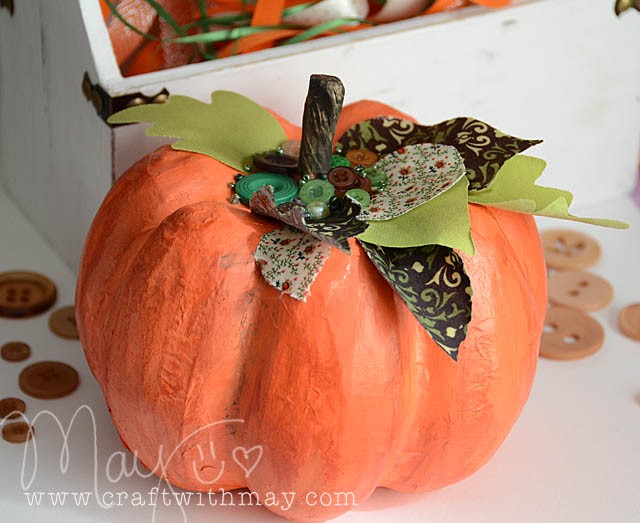
They’ve exploded all over my local craft store. Pumpkins. From craft foam to paper mache- they’re around but you know? Not usually the prettiest. I picked up a few and this fall I’ll be sharing my how-to’s and tips for redecorating. First up? This painted pumpkin with a bounty of fabulous fabric leaves!

DSC_6003

Disclosure: I am a paid consultant for Brother International Corporation and have received a ScanNCut from Brother to evaluate. However, the opinions expressed are entirely my own and based on my use of the product.

Here’s my video tutorial:

link to YouTube

DSC_6011 copy

You guys – I just LOVE how this turned out! It’s totally me, and the fabric leaves are fabulous!

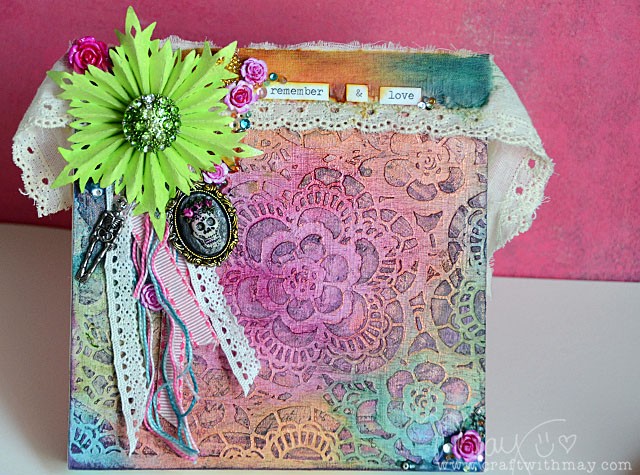
Dia de los Muertos

Well, technically not a canvas this is actually a wood shallow frame that I turned around to use the back. The results? LOVE this piece!

dia

You can check out the whole how-to for this surprisingly easy background here is my YouTube video.

DSC_5521
Affiliate links used

BlueMoonScrapbooking and Scrapbook.com   carry most of the supplies I used, you can also use the affiliate links below to Simon Says Stamp.
Supplies Used:

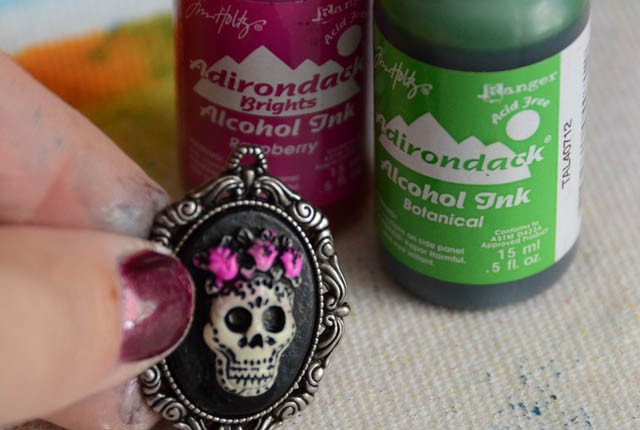
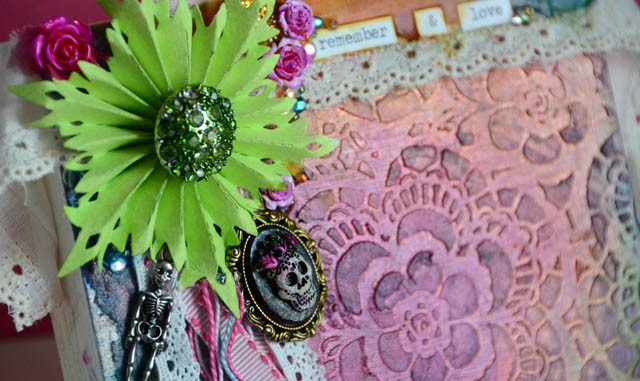
I love these cameos so much – this one inspired my canvas.

DSC_5498

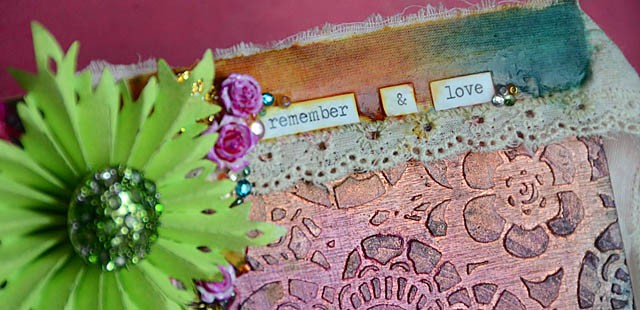
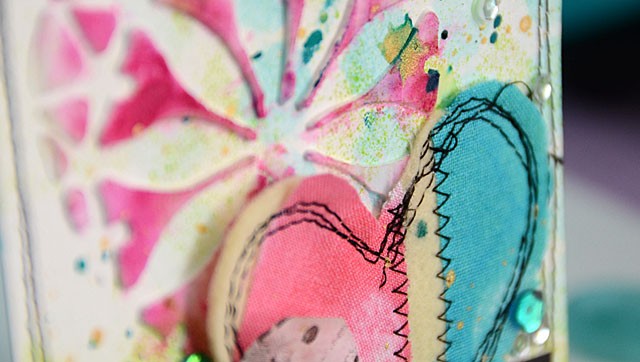
From the rosette (I used the snowflake design!) to the alcohol ink colored roses I just love how this turned out! It was surprisingly quick and easy too – which is always a bonus!
DSC_5546

I hope you enjoyed this tutorial and project. I’ll be doing more with stencils in the new class I’m just starting to develop (don’t hold your breath -it’s gonna be a while!) and you can bet the turn the stencil + use it more than once to get a design like this will be used.

ScanNCut: mixed media tag cut out

DSC_2166

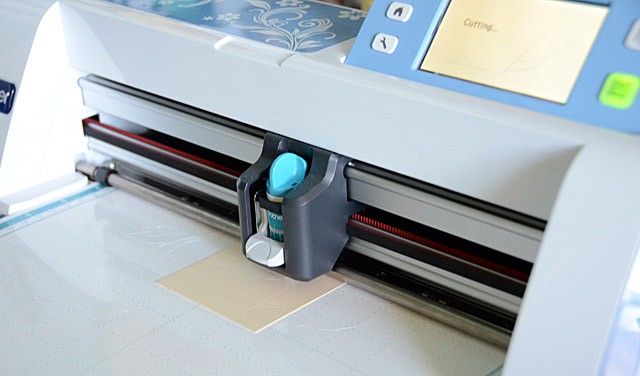
One of my favorite things to do with the ScanNCut is to cut out a shape from a tag and use everything but the shape I cut out. What do I mean? I will show you today in this full tutorial! I prefer to do this with my ScanNCut machine – it makes it so quick and easy!

Supplies needed: ScanNCut, manila tags (2), dye ink, gold paint, gold and green mist, background stamps, ribbon, leaves and buttons (or other embellishments), word stickers (or handwrite/type your own)

b1

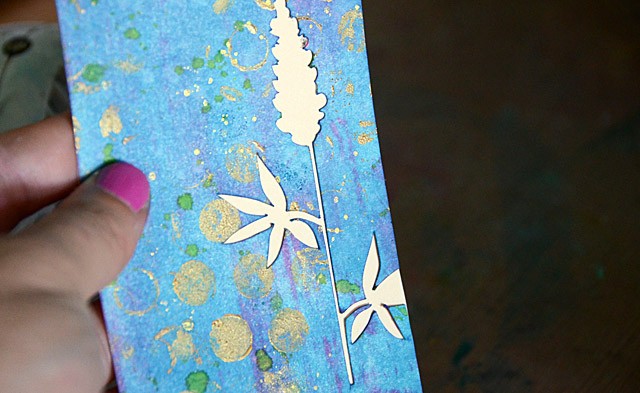
The first step is to figure out what image you want to use. At first I thought this intricate doily image was a good idea. Ah but there is a problem! The design would simply cut a semi-circle out of my tag leaving a lovely border that looked more like someone bit my tag than the beautiful image it was. So- that’s not the image I want for this project.

One of my favorite features of this machine is that I can scan the cutting mat (with paper on it) so that I can see exactly what I’m getting into. It is going to be light (my tag is a light color, after all, but clear enough so that I can view and place my image over the tag and get a feel for what it will look like. Love that!

b2

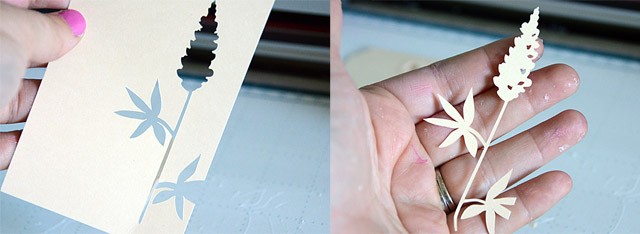
After selecting a botanical image I adjusted the height and the position -both things I can do while seeing the image on top of my tag which is so great- no guessing what it will look like! Once satisfied there’s only one thing to do: let the machine cut!

b3

Now that the technical part is done, it’s time for inky fun!

b4

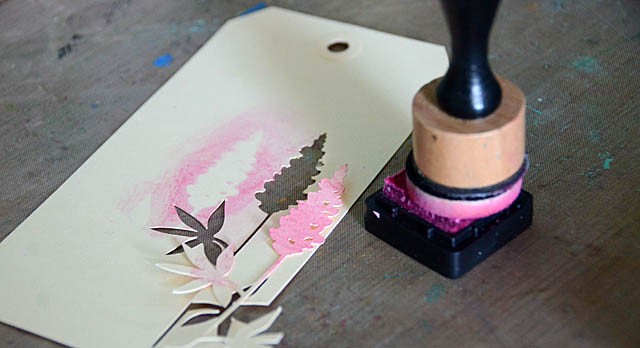
Above you can see the image and the tag left behind. We’ll be focusing on the tag today. First, I placed the image down onto the tag and lightly inked with pink ink. I love this shadow/masking effect!

b5

I felt like going more bold though – and also heading purple instead of pink. How to accomplish this? I first ran my pink ink pad over the image, and then I took a foam tool and blended a rich blue over the top! The result is that all the pink ink turned lovely shades of purple.

b6

Next up, to add some texture I applied gold paint to a background stamp.

b7

For this kind of project I like to leave the stamp on my table, and press the tag onto the stamp. This tag is pretty delicate around all those intricate cuts – so this lets me press it down with the best results.

b8

I love the look of a nice dot stamp then combined with a few splatters of mist! I let the random nature of mist act as a way to add to the funky factor of my tag – and I’m loving it! Now that the background is rich and lovely, there’s just a few more things to do. First back the tag with manila cardstock or a cardstock of your choice. I waited until now because I didn’t want to ink up that clean paper. I love the contrast!

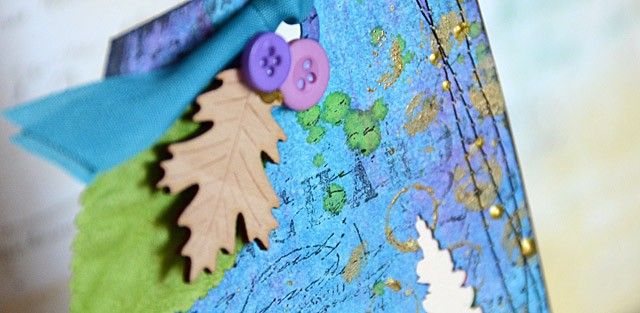
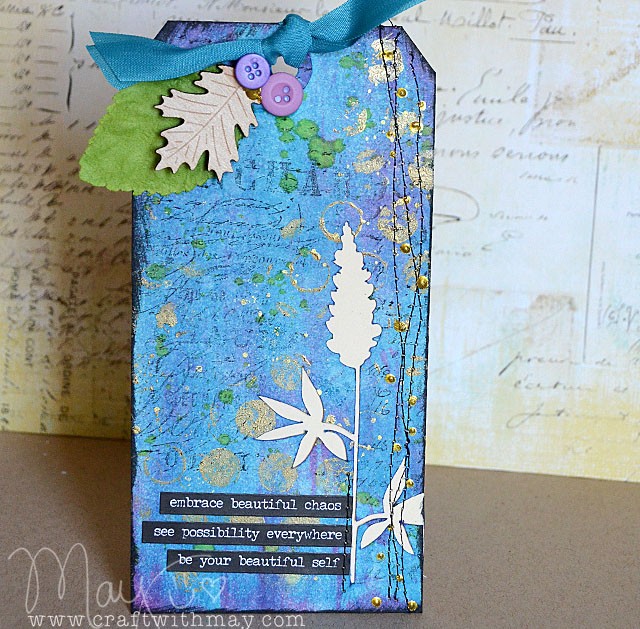
To add even more contrast, I added a few more touches listed below. Here’s my finished project:

DSC_2158 copy

Finishing touches:

  • use black ink to stamp the script stamp
  • add black ink to edges of tag for contrast
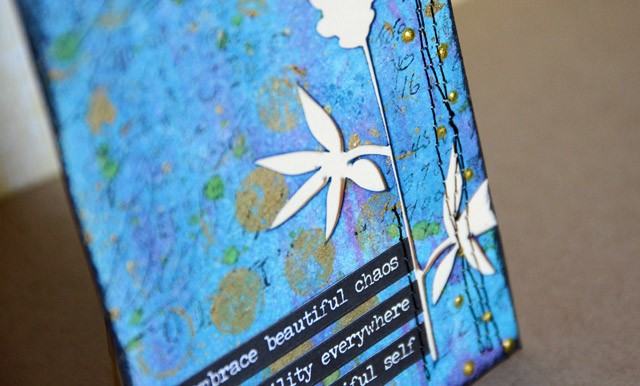
  • add stitching along one side, and where phrase stickers are applied
  • add gold dimensional paint in dots along stitching
  • top tag with a few embellishments and trim

DSC_2169

I have so much making tags like these – in fact I’m going to be doing ten background/technique tags with full video tutorials in my upcoming Camp Scrap class on my site! I can never get enough of how my ScanNCut makes getting one of these fun inky creations started- and I hope you’ve enjoyed this tutorial!


Disclosure: I am a paid consultant for Brother International Corporation and have received a ScanNCut from Brother to evaluate. However, the opinions expressed are entirely my own and based on my use of the product.


ScanNCut: Bird inspired mixed media canvas

DSC_2059

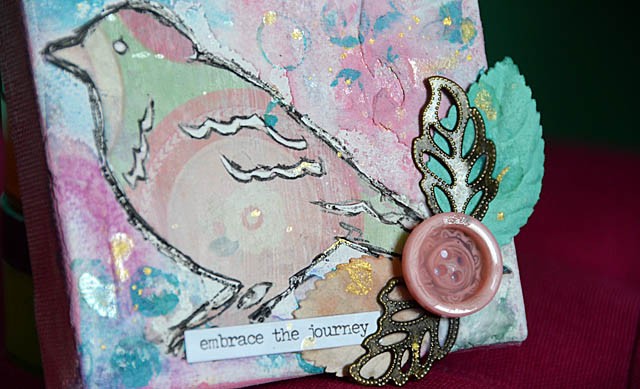
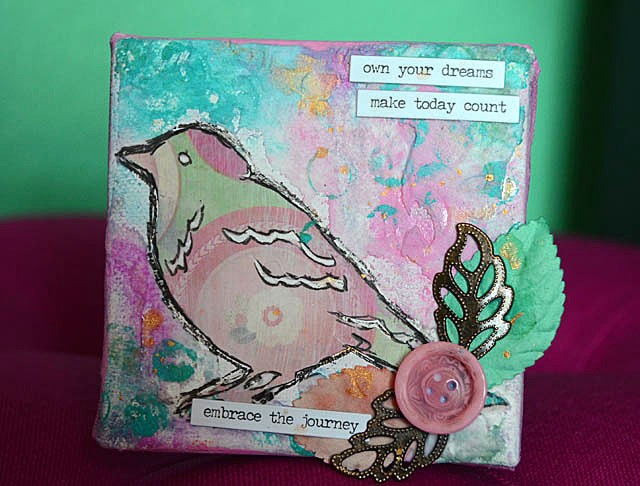
Do you have time to make a fun mixed media canvas right now? Well, if you have about 30 minutes you sure do! The trick is to work in short quick bursts, utilize simple techniques, and have fun! Today I’m letting a new bird cut file inspire me and help me get creative with my ScanNCut machine!

bird1

Here is my full video tutorial:

link to YouTube

This was such fun to make! I used the Home-Deco pattern collection #3 – really digging these designs! In fact you can expect to see several more canvases featuring these designs in the coming weeks of summer.

a45xx

What I love most about this one is that I was able to build texture, add detail, and have a lot of fun without a huge investment of time at once. Just a few minutes at a time and before I knew it I had a finished piece to hang up.


Disclosure: I am a paid consultant for Brother International Corporation and have received a ScanNCut from Brother to evaluate. However, the opinions expressed are entirely my own and based on my use of the product.