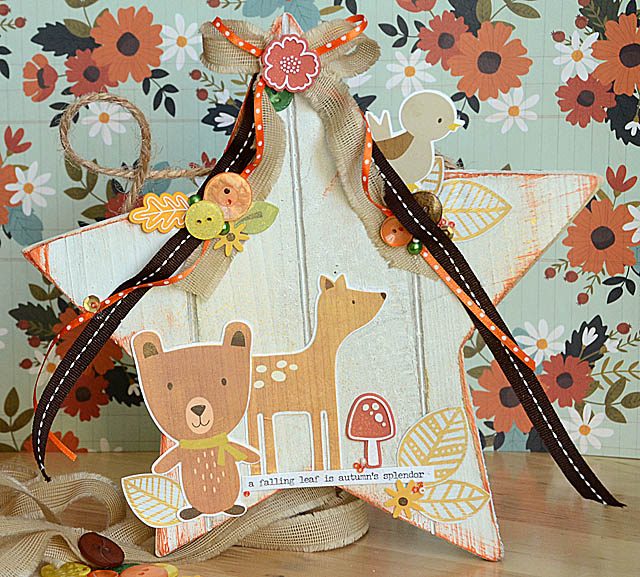
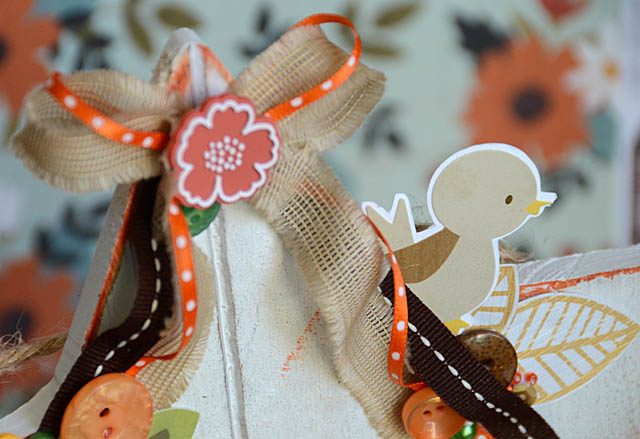
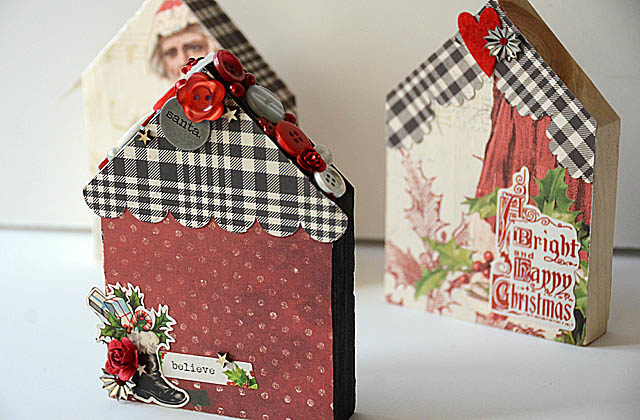
The other day I was at the craft store and 2 for $1 I found these little wood shapes – so much possibility! I could get crazy with clay or stenciling or all kinds of seasonal looks – but for today I wanted to make some simple houses for my holiday decor. From birdhouses to boxes I love decorating wood shapes with scrapbook paper!
Category: home decor
Mermaid sequin frame
Deep into summer and wanting a fun project to play with I decided to combine some sequins +a small frame to make a mermaid inspired “scale” filled frame.
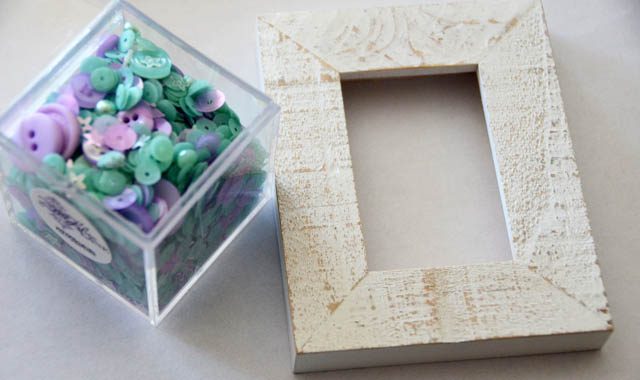
Any sequins will work – the two tools you really will want is craft pick OR craft tweezers + PPA adhesive. PPA is a great clear, matte finish, all around glorious adhesive I use and recommend regularly. To start this project I decided to work from the inside out. Lay down some adhesive, and start lining up those sequins.
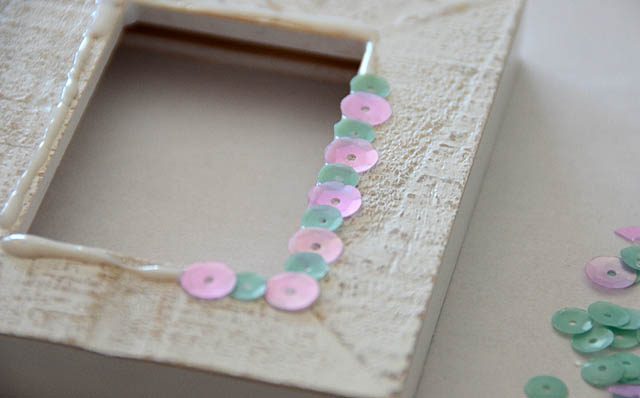
As you can see I only slightly overlapped them to create the look, but just enough for no gaps. Don’t worry if things aren’t perfect. This is hand crafted! Once you’ve made it all the way around, continue working in rows and work outward. I decided to work one quarter of the frame at a time.
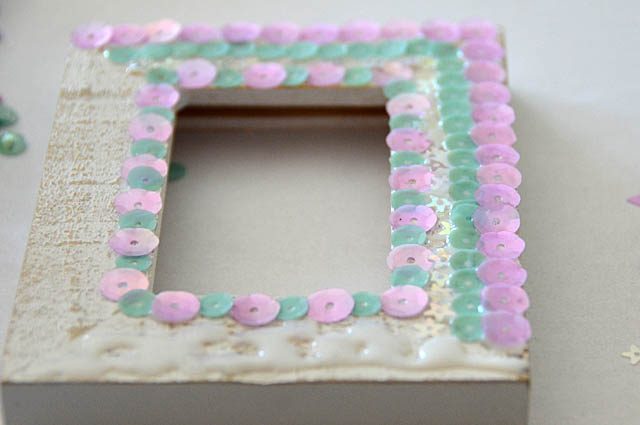
There is no wrong answer here! I decided to mix up what kinds of sequins I used and do different patterns. You could continue the same design over and over if you wanted!
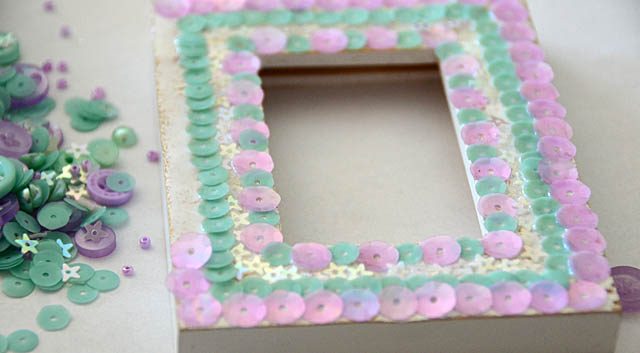
Once everything is finished, move any pieces around if needed. The glue does stay wet a while so it is forgiving. Then once dry- it’s final touches time!
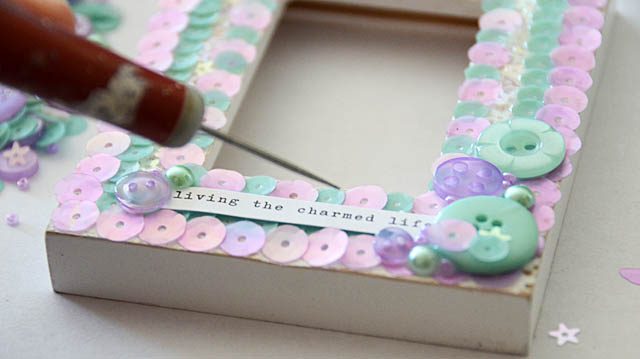
Using my craft pick I added a sentiment sticker as well as some beads, pearls, and buttons. This frame took about ninety minutes to make but I was in no hurry – I was having so much fun placing the sequins just so!
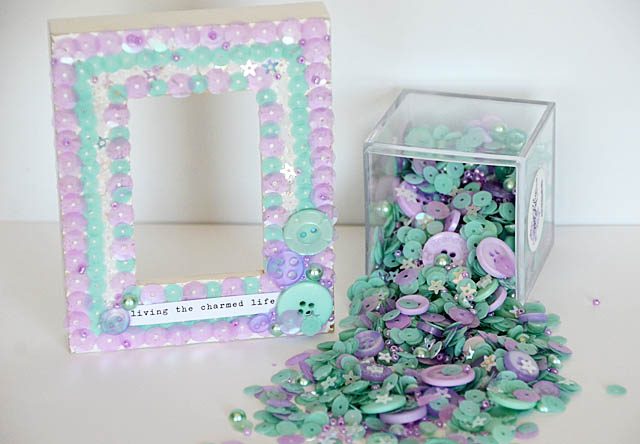
I have a number of ideas for more of these in the future from rainbow to ombre to holiday themes. Such a fun way to dress up a frame! Have a darker color or badly colored frame you want to use? Just paint it and allow paint to dry before trying this.
DIY glass ornament wreath
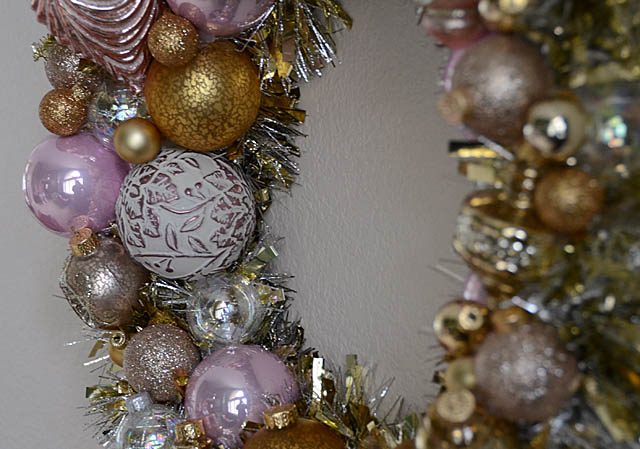
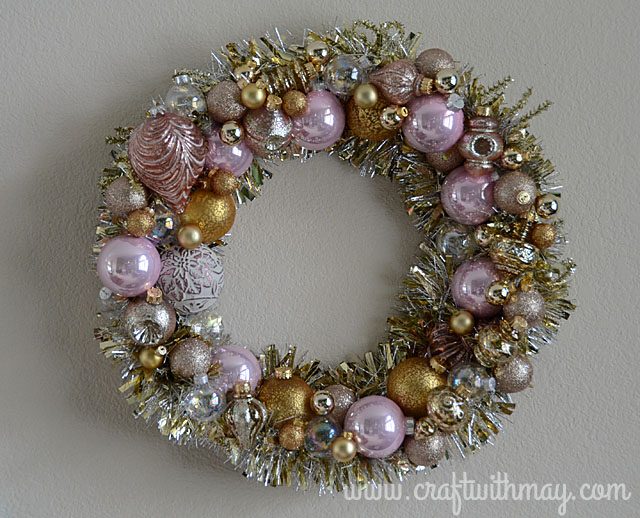
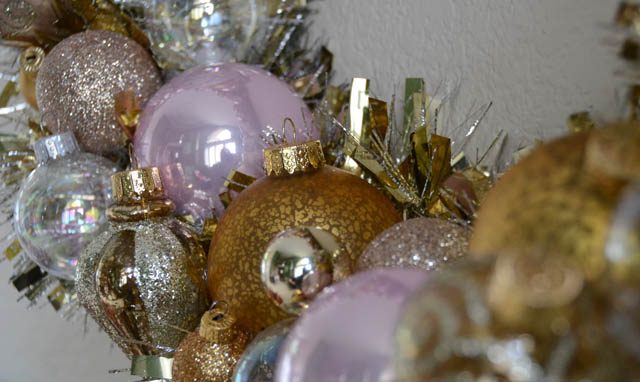
Years ago I found a wreath at the store that I wanted to buy covered in ornaments. Upon closer inspection I discovered not only did this store want $75 for it, but it wasn’t all that great! Heck… I could do something myself! So began a tradition of creating a new wreath every year or two. A few weeks ago in the craft store I got really inspired by all the rose + gold and decided since my last one was retired it was time to start fresh.
Here is a link to my YouTube tutorial showing how I created this wreath. It really is simple! I do think it is easier with a pressed foam/Styrofoam style wreath but the garland fits better with this type of wire form wreath.
With this bit of holiday décor up on the wall things are eclectic (color wise) and easy this year. I have a few other holiday ideas still to share with you.
spooky (distress crayon altered) frame
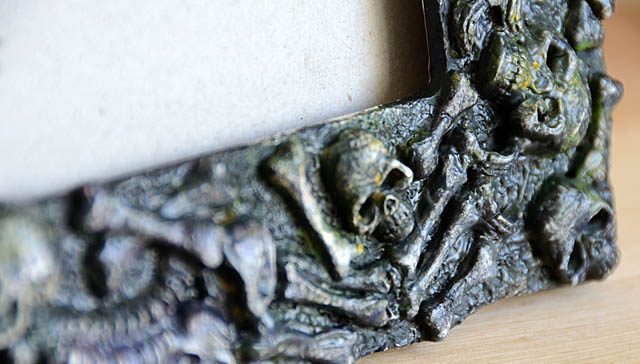
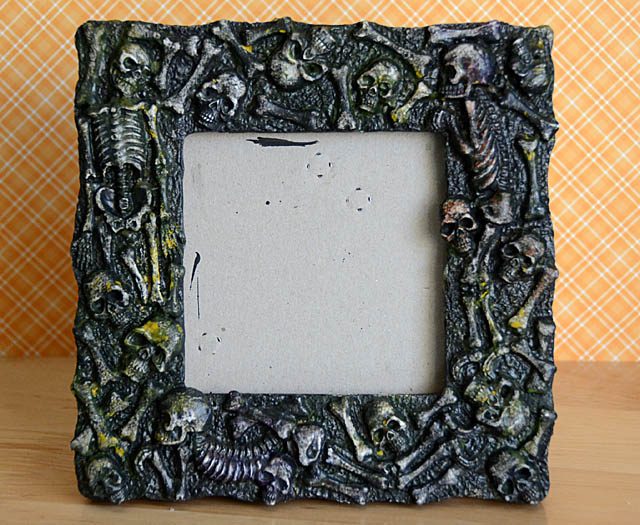
What happens when you find a sort of creepy frame and you want to kick it up a bunch into spooksville? Well if you’re me, you purchase it, and then use just three products: flat black paint, Distress Crayons, and crackle medium to transform it! Here is my YouTube video tutorial with the simple how-to.
I liked it ok before, but now it’s awesome!
As I mentioned before I used Distress Crayons (available in most shops that carry Tim Holtz products), Ranger crackle collage medium which worked great, and really inexpensive flat black acrylic paint. Halloween is sneaking up and I am happy to have something a bit spooky to add this year’s photo to, and to add to my décor!
Kittastic 2016 is here!
Hey guys, so guess what? I’ve got a video tutorial for you (yay!) but also – Kittastic 2016 my all new class is here! Click here for more info/to register. The fun starts on the 19th (September), and it will be six weeks of fun!
This project was made with my autumn kit. What do I mean by that? Well I *love* to create my own seasonal kits to use and enjoy throughout the season for everything from home décor to cards, gifting to scrapbooking! It helps me use up my stash, get new and old stuff mixed together, and it’s a lot of fun! This particular kit is featured in class, but today I’ve got a project to share on the blog with you!
Here is a link to the YouTube video.
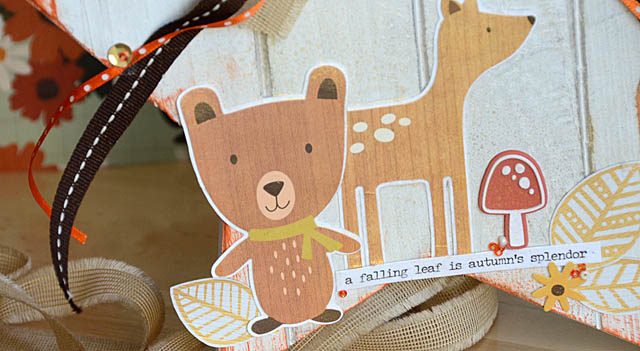
These little paper backed animal friends were created with my ScanNCut (that post will go up tomorrow!)
I absolutely LOVE how this came out, and I couldn’t be happier to hang it on my wall. I also hope you’ll join me in my new class where we play with the full range of paper crafting projects! (info/register here)