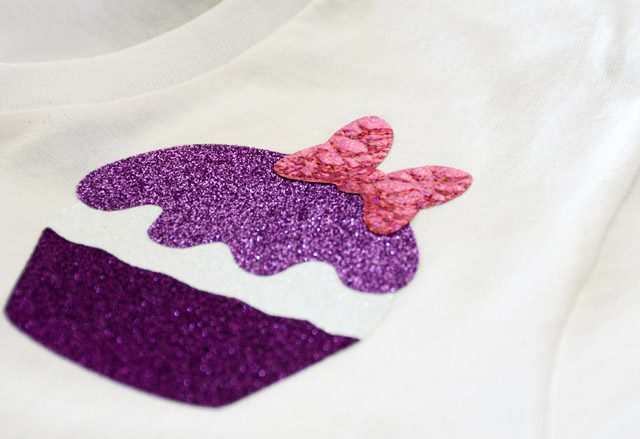
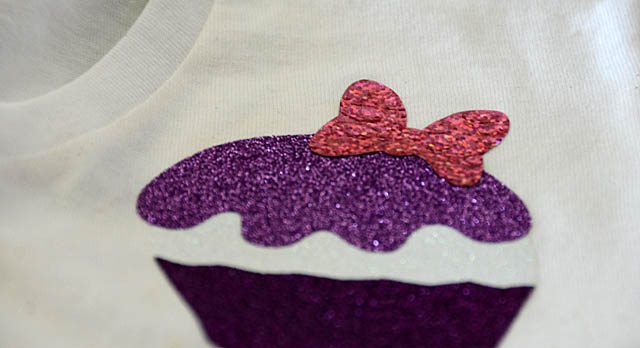
I have so many ideas for the new Disney files (available for purchase from Brother dealers) – and today I decided to whip up a Daisy Duck iron-on Tshirt! I’m trying hard to work through these designs because they’re all such fun!

The how-to couldn’t be easier!
- Save the cut file to USB (or wirelessly transfer) and load to SNC
- Cut out the pieces from color(s) of iron-on material of your choice
- Remove pieces from stabilizer/backing sheet
- Use iron to heat & iron your shirt (or other thing you want to attach the pieces to)
- Using a piece of fabric between the iron-on material and the iron, heat set each piece until done
I found just getting it started and getting all of the pieces starting to adhere, then really pressing with the iron once all pieces were down worked well.
If you’d like to see the process, you can check out my YouTube tutorial here.

I just love this – and my next goal is to do a felt stitched piece with a cupcake pattern and add some sequin sprinkles. Stay tuned!
The usual disclaimer – I do work with brother (paid consultant), but all ideas and opinions are my own. The ScanNCut and these Disney files are awesome and I love sharing ideas with you!
Too cute!!!