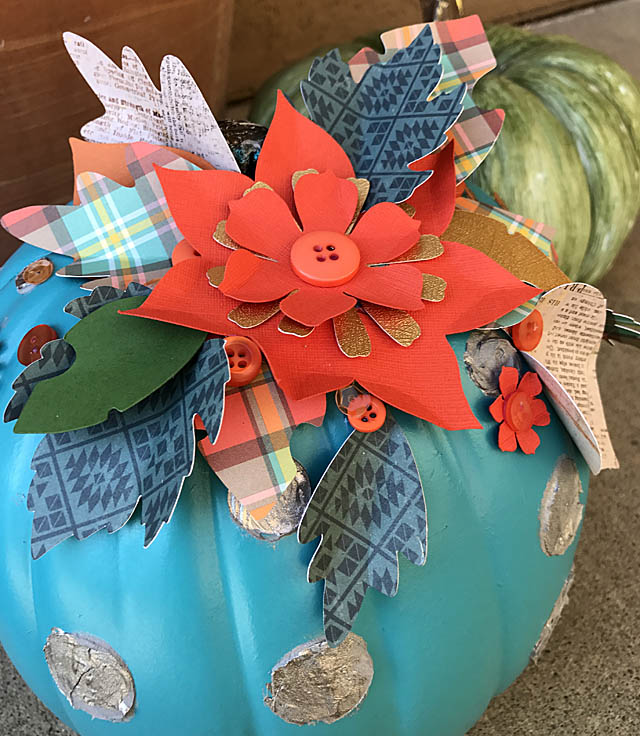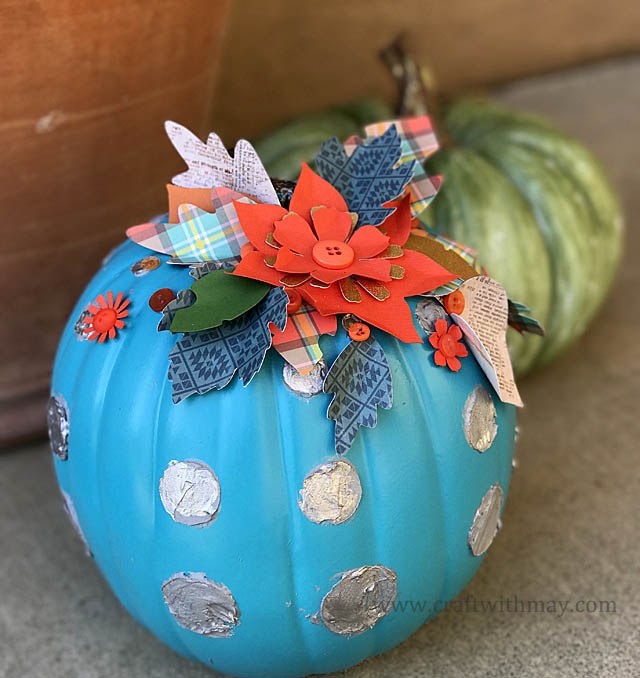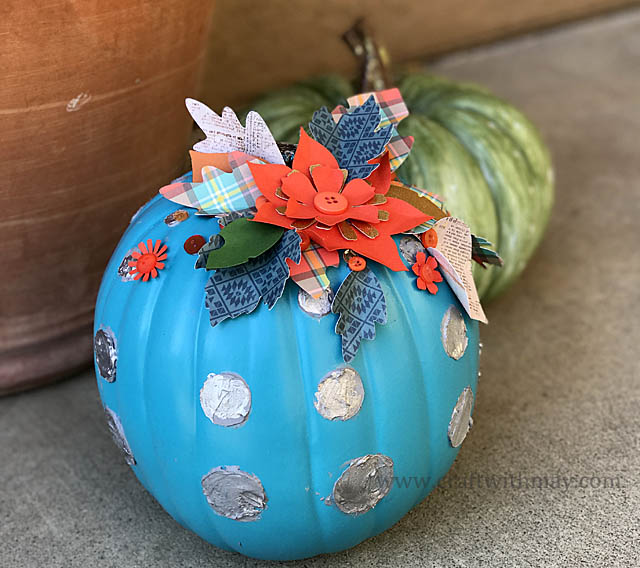
We saw these painted textured pumpkins for a LOT of money at the store and thought… we can do our own! Then Rebecca saw this teal pumpkin and went nuts. Got to have it! It was on clearance, and everything else I already had – so this is a very budget friendly addition to our fall décor. The key to projects like this for me – and the reason I love this tool – is the ScanNCut. When I get whacky ideas like this – I know it is totally doable and I will be able to work with my supplies on hand.
Usual disclaimer here- that I am a paid consultant for Brother, however all ideas and opinions here are my own.

The process really is simple – stencil on your design. Add décor at the top if you like. That is it! I used silver acrylic paint + light molding paste simply to add some texture but also because I worried on its own the paint might want to run. How smooth or “funky and lumpy” you want your results to be will determine what you use. Ink to pen drawing to paint – you can use a LOT of mediums with a stencil!
Here is my YouTube video tutorial showing the process for this project.
If you can – I would recommend letting the stencil areas dry before continuing to work. I wasn’t patient enough and it did cause some slight smudges and areas I had to later fix. NOT a big problem – but had I not been so impatient to get this out on the porch I would have had less to clean.

I just love how this turned out and that I used already cut (from previous projects) pieces for the topper. I LOVE having basic shapes “extra” when I’m cutting! I also love how this will add some lively fun to our pumpkin patch here.
Are you decorating for fall? What is your favorite thing to make? Do share!
I made a pumpkin, too. My step-mom and I went to Michaels and made a floral pumpkin. I’ll try to post a photo on Facebook.
That teal colour is pretty special. I too struggle waiting for pastes to dry – I just want to keep on crafting.
Thats a very creative pumpkin ! In France we don’t really decorate in fall.
So fun and funky! Love this!